Living Heat i8 User manual

V0719
Ultimate Control For Better Heating
i8 - Wi-Fi Thermostat Instructions
www.livingheat.co.uk
THE UNDERFLOOR HEATING EXPERTS
LivingHeat
INSTALL
0201
03
04
EASY

1: Wi-Fi APP Download
2: Table of Contents
3: Introduction & Technical Specifications
4: Installation
5: Wi-Fi Connection
6: Wi-Fi Connection Continued
7: Wiring Instructions
8: Screen Symbols
9: Functions & Operations
10: Functions & Operations Continued
11: Functions & Operations Continued
12: Default Heating Cycle Parameters
13: Default Heating Cycle Parameters Continued
14: Default Heating Cycle Parameters Explained
15: Error Codes & Trouble Shooting
16: Thermostat Dimensions
17: Other Colour Options
18: About Living Heat
Table of
Contents
01 02
DOWNLOAD THE Wi-Fi APP
Visit the Living Heat website:
https://www.livingheat.co.uk/i8-wifi-thermostat/
Or scan the the QR-Code below with your phone or tablet to visit our
Download Section on our website.

TECHNICAL SPECIFICATIONS
INTRODUCTION INSTALLATION
This Wi-Fi thermostat is an intuive programmable thermostat used to control
electrical or water floor heang systems. With suitable heang installed it will keep
your home or office at a comfortable temperature whilst minimizing energy use. Install
the APP on your smart phone to control your heang remotely from anywere in the
world or use the intuive touch screen to control your heang locally.
03 04
Supply voltage: 85-250V ac 50/60Hz
Standby power: <1W
IP class: IP21
Secure the back box back to the wall box with
screws provided or other suitable screws.
Align top of screen secon with top of back
box holding screen at 45 degree angle. Lower
boom of screen slowly back to wall making
sure all male and female connecon pins align
correctly. Lock screen in place using fixing
screw and bolt at boom of thermostat.
Loosen fixing screw located in the boom
of the thermostat to release screen secon.
Make sure not to lose screw or bolt when
removing screen, (Tip - to open unit, only
loosen screw, do not remove screw).
Step 1:
Connect the back box to the heang, power
and probe in according to the wiring Instrucons.
Step 2:
Step 4:

THERMOSTAT SYMBOLS
07 08
WIRING INSTRUCTION
Frost Protecon On
Day indicator
Period indicator
Holiday le
Hold le
Clock
Degrees Celsius
Fahrenheit
Floor Temperature limit Reached
Advanced Setup
Hold parameter edit
Down
Up
Wi-Fi
Key lock indicator
Floor Temperature
Room Temperature
Set Temperature
Flame = Heang Acvated
Temperature
Program Parameter edit
Holiday Parameter edit
Clock Parameter edit
Confirm
Return
Power
℉
℃
TEMP
HIGH
SET
ROOM TEMP
FLOOR TEMP
HOLD
h
HOLIDAY
EDIT
SAT
FRITHU
WED
MON TUE SUN
WAKE LEAVE RETURN SLEEP LEFT
HOLIDAY HOLD SETUP
MAX LOAD: 15A
SENSOR
L1N1 N L
FLOOR
SENSOR
POWER
85V-265V
50/60Hz
IP 21
N1 NLL1 S2 COM S1
POWER
FLOOR SENEOR

05 06
W
Scan the QR code or download the Warmme
APP, (see page 01 in these instrucons).
Register and log in with mobile
number/ email address into the APP.
Aenon: Please read and agree
“Privacy Policy and Service
agreement” before registraon.
Click “Add Device” or “+” then All
devices at the top-right to add each
new device.
Enter Wi-Fi password,
and click “Confirm”.
You can now check the real-me temperature, set new temperature, turn heang on
and off, program heang cycle, or change sengs all from your phone or by using the
touch screen on the thermostat.
!
*If phone does not connect check, 1: No other phone has already been linked to thermostat, if another phone is already linked, either delink first
phone to allow new phone to be linked, OR use first phone, (master phone) to invite other phones to join the group. The master phone can allow
other phones to access every thermostat it is linked to as the master phone.
2: Check Wi-Fi is standard UK 2.4G signal.
3: When in at step 5 above Click “AP mode” in top right hand of phone screen and follow instrucons to connect directly through thermostat.
Once registered on the APP, Click “Create family” and enter
family / user informaon. Make sure to click “Done” when
finished. Aenon: Please authorize locaon
permissions when you ‘Create Family’.
Click “Wi-Fi thermostat”, and follow the
on screen instrucons. Once the
thermostat Wi-Fi icon, (top le hand
side of thermostat screen) is flashing quickly, click
“Press to connect” on phone. This will link your phone
to your thermostat, (*see notes below).
Once device is added successfully, you can
change the device name and set me zone,
click “Done” to confirm.

09 10
Set the Time
On the thermostat interface, press and the will flash.
Press to enter day seng.
Press to set day.
Press to enter hour seng.
Press to set hour.
Press to enter minute seng.
Press to set minute.
Press to confirm and back to the day seng interface.
Press twice to go back to the home screen interface.
* If the thermostat is connected to Wi-Fi, it will update me automacally aer connecng to Wi-Fi.
Holiday Mode
FUNCTIONS AND OPERATIONS
On/Off
Press to turn On/Off.
Note: When frost protecon is acve, the thermostat will maintain the frost protecon
temperature even when it is Off.
Temporary Override Temperature
The temporary override temperature is acve when thermostat is used in automated heang mode.
The override temperature will only last unl the next event set me and temperature kick in. To set
temporary override use buons to change the temperature and to confirm and return screen
back to actual temperature. The new set temperature will hold unl the next program cycle starts.
Lock all keys to prevent the sengs from being changed. On the touch screen
interface, press and hold for 3 seconds to lock or unlock the thermostat.
Key-Lock
In Holiday Mode, the thermostat will maintain the set temperature unl the holiday me ends.
On the thermostat interface, press and the will flash.
Press to select .
Press to enter holiday days seng.
Press to set number of holiday days.
Press to enter temperature seng for holiday period.
Press to set temperature.
Press to confirm and go back to the home screen interface.
* Set the holiday days to zero or double press to cancel Holiday Mode.
HOLIDAY

11 12
Hold Mode
In Hold Mode, The thermostat will hold the set temperature unl you cancel this mode.
On the thermostat interface, press and the will flash.
Press to select .
Press to enter Hold ON/OFF seng.
Press to set Hold ON.
Press to enter temperature seng.
Press to set temperature.
Press to confirm and go back to the home screen interface.
* Set hold OFF or double press to cancel Hold Mode.
Edit Sengs / Program Automated Heang Cycle.
The thermostat will always run your automated heang cycle unless you select Holiday Mode or Hold Mode.
The thermostat has a 4 event per day, 7 days a week automated cycle which must be set to suit the user.
On the thermostat interface, press and the will flash.
Press to select .
Press to enter day selecon of Edit Seng.
Press to select a day.
Press to enter the event selecon of the day.
Press to select a event.
Press to select event’s starng me.
Press to set the hour of starng me.
Press to enter the minute seng.
Press to set the minute of starng me.
Press to enter the temperature seng for this event.
Press to set the temperature.
Press to confirm and back to the event selecon of the day.
*Repeat the above steps for each 4 events per day and for all 7 days of the week.
Press mulple mes or double press to back to the home screen interface.
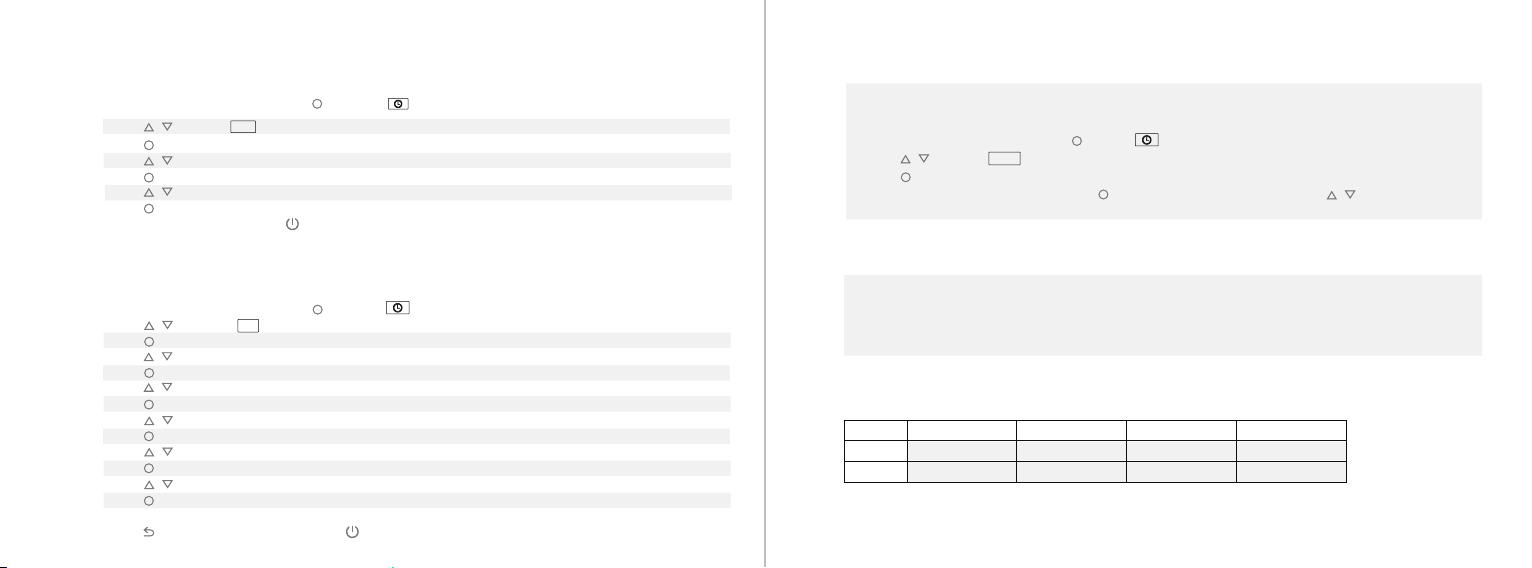
Advanced Seng - Used to change Default Heang Cycle Parameters
Day
Wake
Leave
Back
Sleep
Mon-Fri
07:00 22.0°C
08:30 19.0°C
17:00 22.0°C
22:00 19.0°C
Sat/Sun 08:00 22.0
°
C 08:30 22.0
°
C 17:00 22.0
°
C 22:00 19.0
°
C
The thermostat provides advanced sengs to suit various special situaon. These are normally set
by technicians during inial installaon.
On the home screen interface, press and the will flash.
Press to select .
Press to enter advanced seng.
Each seng can be accessed by pressing and parameters adjusted by pressing .
This funcon only works when room sensor or both sensors are selected. The thermostat with
this funcon will shut off automacally for 15 min when the window opens, as it can detect
that the room temp plummets. This is a non oponal automated funcon helps save energy.
Open Window Detecon
EDIT
HOLD
SETUP
DEFAULT HEATING CYCLE PARAMETERS

13 14
1. Room temp calibraon: Calibrate the temp detected by room sensor.
2. Floor temp calibraon: Calibrate the temp detected by floor sensor.
3 + 4. Frost protecon: The thermostat will maintain this minimum temperature even if switched off as long as.
symbol is display on the thermostat screen.
For hydronic heang systems, it is used to stop pipes from freezing when heang is not in use.
5. Sensor selecon:
00 Room sensor: Heang controlled by room sensor.
01 Floor sensor: Heang controlled by floor sensor.
02 Both sensors: Heang controlled by combinaon of room sensor with floor temp limit.
6. Floor temp limit: If you choose both sensors, floor temp limit must be set to protect floor from overheang.
7. Temp unit: °C and °F can be selected.
8. Output delay: This opon help you avoid inadvertent operaon on heang.
9. Temp deviaon: The deviaon is defaulted to 1°C. This means the thermostat start to work when the actual
temp is 1°C lower than set temp and stop to work when the actual temp is 1°C higher than set temp.
10.Reverse output: This funcon works for the cooling system. When the temp is 1°C higher than set temp, the
thermostat will disconnect the cooling system. otherwise, it will connect the cooling system.
11.Automated heang cycle schedule: Select a weekly schedule to automate heang. There are 2 opons:
7: each day from Mon to Sun can be set individually.
5+1+1: 5 days from Mon to Fri have the same event sengs, Sat and Sun can be set individually.
12. Adapve funcon: Aer several days of installaon and use, Adapve funcon ensures that the required temp
has already been reached when the next event begins so on cold days the heang is not lagging behind.
13. Reset: All parameters are restored to factory default values.
No.
Name
Default
Ranges
1 Room temp calibraon0.0°C -5.0°C -- 5.0°C
2
Floor temp calibraon
0.0°C
-5.0°C -- 5.0°C
3 Frost Protecon-ON OF(OFF)
ON
4 Frost Protecon Temp 5.0
°
C 5.0
°
C -- 15.0
°
C
5 Sensor selecon01: Floor sensor 00: Room sensor
01: Floor sensor
02: Both sensors
6
Floor temp limit
30.0°C
20.0°C -- 50.0°C
7 Temp unit 00:
°
C 00:
°
C
01: °F
8 Output delay 00: 00s 00: 00s
01: 30s
02: 60s
03: 90s
9 Temp deviaon01: 1.0
°
C 00: 0.5
°
C
01: 1.0°C
02: 2.0°C
03: 3.0°C
10
Reverse output
00: OFF
00: OFF
01: ON
11 Automated heang
cycle schedule
01: 5+1+1 00: 7
01: 5+1+1
12 Adapve funcon01: ON 00: OFF
01: ON
13
Reset
00: No
00: No
01: YES
DEFAULT HEATING CYCLE PARAMETERS

ERROR CODES E1: Room sensor error.
E2: Floor sensor error.
87
51
51
42
2616
60
87
TROUBLE SHOOTING
15 16
D
If your phone does not connect to the APP:
Check there is not already a smart phone connected to the thermostat. Mulple phones can be use to
control the thermostat but only one master phone can be linked directly to each thermostat. To link
mulple phones to a thermostat, use the master phone to give other phones control over each
thermostat through the Warmme APP. Alternavely disconnect the master phone which will allow a new
master phone to be linked to the thermostat.
T
Make sure your router is sending a standard 2.4GHz bandwidth signal. 2.4GHz is the standard router
bandwidth in the UK but some routers are set at 5GHz which will not work with this thermostat.
I Go back to step 5 on the APP setup, page 6 in this
booklet and try to connect by clicking “AP mode” on your phone screen in the Warmme APP. This lets your
phone connect directly to the thermostat rather than through the home Wi-Fi. Wi-Fi can then be set up
later when the signal is stable.

18
17
Living Heat will always take the utmost care of you the customer, constantly finding ways to make
the experience more enjoyable and hassle free, we understand that underfloor heang can be adaunng
subject when first looked at. If you’re not sure of anything please feel free to give us a call and one of our
underfloor heang experts will be glad to help you with your underfloor heang quesons.
Living Heat is dedicated to providing high quality under
floor heang systems for use under virtually all floor
coverings including le, stone, wood, laminate and
carpet. We invest me and money making sure all our
heang systems and ancillary products are fit for purpose and backed
up by trained advisers and a knowledgeable technical team to
help you on your way.
White Black & Silver Black
A
ABOUT LIVING HEAT
WHY BUY FROM LIVING HEAT?
www.livingheat.co.uk
THE UNDERFLOOR HEATING EXPERTS
LivingHeat
Other manuals for i8
1
Table of contents
Other Living Heat Thermostat manuals