LocknCharge iQ 16 Cart User manual

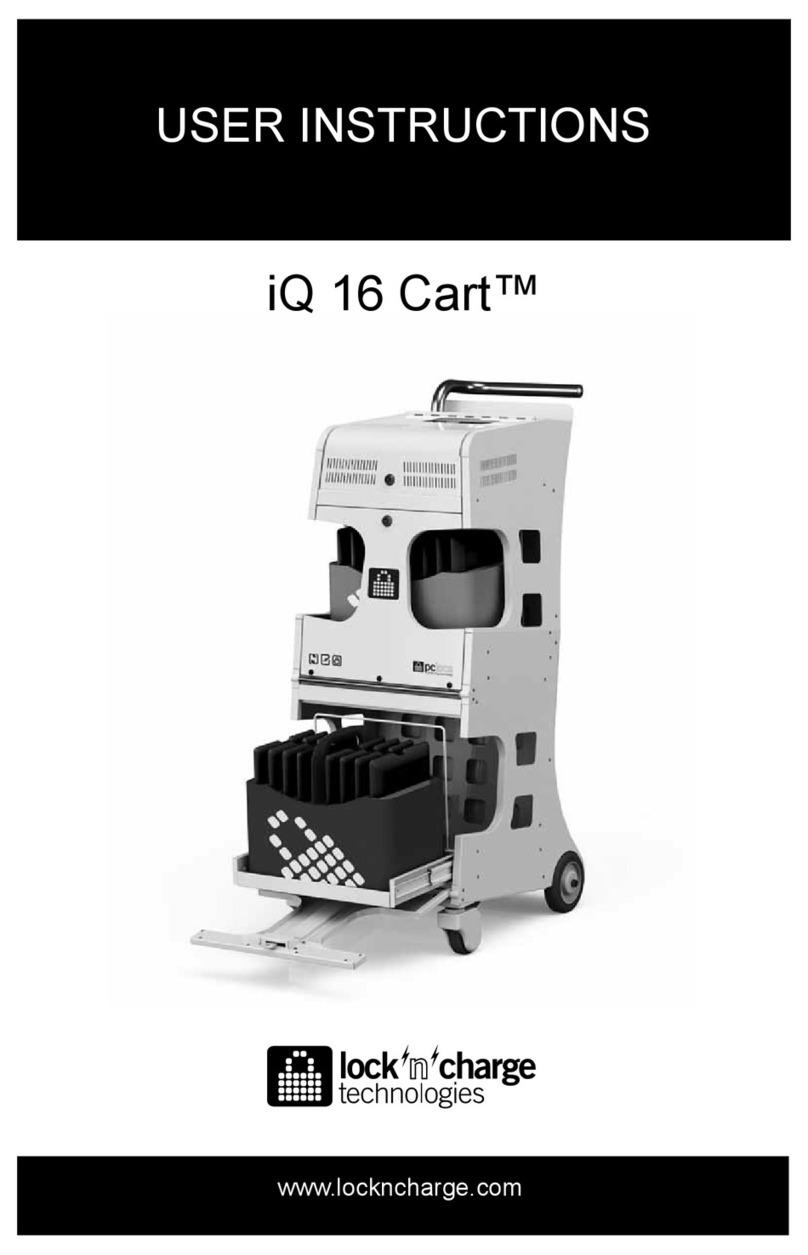
iQ 16 Cart™
USER INSTRUCTIONS
www.lockncharge.com

iQ 16 Cart™
www.lockncharge.com
LocknCharge and the Padlock device are Trademarks of IWS Global Pty Ltd.
Copyright IWS Global Pty Ltd, November 2012.
iPad and iTunes are trademarks of Apple Inc. Windows is a registered trademark of Microsoft
Corporation.
Disclaimer.
This information is the intellectual property of LocknCharge and may not be distributed, duplicated or
copied in part or full without the written permission. Since the use of this information, the equipment
connected and the conditions by which any LocknCharge product is used is beyond the control of
LocknCharge, it is the obligation of the owner and/or user to determine the correct and safe use of
any equipment and product. To the extent that the law permits, any liability which may be incurred
as a result of the use or future use of a product manufactured or sold by LocknCharge. is limited to
the cost of repairing or replacing the failed product or component at the discretion of LocknCharge
either within, or outside of warranty periods, and does not extend to any loss or damage which may
be caused as a consequence of misuse or failure of the equipment or product or the information
contained herein. LocknCharge. shall not in any event be liable for economic loss of prots, indirect,
special, bodily injuries or consequential damages.
STEP 1.
Un-pack the trolley and accessories.
Congratulations on your purchase of the iQ 16 Cart . Follow these
instructions for easy and fast set-up of your iQ16.

INSTRUCTION MANUAL
STEP 2.
Attaching the cables to the iPad devices (up to 16).
Insert the iPad devices into the
baskets and place the baskets
in the drawers.
The USB cables hang from the
swivel clips. Connect each plug
to a device in the basket.
Slide the baskets into the
drawers and close the doors.
Lock the doors.
STEP 3 - Sync and/ or charge the devices.
Plug in the power cable to a wall socket and. Switch the power on. The LED will illuminate on the iQ
16 SCB Sync Station depending on the operation you are performing.
Note: Refer to the Instructions for operating your iQ 16 SCB for syncing & charging operations.
Plug the USB B ‘host’ cable into
the iQ 16 SCB Sync Station.
Red = Charge mode
Green = Sync mode

iQ 16 Cart™
www.lockncharge.com
STEP 6 - Installing the oor plate and lock-down chain kit.
STEP 4 - Locking the castor to prevent movement.
Unlocked. Press ‘ON’ to lock. Press ‘OFF’ to unlock.
STEP 5 - Adjusting the door pressure.
There are two screws on each hinge to adjust the tension on the hinge (1 and 2) - this prevents the
doors from slamming open.
Use a 2mm allen key to tighten or loosen the screw (do not over-tighten).
Tools required:
• Masonry hammer-drill
• 10mm masonry drill bit
• Pencil and ruler/ tape
• Hammer
• 13mm and 17mm spanners
The Security Chain Kit contains the following:
• 1 x 3 holed Anchor Plate and security
chain
• 3 x 55mm long, 8mm Anchor Bolts
• 3 x Shear nuts and washers
• 1 x RR Lock and key set
1
2

INSTRUCTION MANUAL
Move the iQ 16 Cart to where you intend to store and secure it.
Note: It is best if the Floor Plate is as close as possible to a wall to reduce the hazard or tripping
and injury.
Attach the end of the chain to the steel loop with the padlock and position the plate end in the desired
position on the oor.
Note: If mounting on carpet, you will need to cut out the carpet from the area where the oor plate
attaches, otherwise the carpet will wrap around the drill when drilling.
Mark the centre of each of the
3 holes using the oor plate as
a guide.
Drill a 10mm hole through each
of the 3 marked centres to a
depth of 50mm.
Insert the anchor bolts with the nuts attached into the
holes through the oor plate. Using the 13mm spanner,
progressively tighten down each of these anchor nuts so
that all three bolts are rmly anchored into the concrete.
Now undo each of the three nuts and in their place
thread on the three silver shear-nuts. Ensure that the
‘cone’ is down and the hexagonal nut is up. Using the
17mm spanner, tighten down the three shear-nuts until
the hexagonal ‘head’ shears off, leaving just the cone
‘base’.
Attach the security chain through the
steel loop under the side of the trolley
using the padlock.
Note: there is a lock-down loop on
both sides of the iQ 16 Cart.

iQ 16 Cart™
www.lockncharge.com
Troubleshooting.
1. If no lights are illuminated with the iQ 16 Sync Charge Box™ (iQ 16 SCB) is switched ON, check
that the power cable is fully inserted into the iQ 16 SCB socket and the other end is fully inserted
into the mains power socket and the switch is ON.
2. If it has been conrmed power is available, check the fuse in the power socket on the iQ 16 SCB.
First switch off power on the mains socket and remove the power plug. Remove the power cable
from the socket in the iQ 16 SCB and slide out the fuse drawer. Conrm the fuse is intact. If not
an original spare fuse is retained in the same slide out drawer. Only replace with an equivalent
part: 5x20mm, 4A fast blow.
3. To check the iQ 16 SCB is operating correctly, switch the iQ 16 SCB OFF. Remove all connected
USB cables and switch back ON again. Both the Charge light and the Sync light should
momentarily illuminate. The Charge light will ash a number of times before remaining on. This
is normal operation.
4. If the iQ 16 SCB is operating normally but the devices cannot be charged, check the USB cables
connecting to the devices are of the correct type and quality and not damaged.
5. If the iQ 16 SCB is operating normally but the devices cannot be synchronised, check the USB
cables connecting to the devices are of the correct type and quality and not damaged.
6. Any other issues relating to synchronisation problems should be referred to your IT department
or provider of synchronisation software.
WARRANTY
During the specied Warranty Period should your Lock’n’Charge product fail under normal and
reasonable use, Lock’n’Charge Technologies will repair or replace the product, at its cost and option
subject to the conditions and limitations detailed on our Warranty Statement. The Warranty Period will
be a minimum of 12 months from date of purchase, however, it may be longer depending on the product
or part that has failed. Please refer to the Warranty Statement on our website www.lockncharge.com
for full terms and conditions and for the Warranty Period applicable to this product.
In the event that a defect, malfunction or failure occurs or is discovered during the warranty period,
LocknCharge will repair or replace, at its option, the products which in the reasonable judgment of
LocknCharge are deemed defective. Replacement products or parts used may be new or refurbished
and may show signs of use but be otherwise fully serviceable and covered by the remainder of the
Warranty Period. All transportation costs shall be borne by the owner and the risk of loss shall be upon
the party initiating the transportation.
The warranty does not apply to any product that has been subject to misuse, tampering, neglect, or
accident or as a result of unauthorized alterations or repairs to the product. The warranty is in lieu of
all warranties expressed or implied, including the implied warranties of merchantability and tness for
a particular purpose which are expressly excluded or disclaimed. In no event will LocknCharge, their
directors, ofcers, employees, or agents be liable for any harm, consequential, incidental, third party,
special or indirect damages whatsoever arising out of the use or inability to use the products even if
LocknCharge has been advised of the possibility of such damages. LocknCharge obligation is strictly
and exclusively limited to the replacement or repair of any defective products. Some states do not allow
the exclusion or limitation of incidental or consequential damages, so the above limitation or exclusion
may not apply to you.
Do not store in direct sunlight. Not intended for use out-doors.

INSTRUCTION MANUAL
COMPLIANCE AND APPROVALS
AUSTRALIA:
C-Tick Approval: N26682
Conforms to AS/NZS 60950.1
EUROPE:
Note: PC synchronisation may be lost if the unit is exposed to high levels of ESD and will require the
software application to be re-started.
USA:
This device complies with Part 15 of the FCC Rules. Operation is subject to the following two
conditions:
1. This device may not cause harmful interference.
2. This device must accept any interference received, including interference that may cause
undesired operation.
Warning: Changes or modications to this unit not expressly approved by the party responsible for
compliance could void the user’s authority to operate the equipment.
Responsible Party: Lock and Charge USA Inc, 307 6th St. W. West Fargo, ND 58078-1533, (701)
630-9357, [email protected]
NOTE: This equipment has been tested and found to comply with the limits for a Class B digital
device, pursuant to Part 15 of the FCC Rules. These limits are designed to provide reasonable
protection against harmful interference in a residential installation. This equipment generates,
uses, and can radiate radio frequency energy and, if not installed and used in accordance with
the instructions, may cause harmful interference to radio communications. However, there is no
guarantee that interference will not occur in a particular installation. If this equipment does cause
harmful interference to radio or television reception, which can be determined by turning the
equipment off and on, the user is encouraged to try to correct the interference by one or more of the
following measures:
• Reorient or relocate the receiving antenna.
• Increase the separation between the equipment and receiver.
• Connect the equipment into an outlet on a circuit different from that to which the receiver is
connected.
• Consult the dealer or an experienced radio TV technician for help.
“This Class B digital apparatus complies with Canadian ICES-003”. “Cet appareil numérique de la
classe B est conforme à la norme NMB-003 du Canada”.
Shielded USB cable must be used with this unit to ensure compliance with the Class B FCC limits.

www.lockncharge.com
Table of contents
Other LocknCharge Outdoor Cart manuals
Popular Outdoor Cart manuals by other brands

Clear One
Clear One Wood Plasma Cart Installation & operation manual

New Star
New Star Neomounts Pro NMPRO-M12 instruction manual

Yard Works
Yard Works 060-1327-4 quick start guide

Rock-N-Roller
Rock-N-Roller Multi-Cart R64C manual

Magliner
Magliner Powered Stair Climber User maintenance guide

LDI Spaces
LDI Spaces Safco 3045 Assembly instructions