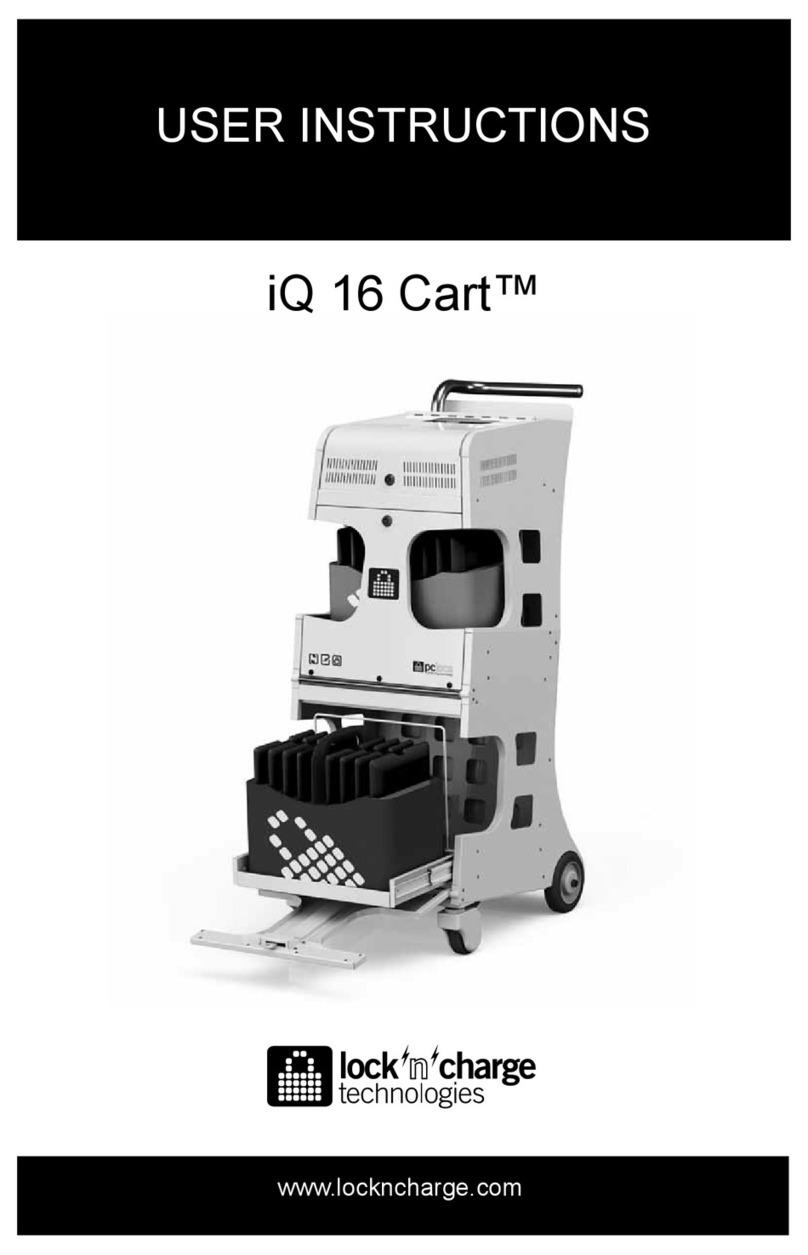
LocknCharge iQ Traveler 16 User manual

iQ Traveler 16™
USER INSTRUCTIONS
www.lockncharge.com

iQ Traveler 16™
www.lockncharge.com
LocknCharge and the Padlock device are Trademarks of IWS Global Pty Ltd.
Copyright IWS Global Pty Ltd, November 2012.
iPad and iTunes are trademarks of Apple Inc. Windows is a registered trademark of Microsoft
Corporation.
Disclaimer.
This information is the intellectual property of LocknCharge and may not be distributed, duplicated or
copied in part or full without the written permission. Since the use of this information, the equipment
connected and the conditions by which any LocknCharge product is used is beyond the control of
LocknCharge, it is the obligation of the owner and/or user to determine the correct and safe use of
any equipment and product. To the extent that the law permits, any liability which may be incurred
as a result of the use or future use of a product manufactured or sold by LocknCharge. is limited to
the cost of repairing or replacing the failed product or component at the discretion of LocknCharge
either within, or outside of warranty periods, and does not extend to any loss or damage which may
be caused as a consequence of misuse or failure of the equipment or product or the information
contained herein. LocknCharge. shall not in any event be liable for economic loss of prots, indirect,
special, bodily injuries or consequential damages.
Congratulations on your purchase of the iQ Traveler 16. Follow
these instructions for easy and fast set-up of your iQ Traveler 16.

INSTRUCTION MANUAL
Specications.
- Interior Dimensions: 569×439×270mm
- Exterior Dimensions: 650×515×315mm
- Empty weight (incl. foam): approx 9.8kg
- Fully laden weight: approx 20kg
- Sealing: IP67 standard
- Corrosion resistant
4 Latches.
Retractable handle.
Locking hole 1.
Air vent.
Locking hole 2.

iQ Traveler 16™
www.lockncharge.com
STEP 3a.
- Insert Macbook/Laptop foam insert.
STEP 3b.
Note: Macbook/Laptop Charger slot.
(The space provided exactly ts a 15” Macbook)
Note The Orientation: this foam lip must be
adjacent to the devices to protect them from the
Macbook/Laptop during transit.
STEP 2.
- Firstly, Insert the devices into foam slots with the connector sockets facing the centre inside the
iQ Traveler.
- Devices, iQ 16 SCB and cables in position:
STEP 1.
- Un-pack the iQ Traveler 16 and accessories:
- iQ Traveler case, 3 x Foam inserts (main base insert; Macbook/Laptop + charger insert; case top
insert), iQ 16 Sync Charge Box™ (iQ 16 SCB), IEC power cable, USB Host cable (USB ‘A-to-B’), 4 x
iPad/tablet desktop stands, User instructions for iQ Traveler 16 and iQ 16 SCB, 16 High Speed USB
(30 Pin) cables and 6 x small cable ties.

INSTRUCTION MANUAL
STEP 5. Transportation.
- A fully laden iQ Traveler 16 with 16 devices and accessories weighs over 20kg and therefore should
be lifted only by two or more persons.
- Before moving ensure all four latches are completely closed. The air vent should be kept rmly
closed and only released if the iQ Traveler 16 is subject to large changes in air pressure e.g. on an
aeroplane.
- For mobility the iQ Traveler 16 is tted with a retractable handle and smooth running castors.
Simply lift the iQ Traveler 16 onto the castor end and extend the handle, then it can be easily
wheeled to the chosen operating area.
- When opening ensure the iQ Traveler 16 is laying down (label facing upward) so that nothing falls
out when the lid is opened.
Note: Refer to the specications diagram for an illustration.
STEP 6. Security.
- The iQ Traveler 16 can be locked using one or two padlocks secured through the locking hole.
Note: Refer to the specications diagram for an illustration.
STEP 7. Other features.
- The iQ Traveler 16 has a dust and water resistant seal in between the lid and the case body. If
this seal is damaged replace immediately to continue protection against dust and water. The seal
requires no maintenance other than cleaning with a damp cloth if it gets dirty – do not use chemical
cleaners.
- The castors are ball-bearing type and require no maintenance.
- Three folding handles allow the case to be picked up by more than one person.
STEP 4. Charging and Syncing.
- Carefully read the User Instructions for the iQ 16 SCB before attempting to charge or sync your
iPad devices.
- Remove the devices, iQ 16 SCB and cables and place on a stable surface. Attach the power cable,
USB host cable and the 30 Pin USB cables. Place the devices in the desktop stands provided.
- Connect a power cable to the power socket to charge. If syncing, also connect the host cable to the
Macbook. Follow the User Instructions for the iQ 16 SCB for syncing and charging.
Note: The devices and the iQ 16 SCB can get quite warm during charging and it is strongly
recommended these are not operated inside the foam.

iQ Traveler 16™
www.lockncharge.com
Troubleshooting.
1. If no lights are illuminated with the iQ 16 Sync Charge Box™ (iQ 16 SCB) is switched ON, check
that the power cable is fully inserted into the iQ 16 SCB socket and the other end is fully inserted
into the mains power socket and the switch is ON.
2. If it has been conrmed power is available, check the fuse in the power socket on the iQ 16 SCB.
First switch off power on the mains socket and remove the power plug. Remove the power cable
from the socket in the iQ 16 SCB and slide out the fuse drawer. Conrm the fuse is intact. If not
an original spare fuse is retained in the same slide out drawer. Only replace with an equivalent
part: 5x20mm, 4A fast blow.
3. To check the iQ 16 SCB is operating correctly, switch the iQ 16 SCB OFF. Remove all connected
USB cables and switch back ON again. Both the Charge light and the Sync light should
momentarily illuminate. The Charge light will ash a number of times before remaining on. This
is normal operation.
4. If the iQ 16 SCB is operating normally but the devices cannot be charged, check the USB cables
connecting to the devices are of the correct type and quality and not damaged.
5. If the iQ 16 SCB is operating normally but the devices cannot be synchronised, check the USB
cables connecting to the devices are of the correct type and quality and not damaged.
6. Any other issues relating to synchronisation problems should be referred to your IT department
or provider of synchronisation software.
WARRANTY
During the specied Warranty Period should your Lock’n’Charge product fail under normal and
reasonable use, Lock’n’Charge Technologies will repair or replace the product, at its cost and option
subject to the conditions and limitations detailed on our Warranty Statement. The Warranty Period will
be a minimum of 12 months from date of purchase, however, it may be longer depending on the product
or part that has failed. Please refer to the Warranty Statement on our website www.lockncharge.com
for full terms and conditions and for the Warranty Period applicable to this product.
In the event that a defect, malfunction or failure occurs or is discovered during the warranty period,
LocknCharge will repair or replace, at its option, the products which in the reasonable judgment of
LocknCharge are deemed defective. Replacement products or parts used may be new or refurbished
and may show signs of use but be otherwise fully serviceable and covered by the remainder of the
Warranty Period. All transportation costs shall be borne by the owner and the risk of loss shall be upon
the party initiating the transportation.
The warranty does not apply to any product that has been subject to misuse, tampering, neglect, or
accident or as a result of unauthorized alterations or repairs to the product. The warranty is in lieu of
all warranties expressed or implied, including the implied warranties of merchantability and tness for
a particular purpose which are expressly excluded or disclaimed. In no event will LocknCharge, their
directors, ofcers, employees, or agents be liable for any harm, consequential, incidental, third party,
special or indirect damages whatsoever arising out of the use or inability to use the products even if
LocknCharge has been advised of the possibility of such damages. LocknCharge obligation is strictly
and exclusively limited to the replacement or repair of any defective products. Some states do not allow
the exclusion or limitation of incidental or consequential damages, so the above limitation or exclusion
may not apply to you.
Do not store in direct sunlight. Not intended for use out-doors.

INSTRUCTION MANUAL
COMPLIANCE AND APPROVALS
AUSTRALIA:
C-Tick Approval: N26682
Conforms to AS/NZS 60950.1
EUROPE:
Note: PC synchronisation may be lost if the unit is exposed to high levels of ESD and will require the
software application to be re-started.
USA:
This device complies with Part 15 of the FCC Rules. Operation is subject to the following two
conditions:
1. This device may not cause harmful interference.
2. This device must accept any interference received, including interference that may cause
undesired operation.
Warning: Changes or modications to this unit not expressly approved by the party responsible for
compliance could void the user’s authority to operate the equipment.
Responsible Party: Lock and Charge USA Inc, 307 6th St. W. West Fargo, ND 58078-1533, (701)
630-9357, [email protected]
NOTE: This equipment has been tested and found to comply with the limits for a Class B digital
device, pursuant to Part 15 of the FCC Rules. These limits are designed to provide reasonable
protection against harmful interference in a residential installation. This equipment generates,
uses, and can radiate radio frequency energy and, if not installed and used in accordance with
the instructions, may cause harmful interference to radio communications. However, there is no
guarantee that interference will not occur in a particular installation. If this equipment does cause
harmful interference to radio or television reception, which can be determined by turning the
equipment off and on, the user is encouraged to try to correct the interference by one or more of the
following measures:
• Reorient or relocate the receiving antenna.
• Increase the separation between the equipment and receiver.
• Connect the equipment into an outlet on a circuit different from that to which the receiver is
connected.
• Consult the dealer or an experienced radio TV technician for help.
“This Class B digital apparatus complies with Canadian ICES-003”. “Cet appareil numérique de la
classe B est conforme à la norme NMB-003 du Canada”.
Shielded USB cable must be used with this unit to ensure compliance with the Class B FCC limits.

www.lockncharge.com
Table of contents
Other LocknCharge Outdoor Cart manuals
Popular Outdoor Cart manuals by other brands

peerless-AV
peerless-AV DS-C555-3X2 manual

Rivers Edge Treestands
Rivers Edge Treestands RE790 Operator's manual

Gude
Gude GGW 250 Translation of the original instructions

Westfalia
Westfalia 82 86 72 Assembly instruction

Sunex Tools
Sunex Tools 8057XTLG Assembly instructions

Monzana
Monzana 101631 instructions