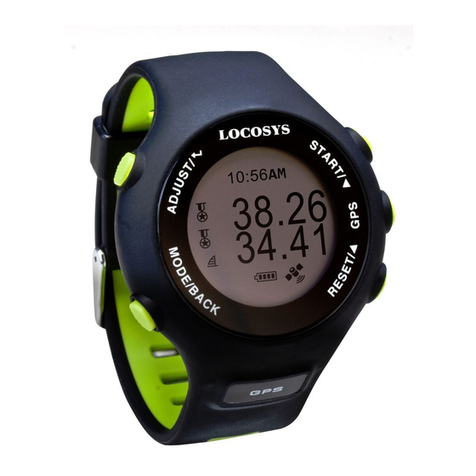
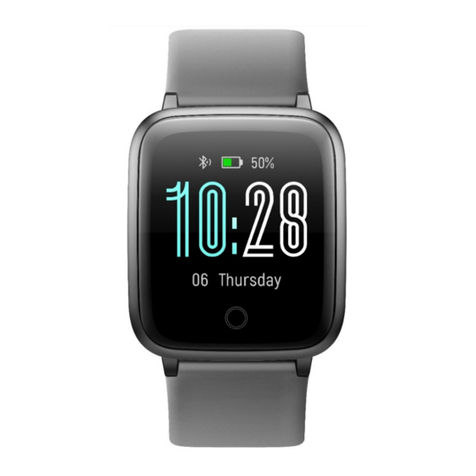
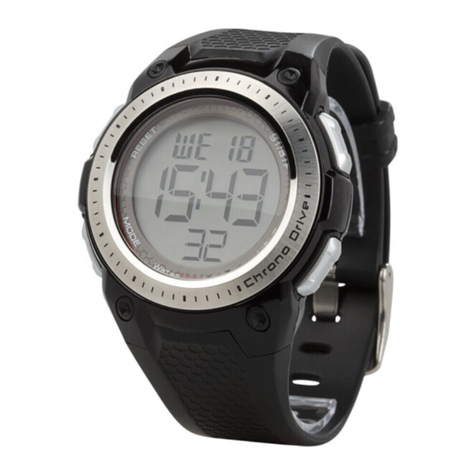
Locosys GW-60 User manual

1 www.locosystech.com
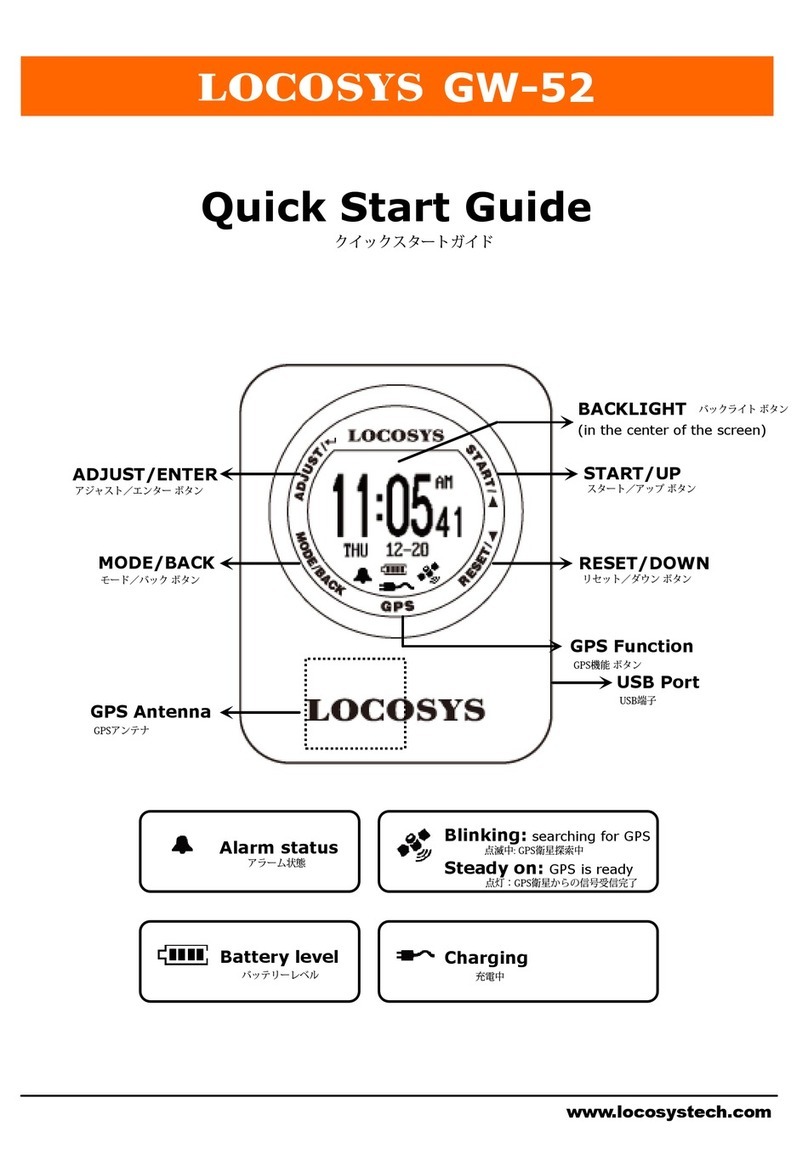
Quick Start Guide
GW-60
RESET/▼
GPS Function
MODE/BACK
Blinking: searching for GPS
Steady on: GPS is ready
Alarm status
Battery level
Charging
status
ADJUST/↵ START/▲
GPS Antenna
Full charge

2 www.locosystech.com
Section 1. Brief Introduction
1.1 Before operating your GW-60, clip the device and
full-charge it with DC +5V/500mA charger for at least
3~4 hours.
1.2 Press MODE/BACK to select Time modes
(1) CLOCK; (2) ALARM; (3) STOPWATCH; (4) TIMER
1.3 Press ADJUST/↵ to setting page.
1.4 Press GPS to GPS mode. GPS signal will be searched
automatically.

3 www.locosystech.com
1.5 Backlight: Hold MODE/BACK for 2 sec.
(Press any key to extend backlight time)
1.6 Lock screen: START+MODE, press again to unlock.
1.7 Sleep mode: Hold GPS for 1 sec to sleep mode.
At clock mode, GW-60 will turn to sleep mode in 15sec.
Tip: Press MODE/BACK to wake up the watch.
1.8 Deep sleep mode: Optimized power saving function.
GW-60 will enter deep sleep mode around 10 days
without using.
At deep sleep mode, GW-60 cannot be turned on by
pressing MODE/BACK button.
Note: Please wake up GW-60 by connecting USB cable
before your ride.

4 www.locosystech.com
Section 2. Time Mode
2.1 Clock Mode
Display local time based on the GMT setting.
Tip: Quick clock time setup for first time usage.
(1) GMT Setting: Refer to 3.6
(2) GPS Time Synchronization: Under open sky
environment, switch to GPS mode and wait until there is
GPS fix. GW-60 will automatically synchronize to precise
GPS UTC time.
2.2 Alarm Mode
Press ADJUST/↵ to adjust alarm time.
Press ▲ / ▼ button to select numbers and
ADJUST / BACK to start/end adjustment.
2.3 Stopwatch Mode
Press START to start counting time and press again
to pause.
Press RESET to reset counting time to “00:0000”.
Press MODE/BACK to exit.
2.4 Timer Mode
Press ADJUST to start adjusting timer.
Press ▲ / ▼ to change numbers and MODE/BACK
button to end adjustment.
Press START t o start counting down and press again
to pause.
Press RESET to restart timer

5 www.locosystech.com
Section 3. Setting
3.1 Setting page:
ADJUST/↵: Enter edit mode/ Confirm.
▲: Up.
▼: Down.
MODE/BACK: Exit edit mode/ Cancel.
3.2
RESET DISP: Command to clear top speed records or
traveled distance.
ALL
DISTANCE
5#NSEC
TOP RSLT
3.3 AUTO SLEEP: If enabled, the GW60 will go into sleep
mode(LCM off) to save power if there is no key pressed
for 15 seconds in “TIME NOW”SCREEN.
Hold“GPS”key for 2 seconds to go to sleep mode
Hold“BACK”key for 2 seconds to exit sleep mode
O: On/ Enable
X: Off/ Disable
3.4 BUZZER: set buzzer/ sound.
O: On/ Enable
X: Off/ Disable

6 www.locosystech.com
3.5 LOGGING: Log rate setting.
OFF : No logging.
1HZ : When speed over [MIN SPEED], log rate in 1HZ.
5HZ : When speed over [MIN SPEED], log rate in 5HZ.
SMART:
When speed over [MIN SPEED] but less than [SPD
GENIE], 1 HZ log rate.
When speed over [MIN SPEED] but more than [SPD
GENIE], 5 HZ log rate.
Note: This saves memory at low speed and gives more
precious data where it’s needed, but some software uses
changes in log rates as an error filter. This may cause alphas to
be rejected if log rate changes during the gybe.
3.6 MIN SPEED (MIN SPD): Speed threshold, only logged
speed above [MIN SPEED].
Available number: 0 to 15 [UNIT].
Sets the speed when logging starts. Under [MIN SPEED]
there is no logging.
3.7 UNIT: Speed measurement unit.
KM : Kilometer.
MI : Mile.
NM : Nautical mile.

7 www.locosystech.com
3.8 GMT: Set GMT/Time zone, e.g. +8:00 for Taipei.
Available number: GMT-12:00 to GMT+13:00.
3.9 AVG NSEC: Time interval for speed averaging.
Available value: 1 sec to 60 sec.
Default 10 seconds
3.10 AVG MSEC: Time interval for speed averaging.
Available value: 1 sec to 60 sec.
Default 2 seconds
3.11 SPEED GENIE (SPD GENIE): Auto-speed report,
setting the minimum speed threshold to initiate [SPD
GENIE].
Note: For alphas [SPD GENIE] needs to be set below the
minimum gybe speed.
For speed runs, set lower than the downwind speed but higher
than the upwind speed.
Available number: 0 to 63 [UNIT].

8 www.locosystech.com
3.12 ACTION SPEED (ACT SPD): Speed display type
SPEED : Current speed (200ms average)
MAX: maximum speed
NSEC: N-second average speed(N=[AVG NSEC])
MSEC: M-second average speed(M=[AVG MSC])
&500: Alpha 500 meter run
100M:100 meter run
250M: 250 meter run
500M: 500 meter run
3.13 RSLT1A~RSLT4B: Speed result selection options
(Screen 1~4).
These are 4 speed genie windows which scroll once
speed goes above and then under [SPD GENIE] setting.
Each window has two sub-screens: A(top half) and
B(bottom half).
Each window has two possibilities, a split screen
showing two results in small font, or a single display of
one result in big font.
To achieve the big font single display set A and B to the
same category (speed type) for that screen number.
To achieve the split screen set A and B to different
categories for that screen number.
Each screen can assign one or two of the following speed
types:
Example:
RSLT1A/1B
RSLT2A/2B
RSLT3A/3B

9 www.locosystech.com
MAX: maximum speed
NSEC: N-second average speed(N=[AVG NSEC])
MSEC: M-second average speed(M=[AVG MSC])
&500: Alpha 500 meter run
100M:100 meter run
250M: 250 meter run
500M: 500 meter run
TOP (RSLT1B~RSLT4B): history max speed
X (RSLT3B~RSLT4B): screen disabled
Speed result setting example:
RSLT1A=MSEC RSLT1B=TOP
RSLT2A=NSEC RSLT2B=TOP
RSLT3A=&500 RSLT3B=TOP
RSLT4A=MAX RSLT4B=X
RSLT DIST=O RSLT TIME=O
AVG NSEC= 10S AVG MSEC=2S
RSLT4A/4B
3.14 RSLT DIST: Option to include “DISTANCE” screen in
speed result report (Screen 5).
O: On/ Enable
X: Off/ Disable
3.15 RSLT TIME: Option to include “TIME” screen in speed
result report (Screen 6).
O: On/ Enable
X: Off/ Disable

10 www.locosystech.com
3.16 DIST UNIT: Distance measurement unit.
KM: Kilometer.
MI: Mile.
NM: Nautical mile.
3.17 SCROLL: Set scroll seconds in speed report
Available number: 1 sec to 2.5 sec.
3.18 USB CLASS: Connection type
COM: Virtual COM PORT for Windows platform user.
UMS: USB Mass Storage for non-Windows platform user.
(Note: Set UMS before entering “MSC mode”on 3.14)
3.19 TO USB MSC: Connection by Mass Storage Class (MSC)
mode mainly for non-Windows platform user.
Tip: How to get GPS data in USB MSC mode
(1) Set“USB CLASS”option to“UMS”first.
(Note: Before setting, the USB charging cable MUST be
disconnected.)
(2) Connect to USB, and press ADJUST/↵“TO USB
MSC”to enter USB MSC state.
(3) Find a new flash drive with a READ only file—
GPSLOG.SBP on your host PC.
(4) Remove USB cable to exit.

11 www.locosystech.com
3.20 SCREEN FLIP: Option to display screen upside down.
X: Off/ Disable
O: On/ Enable
3.21 TIME FMT: Option to select time format for display
12H: AM/PM
24H
3.22 FIRMWARE VERSION: check device status
Firmware Version: VX.XXXXXX
User Name: XXXXXX
Serial Number: SXXXXXXXX
GPS Version: XXXX
Note: In “ACT SPEED” screen, users can access “STOPWATCH” and “TIMER” functions
by pressing “MODE” key

12 www.locosystech.com
Section 4. GPS Mode
4.1 Action Speed: Display current instant speed or N-sec.
average speed.
Vertical Bar: Log memory usage.
Horizontal Bar: Speed accuracy indicator.
(Long bar means good signal)
Symbol :No logging data
Symbol : logging data
Press ▲ / ▼: scroll to next page or previous page.
Delete all logging data: In“ACT SPEED”screen, press
ADJUST/
↵
, there will be“DEL LOG?” message to
remind the data delete.
In “ACT SPEED” screen, users can access
“STOPWATCH” and “TIMER” functions by pressing
“MODE” key. As the timer counts down the progress
bar at the top of the screen gets smaller, and when it
times out the display reverses colour.
GPS searching
GPS fixed
Delete log data
TIMER
Times up

13 www.locosystech.com
4.2 5 # NSEC: Display N-second average speed report.
Press MODE/BACK: display in big font
Press ADJUST/↵: Delete all report
Small Font
Big Font
Delete log data
4.3 TOP RSLT: Display top results for each run
Press MODE/BACK: display in big font
Press ADJUST/↵: Delete all report
Small Font
Big Font
Delete log data

14 www.locosystech.com
4.4 RSLT1~RSLT4: Refer to 3.13 example (P.8-P. 9 )
4.5 DISTANCE: Display distance traveled when data
logging. Refer to 3.13 example (P.9)
4.6 TIME: Refer to 3.13 example (P.9)
4.7 PVT: Display position, velocity, and time
Press ▲ / ▼ to next page/ previous page.
4.8 Radar View: Displays the available satellites in a
graphical form, numbers of available satellites, tracked
satellites and DOP.
4.9 Satellite Signal: Displays the satellite number of
tracked, available satellites and the C/No value of each
satellite in bar chart.

15 www.locosystech.com
Section 5. GW-60 PC Utility (Windows platform only)
5.1 Device connection procedure : (Make sure USB driver is installed)
(1) Select COM port properly.
(2) Click “Connect” to connect device.
Once the device is connected, the firmware version will be displayed.
(Note: click “Disconnect” before unplugging the USB cable.)
5.2 Click “Settings” to select setting function page.
In setting function page, users can change username, UTC offset, log
interval….

16 www.locosystech.com
5.3 Click “Log Data” to select log function page.
In this page, users can see “Log Info”, and be able to download log data
(in SBP format).

17 www.locosystech.com
5.4 Click “Convert Log” to convert the SBP file into PLT, CSV, KML and GPX files.
(Check [] Google Earth View to see the travel trajectory)

18 www.locosystech.com
5.5 Click “Google Earth View” to link with Google Earth Viewer.

19 www.locosystech.com
5.6 Click “Download” to download the TOP 10 Speeds in SBP file.

20 www.locosystech.com
5.7 Click “Browse” to view logged data.
Click item number to link up Google Map.
Other manuals for GW-60
1
Table of contents
Other Locosys Watch manuals
