The application level of LONGi Solar module is Class Ⅱ, which can be used in systems operating at > 50 V DC or >240
W, where general contact access is anticipated;
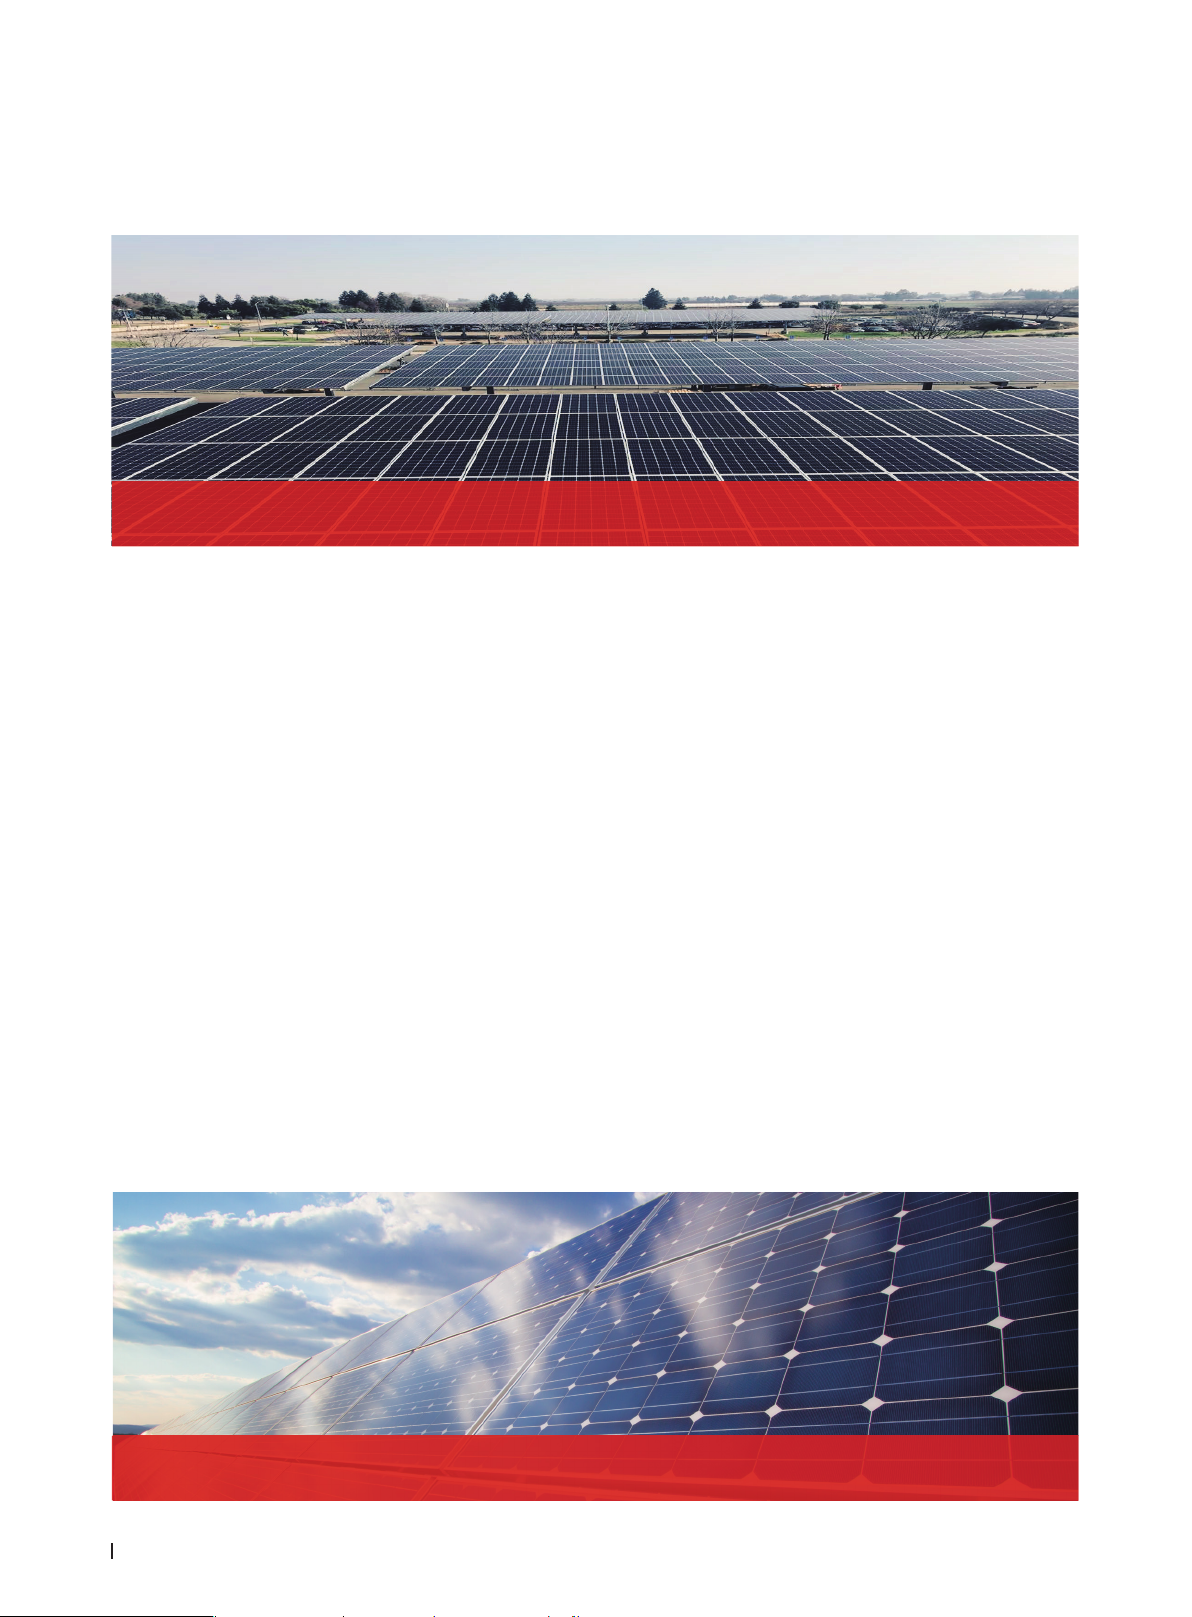
When the modules are for rooftop application, it is necessary to take the overall fire rating of the finished structure as well
as operation and maintenance into account. The roofing PV system shall be installed after being evaluated by construc-
tion experts or engineers and with official analysis results for the entire structure. It shall be proved capable of supporting
extra system bracket pressure, including PV module weight.
For your safety, please do not work on the roof without PPE(Personal Protective Equipment) which include but not limited
09
PV modules can produce DC current under illumination, any contact of the exposed metal of the modules connection wires
may result in electrical shock or burn. Any contact of 30V or larger DC Voltage can be fatal.
In case of no connected load or external circuits, modules can still produce voltage. Please use insulation tools and wear
rubber gloves when operating modules in the sunlight.
No switch is on the PV modules. Operating of PV modules can only be stopped when they are kept from sunlight or covered by
hard board or UV-proof materials or when the angle of the modules facing sun are placed on smooth and flat surfaces.
To avoid electric arc or electric shock hazards, please do not break down electric connection in loaded conditions. Incorrect
connections will also lead to electric arc or shock. Keep connectors dry and clean and make sure that they are in good
operating condition. Do not insert other metals into the connectors or carry out electric connection by whatever means.
Snow, water or other reflective medium in surrounding environments that intensify light re-flection will increase output current
and power. And module voltage and power will increase under low temperature condition.
If module glass or other sealing materials are damaged, please wear PPE(personal protective equipment) and then isolate
modules from the circuit.
Do not operate when modules are wet unless you wear PPE(personal protective equipment). Please follow the cleaning
requirements in this manual when cleaning modules.
Do not contact connectors with the following chemicals: Gasoline, White Flower oil , woodlock oil, Mold temperature oil, Engine
oil (such as KV46), Grease(such as Molykote EM-50L), Lubricating oil, Rust-proof oil, Stamping oil, Diesel, Cooking oil,
Acetone, alcohol, essential balm, Bone-setting liquid, Banana oil, release agent(such as Pelicoat S-6), adhesive and potting
materials capable of generating oxime gas(such as KE200、CX-200、chemlok), TBP, cleaning agent etc.
3.4 Electrical Performance Safety
3.5 Operation Safety
to fall protection, ladder or stair and personal protective measures.
For your safety, please do not install or handle modules in unsafe conditions including but not limited to strong wind or
gust, damp or sandy roofs.