manuals.online logo
Brands
  1. Home
  2. •
  3. Brands
  4. •
  5. Lorex
  6. •
  7. Security Camera
  8. •
  9. Lorex IPSC1240P User manual

Lorex IPSC1240P User manual

Page 1
IPSC1240P
Information in this document is subject to change without notice. As our products are subject to continuous improvement, Lorex Technology and our subsidiaries reserve the right to
modify product design, specifications and prices, without notice and without incurring any obligation. E&OE © 2006 LOREX. All rights reserved. WWW.LOREXINTERNATIONAL.COM
Step 1 should take approximately 5-10 minutes
10:00 SETTING UP YOUR SYSTEM
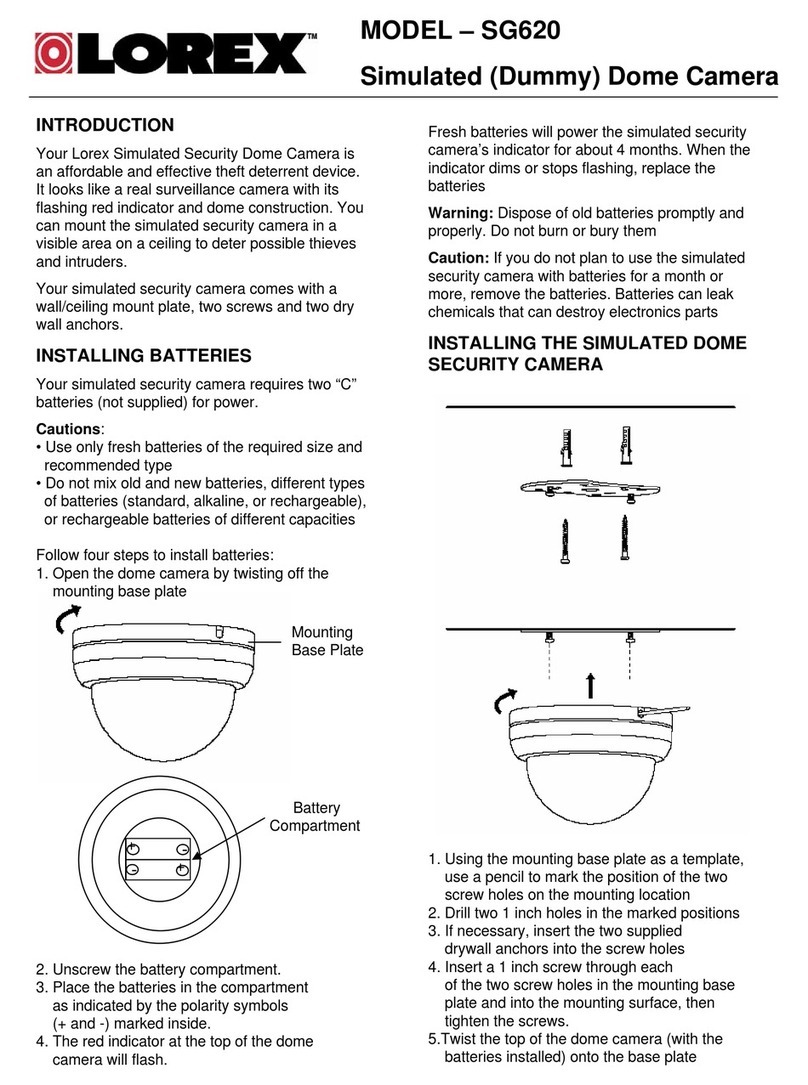
System Contents
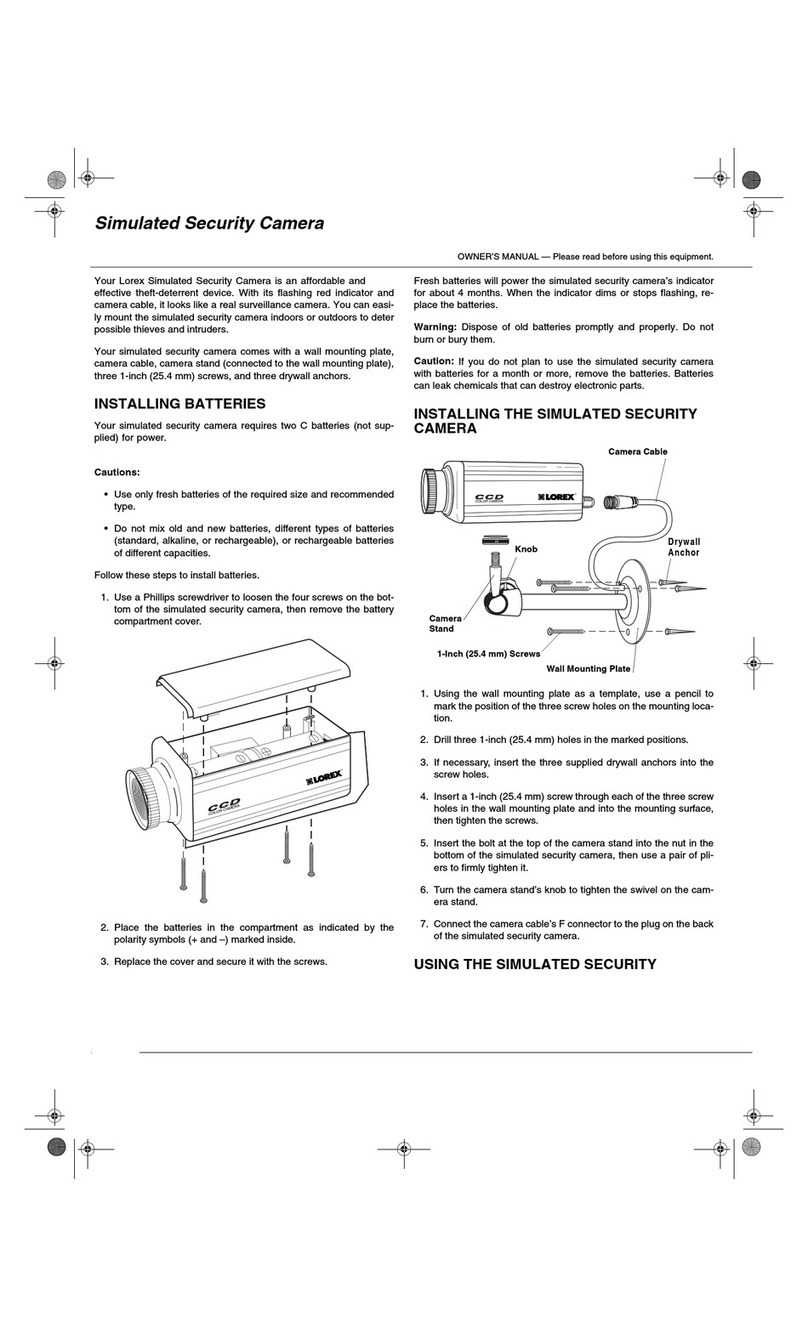
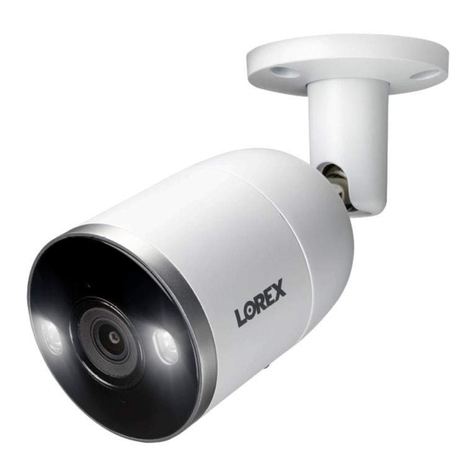
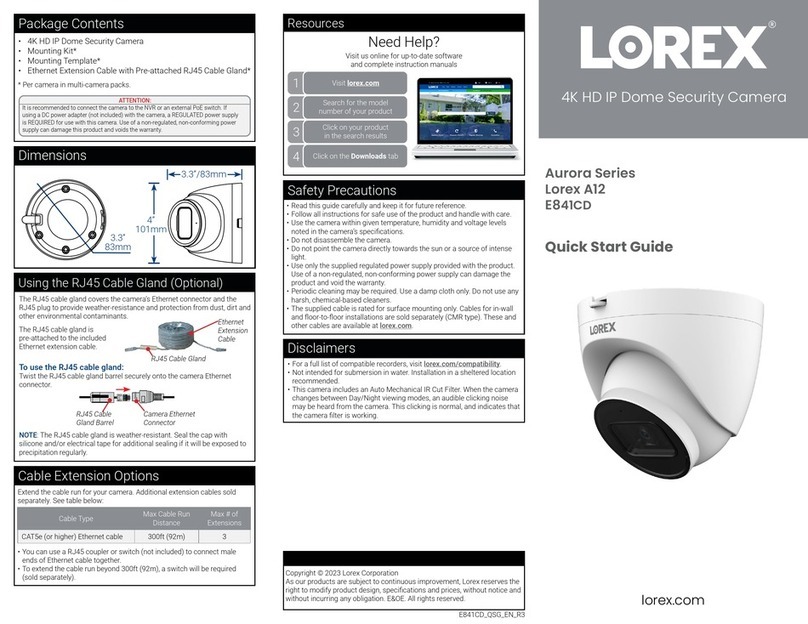
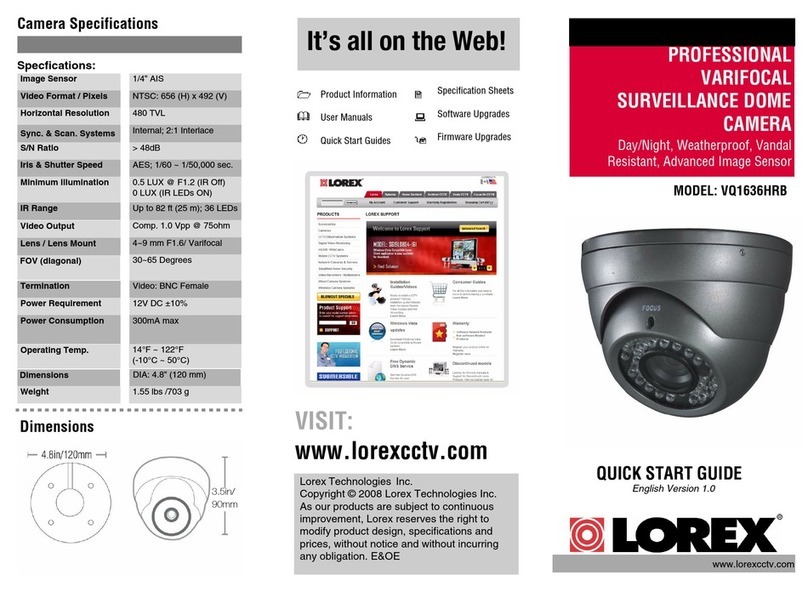
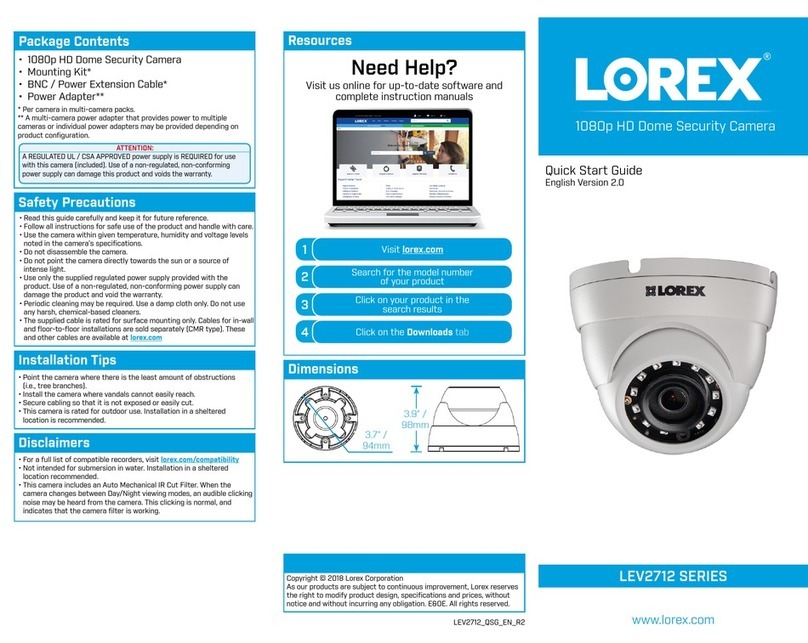
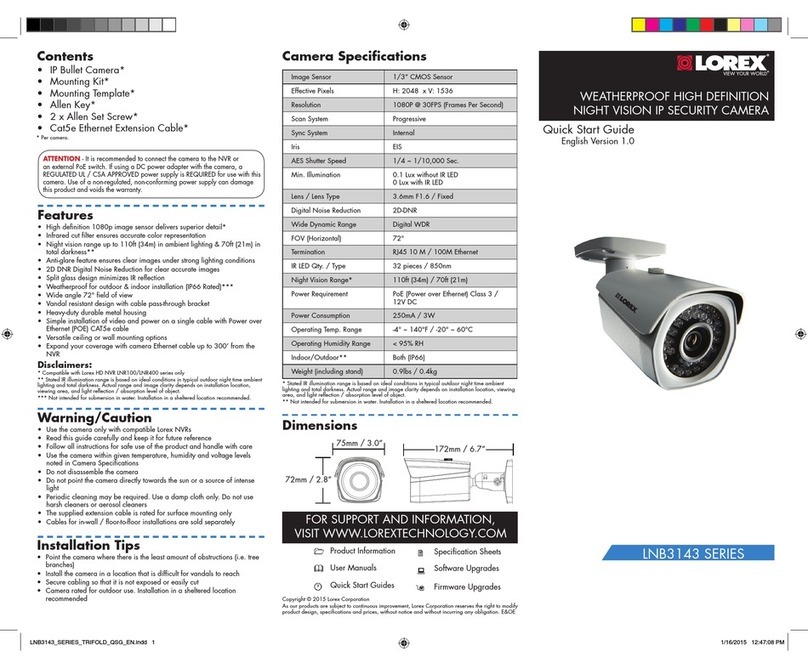
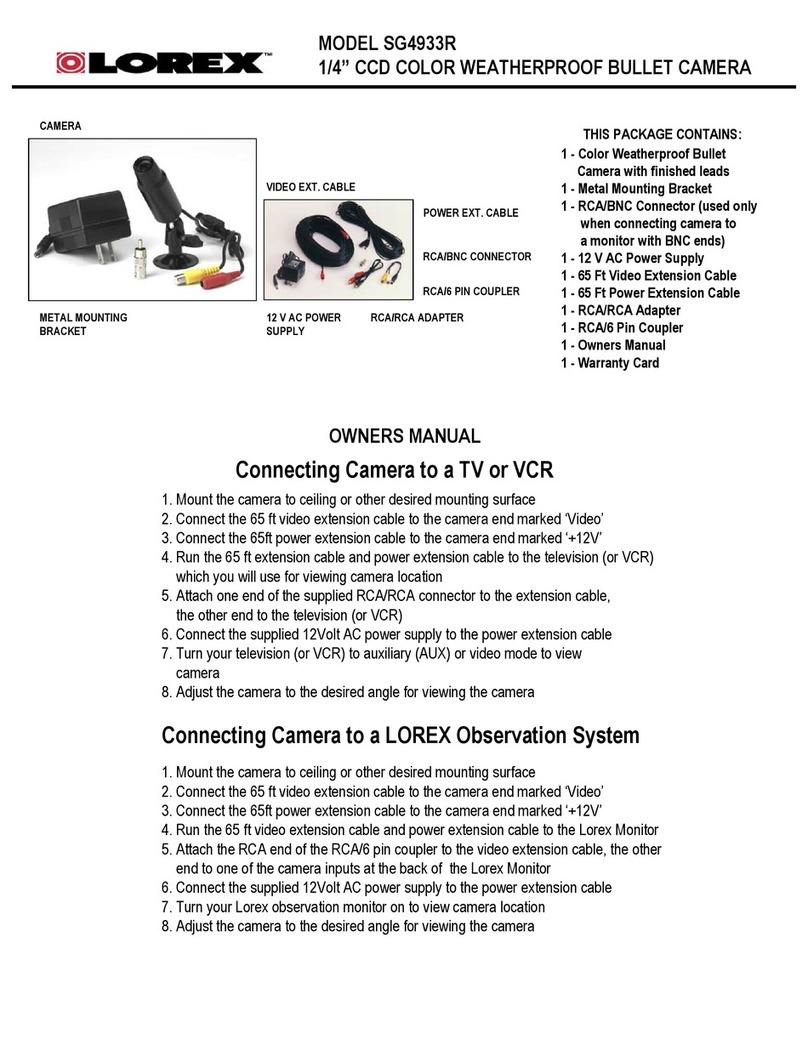
1 - Color Camera
1 - Power Supply
1 - Camera Stand (with screws)
1 - Ethernet Cable
1 - Quick Setup Guide
1 - Lorex Application Software CD
Step 1 - Set Up Your Camera First
Connect one end of the ethernet
cable to the color camera
1
Power Supply
Not Included: Broadband Router & Computer
Connect the other end of the ethernet cable
to your broadband router (not included)
2Connect the 12V AC power supply to
the color camera and electrical outlet
3
Color Camera Ethernet Cable
* This set-up guide is intented for users using Internet Explorer as their Internet browser
Page 2
IPSC1240P
Information in this document is subject to change without notice. As our products are subject to continuous improvement, Lorex Technology and our subsidiaries reserve the right to
modify product design, specifications and prices, without notice and without incurring any obligation. E&OE © 2006 LOREX. All rights reserved. WWW.LOREXINTERNATIONAL.COM
Insert the LOREX Application Software in to the computer’s CD-ROM
1Select the Lorex IP EDIT Option
2
Single click on the item listed under ‘Monitor Lists’ to set up Local
Viewing Settings
Record the IP and MAC Addreses below
3 4
Step 2 - Set Up Local Viewing On Your PC - Second
SETTING UP YOUR SYSTEM
IP ADDRESS : 192 . 168 . 45 . 39
MAC ADDRESS : 00 69 70 63 6D 22
(record the period.
It is part of the IP Address)
(DO NOT record the colon (:))
NOTE: Active X must be enabled to set up the system. If it is
already set up on your computer proceed to Step 6, otherwise
proceed to Step 5.
NOTE: Double click
here to automatically
set viewing settings
Step 2 should take approximately 15-20 minutes
20:00
Page 3
IPSC1240P
Information in this document is subject to change without notice. As our products are subject to continuous improvement, Lorex Technology and our subsidiaries reserve the right to
modify product design, specifications and prices, without notice and without incurring any obligation. E&OE © 2006 LOREX. All rights reserved. WWW.LOREXINTERNATIONAL.COM
Step 2 - Set Up Local Viewing On Your PC - Second (Continued)
Third, set the security level to run Active X by clicking the
Security Tab
Fourth, select the ‘Custom Level’ button. Next enable Active X in the Security
Settings window followed by pressing the OK button
Enable Active X. First open your web browser to enable Active X. Click
tools and select Internet Options
5a
Second, click the Settings button in the Check for Newer Versions of Stored
Pages option and check ‘Automatically’ followed by OK.
5b
5c5d
SETTING UP YOUR SYSTEM
Click “Tools” and
select “Internet
Options”
NOTE:
Click the
Security
tab NOTE: Fourth, select
the ‘Custom Level’
button
NOTE: Finally,
enable all
Active X set-
tings in the
security set-
tings window
followed by
pressing the
OK button
Page 4
IPSC1240P
Information in this document is subject to change without notice. As our products are subject to continuous improvement, Lorex Technology and our subsidiaries reserve the right to
modify product design, specifications and prices, without notice and without incurring any obligation. E&OE © 2006 LOREX. All rights reserved. WWW.LOREXINTERNATIONAL.COM
FOR ADVANCED VIEWING OPTIONS, REFER TO YOUR OWNERS MANUAL. TO SET UP THE INTERNET REMOTE MONITORING OPTION,
PROCEED TO STEP 3.
Step 2 - Set Up Local Viewing On Your PC - Second (Continued)
Open the Web Browser. Enter on the Address Bar the IP Address
entered in Step 4 to view the picture
6
NOTE: Enter your
camera’s IP Address
you recorded in Step 2
Section 4
SETTING UP YOUR SYSTEM
Page 5
IPSC1240P
Information in this document is subject to change without notice. As our products are subject to continuous improvement, Lorex Technology and our subsidiaries reserve the right to
modify product design, specifications and prices, without notice and without incurring any obligation. E&OE © 2006 LOREX. All rights reserved. WWW.LOREXINTERNATIONAL.COM
1Open your web browser. Enter ddns.strategicvista.net in the Address Bar
2
Step 3 - Set Up Internet Remote Monitoring - Third
SETTING UP YOUR SYSTEM
Port Forward your router to the IP recorded in Step 2.4 [PORT 80]
All Routers are different. To Port Forward your router
a. Refer to your Router’s manual for specific instructions on port
forwarding (or)
b. Check the Router configuration guide support document in the
consumer guide section on our website for information on Port Forward-
ing http://lorexstore.lorextechnology.com/uploads/PortFor-
ward_Guide.pdf
C. Select and print the Router Configuration Guide on your CD
http://ddns.strategicvista.net
Click the Create Account Option
3
Create Account
Complete New Account Information
4
AB
C
A. Select IPSC1240
option from the drop
down menu
B. Enter your computer’s
MAC Address recorded
in Step 2, Part 4
C. Create your Unique URL
Name (this name will be
used) (eg. Johndoe). Note:
An URL name should not
be more than 8 characters.
Step 3 should take approximately 20-40 minutes
40:00
Page 6
IPSC1240P
Information in this document is subject to change without notice. As our products are subject to continuous improvement, Lorex Technology and our subsidiaries reserve the right to
modify product design, specifications and prices, without notice and without incurring any obligation. E&OE © 2006 LOREX. All rights reserved. WWW.LOREXINTERNATIONAL.COM
5Open your web
browser and
enter the
camera’s
IP address
6
Step 3 - Set Up Internet Remote Monitoring - Third (Continued)
SETTING UP YOUR SYSTEM
Click the Configuration option
7Click the DDNS
option
8
Print and Save the Automated Email Registration information
Service Provider: ddns.strategicvista.net
Domain name: house.strategicvista.net
User name: John Doe
Password: <leave this field blank>
Use Public IP to Register: Yes
NOTE: Enter the
IP Address you
recorded in Step 2
Section 4
Page 7
IPSC1240P
Information in this document is subject to change without notice. As our products are subject to continuous improvement, Lorex Technology and our subsidiaries reserve the right to
modify product design, specifications and prices, without notice and without incurring any obligation. E&OE © 2006 LOREX. All rights reserved. WWW.LOREXINTERNATIONAL.COM
9Open your Web Browser & enter your Domain Name to view the
picture remotely
10
Step 3 - Set Up Internet Remote Monitoring - Third (Continued)
SETTING UP YOUR SYSTEM
Enable Network Surveillance option. Enter your User Name and
Domain Name
1. Enable: Click on the Radio Button (circle)
2. UserName: Enter the user name from your Confirmation of
Registration Email
3. Password: <leave blank>
4. DomainName: Enter the domain name from your confirmation
of registration email.
5. Make sure the interval is set to 15 minutes
6. Click Submit
NOTE: Please allow 15 minutes for your entries to be registered.
NOTE: Enter your
Domain Name (i.e
john.strategicvista.
net) to View
Picture.
It’s all on the web






Product Information
User Manuals
Quick Start Guides
Specification Sheets
Software Updates
Firmware Upgrades
For additional information or troubleshooting help, refer to your owners
manual for assistance. you can also call or email for further support.
Toll Free Technical Support: 00-800- 4256- 7390
Email Support: [email protected]
Website: www.lorexinternational.com

Other Lorex Security Camera manuals

Lorex SG6110X User manual

Lorex

Lorex SG6110X User manual

Lorex C861CF Series User manual

Lorex

Lorex C861CF Series User manual

Lorex LBV2723 SERIES User manual

Lorex

Lorex LBV2723 SERIES User manual

Lorex LNWCM22Y Series User manual

Lorex

Lorex LNWCM22Y Series User manual

Lorex CVC7721 Series User manual

Lorex

Lorex CVC7721 Series User manual

Lorex LHB900 Series User manual

Lorex

Lorex LHB900 Series User manual

Lorex mCAM DVM5031 User manual

Lorex

Lorex mCAM DVM5031 User manual

Lorex LNE8950A SERIES User manual

Lorex

Lorex LNE8950A SERIES User manual

Lorex SG7518 User manual

Lorex

Lorex SG7518 User manual

Lorex LW2003 User manual

Lorex

Lorex LW2003 User manual

Lorex CVC7723 Series User manual

Lorex

Lorex CVC7723 Series User manual

Lorex LW2275 SERIES User manual

Lorex

Lorex LW2275 SERIES User manual

Lorex LNZ32P4BW User manual

Lorex

Lorex LNZ32P4BW User manual

Lorex LZV1722 User manual

Lorex

Lorex LZV1722 User manual

Lorex SG6157P User manual

Lorex

Lorex SG6157P User manual

Lorex IPSC2230P User manual

Lorex

Lorex IPSC2230P User manual

Lorex VQ1536HR User manual

Lorex

Lorex VQ1536HR User manual

Lorex LDC7722 SERIES User manual

Lorex

Lorex LDC7722 SERIES User manual

Lorex LH060 Series Operator's manual

Lorex

Lorex LH060 Series Operator's manual

Lorex SG7221 Series User manual

Lorex

Lorex SG7221 Series User manual

Lorex SG620 User manual

Lorex

Lorex SG620 User manual
Lorex LW2960HAC1 User manual

Lorex

Lorex LW2960HAC1 User manual

Lorex SG7560PK4 User manual

Lorex

Lorex SG7560PK4 User manual

Lorex LND2750A SERIES User manual

Lorex

Lorex LND2750A SERIES User manual

Popular Security Camera manuals by other brands

Navaio NAC-HD-326VL/60-G manual

Navaio

Navaio NAC-HD-326VL/60-G manual

Vicon VC5050-DSP Installation & operation manual

Vicon

Vicon VC5050-DSP Installation & operation manual

D-Link DCS-930L Quick install guide

D-Link

D-Link DCS-930L Quick install guide

ZOSI C512 quick start guide

ZOSI

ZOSI C512 quick start guide

American Dynamics SpeedDome Ultra VIIE Installation and service guide

American Dynamics

American Dynamics SpeedDome Ultra VIIE Installation and service guide

KT&C KNC-p3DR3IR Quick operation guide

KT&C

KT&C KNC-p3DR3IR Quick operation guide

Hunt Electronic HNC312-VBA Quick operation guide

Hunt Electronic

Hunt Electronic HNC312-VBA Quick operation guide

Speco VL-67 Series Specifications

Speco

Speco VL-67 Series Specifications

Bosch Dinion XF LTC 0620/11 Quick manual

Bosch

Bosch Dinion XF LTC 0620/11 Quick manual

Vitek VTC-IR62NZ922 manual

Vitek

Vitek VTC-IR62NZ922 manual

SUNBA 405-D20X user guide

SUNBA

SUNBA 405-D20X user guide

Omron STC-S133MIP Series Product specifications and user's guide

Omron

Omron STC-S133MIP Series Product specifications and user's guide

FLIR Quasar CM-6405 Quick install guide

FLIR

FLIR Quasar CM-6405 Quick install guide

Ava QUAD Mounting guide

Ava

Ava QUAD Mounting guide

Verint Nextiva Mounting guide

Verint

Verint Nextiva Mounting guide

Hi-view HD-1022 user manual

Hi-view

Hi-view HD-1022 user manual

Vicon V898MSH Instructions for installation and operation

Vicon

Vicon V898MSH Instructions for installation and operation

Nexvoo N412 user manual

Nexvoo

Nexvoo N412 user manual

manuals.online logo
manuals.online logoBrands
  • About & Mission
  • Contact us
  • Privacy Policy
  • Terms and Conditions

Copyright 2025 Manuals.Online. All Rights Reserved.