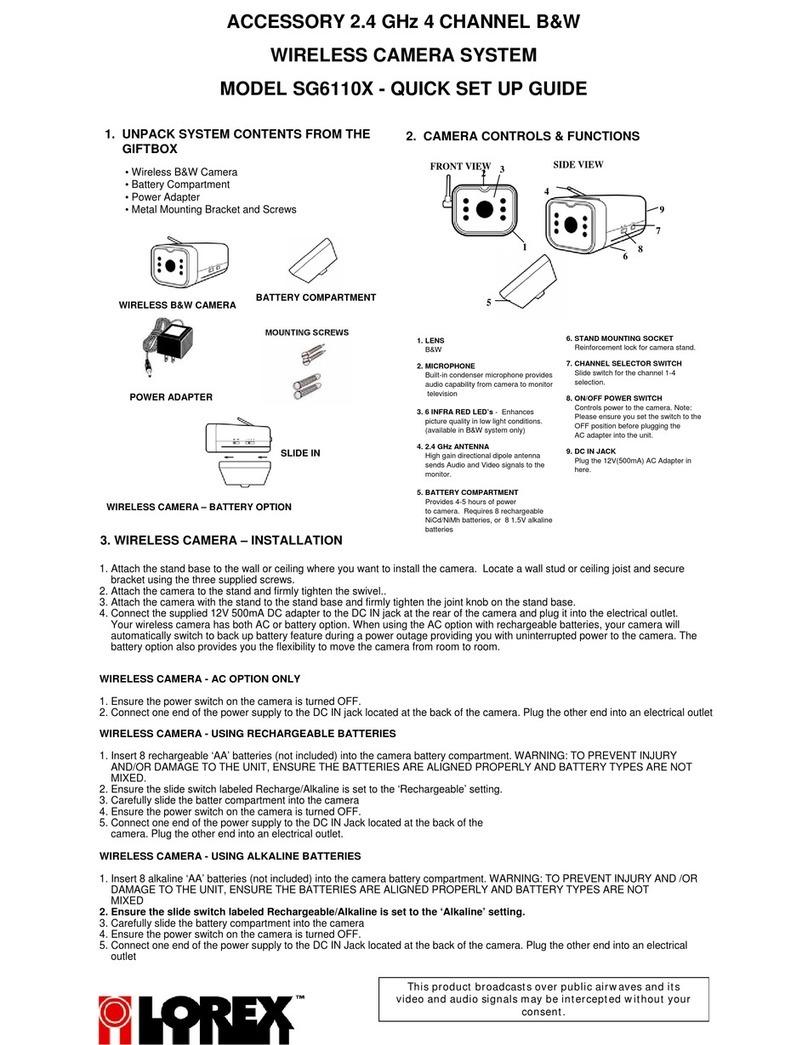
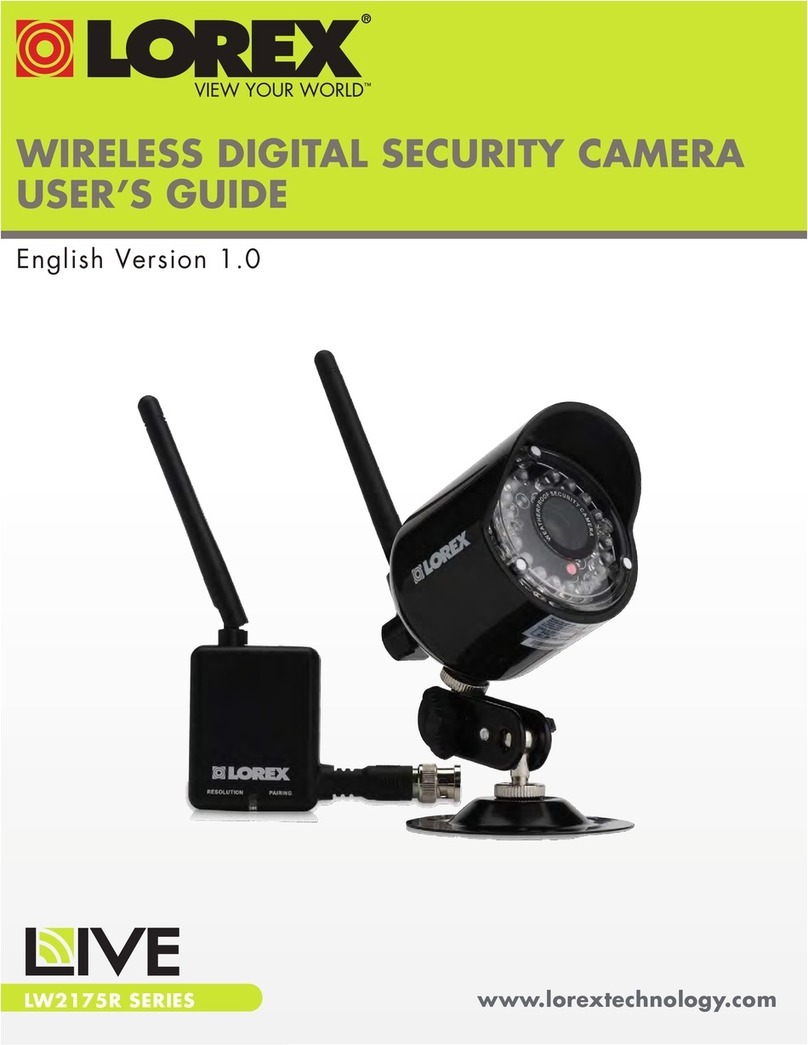
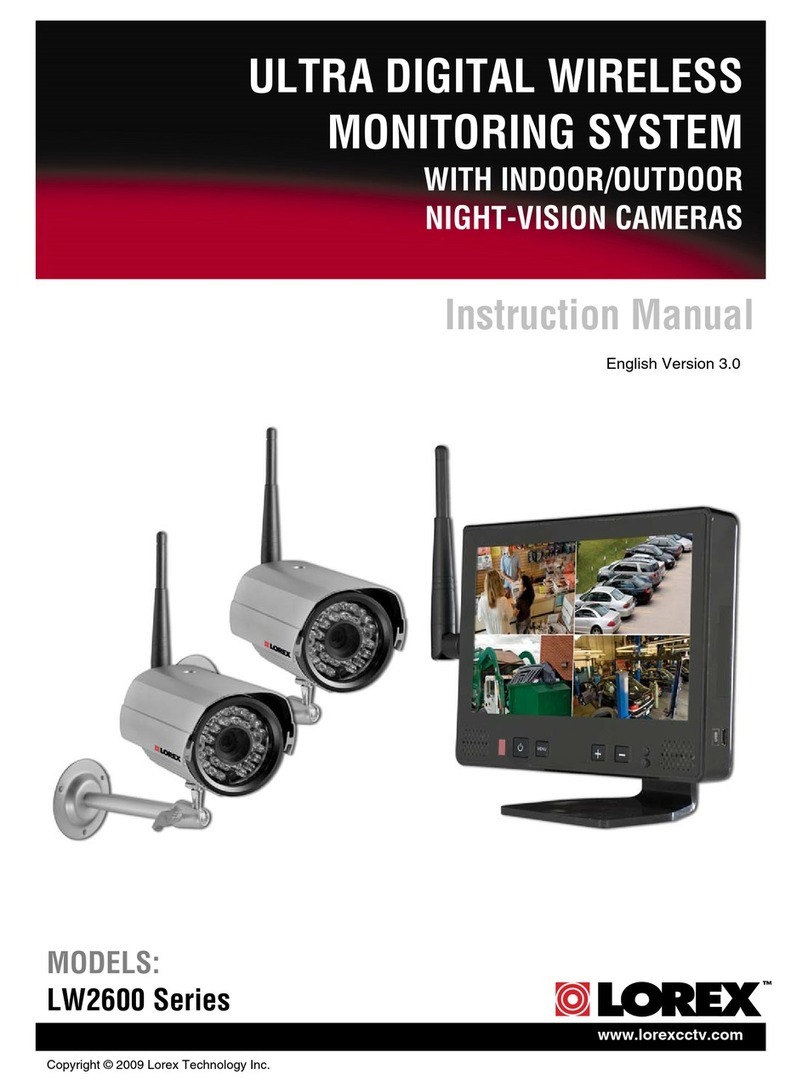
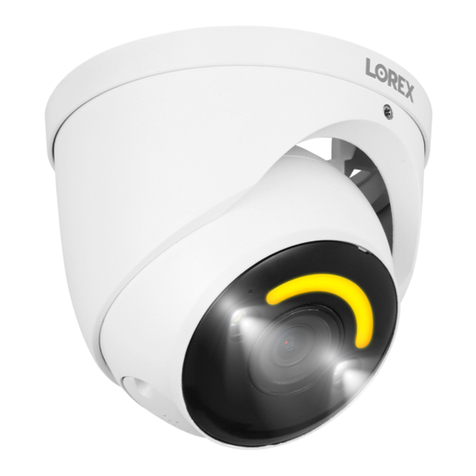
OWNER’S MANUAL — Please read before using this equipment.
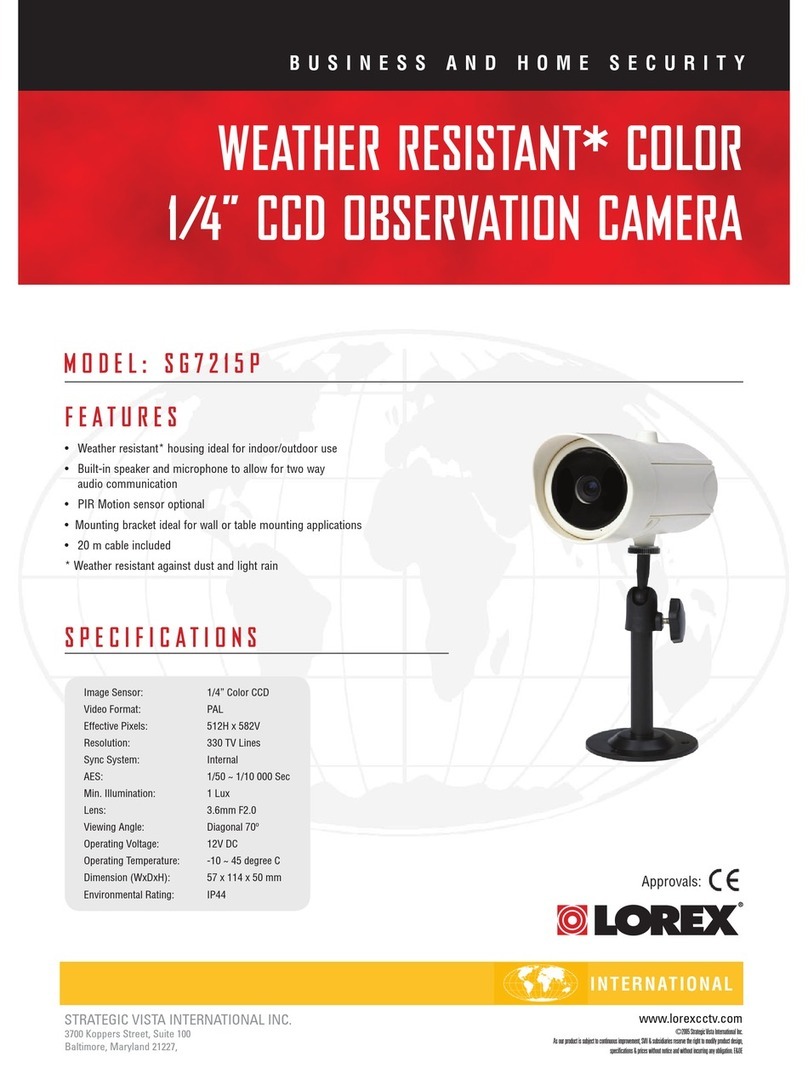
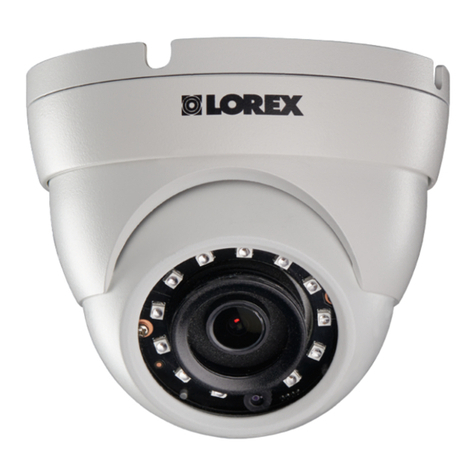
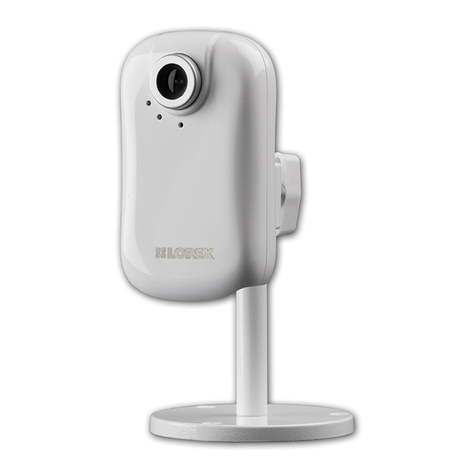
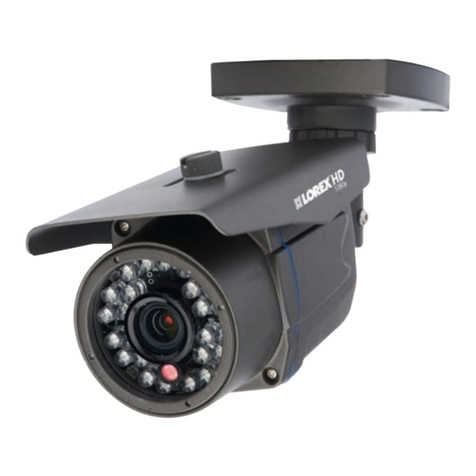
Simulated Security Camera
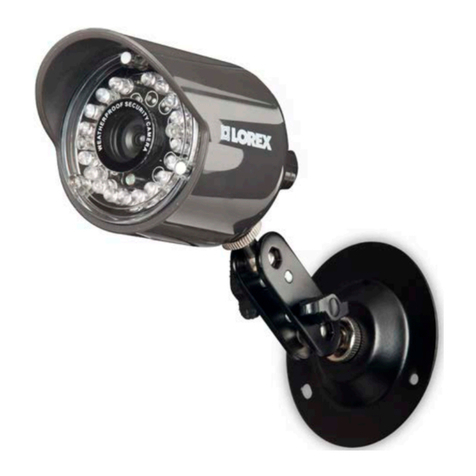
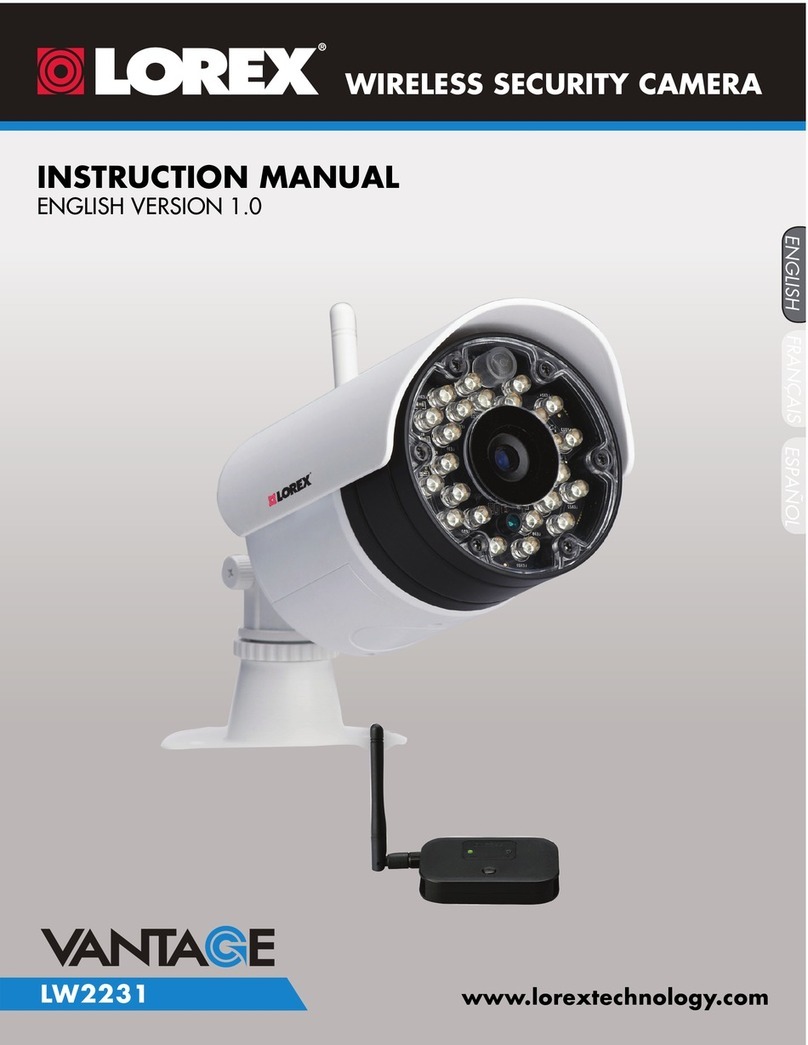
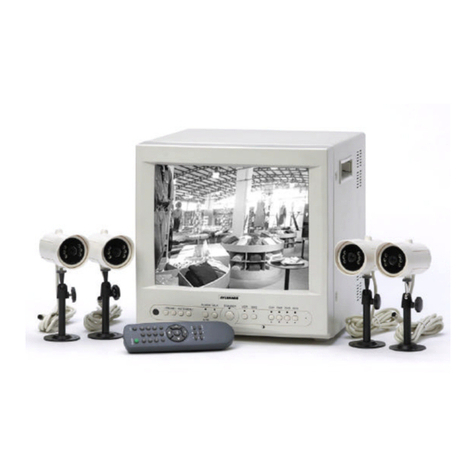
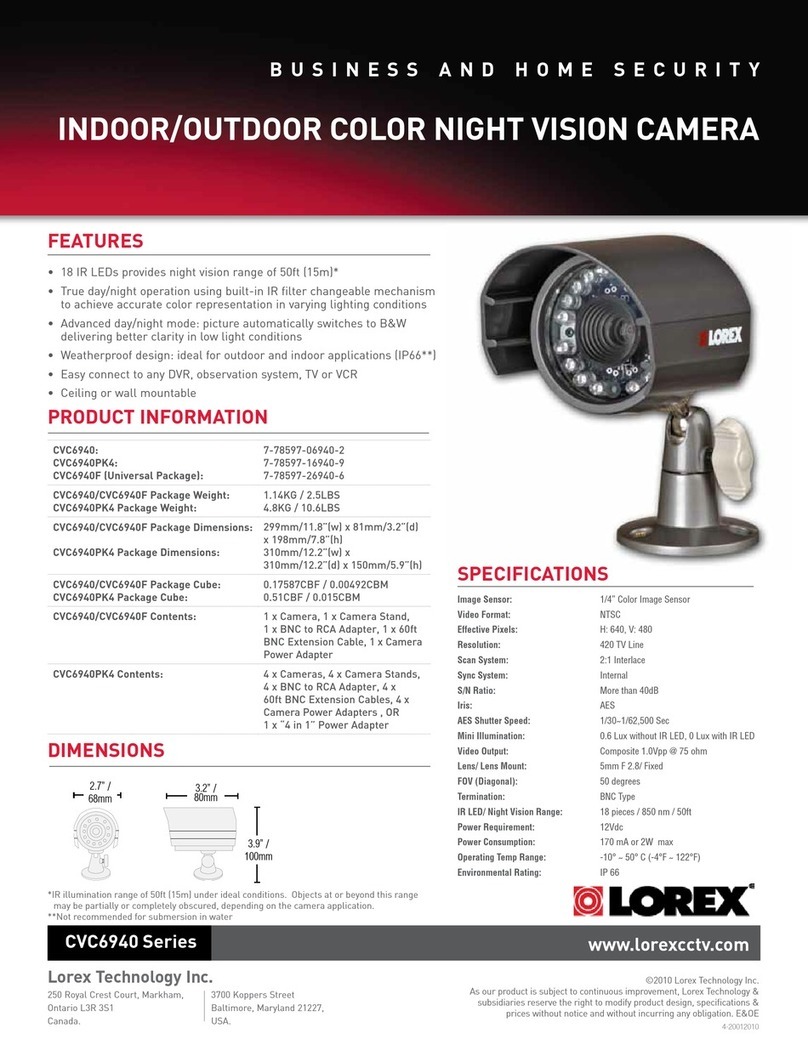
Your LorexSimulated Security Camera isan affordableand
effective theft-deterrent device. With its flashingredindicator and
camera cable,it looks like a real surveillance camera. You can easi-
ly mountthe simulated security camera indoors or outdoors to deter
possiblethieves andintruders.
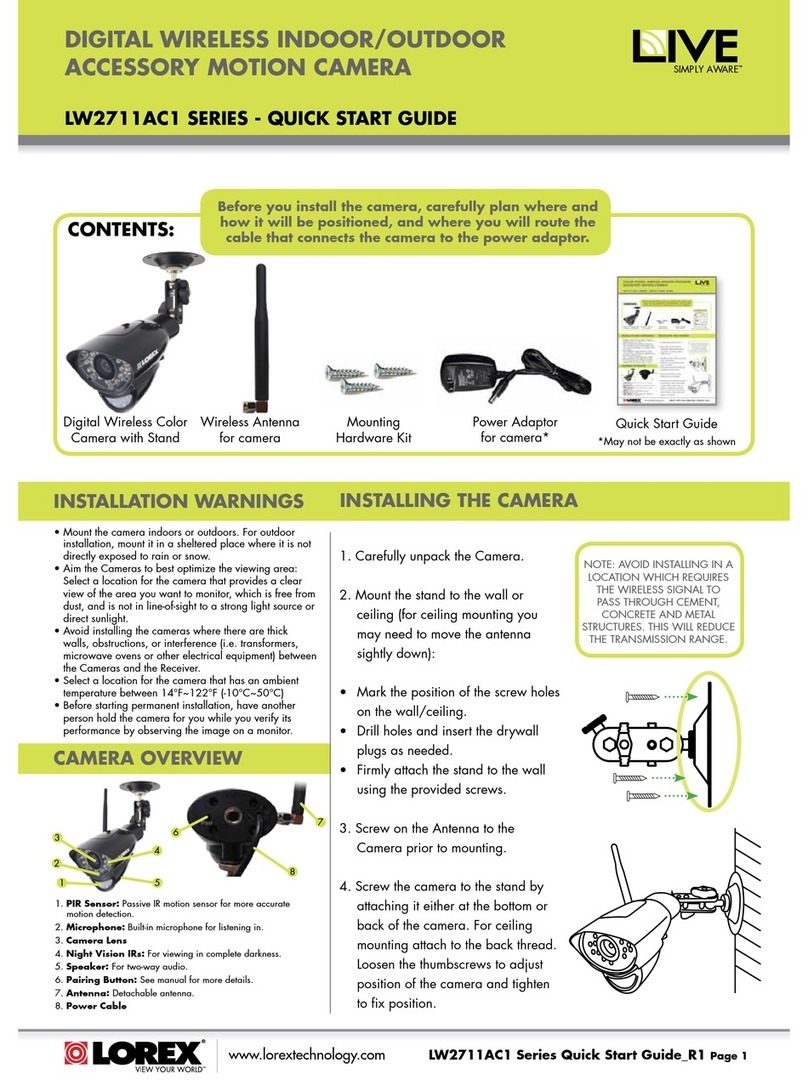
Your simulated security camera comes with a wallmountingplate,
cameracable, camera stand (connected to the wall mountingplate),
three1-inch(25.4 mm) screws, and threedrywall anchors.
INSTALLING BATTERIES
Your simulated security camera requires twoC batteries (not sup-
plied) for power.
Cautions:
•Use only fresh batteries of the requiredsize and recommended
type.
•Do not mix old and new batteries, differenttypes ofbatteries
(standard, alkaline, or rechargeable), or rechargeable batteries
of different capacities.
Follow thesestepstoinstall batteries.
1.Use a Phillips screwdriver toloosenthe fourscrews onthebot-
tom ofthe simulated securitycamera, then remove the battery
compartment cover.
2.Place the batteries in thecompartment as indicatedbythe
polaritysymbols (+ and –) marked inside.
3.Replacethecover and secure it with the screws.
Freshbatteries will powerthe simulated securitycamera’s indicator
for about4 months. Whentheindicator dims or stops flashing, re-
place the batteries.
Warning:Disposeof old batteriespromptly and properly. Do not
burn or bury them.
Caution: If you donot plan to use thesimulatedsecurity camera
with batteries for amonth or more, removethe batteries. Batteries
can leak chemicals that can destroyelectronic parts.
INSTALLING THE SIMULATED SECURITY
CAMERA
1.Usingthewallmounting plateasa template, use a pencil to
markthepositionof the threescrew holes on the mounting loca-
tion.
2.Drill three 1-inch(25.4 mm) holesinthemarkedpositions.
3.If necessary, insert the three supplied drywallanchorsintothe
screw holes.
4.Insert a1-inch (25.4 mm) screw through eachof the threescrew
holes in thewallmountingplateand intothe mountingsurface,
then tightenthescrews.
5.Insert the bolt at the topof thecamera stand intothenut in the
bottom ofthe simulatedsecurity camera,thenuseapair of pli-
ers tofirmly tighten it.
6.Turn thecamera stand’sknobto tighten the swivel onthecam-
era stand.
7.Connect the camera cable’s F connectortothe plug on the back
ofthesimulated securitycamera.
USING THE SIMULATED SECURITY
Wall Mounting Plate
Camera Cable
1-Inch (25.4 mm) Screws
Camera
Stand
Drywall
Anchor
Knob
