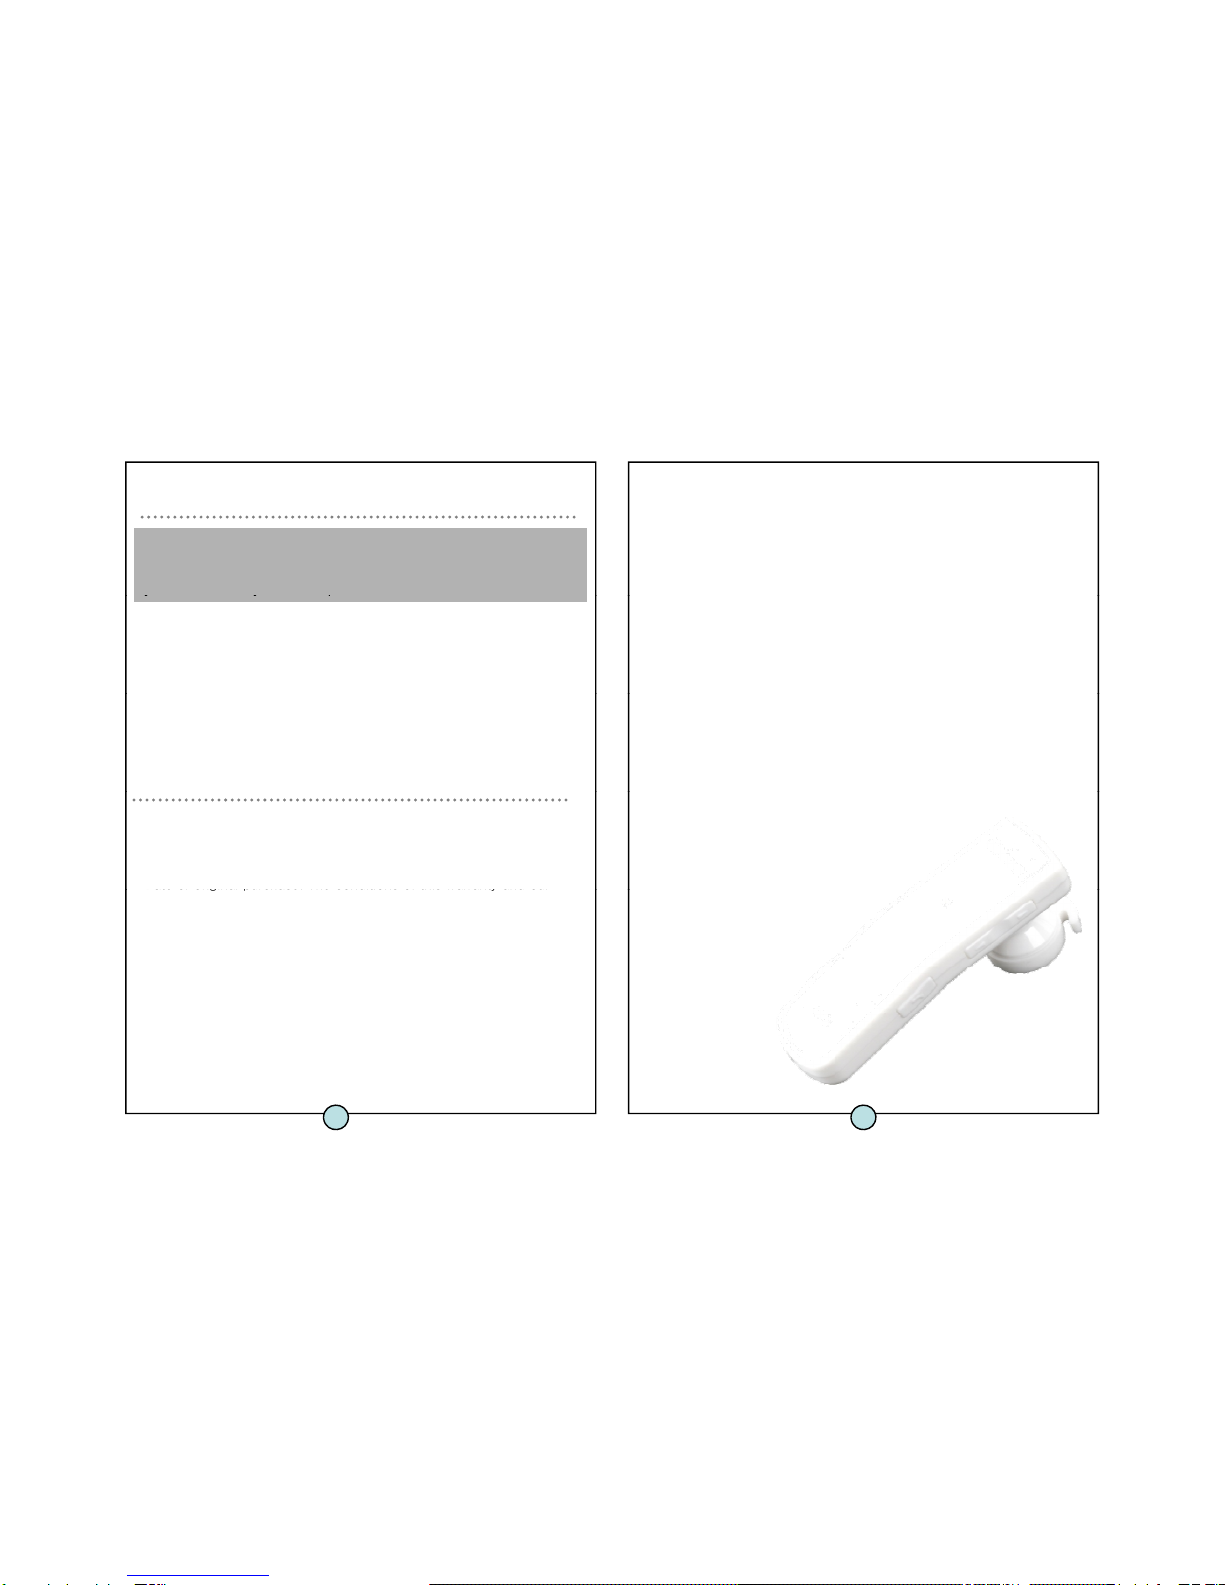
Taking care of your headset
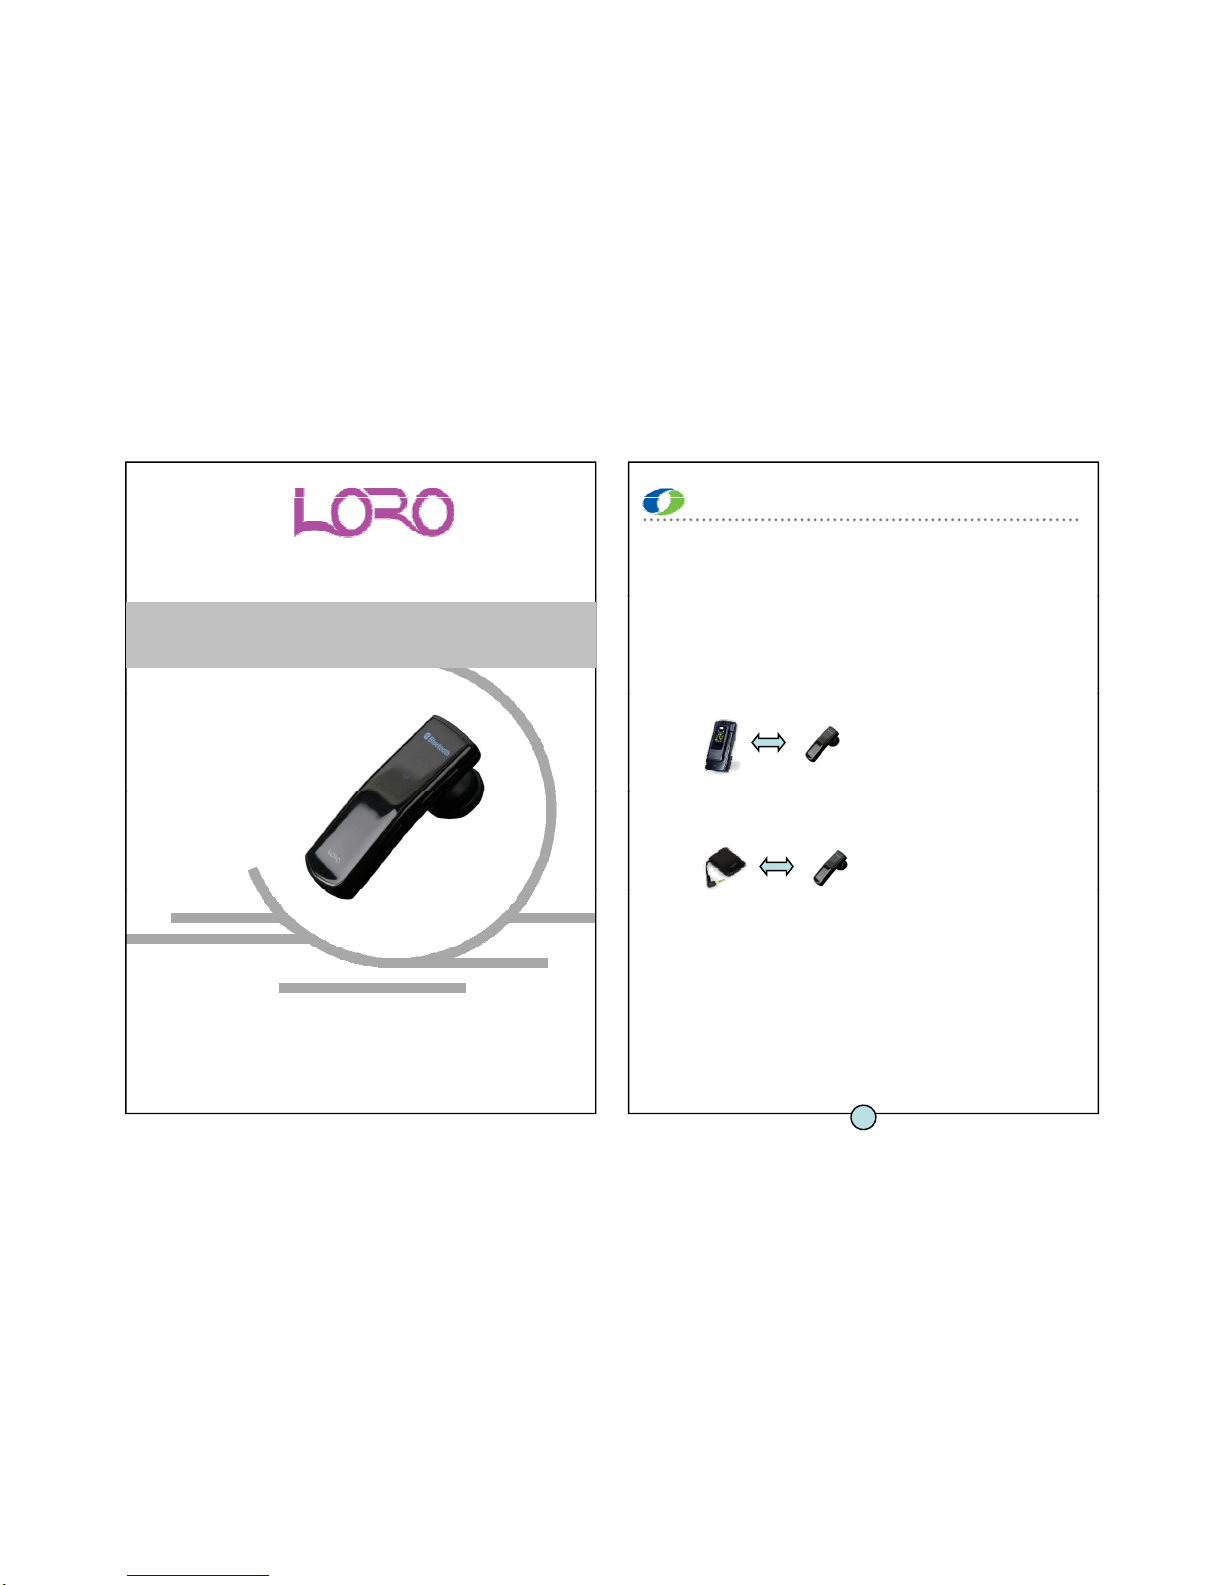
For optimal performance, wear the LORO WAVE and your mobile phone
on the same side of your body or within line of sight. In general, you
will get better performance when there are no obstructions between
hone.
• Any implied warranty on BOYOUNG TECH TECHNOLOGY &
MARKETING, Inc. products is limited to one year from the date
of purchase on all parts, including any cords and connectors.
• Speciifically exempt from any warranty are limited-life
consumable components subject to normal wear and tear such
1. Always store the LORO WAVE with power off and safely
protected.
2. Avoid storage at high temperatures (above 60 deg.C/134 deg.F)
as microphone windscreens, ear cushions, decorative finishes,
batteries, and other accessories.
• BOYOUNG TECH TECHNOLOGY & MARKETING, Inc. is not liable
for any incidental or consequential damages arising from the use
or misuse of any BOYOUNG TECH TECHNOLOGY & MARKETING,
-such as in a hot vehicle or in direct sunlight. (Storage at high
temperatures can degrade performance and reduce battery life.)
3. Do not expose the headset or any of its supplied parts to rain or
other liquids.
Warranty
.
• This warranty gives you specific rights and you may have other
rights which vary from area to area.
• Unless otherwise instructed in the Use Manual, the user may not,
under any circumstances, attempt to perform service,
adjustments or repairs on this unit whether in or out of warranty
BOYOUNG TECH TECHNOLOGY & MARKETING, Inc. warrants this
product against all
Defects in material and workmanship for a period of one year from the
.
It must be returned to the purchase point, factory or authorized
service agency for all such work.
• BOYOUNG TECH TECHNOLOGY & MARKETING, Inc. will not
assume any responsibility for any loss or damage incurred in
shipping. Any repair work on BOYOUNG TECH TECHNOLOGY &
MARKETING I d t b th i d thi d ti id
Date or original purchase. The conditions of this warranty and our
Responsibilities under this warranty are as follows:
• The warranty is limited to the original purchase.
• A copy of your receipt or other proof of purchase is required.
s
any warranty.
• The warranty is void if the serial number, date code label or
product label is removed, or if the product has been subject to
physical abuse, improper installation, modification, or repair by
unauthorized third parties.
• The responsibility of BOYOUNG TECH TECHNOLOGY &
MARKETING I d t h ll b li it d t th i
r or
replacement of the product as its sole discretion.