9
Bottom segment flashing on empty tank
Using this settings toggles between on and off.
Flashing off means no segment is illuminated when the Display Panel shows empty tank.
Flashing on means first segment is flashing when the Display Panel shows empty tank (factory setting).
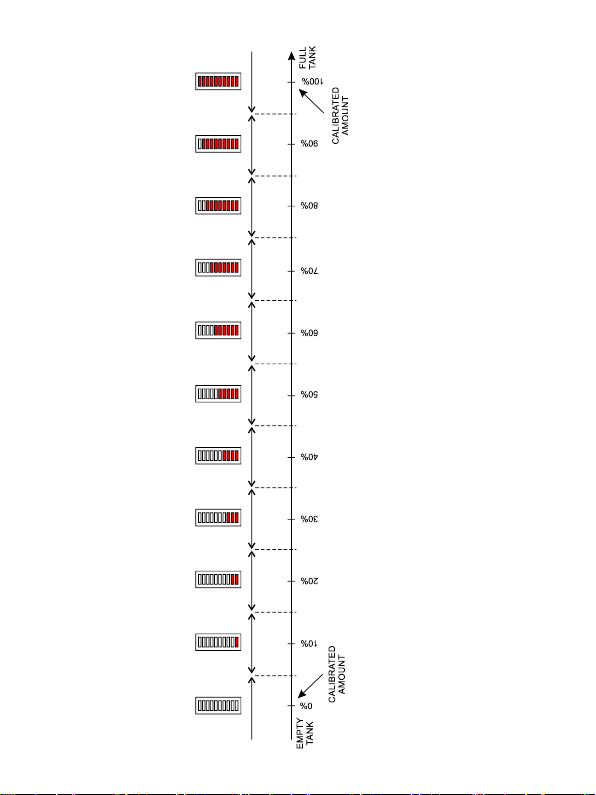
-Hold the included magnet in active area of Display Panel as you see on picture on page 2 for 3-5
seconds. You should see the animation. When it ends, take the magnet out. The upper segment is
now on.
-Proximity the magnet to the active area shortly (0.5-2s) and take it out. You should see two segments
from the top are on.
-Proximity the magnet to the active area shortly (0.5-2s) and take it out again. You should see three
segments from the top are on.
-Proximity the magnet to the active area shortly (0.5-2s) and take it out again. You should see four
segments from the top are on.
-Hold the magnet in active area for ca. 3-5 seconds until you see the animation (all segments flash few
times) and take the magnet out.
-Now the setting is toggled.
Factory reset
Using this function resets all settings and calibration data stored in Display Panel to the factory defaults.
-Hold the included magnet in active area of Display Panel as you see on picture on page 2 for 3-5
seconds. You should see the animation. When it ends, take the magnet out. The upper segment is
now on.
-Proximity the magnet to the active area shortly (0.5-2s) and take it out. You should see two segments
from the top are on.
-Proximity the magnet to the active area shortly (0.5-2s) and take it out again. You should see three
segments from the top are on.
-Proximity the magnet to the active area shortly (0.5-2s) and take it out again. You should see four
segments from the top are on.
-Proximity the magnet to the active area shortly (0.5-2s) and take it out again. You should see all
segments are on.
-Hold the magnet in active area for ca. 3-5 seconds until you see the animation (all segments flash few
times) and take the magnet out.
-Now the memory of the Display Panel is in factory state.