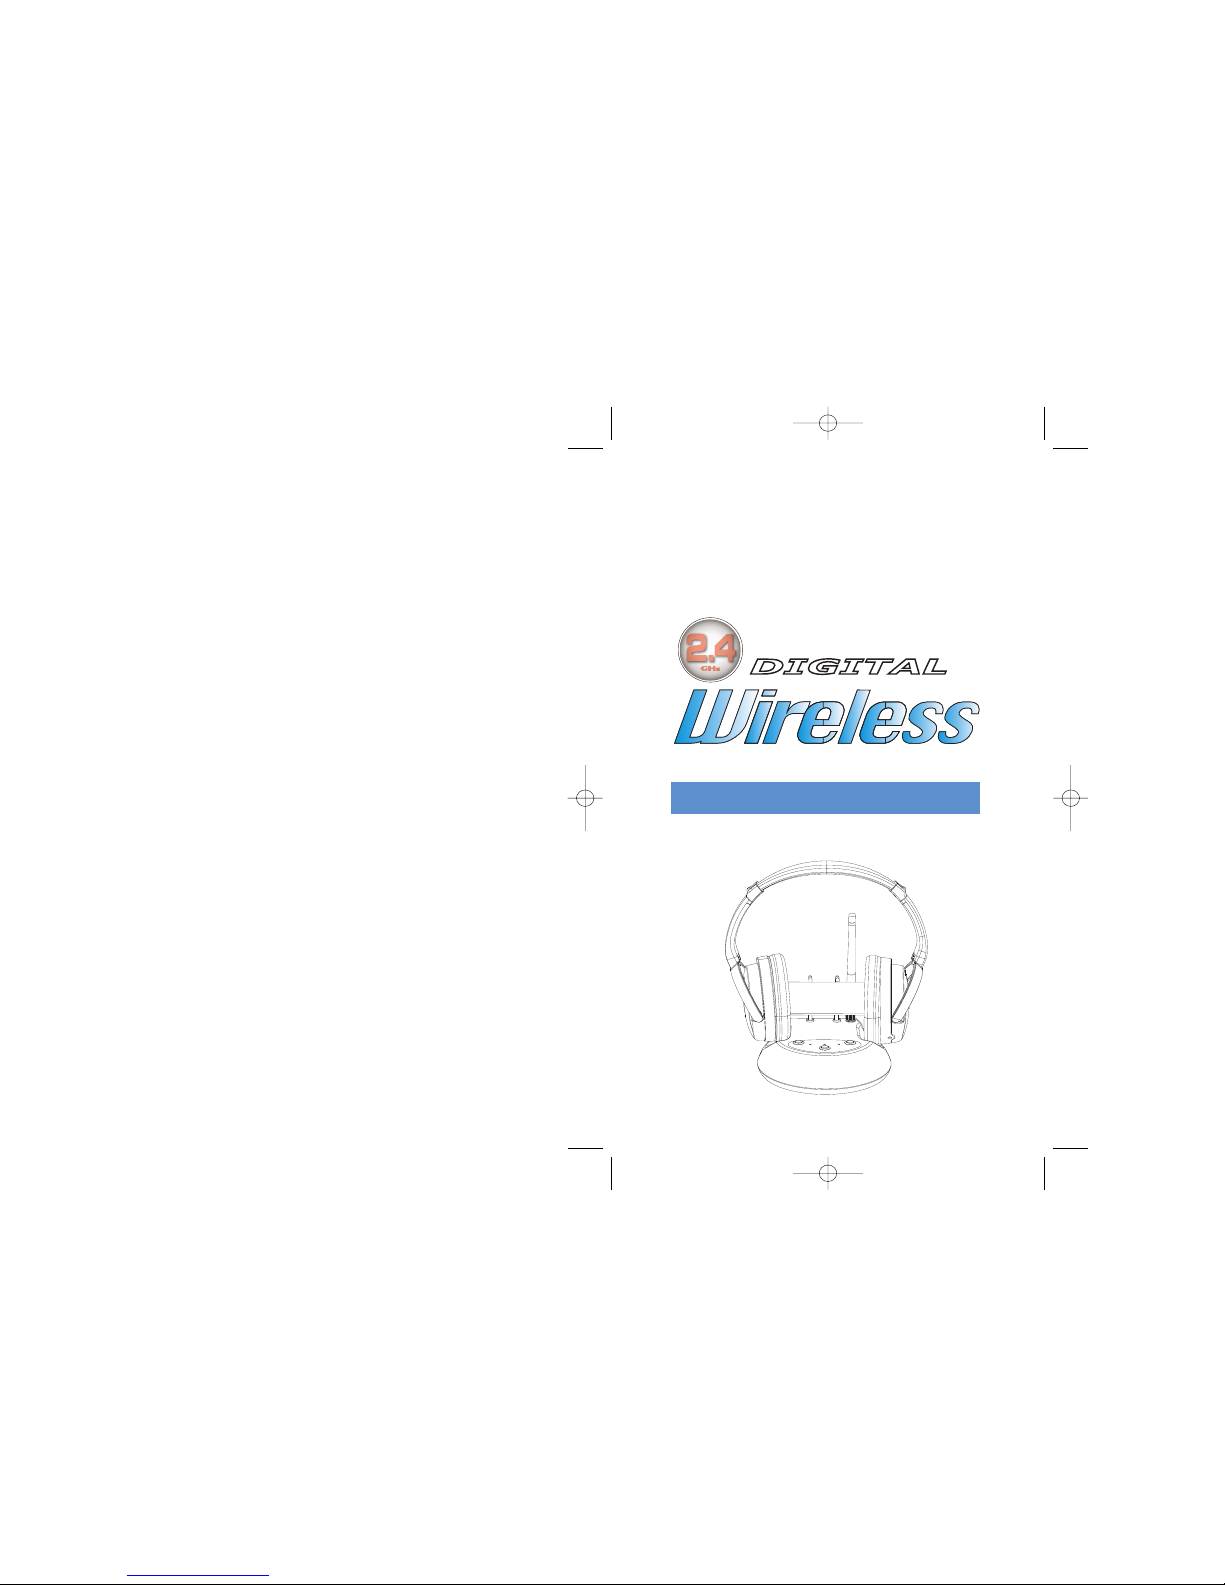
LTB Audio Systems Q-Home-FX User manual

True 5.1 Surround Sound
HEADSET
Q-Home-FX
DIGITAL

WARRANTY
9
LTB Audio Systems, Inc.warrants that for 1 year from the date
of original purchase, it will replace this product if found to be
defective in materials or workmanship. Return it postage prepaid
to the Product Exchange Center address for prompt, no charge
replacement with a current equivalent. This replacement is
LTB Audio Systems, Inc. sole obligation under this warranty
LTB Audio Systems, Inc. will not be responsible for any incidental
or consequential damages, or for any loss arising in connection
with the use or inability to use this product.
Some states do not allow the exclusion or limitation of incidental
or consequential damages, so the above limitation or exclusion
may not apply to you. This warranty excludes defects or damage
due to misuse, abuse, or neglect. This warranty gives you specific
legal rights, and you may also have other rights, which vary from
state to state.
© 2007 LTB Audio Systems, Inc.
Product Service Center
375 North Street, Unit N
Teterboro, NJ 07608
Rev1409
Trademark(s) © Registered
Marca(s) Registrada(s)
www.ltbaudio.com
Manufactured In China
LTB LIMITED 1 YEAR WARRANTY

This 2.4 GHz True 5.1wireless headphone system features a
compact design that uses the latest wireless technology that
enables you to enjoy True theater quality sound inside or outside
your home. You can simply connect the system to any sound
source, such as a DVD,
CD, TV, HDTV, XBOX XBOX360
or Game Console
•One touch Channel Selection with up to 8 Channel selections
•2.4 GHz RF technology lets you room freely throughout your house
•Operating distance up to 60 Feet
•No line-of-sight limitation
•Rechargeable headphone receiver
•Built-in charger in the headset
•Stereo input audio will only produce stereo output through
headphones
•Do not play your headset at a high volume . Hearing experts
advise against continuous extended play at high volume.
•If you experience a ringing in your ears, reduce the volume
or discontinue use.
•Make sure the volume level of the headphone is set at a comfortable
listening level before placing it in position over your ears.
1
INTRODUCTION
FEATURES
HEASET SAFETY
TROUBLESHOOTING
8
NO SOUND :
•Make sure the AC adapter is fully inserted into an AC outlet
and into the DC Power Jack input on the transmitter.
•Make sure the headphone ON/OFF switch is in the ON
position Indicated by a red LED light.
•Headphone battery may be too weak. Make sure the batteries
are fully charged.
•Make sure the DVD DBS, CD, TV, HDTV, XBOX XBOX360
or Game Console is ON and tuned to a channel with audio.
•Adjust the volume control on the headphone to increase the
volume.
•If the connected audio/video equipment is not playing. Turn on
the equipment.
•The volume of the headphones is turned down. Adjust the
volume to an appropriate level.
NO SIGNAL :
•Make sure the power indicator on the base unit is on. Make
sure the power indicator on the headset is on.
•Change the CH-SEL button on the base and the CH-SEL on
the headset to a matching frequency band (when you can hear
audio)
•Headphone batteries may be too weak. Charge the Built-in
Li-Ion batteries for at least 3 hours.
•
The headphone is too far from transmitter (over 30 Meters).
Move closer to the transmitter for optimal signal.
•
The input level of the audio signal is too low Turn up the
volume of the audio source equipment.

This device complies with Part 15 of the FCC Rules. Operation is
subject to the following two conditions : (1) this device may not
cause harmful interference, and (2) this device must accept any
interference received, including interference that may cause
undesired operation.
NOTE: Any changes or modifications not expressly approved by
the
manufacturer
could inhibit the user's ability to
operate the equipment and void the warranty.
To comply with the FCC RF exposure compliance requirements,
this device and its antenna must not be co-located or operating
to conjunction with any other antenna or transmitter.
7
Transmission Mode : Operating at 2.4GHz ISM band
with 8 selectable channels
Carrier Frequency : 2400 ~ 2483 MHz
Operation Voltage : Transmitter 3.6 ~ 5VDC
: Receiver 3.7 ~ 5VDC
(Lithium-polymer rechargeable batteries)
Frequency Response : 20 ~ 20 KHz
Frequency stability : ±100 KHz, Typical
S/N ratio : >70dB (Typical)
Channel Separation : 100dB (Typical)
Operation distance : 30 Meters ( L. O. S. )
Decoder Type : Dolby Digital
(AC3,Dolby Pro Logic)
SPECIFICATIONS
6
7
54
3
2
1
5
4
3
2
1
2
2.4GHz 5.1 Channel RF Unit
BACK:
FRONT:
Power Select Key
> Press for Power on/off .
Channel Select Key
> Press quickly (less than one second) for channel change
(Audio in LED will flash) .
Input Select Key
> Auto Select Audio in, (to search Optical >Coaxial >Line-in)
Press for Optical (LED blue), press again for Coaxial
(LED blue), Press again for Stereo line-in (LED blue) .
PO W ER
1. CH-S E L
2. VOL+
3. VOL-
4. MIC CONNECTION
5. CHAR G E
6. B ATT E RY DOOR
7. POWE R
1. DC OUT
2. DC IN
3. COAX I A L
4. OPTI C A L
5. LINE I N
IN P UT
SE L EC T
CH A NN EL
S E LE CT
2.4GHz HEADPHONE RECEIVER
2.4GHz TRANSMITTER
L i n e O p t i C o a x
POW E R
INP U T-S E L C H -SE L

TO 2 CHANNEL
AUDIO DEVICE
TO LINE IN JACK
TO OPTICAL JACK
INSTALLATION
3 . Plug the AC power adapter into the DC jack located on the rear
of the transmitter.
1 . Remove the Transmitter from the packaging.
2. Attach Antenna To base connector
5.The Coaxial or Optical cable on the rear of the transmitter can be
connected to the digital output jack of the DVD, CD,
TV
,
HDTV, XBOX XBOX360 or Game Console
6. The 3.5mm audio connector on the transmitter can be connected
to stereo 2 channel device outputs on TV,DVD,VCR,Strero,
MP3 Player or other 2 channel audio device.
Use the LINE IN connection.
TRANSMITTER
4.Connect the AC power adapter to an electrical wall outlet.
TO AUDIO OUT JACK
OPTICAL CABLE
TO PLAYER
WITH COAXIAL OUTPUT
TO PLAYER
WITH OPTICAL OUTPUT
3
COAXIAL CABLE
TO COAXIAL JACK
1. Switch the ON/OFF button on the headphone receiver OFF
2. Plug the charge cord into the charge input jack of the headphone
receiver to charge the batteries.
3. The charging green LED on the headphone is turned on when
the charging process starts and is turned off when the batteries
are fully charged Charge the batteries for at least 3 hours prior
to the first use of the headphone system.
CHARGING THE BATTERIES
CHARGE INPUT CHARGE CORD
CHARGE
INDICATOR
(GREEN)
Caution : Do not use other types of batteries to replace the
rechargeable (Lithium-polymer) battery When you are not
using the headphone receiver, please switch it to OFF to
avoid damage to the batteries.
The battery pack must be fully charged prior to operation. An initial
charge of 3 hours is required to ensure the extended life of the
rechargeable batteries. Be sure the headphone receiver is in the
OFF position during charge status.
Important : Before recharging, make s
ure the recharging
cord is fully plugged into the headphone
6

HEADPHONE RECEVER
OPERATION
NOTE:
The batteries must now be charged before you use the headphones.
Refer to the instructions on page 6 Charging the Batteries for details.
The 5.1 headphone receiver is powered by Lithium-polymer
rechargeable Batteries which must be recharged in the headphone.
Do not attempt to recharge any batteries in the headphone other
than those provided cells that are included with your unit.
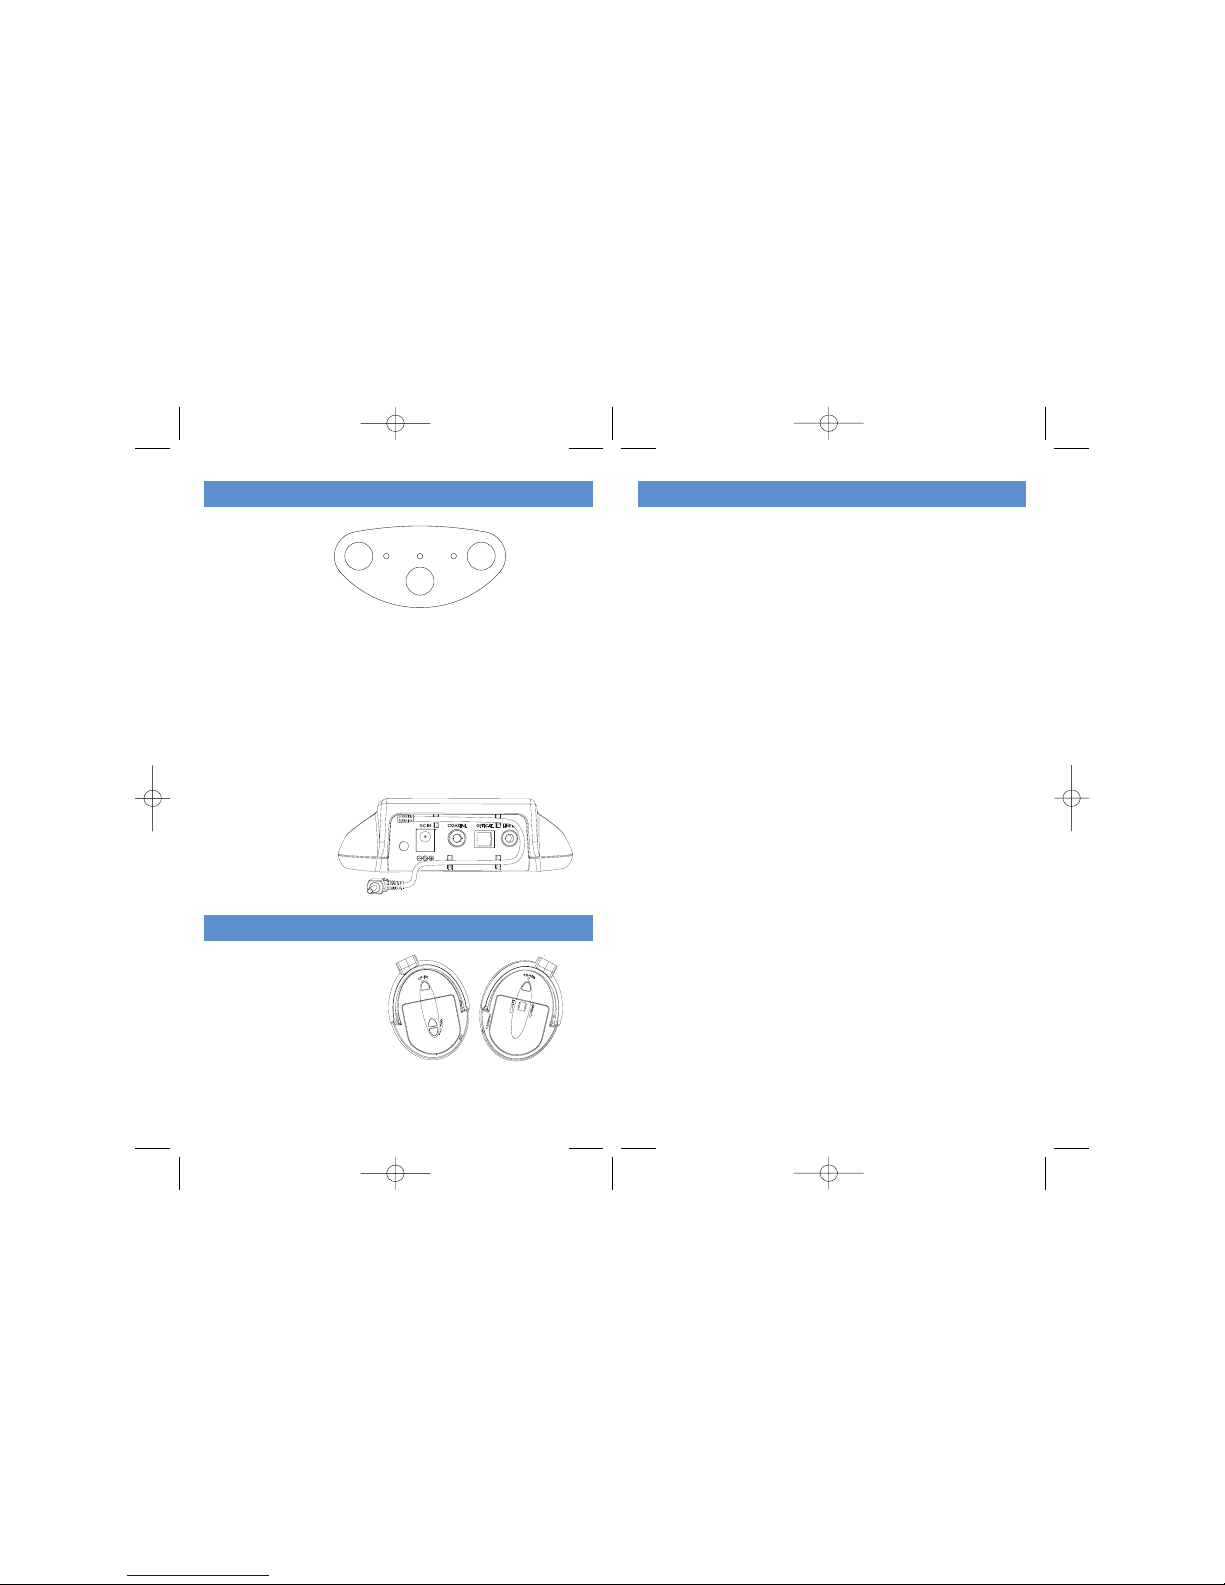
BATTERY
DOOR
RIGHT EARPHONE
Lithium-polymer
RECHARGEABLE
BATTERY
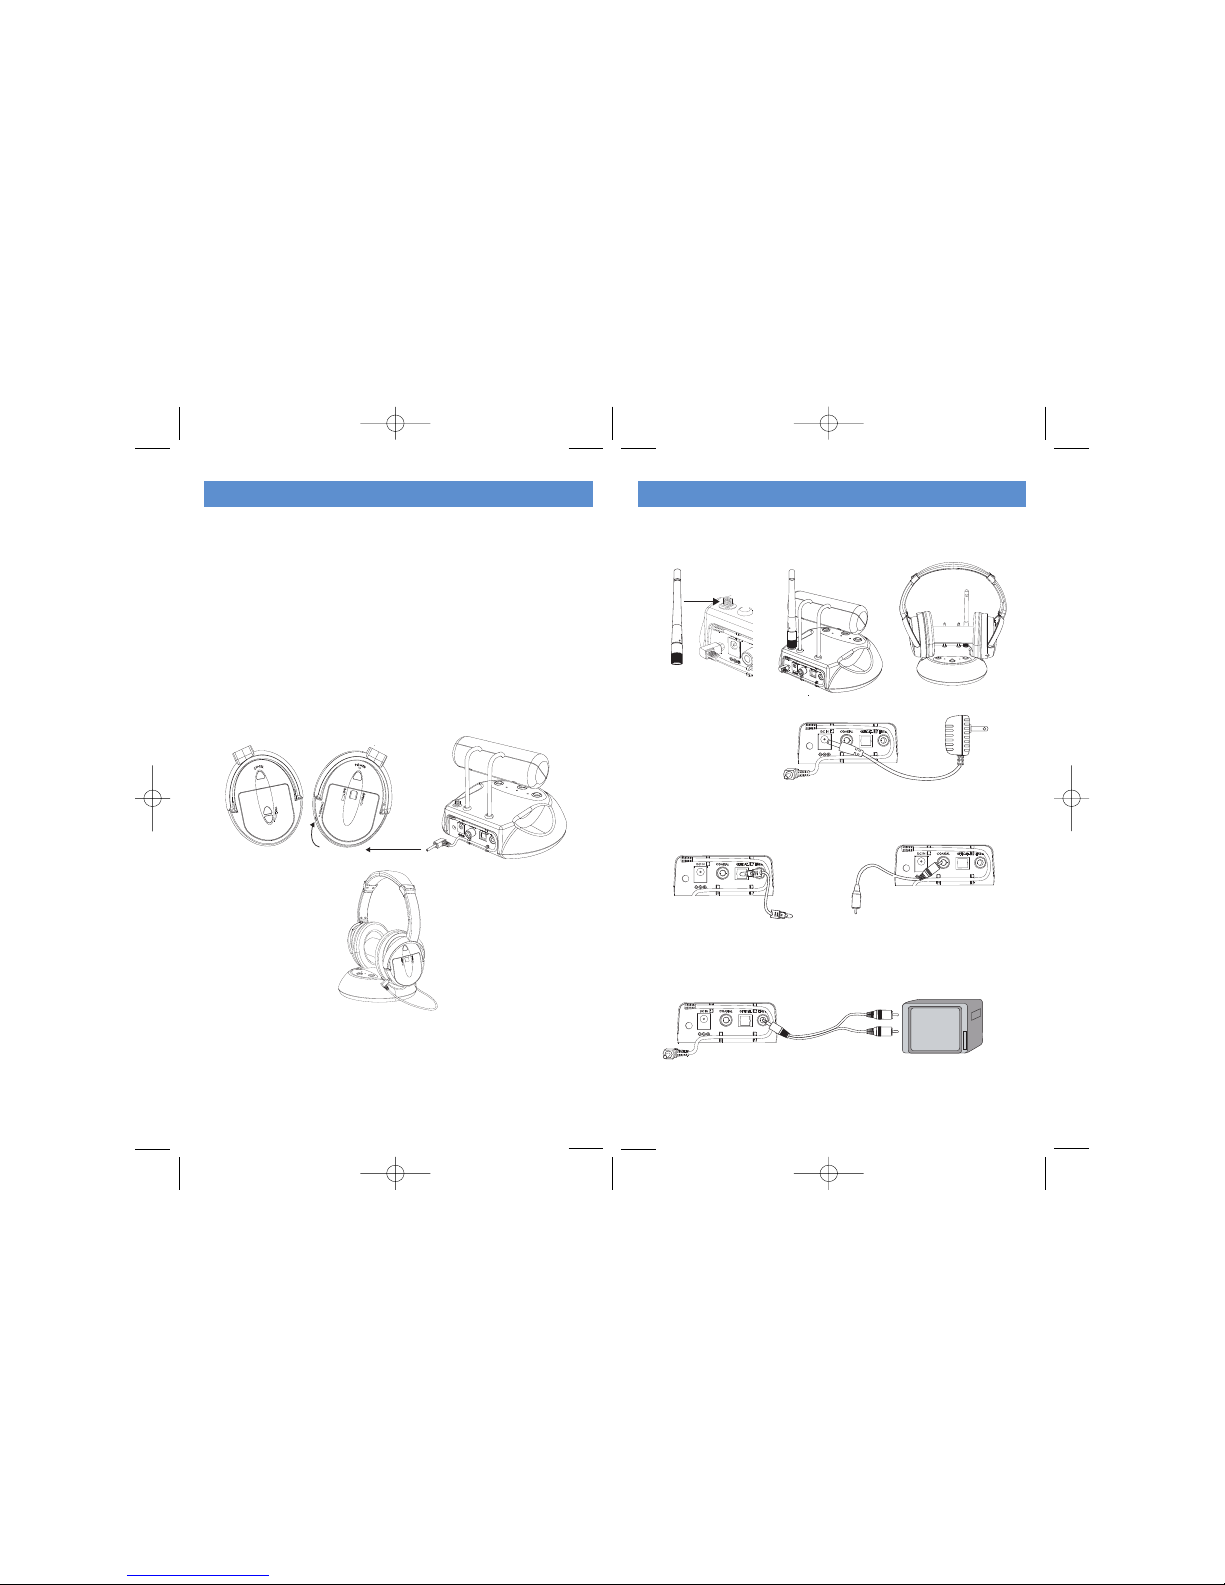
1. Turn on the audio source (Audio component) to which the
transmitter is connected (Connected to Optical or Coaxial source).
2. Push the ON/OFF switch on the headphone to ON.
3. Listen to the volume coming from the ear cups on the headphone to
make certain that the volume is not too loud befor on your head.
(See the section titled Headset Safety on page 1.)
Adjust the volume as needed using the VOLUME CONTROL
located on the left ear cup. Once the volume level is at a comfort
setting, place the headphones over your ears and adjust the volume
as desired.
4. If the best frequency reception is not found, press the Channel Select
button on the headphone to locate the frequency of the transmitter
for the best reception. The activity LED indicator will light up.
4
NOTE
A. Keep a minimal distance between the headphone and
the transmitter when adjusting the tuning button for the best
reception.
B. Whenever you find interference, readjust the frequency of the
transmitter by pressing CH-SEL on the transmitter and the
CH-SEL on the headphone to lock in a new frequency
60 F E ET
60 F E ET
5
You should now be able to walk freely from room to room enjoying
full 5.1surround sound. If you notice interference (noisy signal or if
the sound is distorted or breaks up), adjust the frequency by
pressing CH-SEL on the top of the transmitter base and then
select CH-SEL on the headset. This should help you to obtain
better reception with the headphones. You may have to try this
adjustment several times to obtain optimum performance,
depending on the conditions. Please refer to the following
drawings A and B for best tuning :
5. The INPUT SEL button can be used to select between various audio
inputs. You can connect digital or analog sources to the transmitter
and select each individual source that you may choose to listen to.
Table of contents
Other LTB Audio Systems Headset manuals