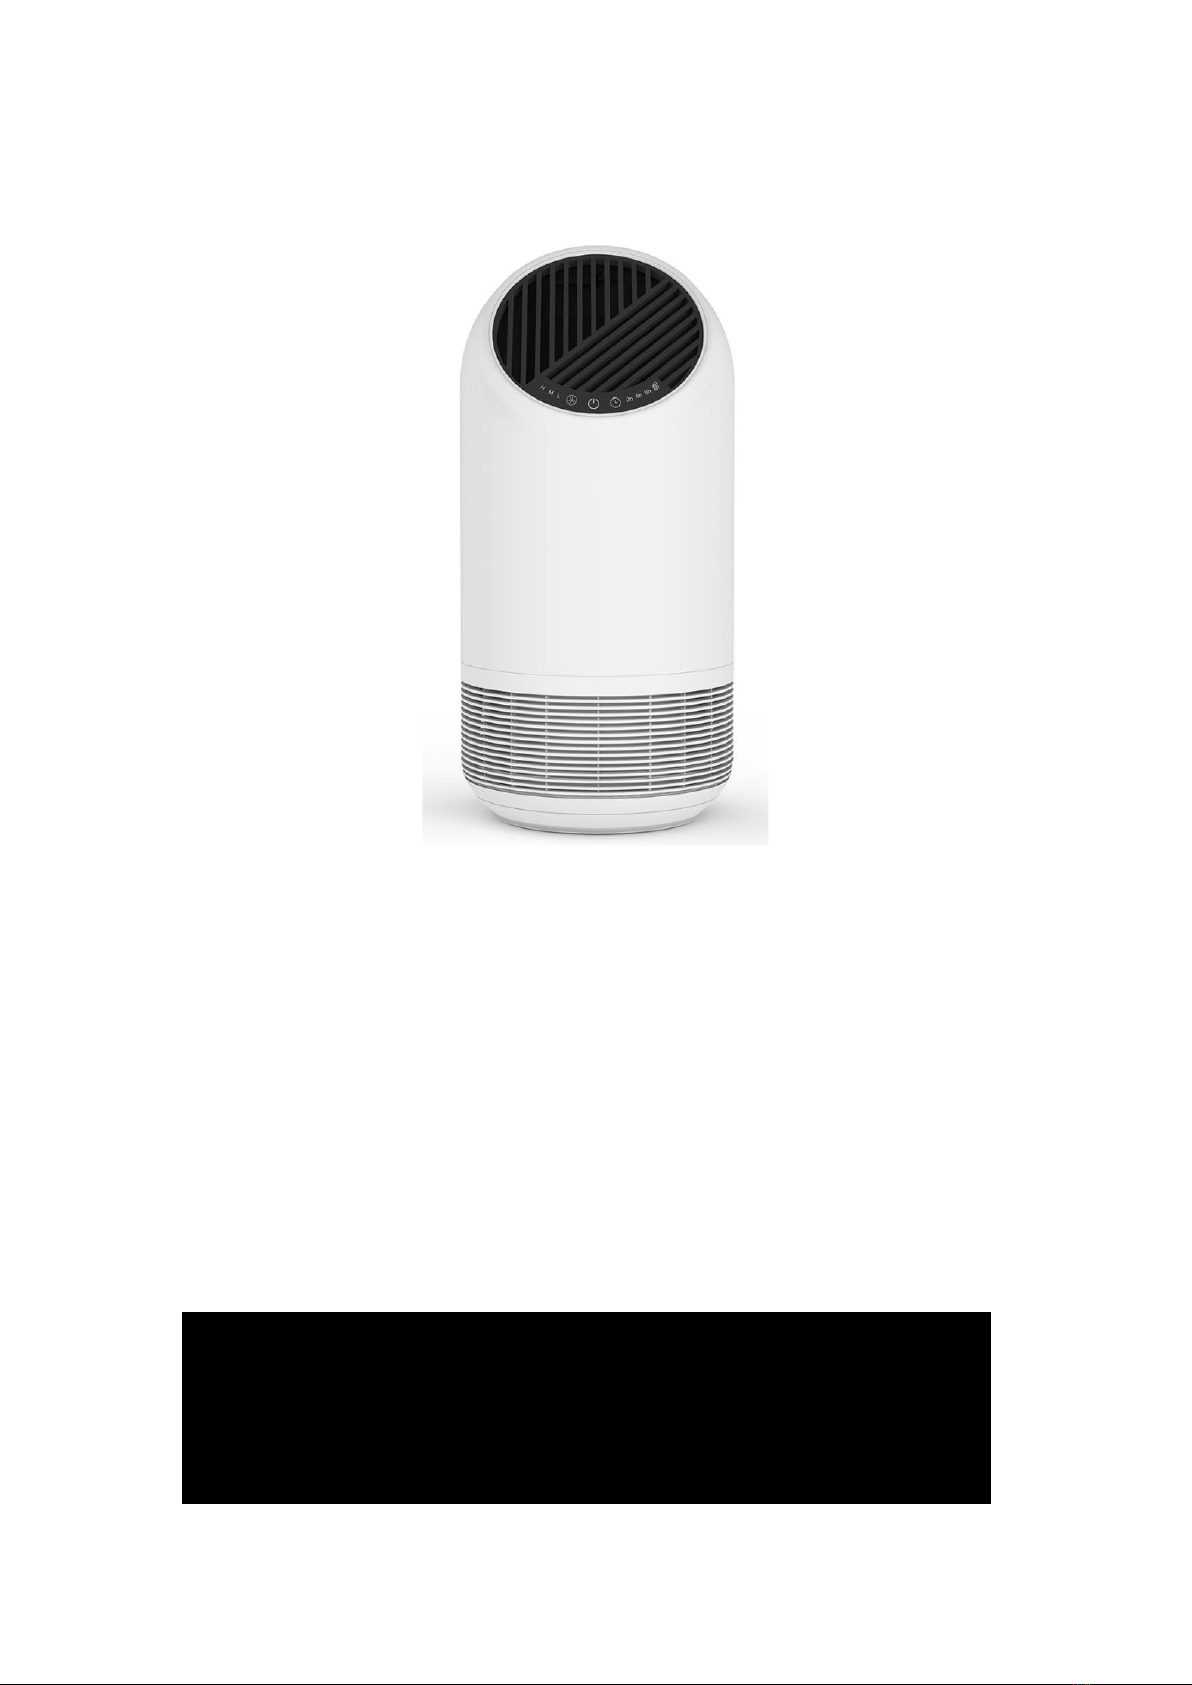
Compact Air Purifier Instructions
9 | P a g e
VIELEN DANK FÜR IHREN KAUF
Vielen Dank, dass Sie sich für dieses Qualitätsprodukt von Lucci entschieden haben. Lesen und befolgen
Sie bitte sorgfältig alle Anleitungen, bevor Sie das Gerät benutzen, um eine einwandfreie Funktion und
Sicherheit bei Montage, Installation und Gebrauch zu gewährleisten. Bitte bewahren Sie die Anleitungen
zum Nachlesen auf.
SICHERHEITSVORKEHRUNGEN
•Stellen Sie immer sicher, dass der Strom ABGESCHALTET ist und das Gerät sich abgekühlt hat, bevor
Sie Wartungs- oder Reinigungsarbeiten durchführen oder Einstellungen am Gerät vornehmen.
•Dieses Produkt ist nur für den Gebrauch in Innenbereichen geeignet.
•Dieses Gerät ist nicht dafür bestimmt, von Personen (einschließlich Kindern) mit eingeschränkten
physischen, sensorischen oder geistigen Fähigkeiten und mangelnder Erfahrung und/oder mangelndem
Wissen benutzt zu werden, es sei denn, sie werden durch eine für ihre Sicherheit zuständige Person
beaufsichtigt oder erhalten von ihr Anweisungen, wie das Gerät zu benutzen ist.
•Kinder müssen beaufsichtigt werden, um sicherzustellen, dass sie nicht mit dem Gerät spielen.
•WARNUNG: Bei ungewöhnlichen oszillierenden Bewegungen ist das Produkt sofort außer Betrieb zu
nehmen undder Hersteller, sein Servicepartneroder entsprechend qualifizierte Personen zu kontaktieren.
•Das Netzkabel ist nicht austauschbar. Wenn das Kabel beschädigt ist, sollte das Gerät entsorgt werden.
•Blockieren Sie den Lufteinlass und -auslass nicht.
•Versuchen Sie nicht, Finger oder andere Fremdkörper in den Luftauslass bzw. -einlass einzuführen, um
Verletzungen zu vermeiden.
•Dieses Produkt kann normales Lüften, regelmäßiges Staubsaugen und die Verwendung einer
Dunstabzugshaube beim Kochen nicht ersetzen.
•Achten Sie darauf, dass das Gerät auf eine stabile und horizontale Fläche gestellt wird.
•Auf jederSeite des Produkts muss ein Freiraum von mindestens 300 mm vorhanden sein. Über dem Gerät
muss ein Freiraum von mindestens 500 mm vorhanden sein.
•Verwenden Sie das Gerät nicht in der Nähe von Gasgeräten, Heizgeräten oder Kaminen.
•Versprühen Sie keine Insektizide, Parfüm oder andere entzündliche Sprays in der Nähe des Produkts.
•Benutzen Sie das Gerät nicht in Umgebungen mit hoher Luftfeuchtigkeit, wie z. B. Badezimmer, Toilette
oder Küche.
•Das Gerät entfernt kein Kohlenmonoxid. Verwenden Sie das Gerät nicht als
Sicherheitsbelüftungsvorrichtung in Gegenwart von gefährlichen Chemikalien.
•Bewegen Sie das Gerät nicht, wenn es in Betrieb ist. Falls das Gerät umfällt, ziehen Sie sofort den
Netzstecker.
•Stellen Sie sicher, dass der Filter und seine Abdeckung nach dem Austausch ordnungsgemäßinstalliert
sind. Verwenden Sie nur für dieses Gerät angegebenen Filter.