Lumina DB 5000 User manual
After Sales Support
Telephone: 1300 366 144
Internet: [email protected]
INSTRUCTION MANUAL
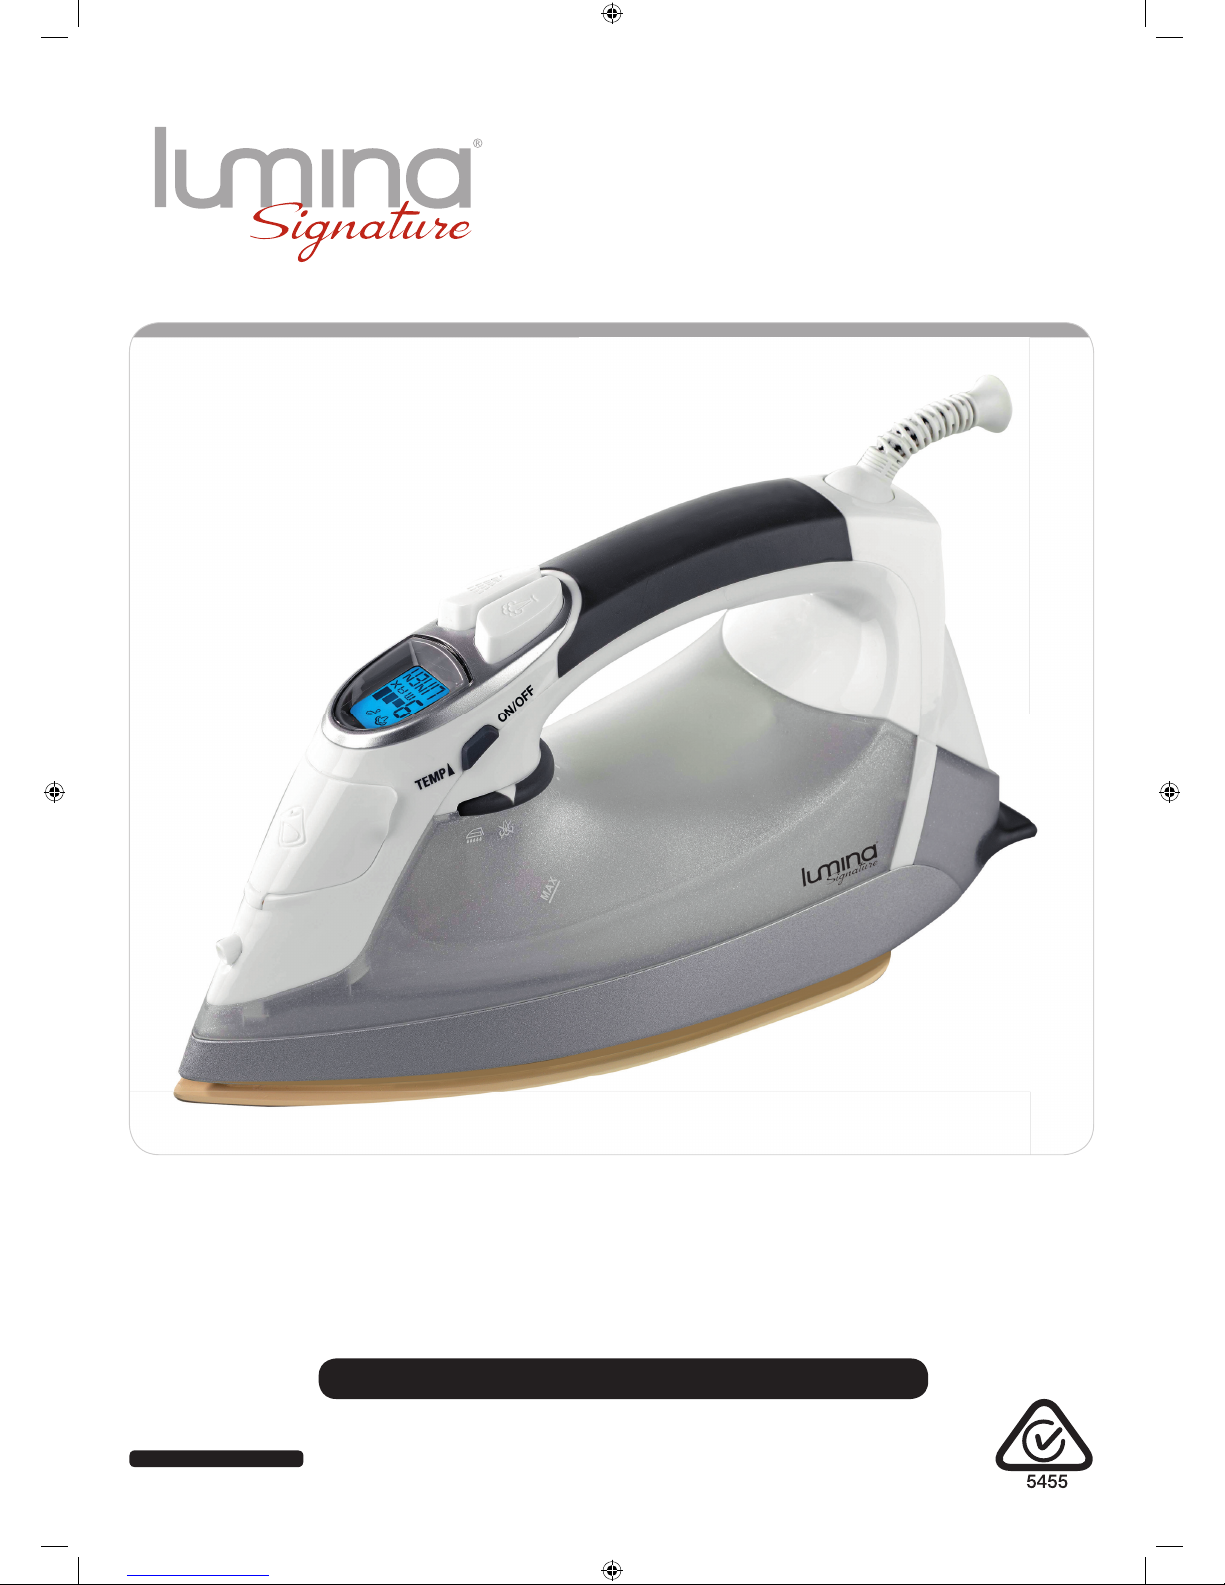
Steam Iron
Model Number DB 5000
2
After Sales Support
Telephone: 1300 366 144
Internet: [email protected]
Contents
03 Warranty Details
04 Welcome Section
05 General Information and Safety instructions
05 Instruction manual
05 Explanation of symbols
05 Approved use
06 General Safety Information
08 Appliance-based safety advice
10 Assembly and Parts List
11 Before using for the first time
12 Getting Started / Features
13 Fill the water tank
13 Turn on appliance
14 Temperature setting table
15 Instructions
15 Use of the steam iron
15 Dry ironing
15 Steam ironing
16 Anti-limescale system
16 Self cleaning
17 Anti-drip function
17 Auto-shutoff function
18 Other Useful Information
18 FAQ
19 Problem and Solution
20 Maintenance, cleaning and care
20 Technical data
20 Disposal
21 Index
3
After Sales Support
Telephone: 1300 366 144
Internet: warrantyhelp@awa.com.au
The product is guaranteed to be free from defects in workmanship and parts for a period of 36
months (dependant on product) from the date of purchase. Defects that occur within this warranty
period, under normal use and care, will be repaired, replaced or refunded at our discretion. The
benefits conferred by this warranty are in addition to all rights and remedies in respect of the pro-
duct that the consumer has under the Competition and Consumer Act 2010 and similar state and
territory laws.
Our goods come with guarantees that cannot be excluded under the Australian Consumer Law. You
are entitled to a replacement or refund for a major failure and for compensation for any other rea-
sonably foreseeable loss or damage. You are also entitled to have the goods repaired or replaced if
the goods fail to be of acceptable quality and the failure does not amount to a major failure.
Steam Iron
After Sales Support
Telephone: 1300 366 144
Internet: [email protected]

4
After Sales Support
Telephone: 1300 366 144
Internet: [email protected]
Welcome Section
Congratulations on choosing to buy a Lumina Signature® product.
All products brought to you by Lumina Signature® are manufactured to the highest standards of performance
and safety, and, as part of our philosophy of customer service and satisfaction, are backed by our comprehen-
sive 3 Year Warranty.
We hope you will enjoy using your purchase for many years to come.
5
After Sales Support
Telephone: 1300 366 144
Internet: [email protected]
General Information and
Safety Instructiones
Instruction manual
Please read this instruction manual thoroughly before switching on the appliance. You will find a number of im-
portant and useful tips in these instructions. Keep the instructions in a safe place and be sure to enclose them
with the appliance if you sell it.
Note: In the event of problems, we would kindly ask you to contact our customer service hotline directly
and not bring it back to the place where you bought it. Problems can often be solved over the phone.
If it should still be necessary to have the appliance repaired or replaced, our customer service will also
deal with that.
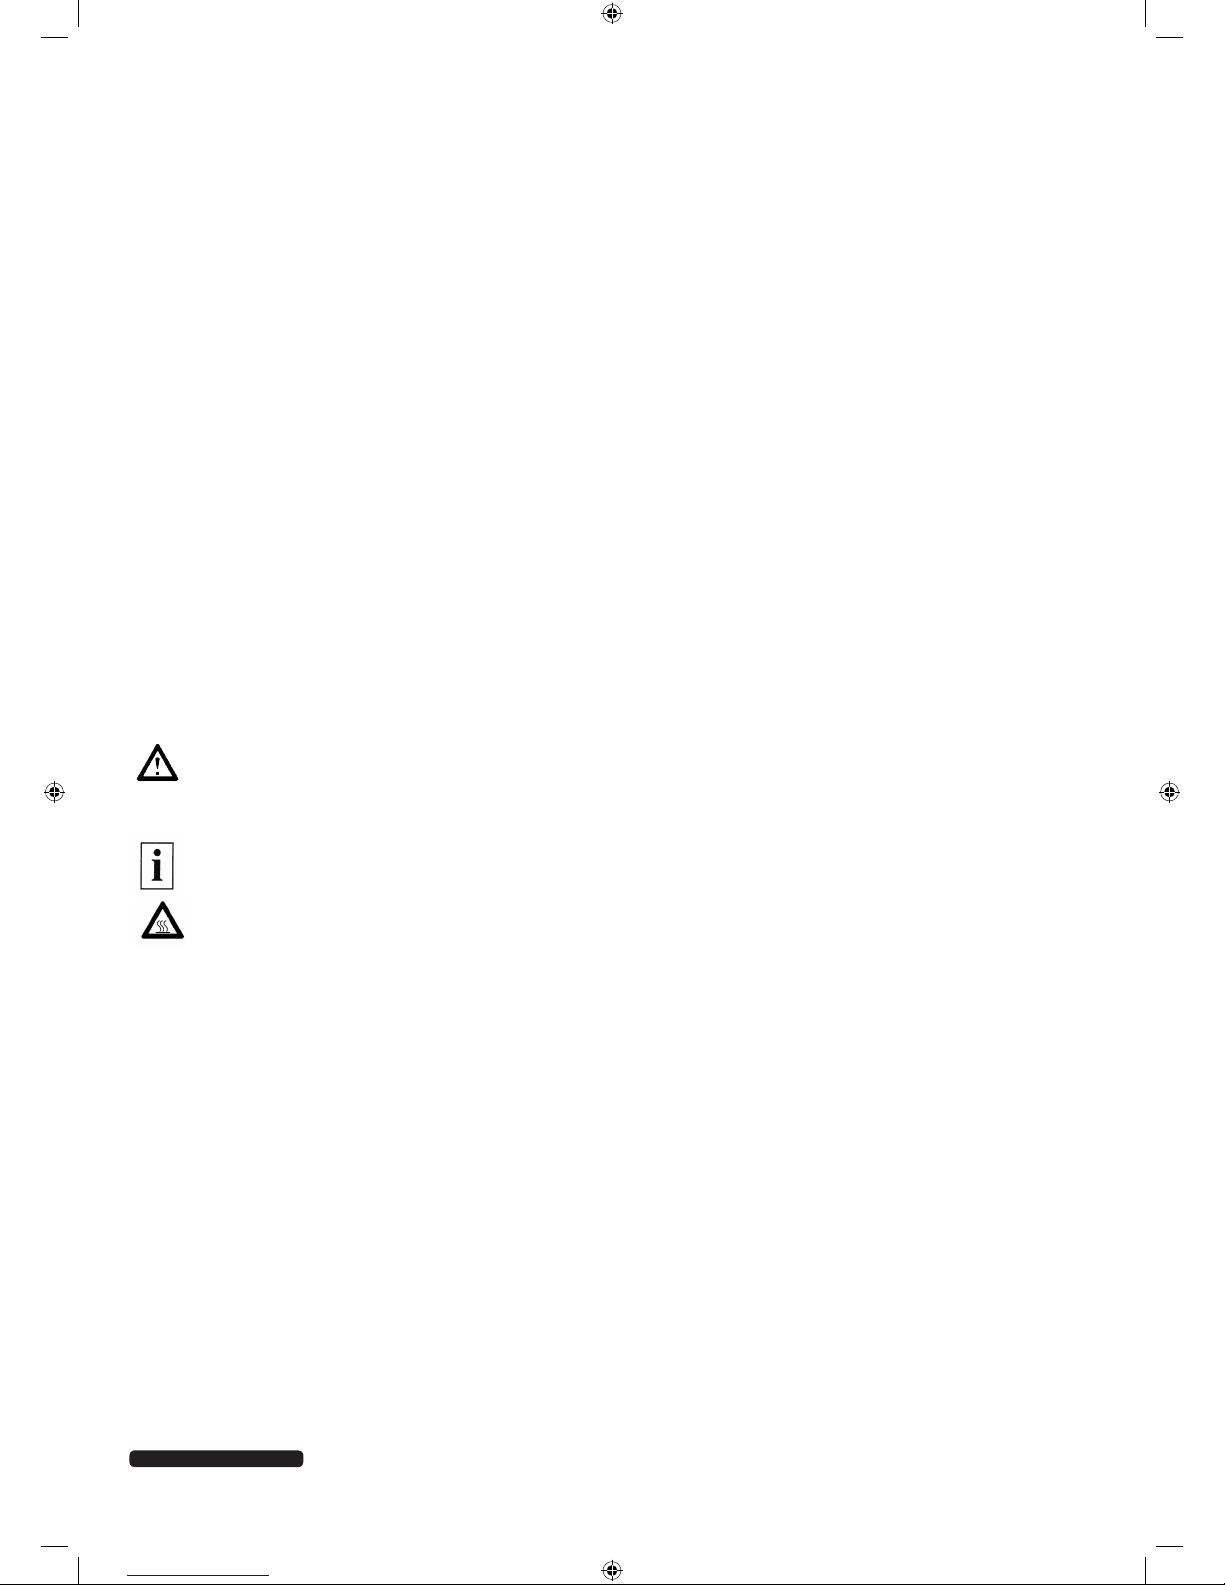
Explanation of symbols
This symbol marks important safety instructions.
Danger - relates to personal injury
Caution - relates to property damage
This symbol indicates important safety information.
Caution! Hot surface!
Approved use
The steam iron is solely intended for the ironing of clothing and linen. It is only intended for operation in dry in-
terior areas. Also, the appliance is not intended for commercial use, but only for domestic use. Any other use or
alteration to the appliance is against regulations, and is expressly forbidden. Damages resulting from improper
or incorrect use negate any liability.

6
After Sales Support
Telephone: 1300 366 144
Internet: [email protected]
General safety information
This appliance may be used by children aged 8 and older and by individuals with impaired physical,
sensory or mental abilities or with limited experience and/or knowledge, provided they are supervised
or have been instructed in the safe use of the appliance and understand the risks resulting therefrom.
Children are not allowed to play with the appliance. Children must not be allowed to clean or carry out
user maintenance on the appliance unless they are supervised.
The iron and its connection cable must be kept out of the reach children younger than 8 during use and
cooling.
• The iron may not be left unattended while it is connected to the mains.
• The mains plug must be removed from the socket before the water container is filled with water.
• The filling opening must not be opened during operation.
• The iron must be used and rested on a stable surface.
• When the iron is placed on the stand, it must be ensured that the surface on which the stand is placed is
stable.
• The iron may not be used if it has fallen or if there is visible damage or it is not watertight.
• Always remove the plug from the socket and allow the appliance to cool fully before cleaning and putting it
away.
• If the power cable of this appliance is damaged, it must be replaced by the manufacturer or its customer
services department or a similarly-qualified person in order to avoid any possible dangers.
• Do not submerge the appliance, mains lead or mains plug under water. Ensure that the water only enters
into the tank intended for this purpose. No liquid may enter into the appliance housing.
• Do not use the appliance outdoors as it may not be exposed to rain or humidity. Risk of electrocution!
• If the appliance does fall in the water, first remove the plug from the electrical socket, and then remove the
appliance. Do not turn the appliance on again, but have it checked first at an approved service point. This
also applies if the mains lead is damaged. Risk of electrocution!
• Ensure that the mains lead or the appliance is never placed on hot surfaces or near sources of heat. Place
the mains lead so that it does not come into contact with hot or sharp objects. Risk of electrocution!
• Never bend the mains lead and never wind it around the appliance as this may lead to cable breakages.
Risk of electrocution!
• Do not use the appliance if you are standing on a wet floor or if your hands or the appliance is wet. Risk of
electrocution!
• Never open up the appliance yourself, and do not try to probe inside it with a metal object for any reason.
Risk of electrocution!

7
After Sales Support
Telephone: 1300 366 144
Internet: [email protected]
• Keep packaging away from children - Risk of suffocation!
• Electrical appliances are not toys! Always operate and store the appliance beyond the reach of children.
Children do not recognize the danger which can result from using electrical appliances. Do not allow the
mains lead to hang down to prevent it from being pulled.
• Repairs may only be carried out by approved specialist workshops. Appliances repaired by non-experts
create risks for the user.
• Only plug the appliance into properly-installed electrical sockets with mains voltage according to the
identification plate.

8
After Sales Support
Telephone: 1300 366 144
Internet: [email protected]
Appliance-based safety advice
Only use the appliance inside.
• Never store the appliance in such a way that it could fall into a tub or a sink.
• Never reach for an electrical appliance if it has fallen into water. In this case immediately pull the mains plug
from the socket.
• Never touch the mains plug with wet hands.
• Regularly inspect the appliance and mains lead for damage.
• Always pull the mains plug from the socket
- when you are not using the appliance,
- before filling or pouring out water,
- before cleaning the appliance,
- when a fault occurs,
- during thunderstorms.
• Always pull the plug itself and not the mains lead.
• Never use the connection cable as a carrying grip.
Explosion hazard! The generation of sparks may lead to an explosion.
Do not use the appliance in proximity to flammable liquids and vapors.
• Only place water in the tank intended for this purpose. Never place cleaning substances or solvents in it.
Risk of burns/fire! The hot ironing base and emanating steam may lead to burns and/or scalding!
• Always be careful when ironing.
• Ensure that neither people, in particular children, nor pets can burn themselves on the iron.
• Never turn the hot iron so that the hot base faces upwards, as hot water may escape in this situation.
• Never iron fabric on the body.
• Do not aim steam at people or animals.
• Always place the iron on the stand during short breaks, and not on the ironing base.
• Always iron on a fixed and stable surface so that the iron cannot fall down.
• Allow the appliance to cool fully before cleaning it and/or putting it away.
9
After Sales Support
Telephone: 1300 366 144
Internet: [email protected]
Risk of damage resulting from misuse!
An incorrect ironing temperature may cause damage to the laundry. Hard items may scratch the
ironing base.
• Never set the iron to a temperature higher than that stated on the care label attached to the item.
• Do not iron over metal items such as buttons, zips etc.
• Always use the stand of the iron to set it down. Ensure that the surface on which it is set is sufficiently stable.
• Never expose the appliance to high temperatures (heating etc.) or the effects of weather (rain etc.).
• Do not use descaled water, water from a dryer or water with additives such as starch, perfume, softener etc.
• Do not fill the reservoir with water past the maximum fill height. Obey the "MAX" marking.
• Only use original accessories! The use of non-original accessories increases the risk of accidents. We accept
no liability in the event of accidents or damage resulting from the use of non-original accessories. The use of
non-original accessories and resulting damage to the appliance invalidates any warranty claims.
• The appliance is not intended to be operated using an external timer or a separate remote system.
• Only use tap water or tap water mixed with distilled water at a 1:1 ratio to fill the water tank.
Caution!
Hot
surface!

10
After Sales Support
Telephone: 1300 366 144
Internet: [email protected]
Assembly and parts list
1) Handle
2) Steam jet button
3) Jet button
4) LCD display (see also A to E)
5) Water tank (fill opening)
6) Nozzle
7) "Increase temperature" and/or On/Off button
- Turn on (briefly press button (see also page 13)
- Turn off (hold button for 3 seconds)
8) "Reduce temperature" button
9) Steam regulator, self-cleaning function
10) Ironing base
11) Stand
9
10
11
1
4
A
D
E
D
E
MAX
mark
A) "Steam ironing" indicator
B) "Self-cleaning" indicator
C) "Automatic shut-off" indicator
D) "Temperature" indicator
E) "Fabric type" indicator
B
C
23
5
6
7
8
7
11
After Sales Support
Telephone: 1300 366 144
Internet: [email protected]
Before using for the first time
After unpacking, ensure that the contents are complete and check for any transit damage in order
to avoid any danger. If in any doubt, do not use the appliance. Please contact our customer
service department. You will find the service address in our warranty conditions and on the
warranty card.
In order to protect against damage during transit, your appliance is packaged.
• Carefully remove appliance from its sales packaging.
• Remove all packaging elements.
• Remove the transport protection from the base (10) and the protective foil from the LCD display (4) of the
appliance.
• Fully unwind the mains lead.
Clean the appliance and all accessories of packaging dust and remnants according to the advice given in the
chapter “CLEANING AND CARE”.

12
After Sales Support
Telephone: 1300 366 144
Internet: [email protected]
Getting Started / Features
Ironing instructions
Ironing tips
• First sort the items to be ironed according to the sensitivity of the fabrics and sort them according to the
corresponding temperature levels. Most items of clothing have an international fabric care label; always
follow the manufacturer's instructions. 1 point on the label indicates "low temperature level", 2 points mean
"medium temperature level" and 3 points means "high temperature level".
• The base (10) heats up more quickly than it cools down. Therefore begin with fabrics which are ironed at a
lower temperature level and continue with fabrics which require a higher temperature. This minimizes the
temperature regulation procedure.
• Synthetic fabrics may melt if they are ironed at too high a temperature. If in doubt, always select a lower
temperature.
• If you want to reduce the temperature again while ironing, only begin ironing heat-sensitive fabrics when the
display for the temperature level after the temperature reduction is constant and the signal has sounded.
This will ensure that the selected temperature level has been attained.
• It is best to iron critical materials such as acrylics, nylon, silk or wool using an ironing cloth in order to avoid
marks from the base (10).
• For blended fabrics, set the temperature according to that which requires the lowest temperature. For ex-
ample, for a wool-nylon blend, nylon requires the lowest level. In this case set the temperature for nylon.
• If possible, test the setting on a small area of the fabric (reverse, inside).
• For the first use, it is recommended that you use an old towel.
• For sensitive fabrics, ensure that the Steam jet button (2) on the steam iron is pressed simultaneously with
the beginning of the ironing.
• For wool, it is enough to refresh the fabric with steam. This will refresh the fabric and ensure that the fibres
remain elastic. Direct contact between the fabric and base of the iron is usually not required.
• In general, the external side of the fabric is ironed, unless the resulting shine is undesired. One exception is
t-shirts with prints, which should be turned inside-out. Loden fabric and velvet may be ironed on the outside
and in the direction of the fibres.
• If you use washing and/or ironing starch, this should only be sprayed on the reverse side of the fabric. That
is to say on the side that is not ironed, so that no starch remnants stick to the base of the iron. Washing and/
or ironing starch stuck to the base of the iron make ironing more difficult.

13
After Sales Support
Telephone: 1300 366 144
Internet: [email protected]
Ironing base with ionic coating
Your steam iron has an ironing base with a special ionic coating. While the ironing base is passing over the
fabric, the ionic coating generates ions as a result of the gentle friction. This means that during ironing
negatively-charged particles, so-called ions, are given off. These ions neutralize the positively-charged
particles in the fabric and reduce the static charge. The fabric relaxes and feels softer and smoother. In
conjunction with the steam function, the ions mean that the water droplets on your laundry are separated into
many smaller droplets which penetrate much further into the fibre structure of the fabric and make it much
smoother. The iron glides smoothly over the fabric and even stubborn wrinkles can be removed without trouble
thanks to the relaxed structure and be ironed out much more quickly than with conventional ironing bases.
Fill the water tank
– Ensure that the mains plug is not inserted into the electrical socket.
– Open the lid of the water tank (5).
– Fill the water tank to the "MAX" marking with cold tap water or
distilled water and tap water mixed at at 1:1 ratio. The "MAX"
marking is located on the side of the transparent water tank
of the appliance.
– Re-close the lid of the water tank.
MAX
Marking
MAX
Turn on appliance
– Then connect the mains plug of the steam iron to a correctly installed shockproof socket.
– An audible signal will sound and the display (4) will briefly display all symbols.
– Briefly press button (7) "Increase temperature" once. A blinking "1" and the word for acrylic will appear on
the display. As soon as the blinking stops the appliance is ready for operation.

14
After Sales Support
Telephone: 1300 366 144
Internet: [email protected]
Setting the temperature:
In order to
• increase the temperature, briefly press button (7)
"Increase temperature" as many times as required
until the display (4) shows the desired temperature
level (1 to 9) and/or the fabric type.
• decrease the temperature, briefly press button (8)
"Reduce temperature".
Following the change in temperature levels, an
audible signal will sound. The selected temperature
level will blink on the LCD display (4) during the
heating or cooling phase.
As soon as the selected temperature level has been
reached, the temperature level number will remain
constant and a signal will sound.
See also the table to the right "Temperature settings"
LCD
Display (4)
Fabric type Points
TEMPERATURE SETTINGS
Acrylic
Nylon
Silk
Polyester
Blended
fabric
Wool
Cotton
Jeans
Linen
15
After Sales Support
Telephone: 1300 366 144
Internet: [email protected]
Instructions
Use of the steam iron
Dry ironing
1. Set the stem regulator (9) to position .
2. Set the desired temperature according to the type of fabric to be ironed.
The steam iron is ready for operation as soon as the number for the temperature level stops blinking and an
audible signal sounds.
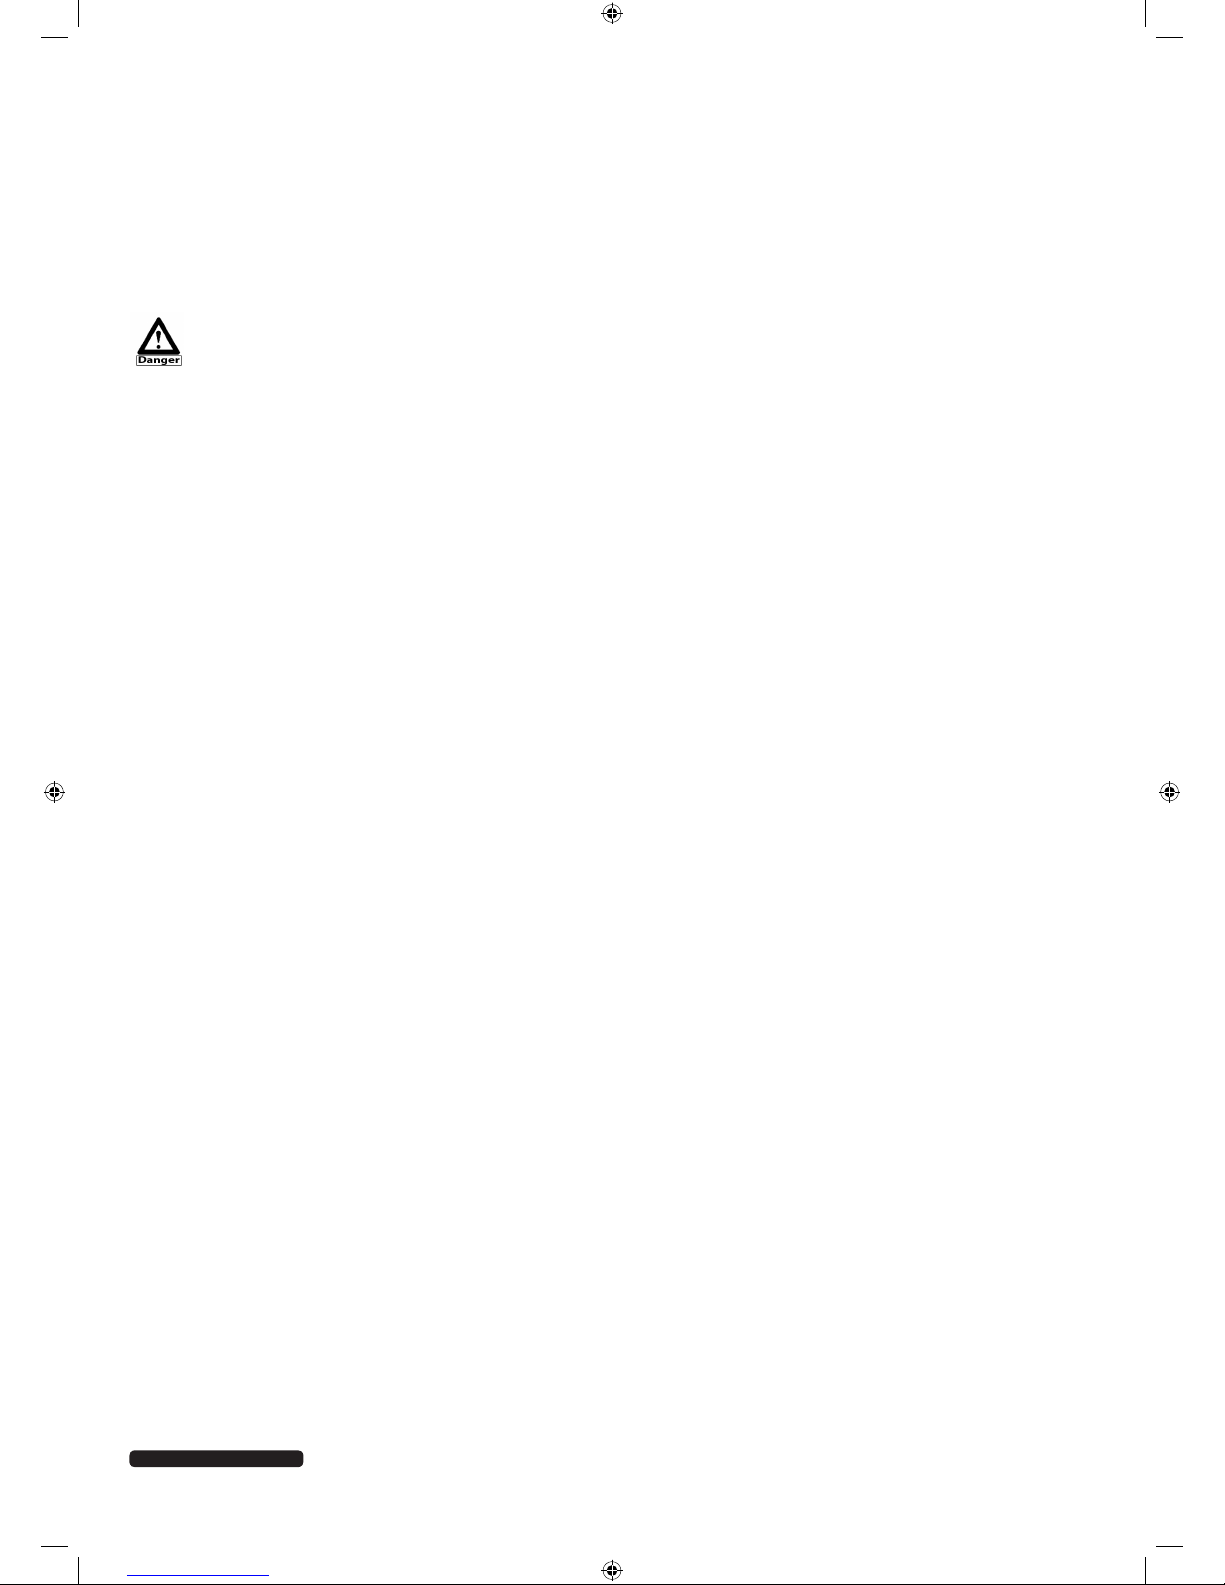
Ironing and spraying
This function is available at any time, independently of any settings.
Requirements: Water tank must be full.
1. Aim the spray nozzle at the desired spot on the clothing.
2. Press the jet button (3), repeatedly if necessary.
This function can, for example, moisten areas with stubborn wrinkles and thereby make ironing easier.
Ironing with steam (Temperature levels 5-9)
Risk of scalding!
Water steam reaches very high temperatures.
– Therefore, only use the steam function with great care!
– Never use the steam function with items of clothing that are currently being worn on the body!
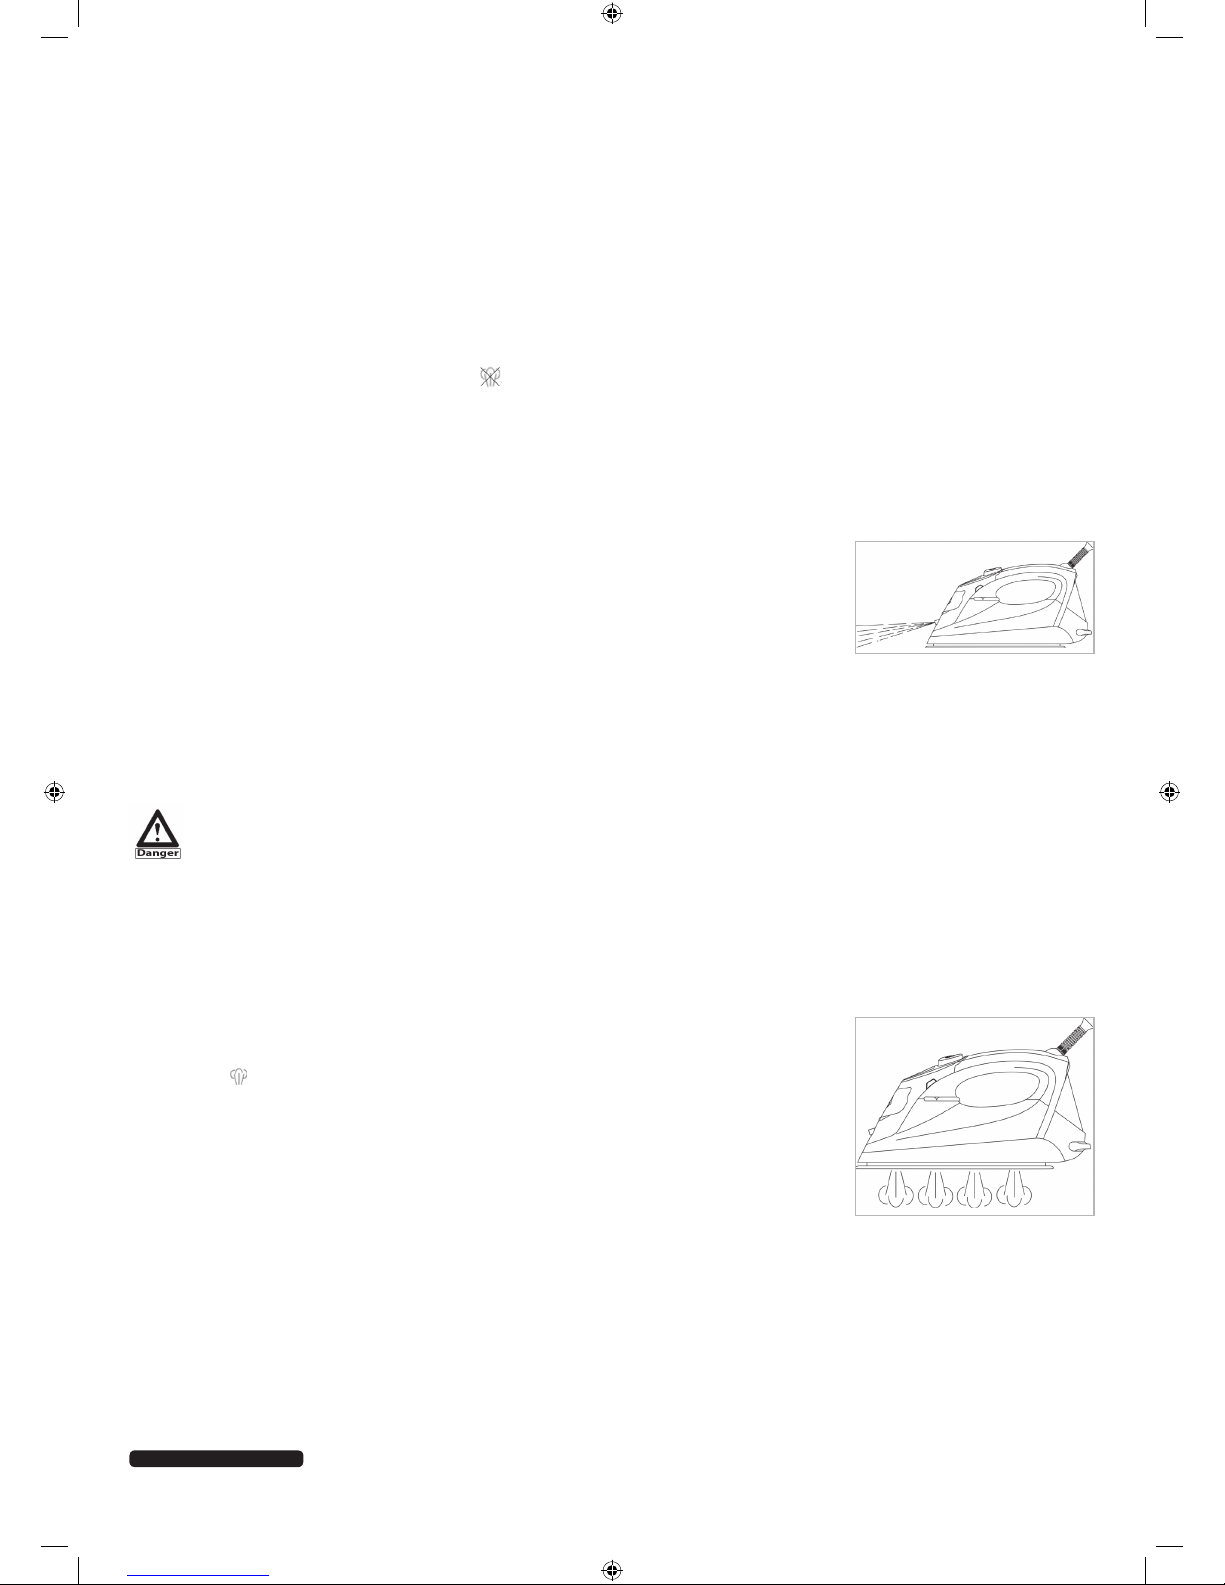
Steam ironing
Requirements: Water tank must be full.
1. Set the steam regulator (9) to
Position or higher.
2. Set the desired temperature according to the type of fabric to be ironed
(Temperature levels 5 to 9).
3. Only iron until the water tank is empty and no more steam is being
produced.
4. Turn the appliance off and unplug it from the mains. Refi ll the water.
Careful, the appliance remains very hot even after being switched off.
16
After Sales Support
Telephone: 1300 366 144
Internet: [email protected]
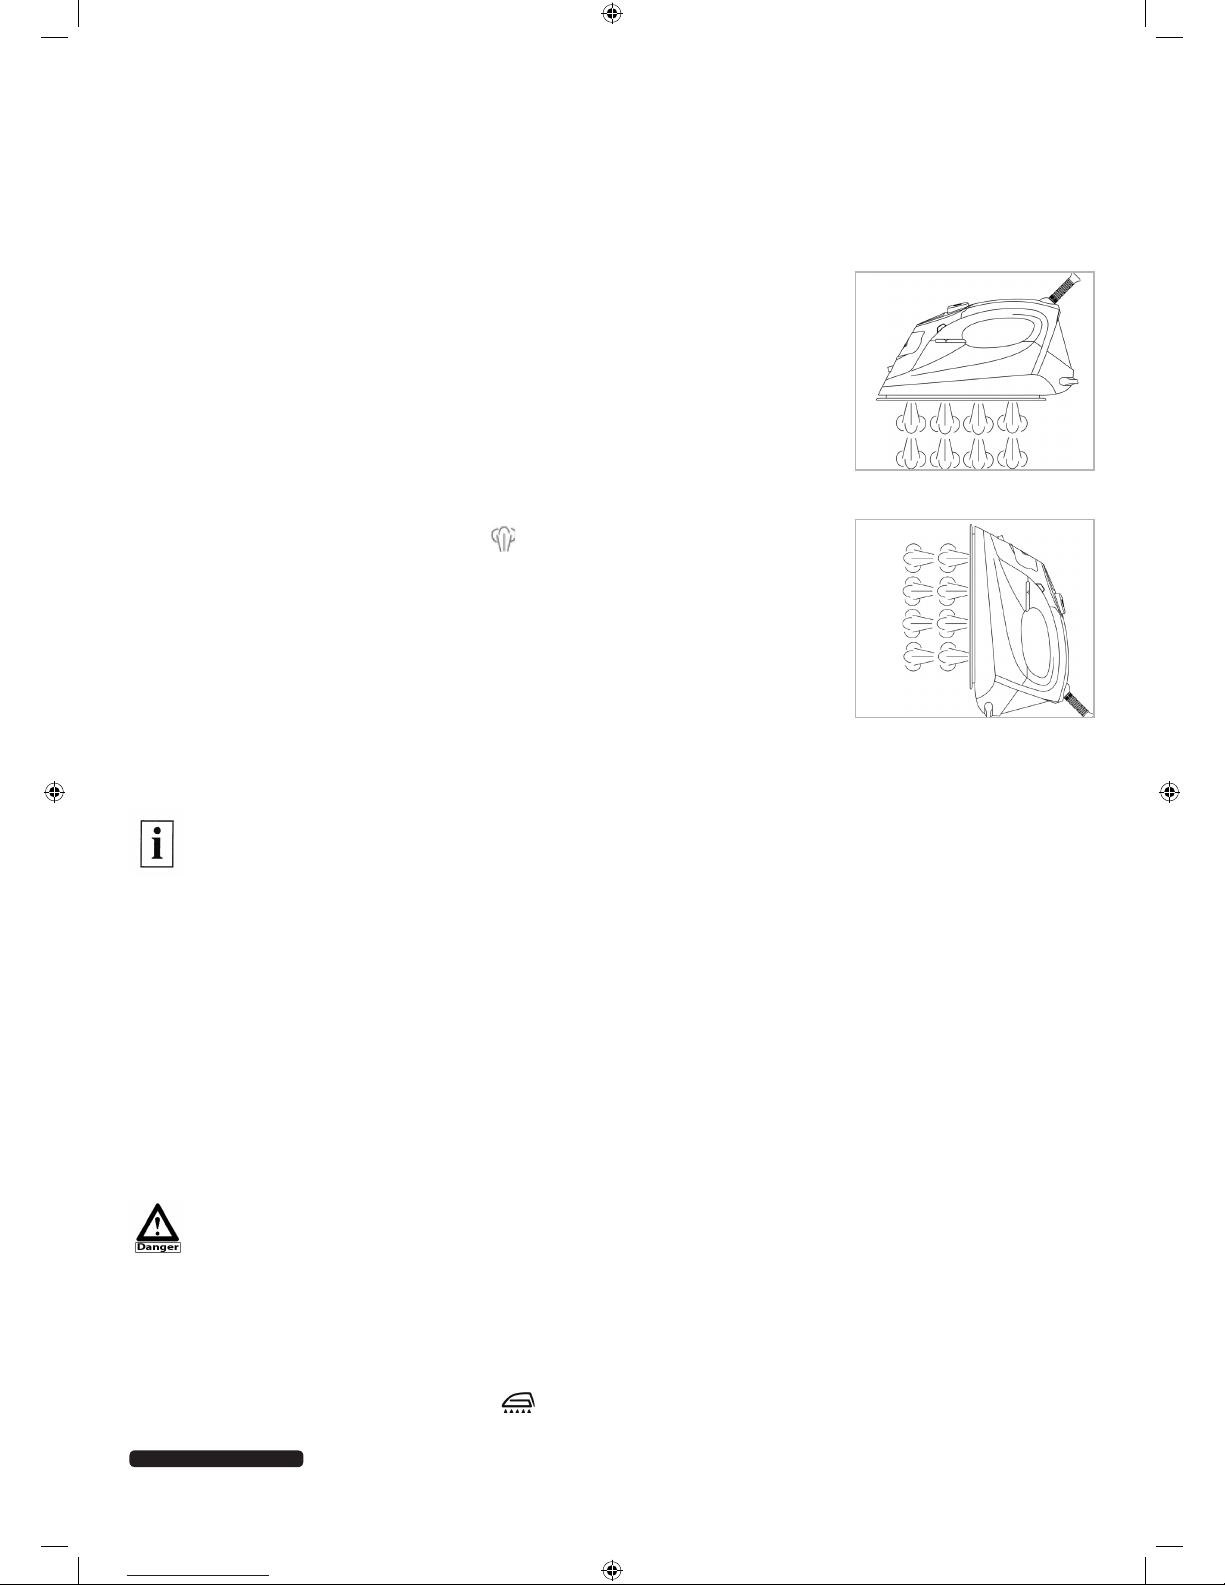
Steam jet
The increased steam generation caused by the steam jet is primarily suited for
linen and wool as well as for dealing with severely crumpled items. Hold the steam
iron at a suitable distance from the item being ironed. This will avoid damaging the
fabric. The vertical steam jet delivers an additional measure of steam, for example
to smooth fabrics in a hanging position such as hanging drapes or other hanging
or stretched items of clothing without any contact with the ironing base.
Requirements: Water tank must be full.
1. Set the steam regulator (9) to position or higher
2. Set the desired temperature according to the type of fabric to be ironed
(Temperature levels 5 to 9).
3. Press the steam jet button (2). The steam will shoot out from the holes in the
ironing base (10) into the fabric being ironed and remove the creases.
4. For severely creased items repeat the process as necessary. Do not press the
steam jet button (2) more than three times in a row.
5. Only use the steam jet function until the water tank is empty and no more
steam is being produced.
6. Turn the appliance off and unplug it from the mains. Refill the water. Careful, the appliance remains very
hot even after being switched off.
It may be necessary to press the steam jet button repeatedly in order to activate this function. After the
desired temperature level is attained, do not press the steam jet button more than three times in a row.
This will allow you to achieve optimal steam jet results. We recommend that you only use the steam jet
at temperature levels 5-9.
Anti-limescale system
In order to extend the life of your steam iron, an anti-limescale cartridge has been built in. It reduces the
formation and depositing of limescale in the steam nozzles and is cleaned using the self-cleaning function.
However, the anti-limescale cartridge does not completely prevent the natural limescale formation process.
Self-cleaning
The self-cleaning function removes accumulations of limescale and minerals in the steam chamber. After ap-
prox. 5 hours of steam operation or, at the latest, when the "Self-cleaning" symbol (B) appears on the display,
the ironing base (10) and/or the steam chamber must be cleaned using the self-cleaning function.
Danger of burns!
Avoid contact with steam and/or hot water.
Requirements:
– Water tank must be full.
– Temperature is set to temperature level "9".
1. Hold the iron horizontally over a sink.
2. Turn the steam regulator (9) to position and hold this position. Steam and boiling water will escape
through the holes in the base. This will rinse out the limescale deposits and accumulations which have
17
After Sales Support
Telephone: 1300 366 144
Internet: [email protected]
formed in the steam chamber.
3. Use the self-cleaning function until no more steam and/or hot water escapes.
4. Turn the appliance off and unplug it from the mains. Place the steam iron on the stand (11) and allow it to
cool.
5. Clean the base (10) with a moist, well wrung-out towel.
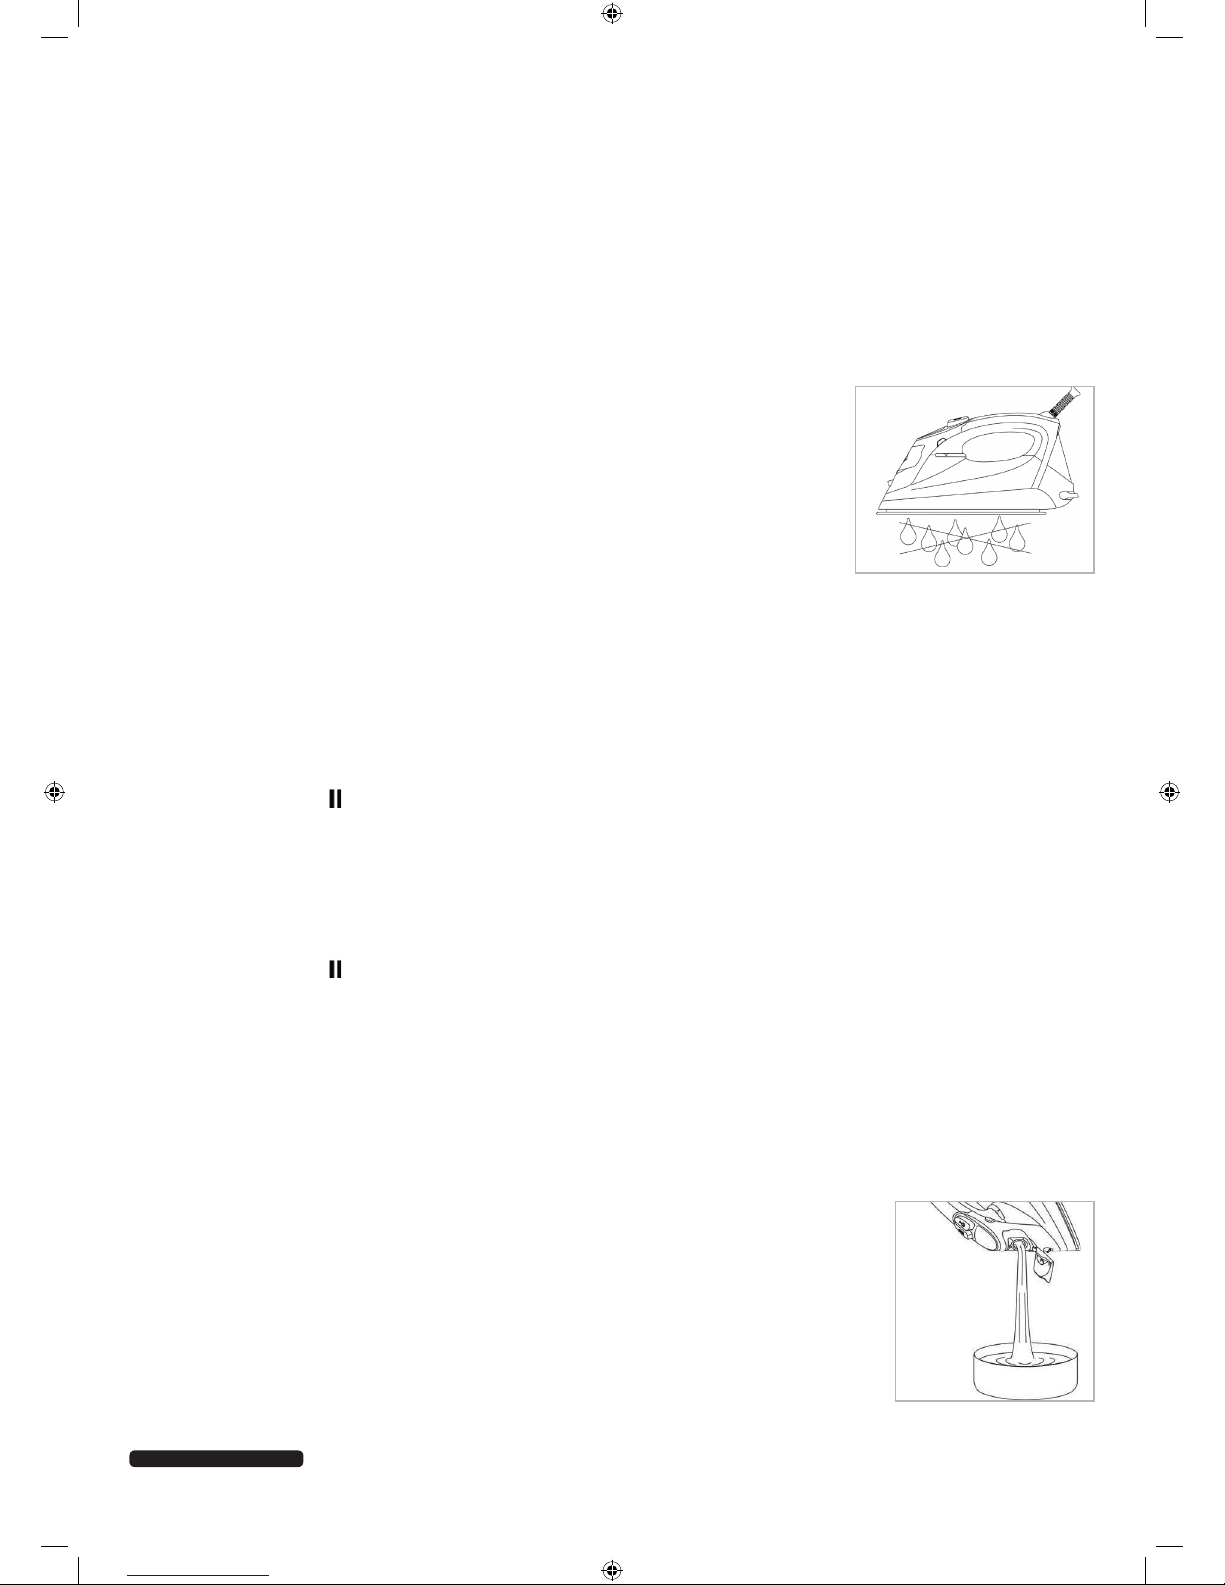
Anti-drip function
The anti-drip function prevents water from dripping from the base if the temperature
is still too low to generate steam. You will notice the anti-drip function thanks to the
clicking noise, especially during heating or cooling. This is normal and only serves to
indicate when the appliance is completely ready for use.
Auto-shutoff function
The auto-shutoff function automatically switches the steam iron off, in both horizontal and vertical positions, if
it has not been used for a longer period of time.
Auto-shutoff in a horizontal position:
1. The power supply is interrupted after 30 seconds when the steam iron is placed flat.
2. The Pause symbol is displayed blinking on the LCD display (4) and the LCD display (4) light is switched
off.
3. If the steam iron is moved, it will switch back on automatically.
Auto-shutoff in a vertical position:
1. The power supply is interrupted after approx. eight to ten minutes when the steam iron is placed on the
vertical stand.
2. The Pause symbol is displayed blinking on the LCD display (4) and the LCD display (4) light is switched
off.
3. If the steam iron is moved, it will switch back on automatically.
Turn off appliance
1. Press button (7) "Increase temperature" for approx. three seconds. The LCD display (4) turns off and an audible signal
will sound.
2. Remove the mains plug from the electrical socket. Pull the plug, not the mains lead.
3. Place the appliance on the stand (11) to cool.
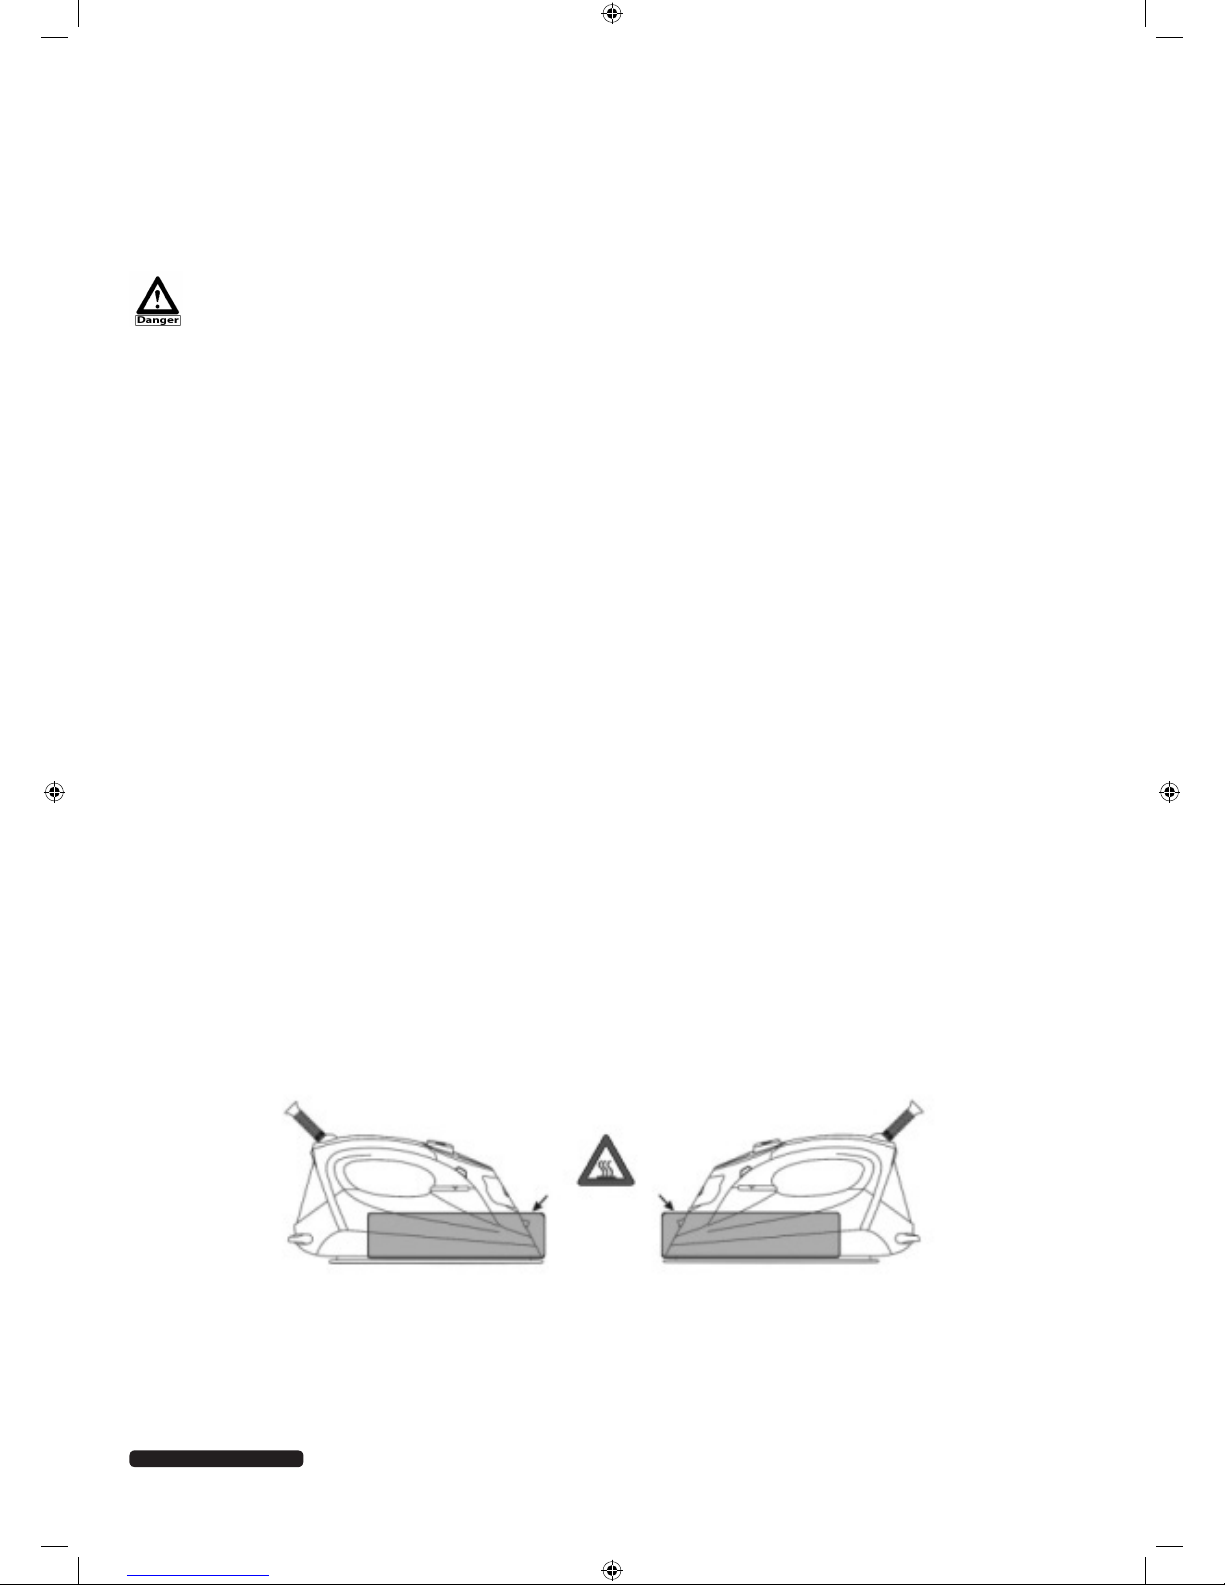
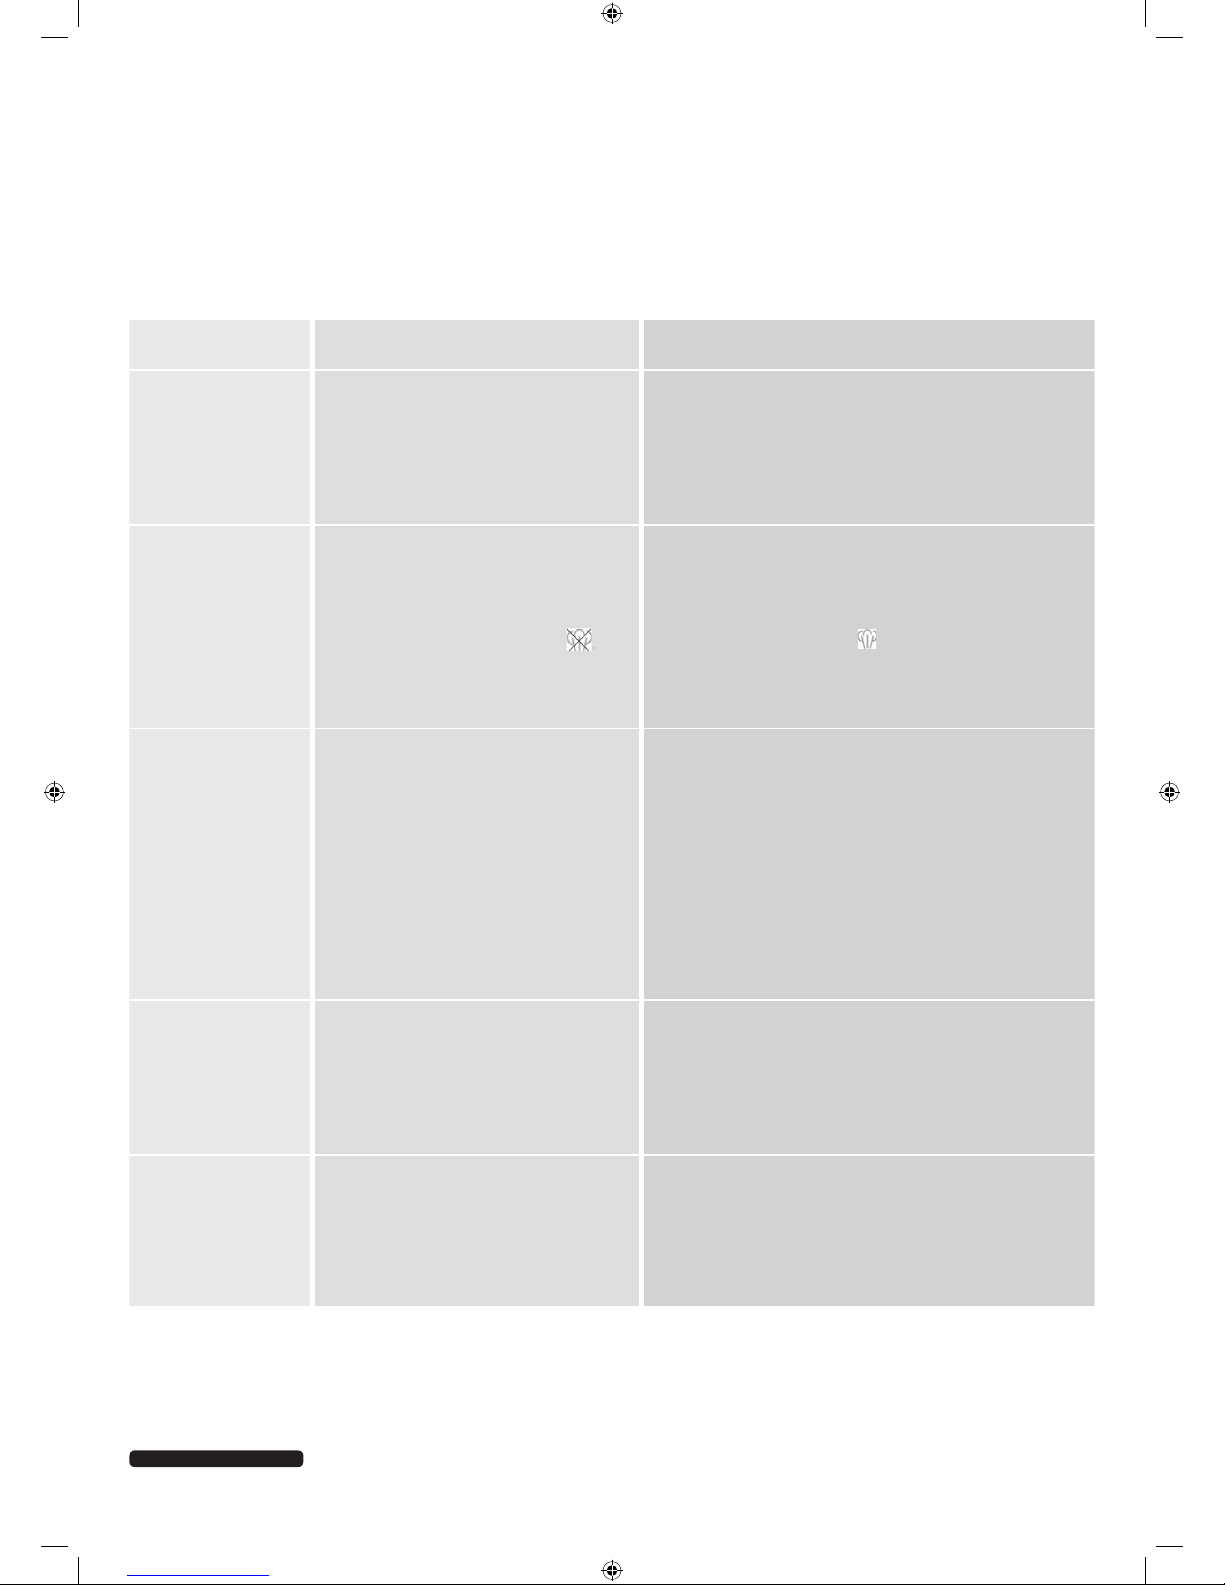
Emptying and storage
Requirements:
– Appliance is separated from the mains.
– Appliance has fully cooled.
1. Drain the steam iron as shown in the image to the right. We recommend that you empty
the water tank after every use.
2 As soon as the steam iron has fully cooled, clean it an store it in a suitable location.

18
After Sales Support
Telephone: 1300 366 144
Internet: [email protected]
FAQ
• Question: I would like to iron my silk blouse using the steam function. I have therefore set temperature level
3, but no steam is coming from the ironing base, why not?
• Answer: Please note that the steam function can/may only be used at temperature levels 5-9. Temperature
levels 1-4 are intended for dry ironing.
• Question: Hardly any steam is coming from the ironing base and limescale deposits can be seen on the
steam vents. How can I remove the deposits and ensure problem-free steam operation?
• Answer: In this case you should use the appliance's self-cleaning function. Proceed according to the instruc-
tions in the "Self-cleaning" section of this instruction manual.
• Question: The appliance is giving off a clicking sound. Can I still use it or should I have it repaired?
• Answer: The clicking sound is caused by the appliance's anti-drip function, which prevents water droplets
from escaping from the ironing base when the temperature has not yet reached the level required for steam
generation. This is completely normal and is not a reason to worry. Wait until the required temperature has
been reached, at which point you may use the appliance as usual.
Other Useful Information
19
After Sales Support
Telephone: 1300 366 144
Internet: [email protected]
Problem and Solution
Problem: Cause: Solution:
Steam iron does
not heat up
Auto-shutoff function
Not plugged into the outlet
Temperature not set
Tilt and/or move the iron horizontally.
Plug appliance into outlet
Turn the appliance on by pressing the "Higher
temperature” button (7) and set the temperature.
No or minimal
steam
First use of the steam iron
Temperature is too low
Steam regulator to position
Limescale deposits or steam has
not been used for a longer period
Wait approx. 2 minutes until steam is produced
Set temperature to at least level "5"
Set steam regulator to
Carry out self-cleaning
Water is dripping
from base
Steam jet has been pressed too
frequently
Additional steam jet when ironing
wool, silk or synthetics
Steam jet pressed when base was
too cold
Internal temperature regulator
misaligned
Wait a bit before using steam jet
Set temperature to at least level "5"
Wait until iron is ready
Contact customer service
Laundry has been
stained by leaking
liquid
A chemical limescale remover or
additive was used
Singed fabric fi bres in the openings
in the base or between the casing
and the base
Carry out self-cleaning. Never use any additives!
Clean base, vacuum openings in the base, carry
out self-cleaning
Base dirty,
Laundry is
discoloured
Too high a temperature selected
Laundry not correctly rinsed, starch
used
Allow ironing base to cool, clean,
set temperature correctly
Clean base, spray starch on reverse side of
laundry, not ironing side, the base may not come
into contact with the starch.
In the event of faults not listed here, please contact our customer service hotline. Our customer advisors will
be glad to offer you further assistance. You will fi nd the phone number in our warranty conditions and on the
warranty card. You can also request a copy of the operating instructions from our customer service department.
20
After Sales Support
Telephone: 1300 366 144
Internet: [email protected]
Always unplug the plug and allow the appliance to cool completely before cleaning and storing it.
Danger of electrocution! Never touch hot surfaces!
Always ensure that no liquid penetrates inside the appliance; never submerge the appliance in
water. Danger of electrocution!
Never use harsh or abrasive cleaning materials or sharp-edged items to clean the appliance.
1. Clean the lukewarm base (10) with a damp, non-metallic sponge.
2. Clean the casing of the steam iron with a damp and well wrung-out towel.
Maintenance, Cleaning
and Care
Disposal
The product packaging consists of recyclable materials. The packaging material can be disposed
of at public collection depots for recycling.
Old appliances do not belong in household waste! At the end of its useful life, this appliance must be
disposed of properly according to statutory provisions. In this way, any valuable material contained in
the old appliances can be recycled and the environment protected. Responsible local authorities or their
waste disposal operators can provide further information.
Technical Data
Nominal voltage: 220 – 240V~
Nominal frequency: 50/60Hz
Nominal output: 2020 – 2400W
Protection class: I
Energy consumption for heating: approx. 0.02kWh
Steam quantity
(at max. setting): approx. 33g/min
Steam quantity of steam jet: approx. 0.4g/jet
Table of contents
Other Lumina Iron manuals


