Speakers and Bass Management guide 8
If the redirected bass will be played by a subwoofer, you should also make sure that the cutoff
frequency is lower than the highest frequency the subwoofer can play.
The system can only redirect bass to XXL speakers placed at the Left Front/Right Front, Left
Surround/Right Surround, and Left Rear Surround/Right Rear Surround positions.
In a system with subwoofers present, there will be no difference between XL and XXL, since the
redirected bass is played by the subwoofers.
In a system with an LFE sub, the LFE sub will play the LFE channel, while the XXL speakers will
play the redirected bass. (LFE is a separate channel for Low Frequency Effects)
In a system with no subwoofers at all, the XXL speakers will play the redirected bass as well as the
LFE channel.
Normally a system without any subwoofers will need to have XXL speakers to receive LFE and
redirected bass. There is, however, one exception; it is possible to make a system without
subwoofers and with all XL speakers. Since there is no redirected bass, the system can handle this
without XXL speakers, but in such a system, the LFE channel will not be played by any speakers.
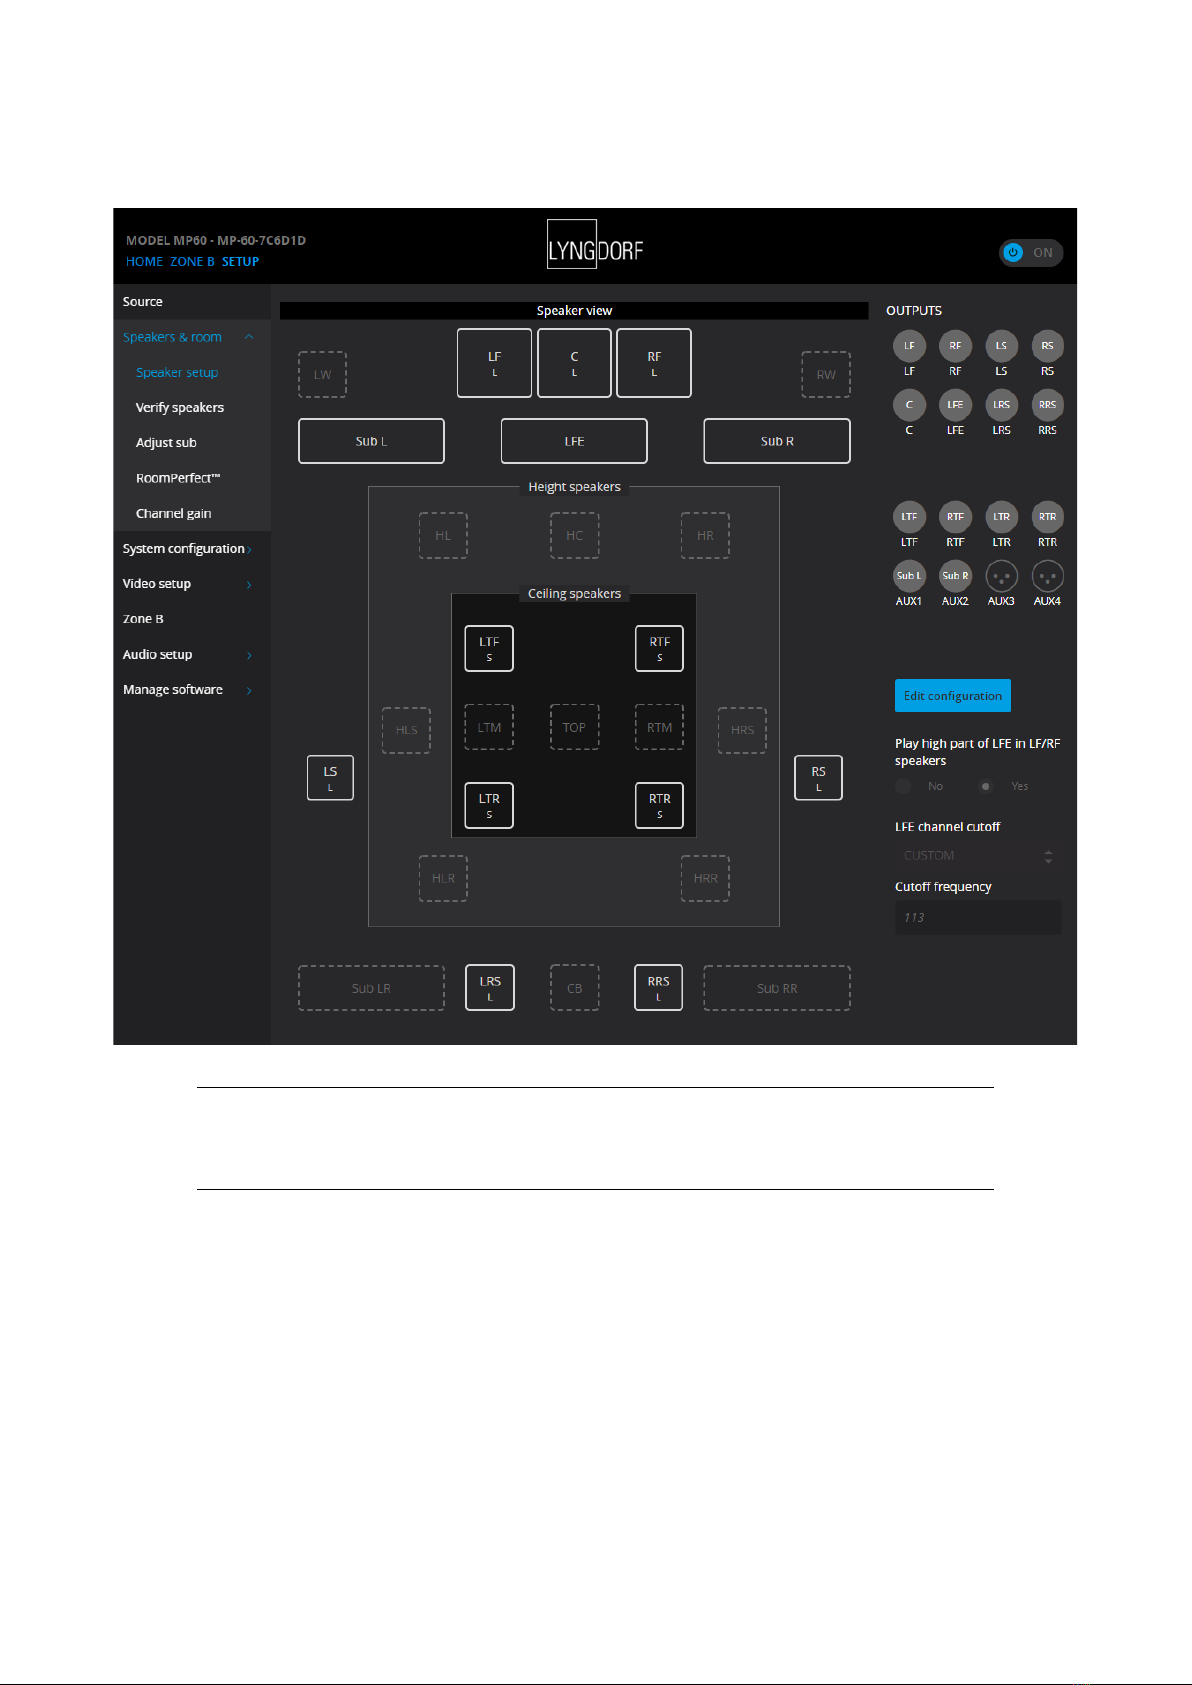
LFE (Low Frequency Effects) Sub
According to the Dolby specifications, this channel should only contain audio up to 120 Hz. It is
though occasionally holding audio with much higher frequencies, why it possible to select a Low
Pass filter for this channel, if your subwoofer cannot reproduce these frequencies.
It is possible to add a cut-off for the LFE channel and you can choose to direct the higher
frequencies to the Left and Right Front speakers if they have the capacity to perform this audio as
well.
When setting up the LFE subwoofer, there is an option to select the size of the sub. This frequency
is only used to add a low pass filter to the LFE channel. If the subwoofers are not playing LFE, then
this setting has no effect. If subwoofers are playing the LFE, then the LFE channel will be low pass
filtered before being sent to the subwoofers. This setting has no influence on the redirected bass
since the filter frequency for that was selected when setting up the speakers.
Gain
For each speaker channel you can adjust the gain. This is used to roughly even out the levels of all
speakers with relation to the gain in each amplifier channel and sensitivity and distance to the
speaker. Use a sound pressure measuring application for your phone, while activating the Verify
Speakers feature. This would only be for ensuring, that all speakers are within the optimal
measurement levels, when RoomPerfect™ will perform the final calibration.