7 | P a g e
Pivot Screws
The MadStad mount has a pivot screw on each set of brackets, located near the middle of brackets. A nylon lock nut keeps the
screw in place, yet allows the brackets to slide back and forth. It is adjusted at the factory to have a minimum of play yet still
allow the brackets to move.
The upper pivot hole gives maximum rearward tilt, and the lower pivot hole moves the tilt range 5 degrees more forward. If for
some reason you wish to adjust the tightness of this pivot screw or move it to an alternate pivot position, use a 4mm Allen
wrench along with a 10mm socket or open-end wrench to make the adjustment. If you tighten the lock nut completely you will
not be able to slide the brackets.
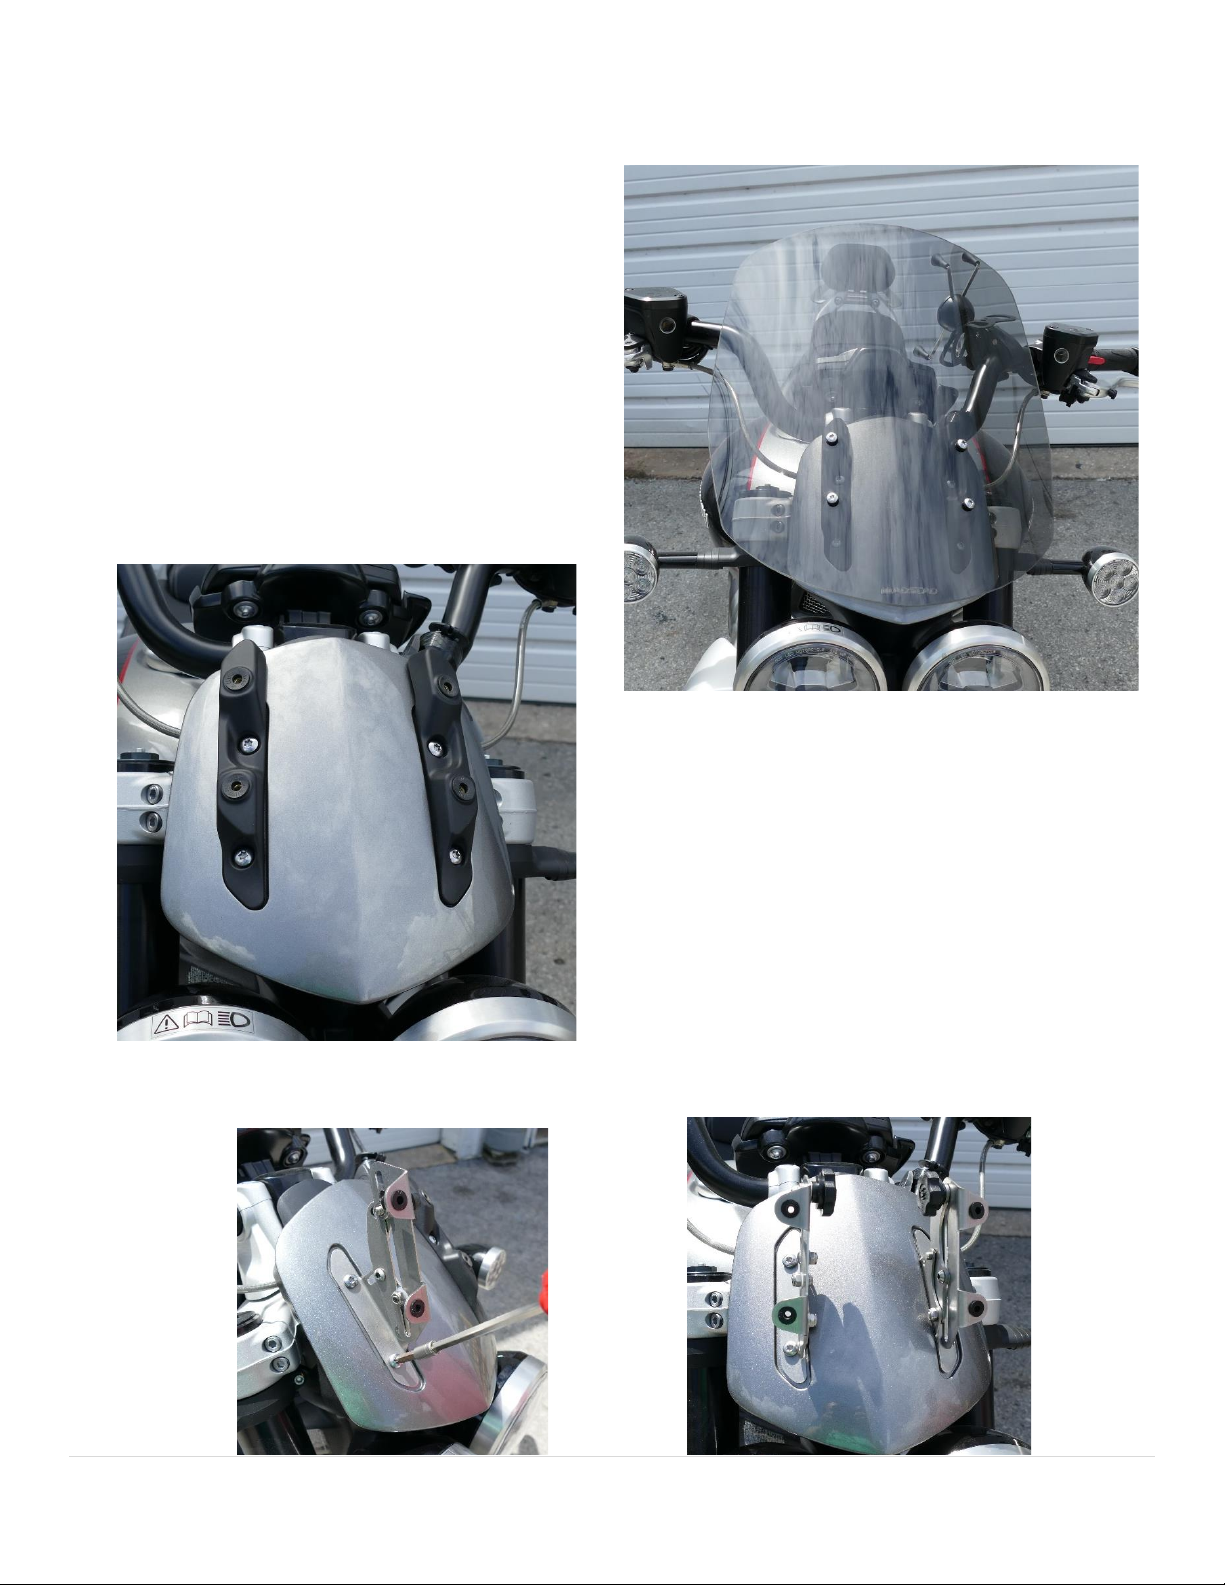
Adjustment Knobs
To adjust the windshield for height and/or angle you must loosen the knobs about 1-2 turns to loosen the brackets allowing
them to slide back and forth. Gently push or pull on the shield to position it where you want it. Once you have the brackets
adjusted, you do not need to tighten the knobs down hard, just snug enough to prevent them from moving out of adjustment.
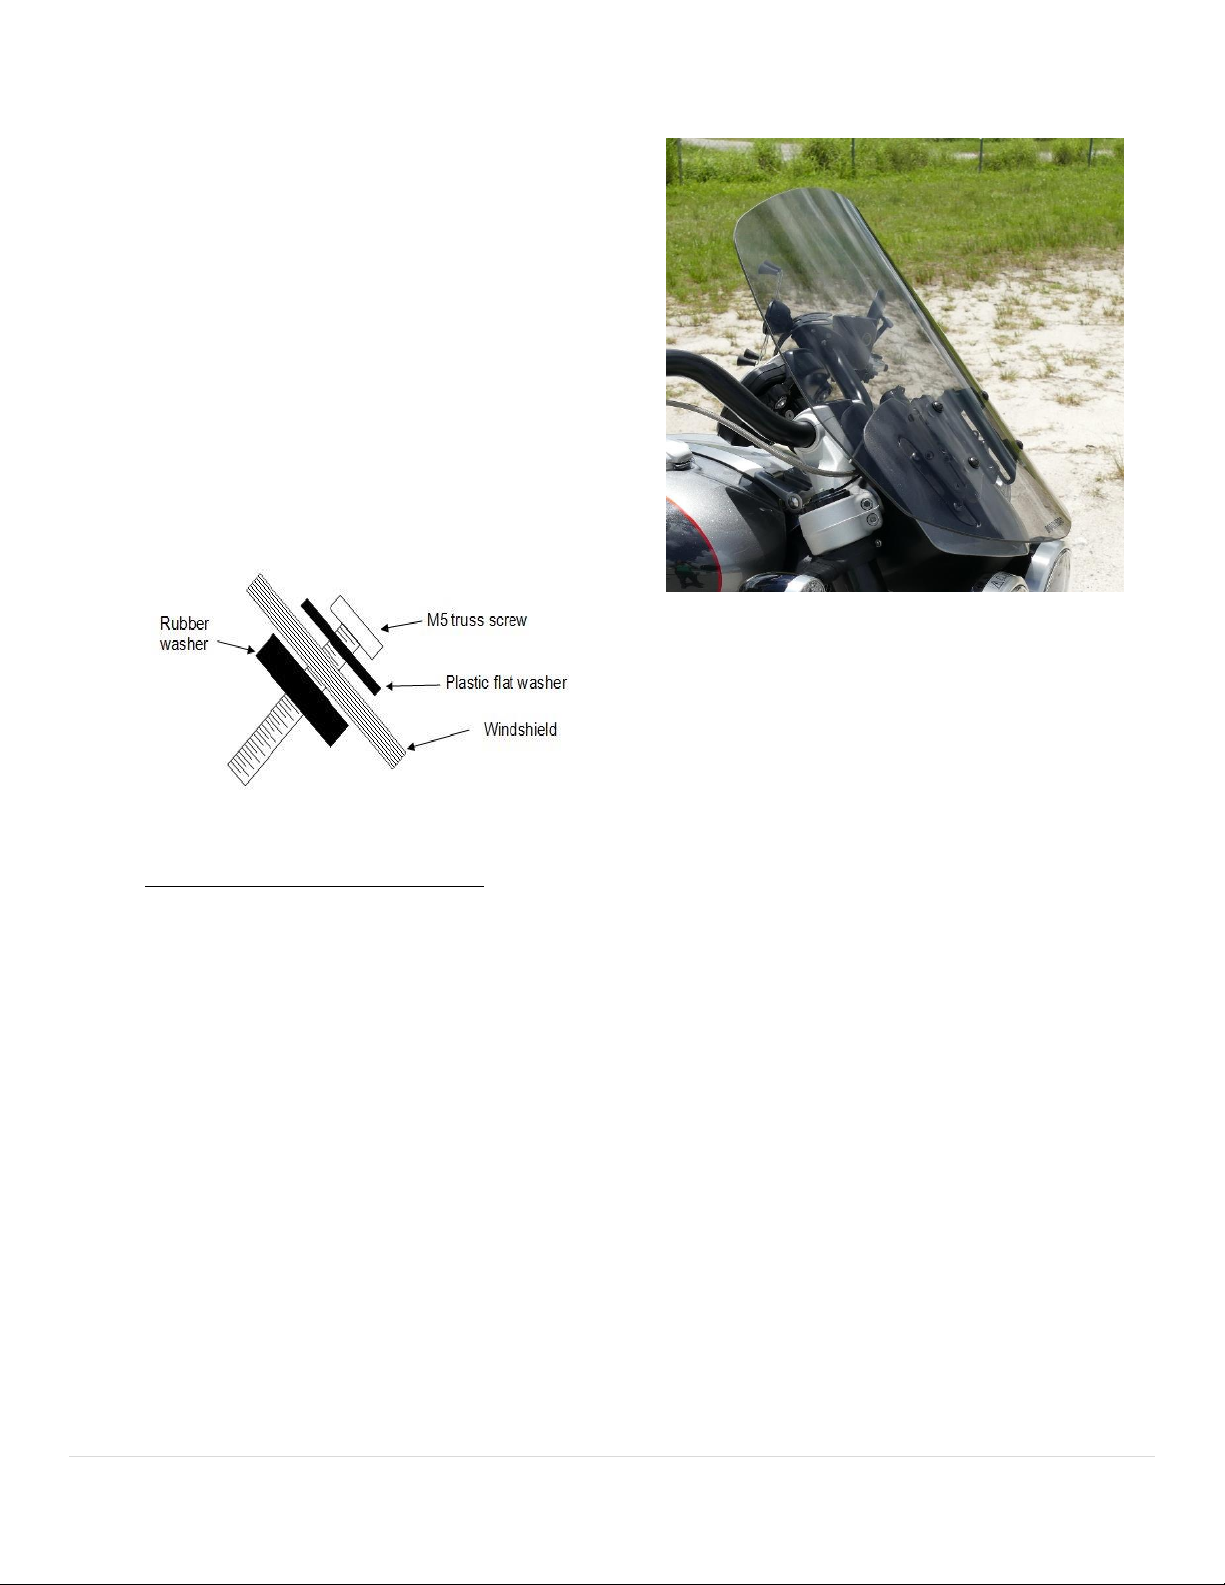
Adjustments
You will have at least 2” of vertical travel and 20 degrees of angle to work with. We suggest setting the
angle first, usually about the same angle as the forks on the bike. Loosening the knobs allows for adjustments.
Take the bike out and test. You may want to change the angle a little or change the height –this is very
much a trial and error type of experiment. Be sure to stop and pull over when making adjustments.
Different weather conditions and different speeds will help in determining what works best for you.
Disclaimer
Neither MadStad Engineering nor its owners shall be liable for any damages, consequential or inconsequential, resulting
from the use of our products. Installation of any of our products constitutes acceptance of these terms. It is the responsibility
of the user to make sure all fasteners are tightened securely; the windshield is mounted properly and the adjustment knobs
are tightened snugly before putting the motorcycle in motion. MadStad systems ARE NOT intended to be adjusted while the
vehicle is in motion; you must pull over out of the way of traffic and come to a complete stop before making any changes.
The user must never place the windshield in such a position as to interfere with the safe and complete movement of the
handlebars and controls.
Returns and Warranty
If you are not satisfied with your new windshield system you have 30 days to return it. Full details are available on our website
at www.madstad.com. If purchased from a dealer then please contact the dealer for their return policy.
MadStad adjustable brackets carry a lifetime warranty against manufacturing defects. This does not include cosmetic issues
nor any parts that inherently wear out or degrade over time such as rubber and plastic parts. Windshields, deflectors and
other similar plastic parts are warrantied for 1 year against manufacturing defects, not against cosmetic issues or issues
related to normal wear and tear.