maestrowave MS220SG User manual

SLICER
INSTRUCTION MANUAL
MS220SG/MS250SG/MS300SG
MS250SG
MS300SG

INSTRUCTIONS FOR USE
NOTE
The power supplied to this unit must comply with electrical requirements on the label.
Damage or fire may result if the incorrect power is used.
The machine must be plugged into a properly grounded electrical outlet when in use.
Use of a non-grounded outlet may result in shock or serious injury.
Turn off all switches and unplug the unit should an emergency situation occur.
Keep hands and other body parts clear of rotating knives and moving parts to avoid injury.
Repairs not carried out by an approved service agent will invalidate the warranty.
The supplier shall not be liable for any injury or damage resulting from the improper operation of this
device or in the case of a unit being used which has been abused, damaged either accidentally or
intentionally, modified, improperly installed or used in any manner contrary to those included in the
product instructions.
Machine should not be used if there is any electrical wire damage.
The machine cannot be washed or placed into water as it is not a waterproof device. Putting the unit into
water may result in electric shock and will damage the mechanical and electrical components.
Turn off all switches and unplug the unit when not in operation.
Turn off and unplug the unit when performing maintenance or cleaning the unit.
Turn the machine off if it appears to be operating in an unusual manner.
Check blade cover, meat tray, slicer knife and other parts on a regular basis.
Do not cut frozen meat.
Keep the manual with the machine at all times.
The unit must always be plugged into a properly grounded electrical outlet when in operation
to avoid damage or injury.
Keep hands clear of rotating knives and moving parts to avoid injury during operation.
Clean the unit at the start of each day and as needed when in use.
Inspect the blade for nicks and other damage and sharpen or replace when needed.
Use caution when handling or replacing the slicer blade as it is very sharp and may cause injury
if not properly handled.
TECHNICAL SPECIFICATION
MODEL
MS220SG
MS250SG
MS300SG
Voltage
220V/50Hz
220V/50Hz
220V/50Hz
Power
120W
150W
250W
Slicing Thickness
0-11mm
0-11mm
0-11mm
Blade Diameter
220mm (8”)
250mm (10”)
300mm (12”)
Weight
18kg
20kg
28kg
Dimensions
520 W 460 D 380 H (mm)
630 W 530 D 460 H (mm)

PARTS INCLUDED
The following parts are included with your Maestrowave Slicer. Please check all packaging to ensure that all
required parts are present before proceeding.
Blade Sharpener
Safety Guard
Blade Removal Tool
Lubricating Oil
Instruction Manual
MACHINE INSTRUCTIONS & PARTS
1. Sharpener 6. Slicer thickness regulator
2. Blade cover 7. Power button
3. Product pusher 8. Plate
4. Carriage 9. Slicer
5. Product pusher handle 10. Safety guard
ASSEMBLY
Remove slicer from packaging, fit plastic safety guard (10) to carriage and blade sharpener (1) before use.
OPERATION
1. The machine should be installed on a work surface that has sufficient stability and strength to support the
weight of the machine and product being sliced.
2. Make sure that the line voltage of your power source matches the rated voltage and frequency on the
machine.
3. Turn the switch on and let the machine run for approximately 2-3 minutes before use. Ensure that the
machine is running properly before use.
4. When the power is on, the light bulb on the power button will glow.
5. Adjust the slice thickness by turning the slice thickness regulator counter-clockwise.
Turn the positioner knob clockwise. Make sure the positioner head touches the plate.
6. Push the product carriage back and forth over the blade with a continuous motion, using the product pusher
handle and the pusher knob.
7. After slicing the desired amount turn the positioner knob back to the original position.
8. You can now pick up the sliced product.
1
2
5
3
4
6
7
10
8
9

CLEANING
1. Always turn off and unplug the slicer before cleaning.
Always set the slice thickness regulator to the zero position to avoid cutting yourself.
2. Never use any chemical or abrasive products. Do not use a brush or any other type of utensils which could
damage the different parts and surface of the slicer.
3. Use a damp cloth with detergent to clean the machine and then dry it.
The slicer should be cleaned daily.
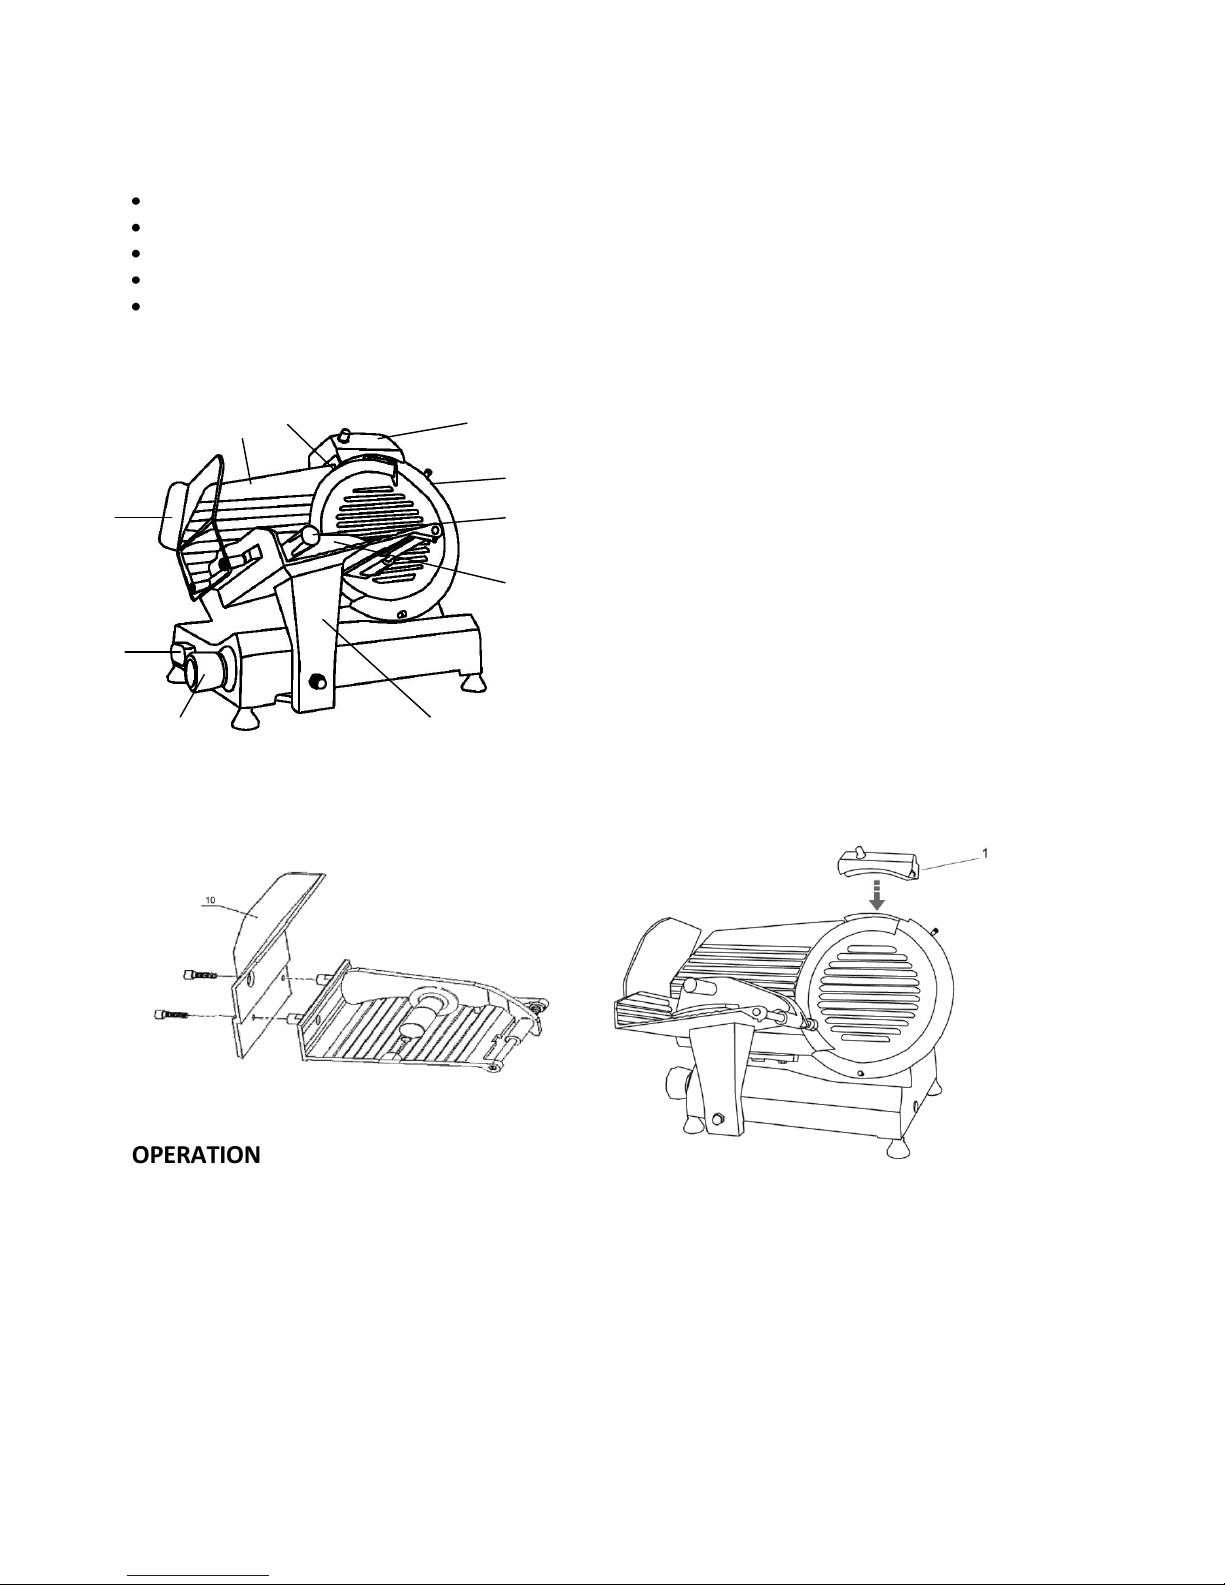
4. Remove the blade cover away from the blade when cleaning and clean the product carriage also.
5. Warnings for blade cleaning:
a) Wear metal mesh safety gloves when the slicer is in operation.
b) Do not touch the edge of the blade.
c) This is a dangerous operation and caution should be used.
6. You should run the machine for 5 minutes after cleaning.
7. Do not put the machine directly into any container with water in it.
This machine is not waterproof.
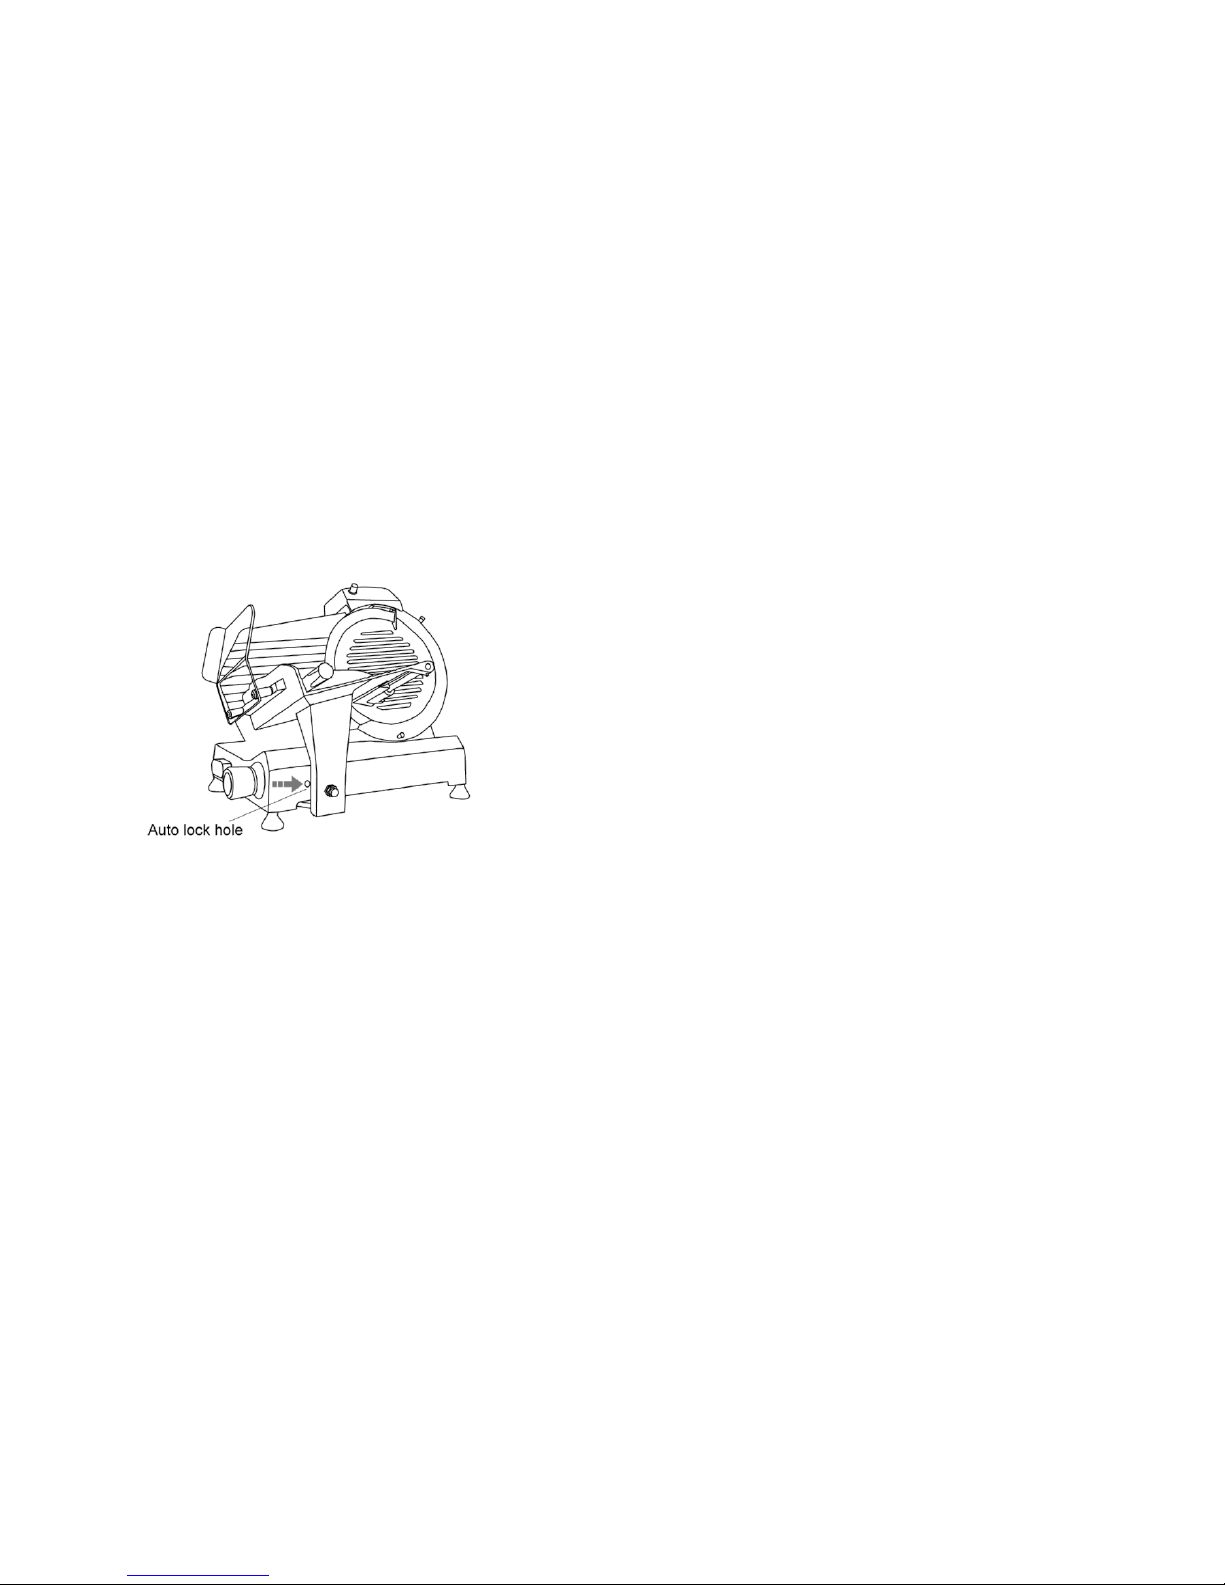
CARRIAGE AUTO LOCK
Move the carriage stand towards the left to the auto lock hole
position and loosen the carriage knob until a clicking sound is heard.
The carriage stand is now locked to prevent movement if the
slicer is relocated.
MAINTENANCE
1. Minimizing blade rust:
a) Wipe the blade with a dry cloth at the end of each shift or day.
b) Spread a layer of cooking oil on the edge of the blade with a dry cloth.
c) Sharpen the blade every day to prevent rust.
2. Guide lubrication:
a) Push the carriage to one side, and clean the grease and dirt from the guide with dry cloth.
b) Smear the guide surface with food safe lubricant. Spread well and lubricate.
c) It is best to lubricate the guide every week.
3. Pusher axle lubrication:
a) Clean the pusher axle with a dry cloth.
b) Put the lubricant on the both of the axles and pull the pusher up and down to distribute evenly.
c) It is best to lubricate the axle every day.
4. Sharpener lubrication:
a) Clean the sharpener axle before sharpening.
b) Put the lubricant on the both of the axle.
c) Turn and slide the axle until it moves well.
5. Localizing head lubrication:
a) Turn the fixing positioner counter-clockwise to the maximum setting.
b) Clean the localizing head and apply lubricant.
c) Turn the fixing positioner back to the original position.
d) It is best to lubricate this every week. Take care not to use too much oil.

BLADE SHARPENING
1. You should sharpen the blade when the slice thickness is not even or the slices are not continuous.
2. Clean the edge of blade before sharpening.
3. Pull the sharpener out and lubricate the sharpener axle so that it works well.
4. Pull the sharpener out and turn 180°, press the right side stone down and put the sharpener to the
working position.
5. Make sure that the surface of stone is resting closely to the surface of the blade. If not, adjust accordingly.
6. Turn the power on and the work the blade 10-15 seconds. Stop the machine and look to see if the blade is
sharpened well. If not, continue running the machine until sharp.
7. Press the left side stone down and make sure the surface of stone is resting closely to the surface of blade, then
sharpen 3 seconds to remove a burr.
8. Put the sharpener back to the original position when done.
9. Always keep the stones clean as the stones work best when cleaned.
10. Wear approved safety eyewear when sharpening the slicer blade to avoid the possibility of any eye damage
during the sharpening process.
BLADE REMOVAL & CLEANING
Blade cleaning should only be carried out when wearing Metal Gloves (3) and a wet cloth should be used
1. Always turn off and disconnect the slicer from the mains before cleaning
2. The slicer thickness regulator should be set to the zero position
3. Unscrew the hand shield on the carriage and move to the left to unlock
4. Unscrew the knob of the tie screw (1) to release the blade guard
5. Disassemble the blade cover (2) and remove the sharpener (4)
6. Attach the blade removal tool (5) to the blade and tighten the 2 screws (6) on the removal tool
7. After cleaning, re-attach the blade to the slicer by repeating the steps above

EXPLODED VIEW


Sole Distributor
R H Hall (Microwave) Ltd
Hallco House, Beacon Court
Pitstone Green Business Park, Pitstone
Bedfordshire, LU7 9GY
Telephone: 01296 663400
Fax: 01296 663401
Website www.maestrowave.com
This manual suits for next models
2
Table of contents