MB190UC-BL / MB190UC-BK / MB190UC-OR / MB190UC-GR / MB190UC-NG / MB190UC-YE
4 Rev. 03/16/05
TOOLS NEEDED FOR ASSEMBLY:
2 - 14mm Combination Wrenches
13mm Socket or Universal Socket
4" Extension
1/4" Ratchet
#2 Phillips Screwdriver
PART DRAWINGS
5
Push Handle
Bracket
6
Push Handle 7
Legs (4)
13
Bumper (4)
9
Non-Locking
Caster (2)
10
Locking Swivel
Caster (2)
12
Drawer
Pull (3)
15
Spray Can
Holder Divider
PARTS LIST
MB190UC, -BK, -BL, -GR, -NG, -OR, -YE
3 Drawer Deluxe Utility Cart
6
13
12
16
17
9
18
15
10
7
5
14
11
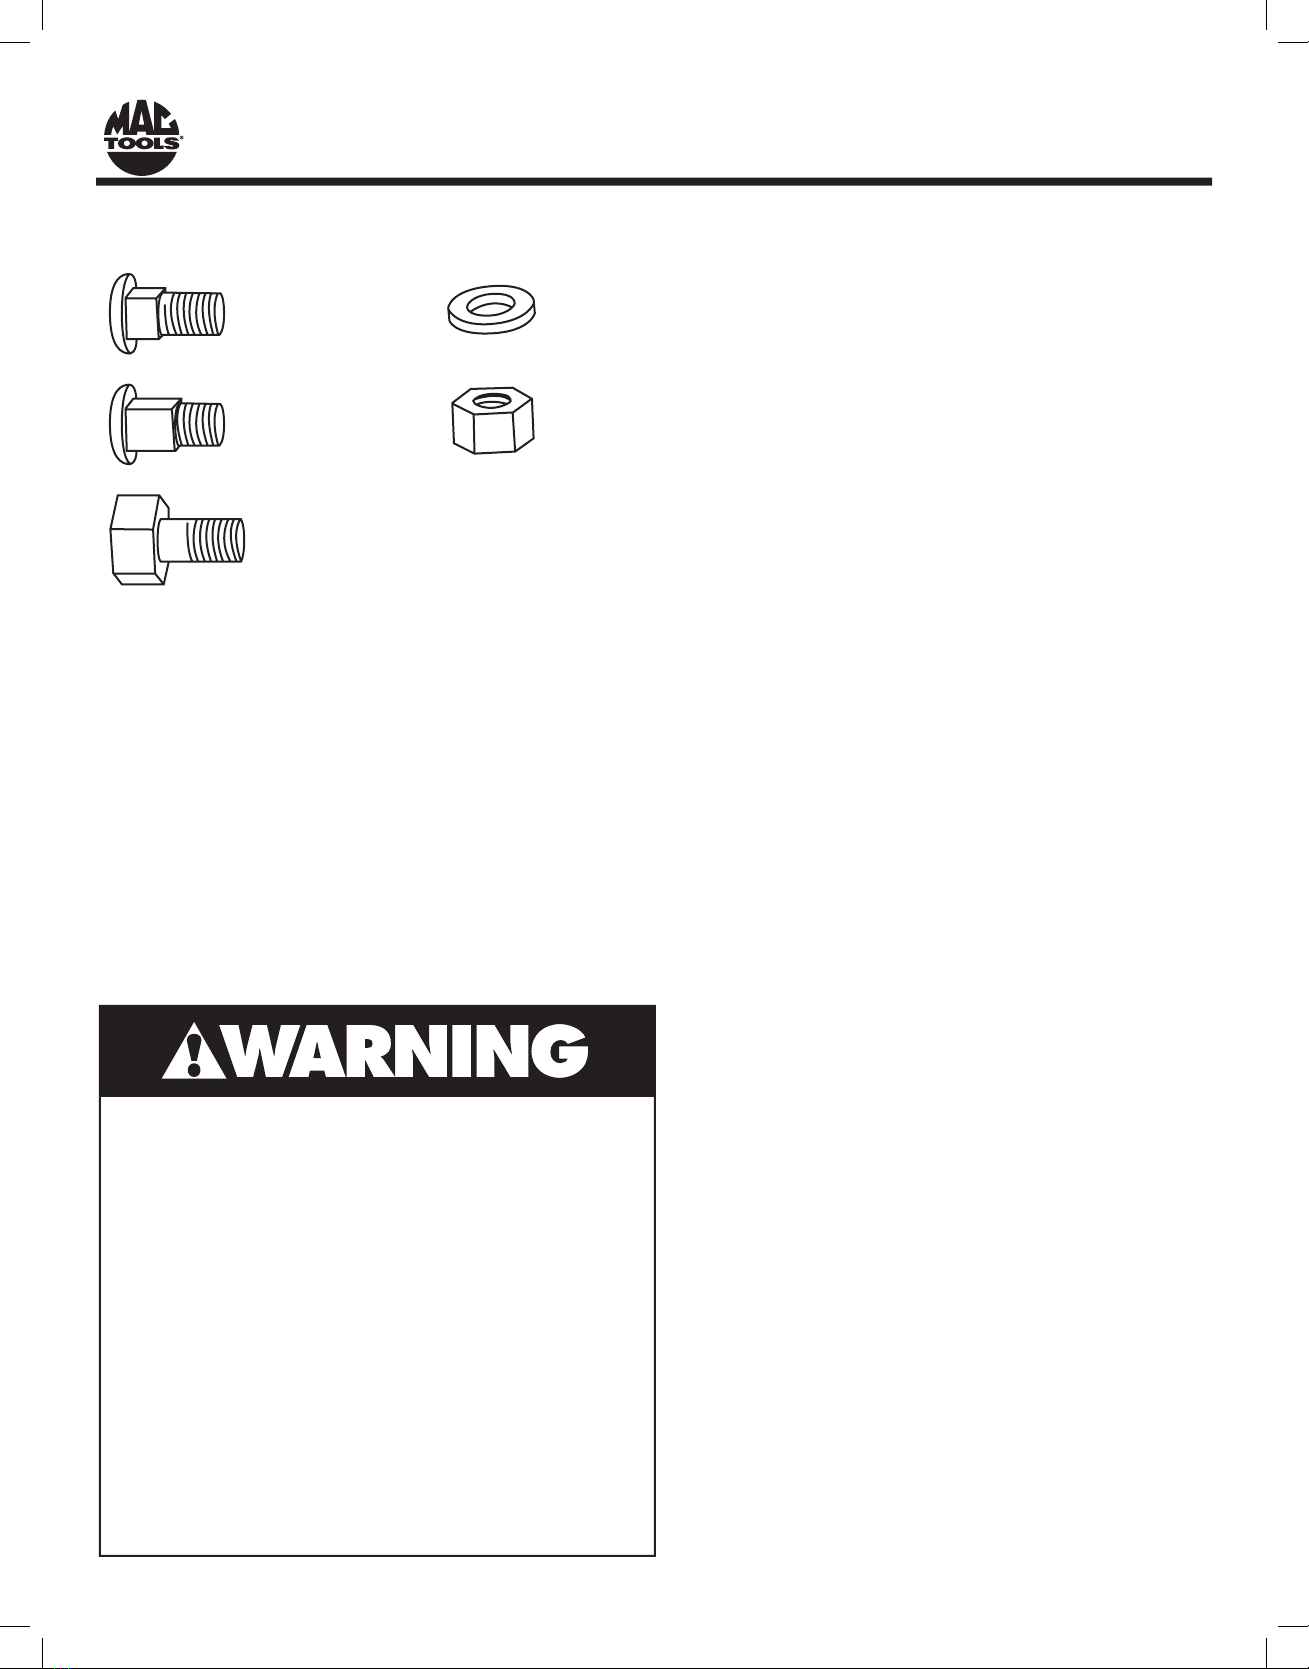
1a
1b
* Available in the following bolt kits:
RS190UCBK1 item# 1a, 2, 3 (32 pieces)
RS190UCBK2 item# 1b, 2, 3 (8 peices)
RS190UCBK3 item# 2, 3, 8 (16 pieces)
L-Shaped hex key included for adjust-
ing the tension on the RSBKT bracket
(item no.11)
Item Part No.
No. No. Req’d Description
1a * 32 M8x22 Bolt
1b * 8 M8x28 Bolt
2 * 72 M8 Washer
3 * 56 M8 Locking Nut
5 RS190UCHB 2 Push Handle Brackets/Pair
6 RS190UCHDL 2 Push Handle
7 RS190UCLG-R 4 Red Leg/each
RS190UCLG-BK 4 Black Leg/each
RS190UCLG-BL 4 Blue Leg/each
RS190UCLG-GR 4 Green Leg/each
RS190UCLG-NG 4 Neon Green Leg/each
RS190UCLG-OR 4 Orange Leg/each
RS190UCLG-Y 4 Yellow Leg/each
8 * 16 M8x19 Bolt (for casters)
9 RSSWCS 2 Swivel Caster /each
10 RSSWLCS 2 Swivel Caster with lock /each
11 RSBKT 2 Bracket for paper storage area
12 RS190UCDHBK Black Drawer Handle/each
13 RS190UCBP 1 Set of 4 Bumpers
14 RSLK Lock with Keys
15 RSSCD-R Red Spray Can Divider
RSSCD-BK Black Spray Can Divider
RSSCD-BL Blue Spray Can Divider
RSSCD-GR Green Spray Can Divider
RSSCD-NG Neon Green Spray Can Divider
RSSCD-OR Orange Spray Can Divider
RSSCD-Y Yellow Spray Can Divider
16 MBD190UC1 2 Red 3" Drawer
MBD190UC1-BK 2 Black 3" Drawer
MBD190UC1-BL 2 Blue 3" Drawer
MBD190UC1-GR 2 Green 3" Drawer
MBD190UC1-NG 2 Neon Green 3" Drawer
MBD190UC1-OR 2 Orange 3" Drawer
MBD190UC1-YE 2 Yellow 3" Drawer
17 MBD190UC2 1 Red 6" Drawer
MBD190UC2-BK 1 Black 6" Drawer
MBD190UC2-BL 1 Blue 6" Drawer
MBD190UC2-GR 1 Green 6" Drawer
MBD190UC2-NG 1 Neon Green 6" Drawer
MBD190UC2-OR 1 Orange 6" Drawer
MBD190UC2-YE 1 Yellow 6" Drawer
18 MBS190UC 1 Red Bottom Shelf
MBS190UC-BK 1 Black Bottom Shelf
MBS190UC-BL 1 Blue Bottom Shelf
MBS190UC-GR 1 Green Bottom Shelf
MBS190UC-NG 1 Neon Green Bottom Shelf
MBS190UC-OR 1 Orange Bottom Shelf
MBS190UC-YE 1 Yellow Bottom Shelf
19 RS190UCPBT 3 Prybar Tube/each
Also available: RS190UC5LK 5 Piece Liner kit
RSSCPK Service Cart Polishing Kit
RSSCRBS Roller Bearing Slides for Drawers/pair
RSSCRBS-T Roller Bearing Slides for Sliding Top/pair
RSDETPR Detents for Roller Bearing Slides/pair
19
Prybar Tube