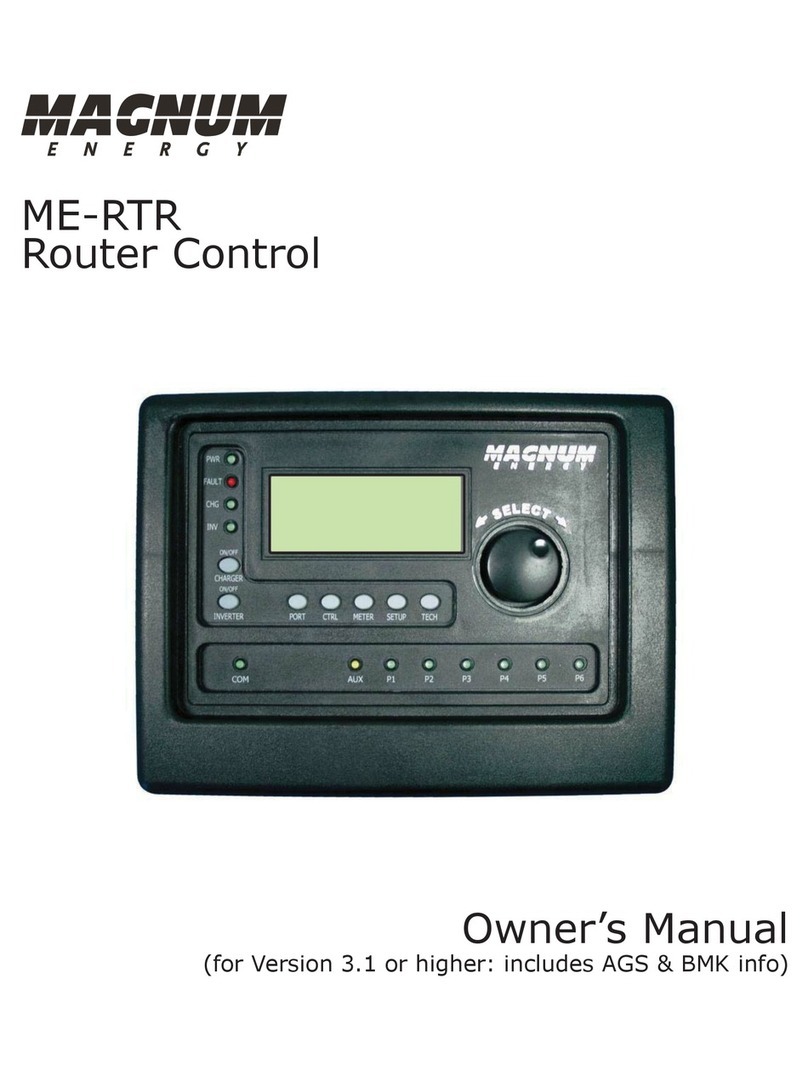
Magnum Intelligent Control User manual

MAGNUM Intelligent Control
Index:
1. User Manual
Getting started with the MAGNUM Intelligent Control
Start up wizard
Mode (thermostat operating functions)
Menu (thermostat settings)
2. General information:
Explanation of LED colours/signals
Explanation of text/symbols in main screen
Intelligent function
Standard automatic program
Setback mode
Heating new floors
Energy consumption
Back-up battery
Floor temperature limiter
3. Electrical Installation manual
Attention
Installer instructions
Connection schedule
Technical data
4. Technical support
1. User Manual
Getting started with the MAGNUM Intelligent Control
Buttons:
Middle buttons:

- Adjustment up and down
- To scroll through settings
Right button:
- Push right button in main screen to go straight to Menu settings (1.4)
- Confirming a choice
- - Select an option
Left button:
- Push left button in main screen to go straight to Mode functions (1.3)
- To get back to last screen or main screen
Always go back to the main screen after making changes.
Start up wizard:
Start up menu/ wizard-
After connecting power for the first time, it will take 5 minutes until the first question appears on the
screen. This is due to the internal back up battery charging.
By pushing the symbol √(right key) you confirm a choice and go to the next screen or option.
If you want to change or check a choice in the start up menu you can press the symbol X (left key) and
go back to the former screen or option.
1. Language:
-make your language choice. This is the first question in the start up menu.
2. Preference choice
-clock; choose 12 or 24 hour clock time (am/pm)
-temperature; choose ºC or ºF scale
3. Program date:
-year; program the current year
-month; program the current month
-day number; program the current day
-program time; program the actual clock time
4. Type of (floor) heating:
Floor heating or different heating system. If you choose a different heating system the thermostat
switches straight to point 11 (below).
Floor construction (if you choose floor heating)
Program the floor depth of the underfloor heating installation.
Choices:
- up to (<) 2 centimetres
- from 2 …….. 5 centimetres
- from 5……….10 centimetres
- more than (>) 10 centimetres
5. Floor covering:
Wood or other. If you choose other, the question is asked if there is a floor sensor installed (yes or no).

6. Sensor selection
Floor or room sensor. If you choose floor heating (Ref 1.2.4), we advise you to control the floor
temperature by using the floor sensor.
7. An overview wizard containing the current settings.
8. Choose temperature:
Program the comfort temperature of your choice for a heating period.
Standard temperature is programmed at 21 degree Celsius.
9. Choose temperature:
Program the setback temperature.
In the case of floor heating, it is not necessary to program the setback temperature.
The setback temperature is controlled by the thermostat automatically. (Ref 2.5).
10. Overview wizard containing the selected heating periods according the standard program.
11. Slow start up:
It is possible to choose this option (Ref 1.3 / point 7 slow start up).
Attention: After completion of the start up wizard, the main screen appears. Please do not
change any settings for 14 days as this allows the memory function of the thermostat to save
and adapt the historical data.
Mode (thermostat operating functions)
1. Temporary temperature:
To temporary override the temperature in the automatic program.
The override will operate until the next automatic event.
2. Automatic:
The thermostat will switch on according to the programmed settings. This can be the standard settings
or the custom time settings.
3. Manual control:
To permanently override the automatic program.
To cancel the manual mode, choose the automatic mode.
4. Off:
Turns the thermostat and the heating system off. Choose automatic mode to select the standard or the
custom time settings.
5. Timer:
Use this mode when you are on holidays etc. The thermostat will be off for the chosen period.
After this period, the thermostat will return to the standard or the custom time settings.
6. Frost protection:
In the case that the floor temperature falls below 7 degrees Celsius, the system starts heating and
keeps the temperature above 7 degrees.
To cancel this function, choose the automatic mode.
7. Slow start up:
To be used for new floors only. The thermostat will slowly raise the temperature of the floor over a 20
day period. After this period the thermostat automatically starts the standard or the custom time
programme. If you need to stop or restart the slow start up mode, press the left button.
Attention: When a mode function is in use, the symbol belonging to the function appears in the
main screen.
Menu (thermostat settings):
1. Temperature settings:
With this function you can change the programmed temperature (comfort or set back temperature).
Attention: In the case of floor heating, it is not necessary to program the setback temperature.
The setback temperature is controlled by the thermostat automatically. (Ref 2.5).

2. Programming:
The comfort temperature and times can be changed in this menu.
Standard program: the system follows the standard factory preset time program.
Custom week program: temperatures and times can be changed to your choice.
Push the button to confirm the function ‘program’. You enter the screen with the standard settings
schedule.
Press one of the middle buttons (up or down), ‘standard’ appears on the display.
Push the right button with the symbol ……. ‘Standard’ is selected. By using one of the middle buttons
change the option ‘standard’ into option ‘custom’ and confirm this with the right button.
Push one of the middle buttons - you return to the screen of programmed times. Now you can confirm
the symbol…….. by pushing the right button. Then you enter the settings of the ‘custom’ program.
In the ‘custom’ program you can adjust one or two periods a day. If you want to program the same
time periods on different days, use the easy copy and paste function.
3. Consumption:
The thermostat calculates the average time it has been switched on allowing you to monitor your
energy consumption. The total switched on time is by percentage (%) shown over the last 30 and 365
days (Ref 2.8).
4. Child lock:
The thermostat is locked with this function.
Mode and menu settings can not be used till this locked function is switched off. To switch the child
lock function on or off, push the right key and hold it for a few seconds. When the child lock is
switched on, a padlock appears on the display.
5. Information:
Gives information about the current software and hardware version of the thermostat.
6. Settings:
With this function you can change settings related with the operating of the thermostat.
The following options can be changed;
-Date and time. Summer/Winter (thermostat will change summer and winter clock change
automatically).
-Language
-Contrast (display contrast).
-Brightness (display brightness).
-Back light delay. Can be adjusted from 0 till 30 seconds. (0 second= always on)
-LED info; turns the LED info light on or off. When it is switched on, it indicates the current heating
period. (Ref 2.1)
-Help function; activates or deactivates the help text function. When activated the help text will appear
after 15 seconds.
-Show logo. The logo appears after 30 seconds.

-Temperature: Choose Celsius or Fahrenheit
7. Other functions:
Adjustments and corrections can be done from this menu. Attention: Adjustments can have a big
influence on the working of the thermostat! Please consult your supplier.
The following options are:
Heating system:
- Type of heating system
- Installation depth of the system (floor heating)
- Floor covering: wood or other
- Temperature
These settings can be changed using the start up wizard.
- Calibration; a correction can be made here on the sensor temperature in the display and the
measured floor or room temperature. Consult your supplier before changing calibration setting.
- Intelligence; Switch the intelligent function on or off.(Default is ON)
See Ref 2.3
- Differential: the difference between switch on and off period during heating time.
Consult your supplier before changing differential settings.
- Pilot function: Can be used to operate the thermostat through an external source. This can be a
central source or a smart home system. This function can be turned on or off.
- Sensor type; gives the possibility to adjust the sensor value. This is not required in a standard
situation. Consult your supplier before changing sensor type.
- Start up wizard; starts the configuration wizard.
- Reset; all settings are restored to the factory default settings. To confirm hold the right button for 5
seconds to activate the reset. The thermostat reverts back to the start up wizard.
2. General information:
Explanation of LED colours / signals:
Red: power consumption
Green: system operational
Red light flashing on and off: Sensor fault. (Ref 2.2)
Explanation of text / Symbols in the main screen:
- Comfort period
- Limited floor temperature achieved (28 ºC)
- Child lock activated
- Electrical use for heating
- Following symbols only in combination with an active Pilot function:
- Set back: standard set back temperature (pilot wire)
- Set back: anti frost + 7 degree Celsius( pilot wire)
- Set back: thermostat off (pilot wire)
- Set back: effective temperature -1 degree Celsius (pilot wire)
- Set back: effective temperature -2 degree Celsius(pilot wire)
Sensor error / fault:

Sensor may be wired incorrectly or loosely. Heating system will not work when there is a sensor fault.
The red LED will flash.
Advice: Check the wiring of the floor sensor and tighten terminals. If the connection is sound and the
sensor error is still shown we advice you to contact our helpdesk (Ref 4).
Temperature on display:
The temperature shown on the main screen is the current measured temperature (it is not you’re
installed comfort temperature).
Intelligent function:
The thermostat has a self thinking and adaptive system. This function enables the thermostat to
calculate when it needs to switch on so that the required temperature is reached at the set time. (i.e. if
the set time is 08.00, the thermostat will switch on earlier so that the set temperature is reached at
08.00). This intelligent function can be turned off in the menu: Other functions.
The standard automatic program settings are:
Comfort heating from Monday till Sunday from 06.00 till 09.00 and from 15.00 till 22.00. Outside these
hours the thermostat switches to setback mode.
Setback mode:
The setback mode is when the thermostat ‘sets back’ to a lower temperature during the off time
periods. This is the most economical and efficient way to achieve the best energy consumption. This
function is part off the self thinking adaptive system
Heating new floors:
Allow the floor sufficient drying time before you turn on the floor heating. For tiled floors a drying time
of 3-4 weeks after installation should generally be observed. Consult the supplier/manufacturer
regarding the applicable drying time for the product. For sand/cement screed floors a drying time of 1
week per applied cm with a minimum of 4-5 weeks is generally observed.
Energy consumption:
The energy consumption depends on a lot factors. The important factors are: individual preference
(which temperature you feel is comfortable), insulation, settings of the thermostat, humidity in the
room, separate rooms, location, etc. In the chapter “energy and consumption” on our website, you will
find more specified information. The thermostat registers the energy consumptions and can be easily
be read in the screen “energy consumption”. You will see the percentile energy consumption over the
last 30 and 365 days.
How to calculate your energy consumption:
30 days: 24 hours x 30 days x total installed power (kW) x % = energy consumption
365 days: 24 hours x 365 days x total installed power x % = energy consumption
Example:
The thermostat gives a percentage of 26% over 30days.
The power installed in the floor is 700 Watt
24 hours x 30 days = 720 hours.
720 hours x 0.7 kW = 504 kWh
26% of 504 kWh = 131 kWh.
The heating system has used 131 kWh the last 30 days.
Back-up battery:
The thermostat has a back-up battery. When the power of the thermostat is switched off (for example
a power cut), the time and date will be maintained when power is regained. The other settings are
saved in the memory of the thermostat

Floor temperature limiter:
Some floor coverings must be limited at a certain maximum temperature (for example wooden floors).
When the option ‘Wooden’ is selected (in the start up wizard), the floor will not exceed 28ºC.
When using this option a floor sensor needs to be installed. In case of doubt please check with the
supplier of your floor covering if there are limits for maximum temperature.
Electrical Installation manual:
3.1 Attention:
Before installation or re-installation of the thermostat always isolate the power to the thermostat.
Installation needs to be done by a qualified electrician in accordance with all current wiring and
building regulations. The MAGNUM Intelligent Control thermostat is provided with an intelligent help-
function which guides the user through the program and is very user friendly.
3.2 Installer instructions:
Check if the power is off. Remove the display frame by pushing a non sharp instrument (for example
the point of a ballpoint pen) carefully in the square whole underneath the thermostat.
The display frame and the cover frame can be removed. Position the thermostat and install onto the
back box (not supplied). Place the display frame back into position by pushing it softly.
Attention: When the power is put on for the first time it takes 5 minutes before the first
question of the start up menu (Ref 1.1) appears. Follow the start-up menu carefully.
3.3 Connection schedule:
Connection as followed:
- Terminal 1 and 4 are for the connecting heating cables.
- Terminal 2 (Neutral) & 3 (Live) are used for power connection.
- Terminal 7 & 8 are for the sensor connections
- Terminal 6 is used for connecting the earth of the heating cable and the earth from the power
supply. Anyhow we advice to make an external connection from the thermostat.
Image 1: earth connection not through the thermostat.
Image 2: earth connection through the thermostat.
3.4 Technical data:
Voltage :230V – 50/60 Hz
Max. load :max. 16 Amp. / 230V
Temperature range: : + 5/ +40 degree Celsius
Cover: : IP 21,
Standard colour : Polar white(RAL 9010)
Guarantee: : 2 years manufacturer warranty .
Approvals: : FI /CE/CCA
Manufacturer : C & F Technieken, The Netherlands.
4. Technical Support:
For further help and technical information please call our support line: 01887 822022 or send an e mail
to: technical@magnumheating.co.uk

C & F Technieken 2007. No rights can be ……….
Table of contents
Other Magnum Controllers manuals
Popular Controllers manuals by other brands

Ibiza
Ibiza LC806S manual

Mitsubishi
Mitsubishi FX2N-485-BD user guide

Siemens
Siemens SIMATIC ET 200SP Original operating instructions

Dungs
Dungs DGAI. 131F Mounting and assembly instructions

Taco Electronic Solutions
Taco Electronic Solutions iWorx MPU2 installation guide

aerauliqa
aerauliqa CTRL-XWS instruction manual

Nidec
Nidec LEROY-SOMER R221 Installation and Maintenance

Ideal Air
Ideal Air BELIMO LM24A-SR quick start guide

Siemens
Siemens G3344 Series installation instructions

Hayward
Hayward E-Command® 4 Operation manual

Servomech
Servomech CLA 30 Installation, operation and maintenance manual

Gemu
Gemu 1283 Installation, operating and maintenance instructions