Magstep FitLux 6000 User manual

FitLux 6000
MAGNETIC STEPPER
Owner's Manual
Made in Taiwan

INDEX
IMPORTANT NOTICE . . . . . . . . . . . . . . . . . . . . . . . . . . . P . 1
ASSEMBLY INSTRUCTION . . . . . . . . . . . . . . . . . . . . . . . . P . 2-3
COMPUTER INSTRUCTION . . . . . . . . . . . . . . . . . . . . . . . P . 4-9
EXPLODED DRAWING . . . . . . . . . . . . . . . . . . . . . . . . . . P . 10
PARTS LIST . . . . . . . . . . . . . . . . . . . . . . . . . . . . . . . . P 11
DANGER Check that all items are complete and in
good condition.
WARNING In the assembly of the bolts, it is
recommended that one should use ones
hand in tightening the bolts prior to its
completion. Once completed remember
to have all the bolts securely fastened to
prevent accident.
ATTENTION Be sure to carefully follow all the steps in our
assembly instruction.
CAUTION:
!
!
!

1
IMPORTANT NOTICE:
THIS EQUIPMENT IS ONLY FOR HOME USE,
NOT FOR COMMERCIAL PURPOSE.
USER'S WEIGHT SHOULD BE LIMITED ONLY TO 150 KGS.
1 . Before proceeding into any type of exercise program, it is
recommended that one should first consult a physician .
2 . Be sure to inspect that every part of the machine that has bolts
on it are secured .
3 . Do not expose to humidity as it may caused malfunction to
the equipment, any malfunction or injuries caused due to the
aforementioned we would not be held liable for this .
4 . Wearing of sneakers and sport garments before initiating an
exercise program is recommended .
5 . Initiate any type of exercise 40 minutes after each meal .
6 . Warm up before an exercise would prevent injuries .
7 . People suffering from fatigue, fever or high blood pressure
should first consult a doctor or physician prior to an exercise .
8 . This exercise equipment is for ADULT use only .
9 . Proper attention, guidance and supervision should be given to
some aged people, children or handicapped persons .
10 . Please do not insert any foreign objects unto any part of the
machine for it would damage the unit .

Step 3
Insert the upper handlebar(64-L) into the
extra handlebar(89-L),fasten with screws
(55). Slide the curve plate(88) into the
extra handlebar(89-L),connect with screw
(87),don't tighten fully.
Insert the upper handlebar(64-R) into the
extra handlebar(89-R),fasten with
screws(55).
Assembly Instruction
Step 1
Press caps (50) onto both sides Of the
rear stabilizer (3) and Secure with flat
head screws(85).
Assembling the stabilizer (3) Unto main
frame by scren (49) & Washer (48).
Step 2
Slide the top cover (72) into Handlebar
post (4). Connect the Sensor wire (67) &
(63) together. Slide handlebar post onto
main Frame. Fixing then together by
screws (57) & washers (58) slide top
Cover to bottom position.
2

Assembly Instruction
Step 4
Assembling handlebar onto handlebar
post. Please connect the hand pulse
cable together before join the handlebar.
Fixing handlebar by screw (55) & (56).
Step 5
Connecting the sensor wires (60) & (63)
onto meter. Fixing meter onto handlebar
post by screws (69).
71
69
91
3

The monitor is designed for programmable rowing stepper and introduced with the
following categories:
- Key Functions
- Displays
- Operating Ranges
- Notice Before Exercise
- Operation Instructions
Key Functions
There are total 6 keys including UP, DOWN, ENTER, START/STOP, RECOVERY AND
MODE.
A. UP (▲): Selects or increases the values of PROGRAMS, TIME, WATT, CALORIES,
TARGET HEART RATE, AGE, COUNT and 10 columns.
B. DOWN (▼): Selects or decreases the values of PROGRAMS, TIME, WATT, CALORIES,
TARGET HEART RATE, AGE, COUNT and 10 columns.
C. ENTER: Chooses the functions from PROGRAMS, TIME, WATT, CALORIES,
TARGET HEART RATE, AGE, COUNT and 10 columns. The chosen function shall
flash. Please note that not all the functions can be selected in every program
according to the types of each program.
D. START/STOP: Starts or stops the program chosen. And, keep pressing for 2 seconds
to resets the monitor.
E. PULSE RECOVERY: Starts the function of PULSE RECOVERY.
F. MODE: Changes the display of the values between CALORIES or WATT.
The values of RPM and WATT show at the same time.
Computer Instruction
4

Display
A. START: Indicates the program selected has started.
B. STOP: Indicates the program selected has stopped. And, users are free to change
the programs and the value of functions applied.
C. PROGRAM: Indicates the programs selected from PROGRAM 1 to PROGRAM 16.
D. LEVEL: Indicates the level of loading selected from LEVEL 1 to LEVEL 16.
E. TIME Display: Indicates only one value of TIME displayed depending on the programs.
F. COUNT: Indicates only one value of COUNT displayed depending on the programs.
G. RPM: Indicates the value of RPM.
H. CAL/WATT Display: Indicates only one value of CAL, WATT displayed depending on
the programs.
I. TARGET H.R./AGE Display: Indicates only one value of TARGET HEART RATE,
or AGE displayed depending on the programs.
START
STOP
Computer Instruction
5

Computer Instruction
J. HEART RATE Display: Indicates only one value of HEART RATE displayed depending
on the programs.
K. LOADING Profiles: There are 10 columns of loading bars, and 8 bars in each column.
Each column represents 3 minutes workout (without the change of TIME value), and
each bar represents 2 levels of loading.
Operating Ranges
Things You Should Know Before Exercising
A. The values calculated or measured by the computer are for exercise purpose only,
not for medical purpose.
B. The Variables May Need To Change In The Programs:
Please note that only 1 value of TIME or COUNT can be adjusted. Both adjustments do
not exist at the same time. For example, the value of COUNT is “0” while the value of
TIME is adjusted to be any number except “00:00”.
Preset Increment
(Decrement)
Values Count down
Range (Count up)
1 ~ 16 16 ~ 1 1 1
PROGRAM
LEVEL
TIME
COUNT
WATT
CALORIES
TARGET H.R.
AGE
1 ~ 16
0:00~99:59
0~9999
30~300
0~9999
60~220
10~99
16 ~ 1
99:00~5:00
9990~10
300~30
9990~10.0
220~60
99~10
N/A
0:00
0
100
0
90
30
1
1:00
1
10
0.1
1
1
Programs
P1 ~ P7
P8
P9 ~ P11
P12 ~ P15
P16
Variables
TIME, COUNT, CALORIES, AGE
TIME, COUNT, CALORIES, TARGET H.R.
TIME, COUNT, CALORIES, AGE
TIME, COUNT, CALORIES, AGE, 10 Intervals
TIME, COUNT, WATT, AGE
6

C. Programs Selection:
There are 16 programs with 1 Recovery including 1 Manual Program, 6 Preset
Programs, 4 Heart Rate Control Programs, 4 User Setting Programs, 1 WATT Control
Program, and 1 Pulse Recovery Measuring.
D. Program Graph:
Each graph shown is the profile of the loading in each interval (column). With the
value of TIME counting up, each interval is 3 minutes that all the columns make up 30
minutes. With the value of TIME counting down, each interval is the value of setup
TIME divided by 10. For example, if the time value is setup to 40 minutes, each
interval will be 40 minutes divided by 10 intervals (40/10=4). Then, each interval will
be 4 minutes. The following graphs are all the profiles in the monitor.
Program 1 (Manual) Program 2 (Rolling) Program 3 (Valley)
Program 4 (Fat Burn) Program 5 (Ramp) Program 6 (Mountain)
Program 7 (Intervals) Program 8 (Target H.R.) Program 9 (60% H.R.C.)
Program 10 (75% H.R.C.) Program 11 (85% H.R.C.) Program 12 (User Setting)
Program 13 (User Setting) Program 14 (User Setting) Program 15 (User Setting)
Program 16 (Watt Control)
Computer Instruction
7

Operation Instructions
A. Exercising With a Specific Goal:
1. TIME Control: Sets up a period of time to exercise.
2. COUNT Control: Sets up a certain count to exercise.
3. WATT Control: Keeps different bodies burning in desire WATT consumed.
4. CALORIES Control: Sets up a certain calories to exercise. (Except in 16)
5. Heart Rate Control: Keeps users to exercise under a safe heart-beating condition
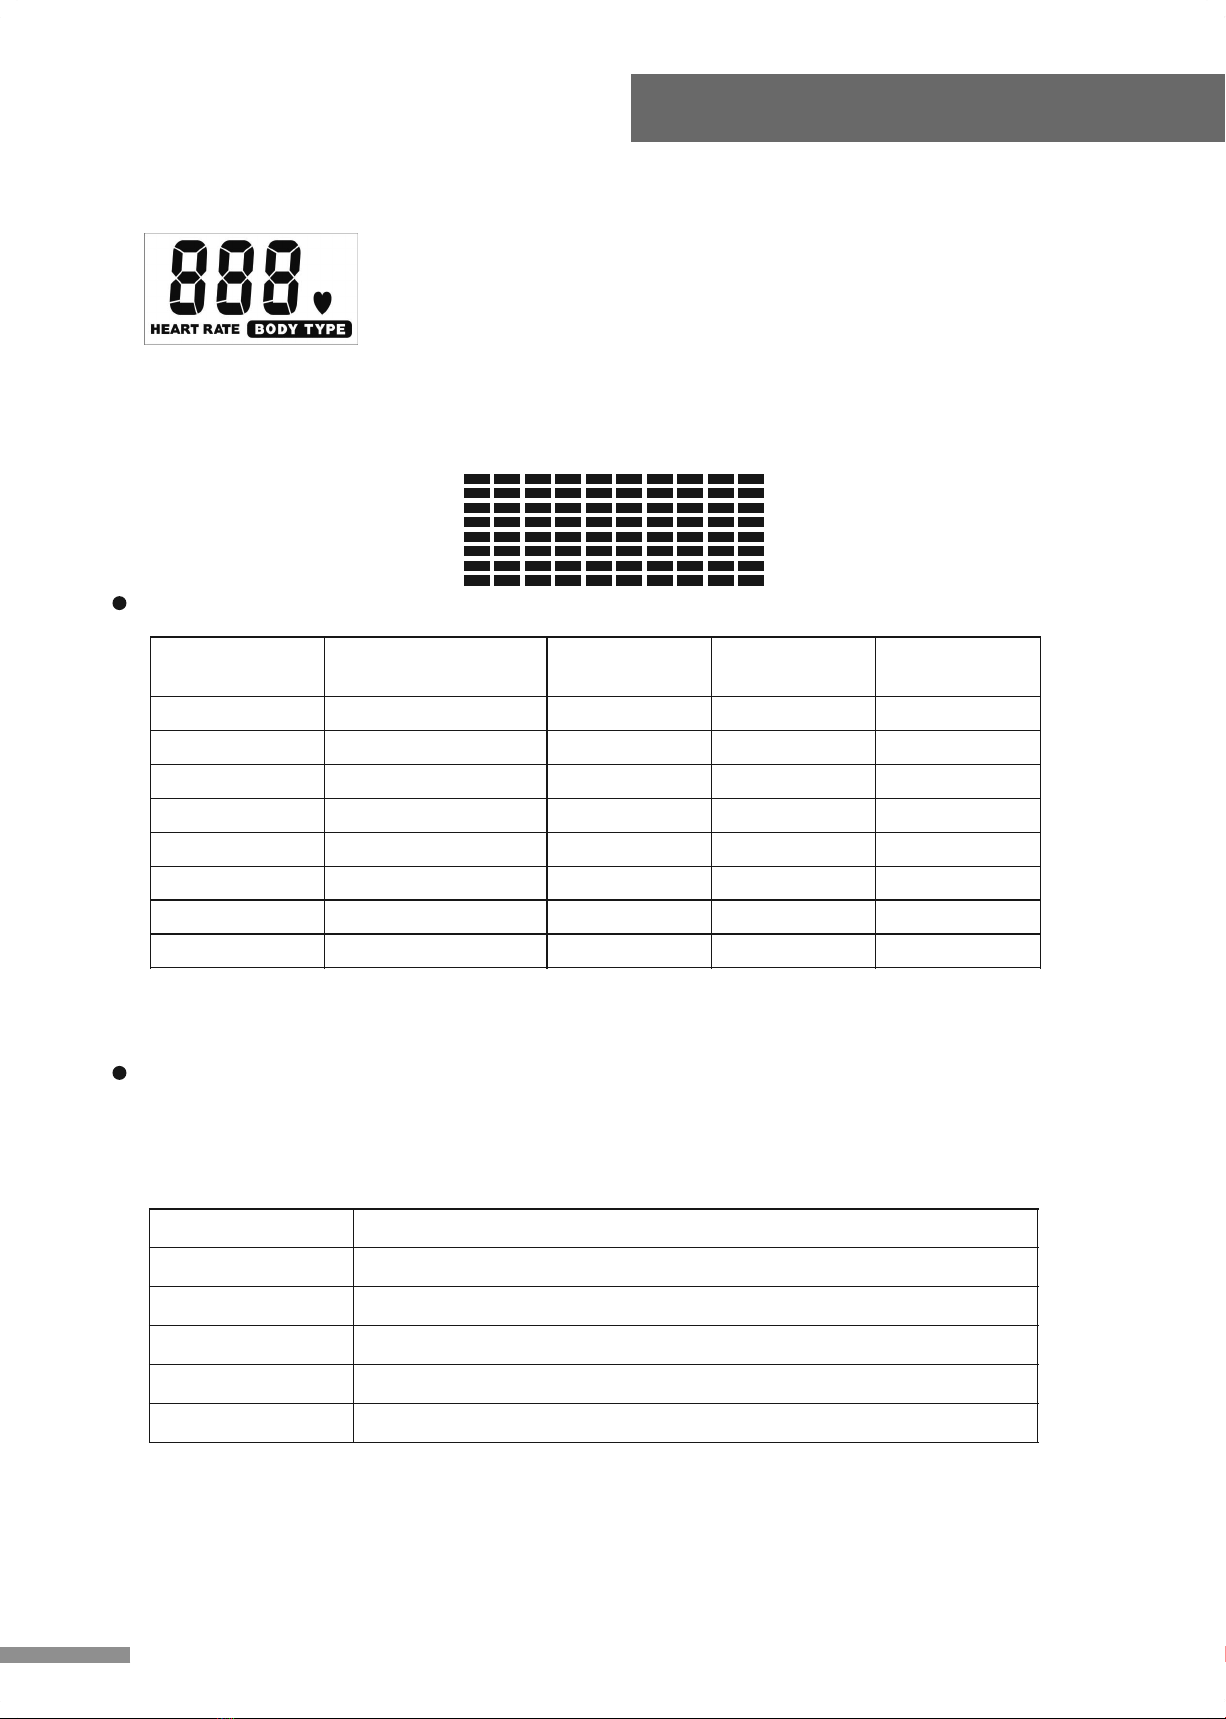
B. Pulse Rate:
The whole set of heart rate detector include 2 sensors each side. Each sensor has 2
pieces of metal parts. The correct way to get detected is to gently hold both metal
parts each hand. With the good signals picked up by the computer, the heart mark in
the HEART RATE Display shall flash.
C. Manual Program:
PROGRAM 1 is a manual program. Press “ENTER” key to select TIME, COUNT,
CALORIES and AGE. Then, press ▲ or ▼ key to adjust the values. The default
level of loading is 1. After pressing “START/STOP” key to exercise, please also apply
the heart rate detector appropriately. Users may exercise in any desire level
(by pressing ▲ or ▼ during the workout) with a period of time or a certain count.
With the input of age, the computer may suggest a target heart rate to exercise.
The suggested heart rate is 85%(220 – age). So, if the heart rate detected equals to
or greater than the TARGET H.R., the value of HEART RATE will keep flashing.
Please note that it is a warning for users to slow down or to lower the level of loading.
D. Preset Programs:
PROGRAM 2 to PROGRAM 7 are the preset programs. Press “ENTER” key to select
TIME, COUNT, CALORIES and AGE. Then, press ▲ or ▼ key to adjust the values.
Users may exercise with different level of loading in different intervals as the profiles
show. After pressing “START/STOP” key to exercise, please also apply the heart
rate detector appropriately. Users may also exercise in any desire level
(by pressing ▲ or ▼ during the workout) with a period of time or a certain count.
With the input of age, the computer may suggest a target heart rate to exercise.
The suggested heart rate is 85%(220 – age). So, if the heart rate detected equals to
or greater than the TARGET H.R., the value of HEART RATE will keep flashing.
Please note that it is a warning for users to speed down or to lower the level of loading.
Computer Instruction
8

E. Heart Rate Control Programs:
Program 8 to Program 11 are the Heart Rate Control Programs. In program 8,
press “Enter” key to select TIME, COUNT, CALORIES and TARGET H.R. Users may
setup a target heart rate to exercise in a period of time or a certain distance.
In Program 9 to Program 11, press “Enter” key to select TIME, COUNT, and AGE.
Then, press ▲ or ▼ key to adjust the values. Users may exercise in a period of time
or a certain count with 60% Max Heart Rate in Program10, 75% Max Heart Rate in
Program 10, and 85% Max Heart Rate in Program 11. After pressing “START/STOP”
key to exercise, please also apply the heart rate detector appropriately. In these
programs, the computer will adjust the level of loading according to the heart rate
detected. For example, the level of loading may increase while the heart rate
detected is lower than TARGET H.R. Also, the level of loading may decrease while
the heart rate detected is higher than TARGET H.R. As a result, the user’s heart rate
will be adjusted to close the TARGET H.R. in the range of TARGET H.R. –5 and
TARGET H.R. +5.
F. User Setting Programs:
Program-12 to Program-15 are the user-setting programs. Users are free to edit the
values in the order of TIME, COUNT, CALORIES, AGE and the level of loading in 10
intervals. The values and profiles will be stored in the memory after setup. After
pressing “START/STOP” key to exercise, please also apply the heart rate detector
appropriately. Users may also change the ongoing loading in each interval by
pressing ▲ or ▼ key, and they will not change the level of loading stored in the memory.
With the input of age, the computer may suggest a target heart rate to exercise.
The suggested heart rate is 85%(220 – age). So, if the heart rate detected equals to
or greater than the TARGET H.R., the value of HEART RATE will keep flashing.
Please note that it is a warning for users to slow down or to lower the level of loading.
G. Watt Independent Program:
Program 16 is a Watt Independent Program.
Press “ENTER” key to select the values of TIME, COUNT, WATT, and AGE.
Then, press ▲ or ▼ key to adjust the values. After pressing “START/STOP” key to
exercise, please also apply the heart rate detector appropriately.
During the exercise, the level of loading is not adjustable.
In this program, computer will adjust the level of loading according to the value of
WATT setup. For example, the level of loading may increase while the speed is too
slow. Also, the level of loading may decrease while the speed is too fast. As a result,
the calculated value of WATT will close to the value of WATT setup by users.
With the input of age, the computer may suggest a target heart rate to exercise.
The suggested heart rate is 85%(220 – age). So, if the heart rate detected equals to
or greater than the TARGET H.R., the value of HEART RATE will keep flashing.
Please note that it is a warning for users to speed down or to lower the level of loading.
H. Pulse Recovery:
It is a function to check the condition of pulse recovery that is scaled from 1.0 to 6.0
while 1.0 means the best and 6.0 means the worst and the increment is 0.1.
In order to get rated correctly, users must test it right after the workout finished by
pressing “PULSE” key and then stop exercising. After the key is pressed,
please also apply the heart rate detector appropriately. The test will last for 1 minute
and the result will show in the display.
Computer Instruction
9

Exploded Drawing
Exploded Drawing
71
69
91
10

No. Description Q’ty No. Description Q’ty
1
2
3
4
5
6
7
8
9
10
11
12
13
14
15
16
17
18
19
20
21
22
23
24
25
26
27
28
29
30
31
32
33
34
35
36
37
38
39
40
41
42
43
44
45
46
47
48
49
50
51
52
53
54
55
56
57
58
59
60
61
62
63
64
65
66
67
68
69
70
71
72
73
74
75
76
77
78
79
80
81
82
83
84
85
86
87
88
89
90
91
Main Frame
Foot Tube
Stabilizer
Handlebar Post
Pulley I
Pulley II
Magnetic System
Bearing Housing
Belt I
Belt II
Bearing Hub
Spacer ( 25 x 28 x 8.5L)
Screw (M8 x 45L)
Washer ( 19 x 8 x 1.5T)
M8 Nylon lock Nut
Axle
Key (6 x 6 x 15L)
Screw (M8 x 12L)
Washer ( 12 x 16 x 1T)
Nut (3/8" x P26 x 3T)
Nut (3/8" x P26)
Spring (20 x 16 x 2 x 40L)
Idle Wheel II
Nut (3/8" x P26)
Spring (20 x 16 x 2 x 70L)
Idle Wheel I
C Clip #19
Rubber Stopper
C clip #13
M8 Nylon lock Nut
Moving wheel
Screw (M8 x 35L)
Cap
Spacer ( 12 x 19 x 60.5L)
Chain
Chain-Spring Connector
Spring
Spring Connector
Screw (M10 x 55L)
M10 Nylon lock Nut
Spacer ( 16 x 10 x 40L)
Pedal Fixing Plate
Screw (M12 x 85L)
M12 Nylon lock Nut
Screw (M6 x 20L)
Rubber Stopper
Ø
Ø
Ø
Ø
Ø
Ø
Pedal
Washer ( 19 x 8)
Cap
C Clip #
O-Ring
Sensor
Magnet
Screw (M8 x 33.5L)
Screw (M6 x 12L)
Screw (M8 x 12L)
Washer ( 19 x 8)
Hand pulse Sensor Wire
Pulse Sensor Wire
Screw (M5 x 60L)
Sensor Wire I
Sensor Wire II
Handlebar (R+L)
Screw (M4 x 20)
Hand pulse Sensor
Sensor Wire
M5 Nylon lock Nut
Screw (M5 x 12L)
Foam Grip
Meter
Top Cover
Bushing 76
Left Cover
Right Cover
Screw (M5 x 12L)
Screw (M4 x 12)
Screw (M4 x 16)
Screw (M4 x 12)
Rubber Stopper
Screw (M4 x 12)
Tension Cable
Motor
Screw (M4 x 12L)
Screw (M5 x 12L)
Adaptor
Screw ( x 10L)
Curve Plate
Extra Handlebar
Foam Grip
Screw (M8 x 10L)
25
M5
(R+L)
Ø
Audio Wire
1
2
1
1
1
1
1
2
1
1
2
2
8
8
8
1
1
1
1
4
2
1
1
2
1
1
4
2
4
2
2
2
2
4
2
2
2
2
2
2
2
2
4
4
8
2
2
4
2
2
4
1
2
8
8
4
4
2
1
4
1
1
2
2
2
1
4
4
2
1
1
1
1
1
2
2
3
4
2
2
1
1
2
2
1
2
1
2
2
1
2
1
4
Tools
Allen Wrench (5mm)
Wrench
Parts List
11


Factory:
JIH KAO ENTERPRISE CO , LTD.
Table of contents
Popular Stepper Machine manuals by other brands

ultega
ultega US330300000017 user manual

Kettler
Kettler MONTANA Important instructions

Domyos
Domyos ST 190 operating instructions

Stairmaster
Stairmaster StepMill 7000PT Assembly instructions

Matrix Fitness
Matrix Fitness C5x-03 Service manual

STAR TRAC FITNESS
STAR TRAC FITNESS E Series Preventive maintenance