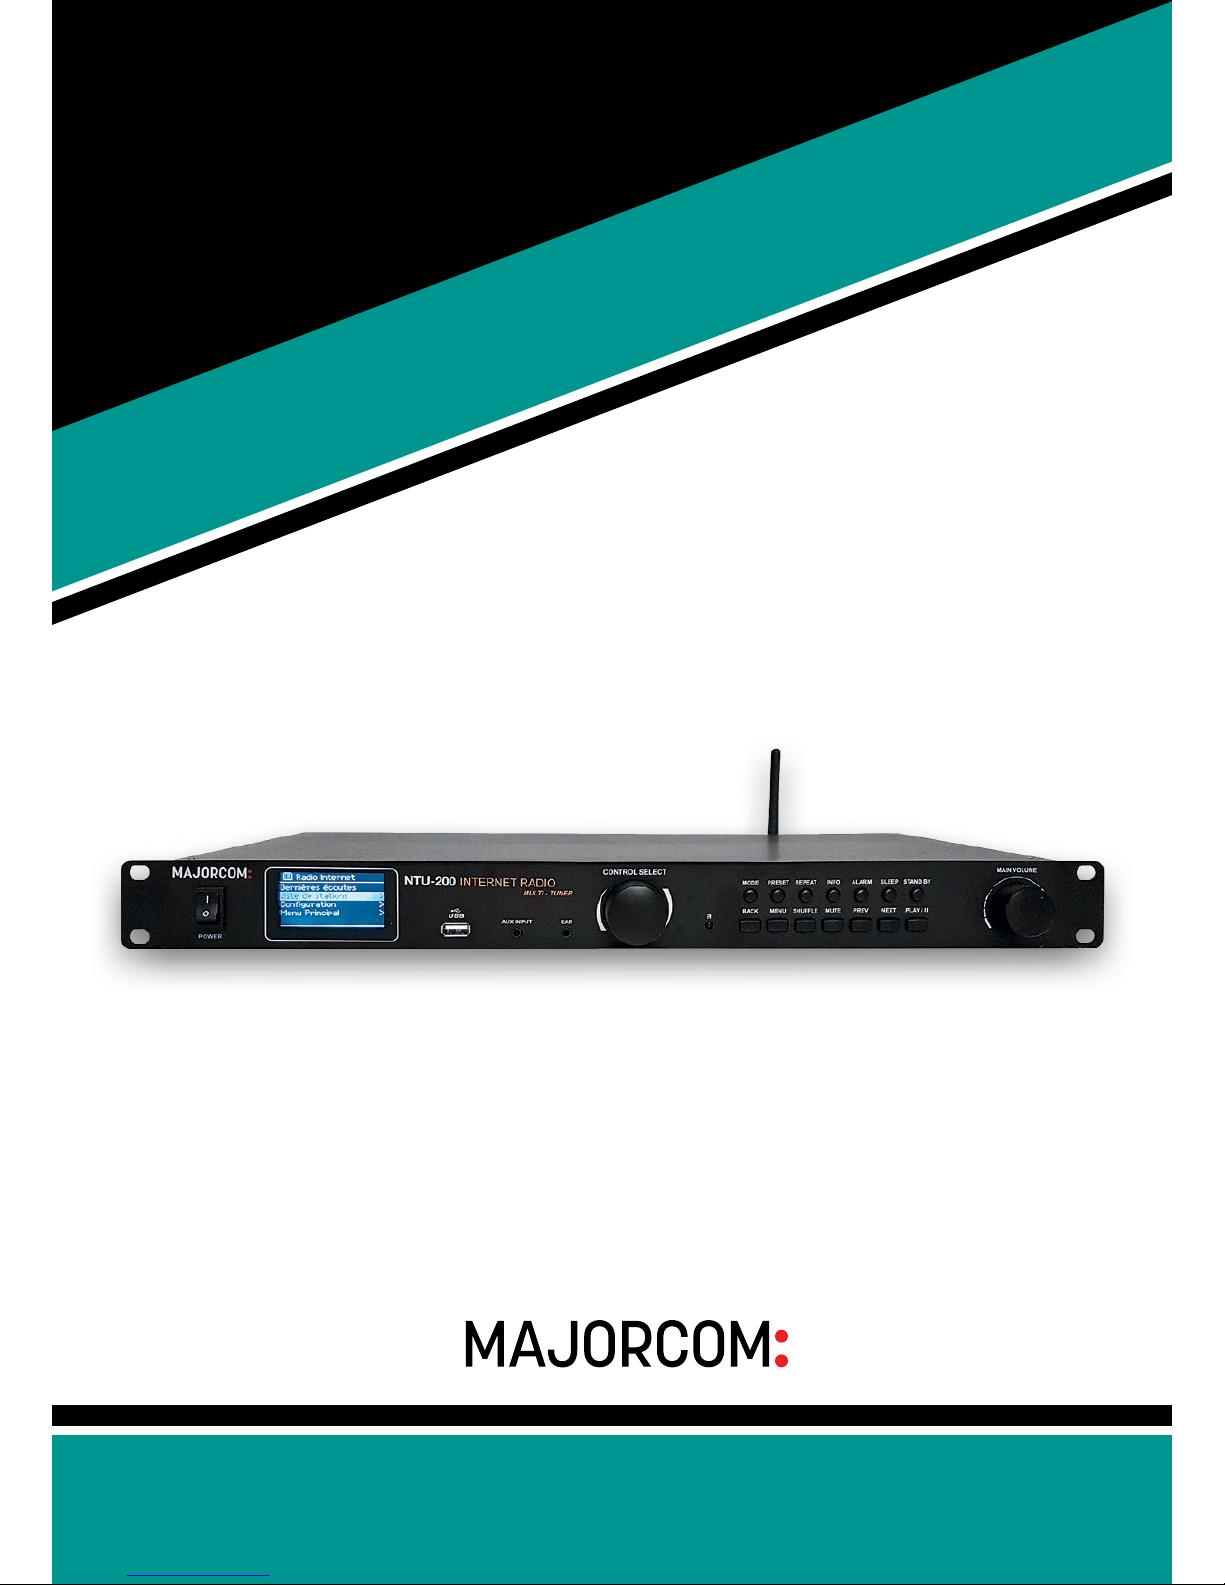
Internet radio / DAB / DAB+ / FM RDS / USB reader NTU-200
56, chemin de la Flambère · 31300 Toulouse · FRANCE · Tél. 33 (0)5 61 31 86 87
User manual
56, chemin de la Flambère · 31300 Toulouse · FRANCE · Tél. 33 (0)5 61 31 86 87
User manual
32 NTU-200 Internet radio / DAB / DAB+ / FM RDS / USB reader
1Controls,connectorsanddisplay............................................................................................................................ 5
2Screens .............................................................................................................................................................. 8
3 Gettingstarted/setup ...................................................................................................................................... 10
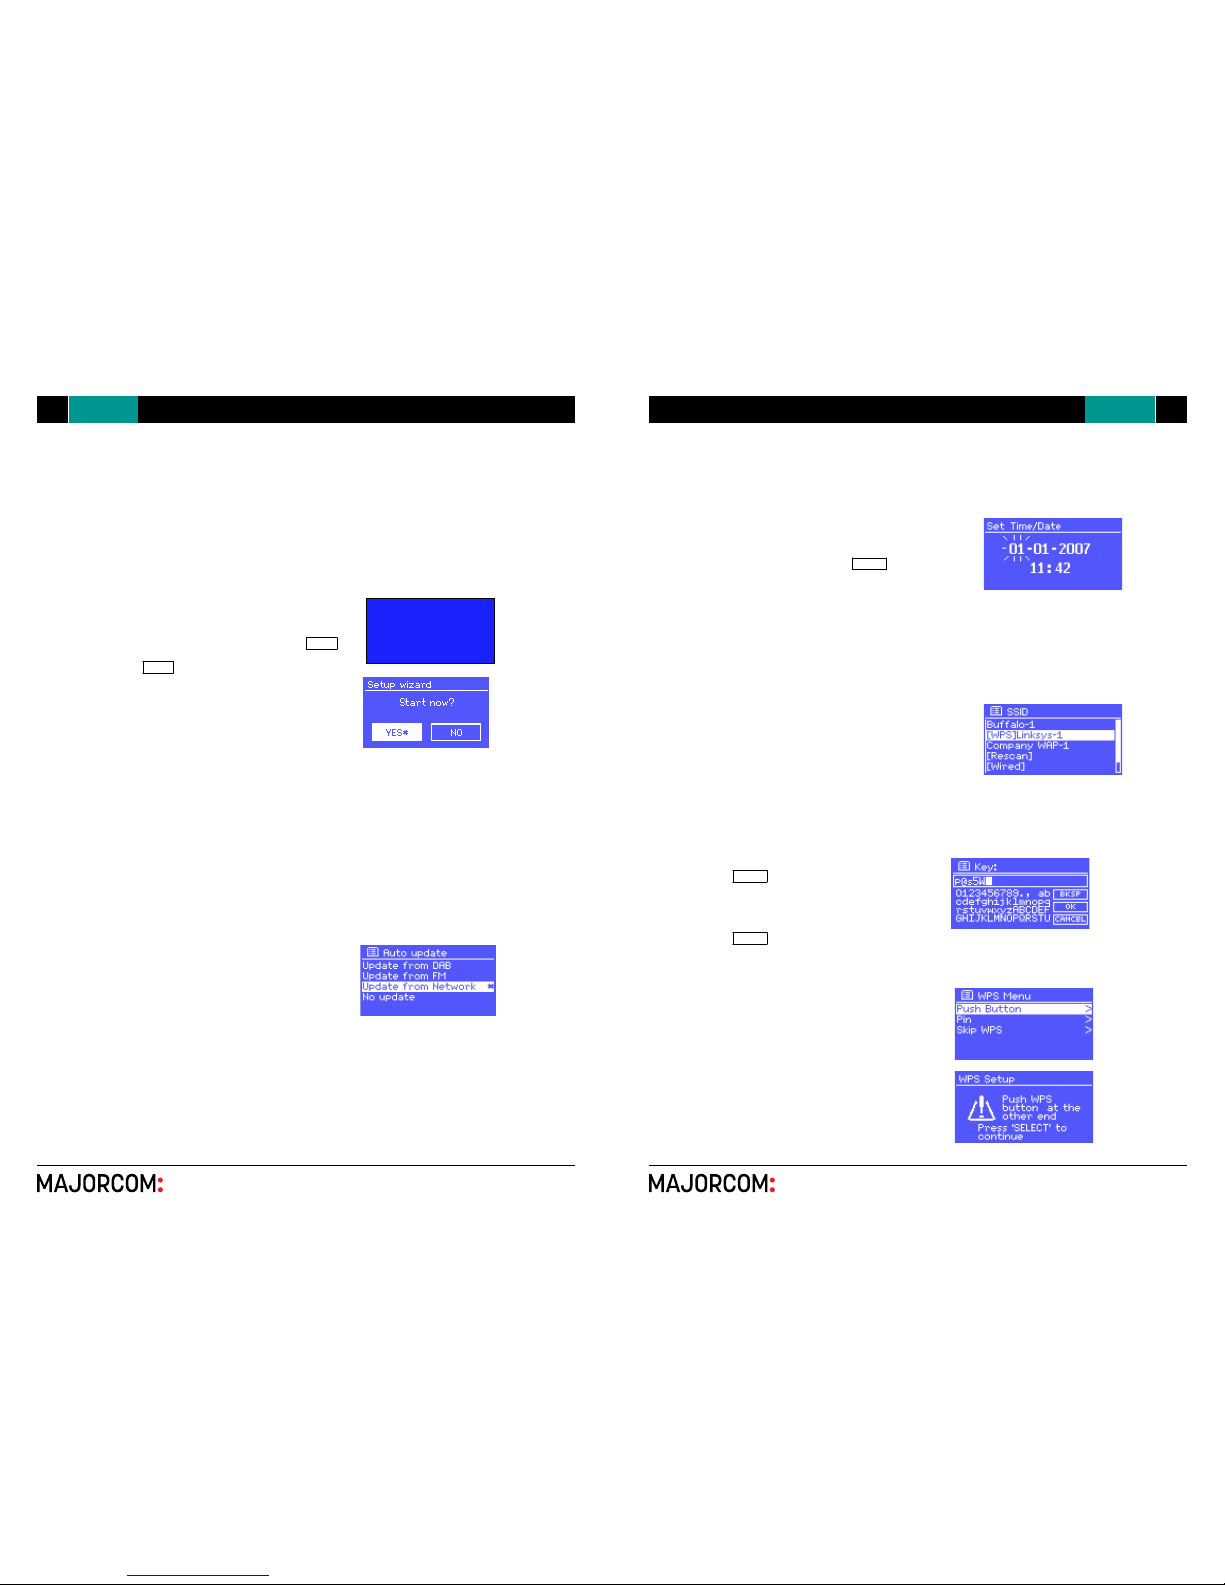
3.1Setupwizard ............................................................................................................................................. 10
3.1.112/24hourdisplay............................................................................................................................ 10
3.1.2 Time/date ......................................................................................................................................... 10
3.1.3Network............................................................................................................................................ 11
3.2Commonsettings...................................................................................................................................... 13
3.2.1Equaliser ........................................................................................................................................... 13
3.2.2Network............................................................................................................................................ 13
3.2.3Language .......................................................................................................................................... 14
3.3Internetradioportal
.............................................................................................................. 14
3.4 Settingupamusicserver.......................................................................................................................... 15
3.5 SharingmediawithWindowsMediaPlayer ......................................................................................... 15
3.6SettinguptheUnitfor“PlayTo”Windows7streamingmediafeature. .................................................. 16
4 Internetradiomode ........................................................................................................................................ 17
4.1Last
.............................................................................................................................................. 18
4.2Presets...................................................................................................................................................... 18
4.3Favourites................................................................................................................................................. 18
4.4Browse...................................................................................................................................................... 18
4.5Search....................................................................................................................................................... 19
4.6Myaddedstations .................................................................................................................................... 20
4.7Nowplayinginformation.......................................................................................................................... 20
5 Musicplayermode(networkandUSB) ........................................................................................................... 21
5.1Sharedmedia(fromUPnPmediaserver) .................................................................................................21
5.1.1 Wake-on-LAN.................................................................................................................................... 22
5.1.2Pruneservers.................................................................................................................................... 22
5.2USBplayback ............................................................................................................................................ 22
5.3Playlists ..................................................................................................................................................... 23
5.4Repeat/shuffle.......................................................................................................................................... 23
5.5Nowplayinginformation .......................................................................................................................... 23
6 Usingthe“PlayTo”featureinWindows7tostreammedia ........................................................................... 24
6.1Use“PlayTo”inWindowsMediaPlayer .................................................................................................. 24
6.2Use“PlayTo”elsewhereinWindows7 .................................................................................................... 25
6.3Nowplayinginformation .......................................................................................................................... 25
7 DABradiomode............................................................................................................................................... 25
7.1Scanningforstations ................................................................................................................................ 25
7.2Selectingstations...................................................................................................................................... 26
7.3Nowplayinginformation .......................................................................................................................... 26
7.4Settings..................................................................................................................................................... 26
8 FMradiomode ................................................................................................................................................ 27
8.1Selectingstations...................................................................................................................................... 27
8.2Nowplayinginformation .......................................................................................................................... 27
8.3Settings..................................................................................................................................................... 28
9 Auxinmode..................................................................................................................................................... 28
10 Alarmsandsleep.............................................................................................................................................. 28
10.1Alarms....................................................................................................................................................... 28
10.2Sleep ......................................................................................................................................................... 29
11 Factoryreset.................................................................................................................................................... 29
1Controls,connectorsanddisplay............................................................................................................................ 5
2Screens .............................................................................................................................................................. 8
3 Gettingstarted/setup ...................................................................................................................................... 10
3.1Setupwizard ............................................................................................................................................. 10
3.1.112/24hourdisplay............................................................................................................................ 10
3.1.2 Time/date ......................................................................................................................................... 10
3.1.3Network............................................................................................................................................ 11
3.2Commonsettings...................................................................................................................................... 13
3.2.1Equaliser ........................................................................................................................................... 13
3.2.2Network............................................................................................................................................ 13
3.2.3Language .......................................................................................................................................... 14
3.3Internetradioportal
registration
.............................................................................................................. 14
3.4 Settingupamusicserver.......................................................................................................................... 15
3.5 SharingmediawithWindowsMediaPlayer ......................................................................................... 15
3.6SettinguptheUnitfor“PlayTo”Windows7streamingmediafeature. .................................................. 16
4 Internetradiomode ........................................................................................................................................ 17
4.1Last
listened
.............................................................................................................................................. 18
4.2Presets...................................................................................................................................................... 18
4.3Favourites................................................................................................................................................. 18
4.4Browse...................................................................................................................................................... 18
4.5Search....................................................................................................................................................... 19
4.6Myaddedstations .................................................................................................................................... 20
4.7Nowplayinginformation.......................................................................................................................... 20
5 Musicplayermode(networkandUSB) ........................................................................................................... 21
5.1Sharedmedia(fromUPnPmediaserver) .................................................................................................21
5.1.1 Wake-on-LAN.................................................................................................................................... 22
5.1.2Pruneservers.................................................................................................................................... 22
5.2USBplayback ............................................................................................................................................ 22
5.3Playlists ..................................................................................................................................................... 23
5.4Repeat/shuffle.......................................................................................................................................... 23
5.5Nowplayinginformation .......................................................................................................................... 23
6 Usingthe“PlayTo”featureinWindows7tostreammedia ........................................................................... 24
6.1Use“PlayTo”inWindowsMediaPlayer .................................................................................................. 24
6.2Use“PlayTo”elsewhereinWindows7 .................................................................................................... 25
6.3Nowplayinginformation .......................................................................................................................... 25
7 DABradiomode............................................................................................................................................... 25
7.1Scanningforstations ................................................................................................................................ 25
7.2Selectingstations...................................................................................................................................... 26
7.3Nowplayinginformation .......................................................................................................................... 26
7.4Settings..................................................................................................................................................... 26
8 FMradiomode ................................................................................................................................................ 27
8.1Selectingstations...................................................................................................................................... 27
8.2Nowplayinginformation .......................................................................................................................... 27
8.3Settings..................................................................................................................................................... 28
9 Auxinmode..................................................................................................................................................... 28
10 Alarmsandsleep.............................................................................................................................................. 28
10.1Alarms....................................................................................................................................................... 28
10.2Sleep ......................................................................................................................................................... 29
11 Factoryreset.................................................................................................................................................... 29
OutwardAppearance
Faceplate:
Rearplate:
SUPPLEMENTS:
FM Antenna Wire x 1 AV Wire x 1
AC Power Cord x 1 2.4G Antenna Remote Controller x 1
External Resources
To operate unit, following external resources are needed:
A power source (AC 230 V mains supply)
A wired (Ethernet) or wireless (Wi-Fi) network (provided through a router) with appropriate
permissions and password if necessary (for Internet radio and Network Music player modes)
Broadband Internet access for Internet radio mode.
A music library stored on the network or on a USB mass storage device (for Music player
modes),
An external audio source (for Aux in mode)
Connectors