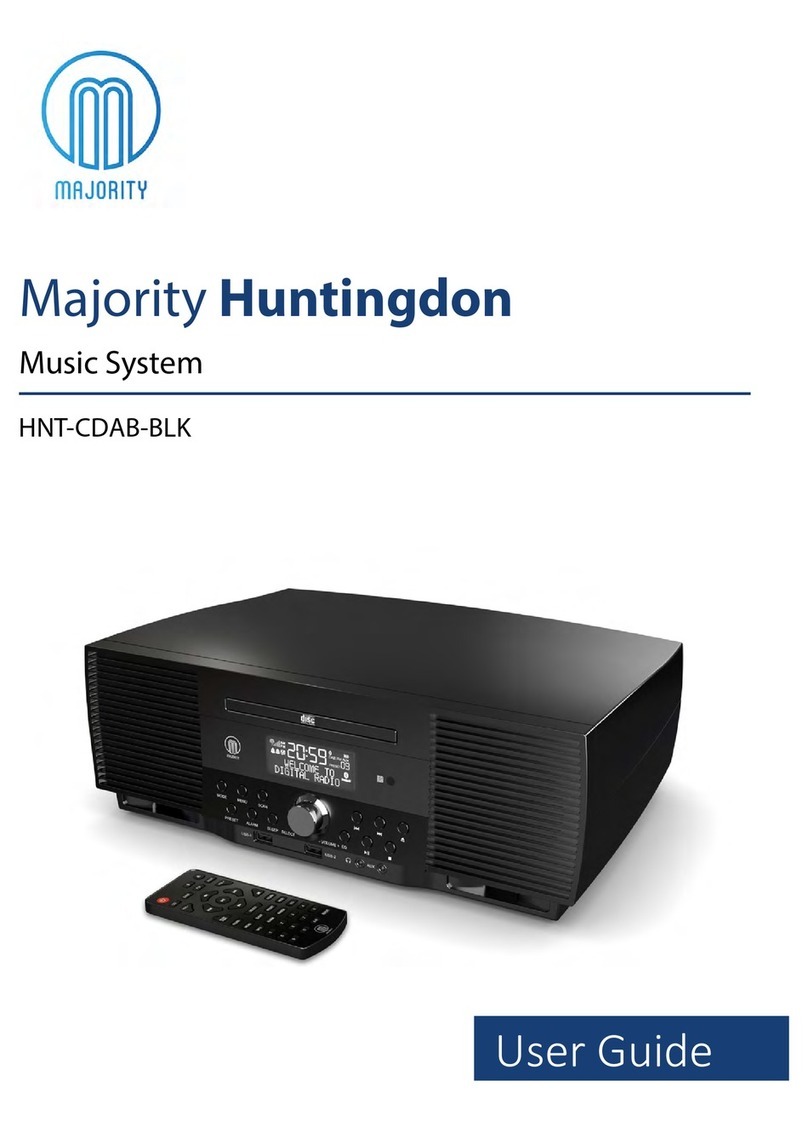
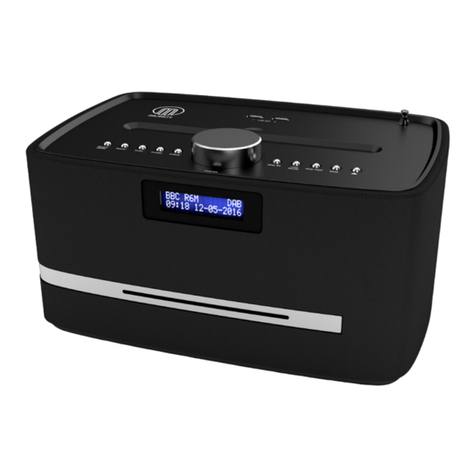
MAJORITY Castle CB3A-CDAB-BLK Manual

CB3A-CDAB-BLK
CASTLE
Instructions Guide
Compact Music System

What’s in the Box?..................................................... 1
Controls And Funcons..............................................2
Support .....................................................................5
Instrucons Guide .................................................... 6
Navigaon Sengs ��������������������������������������������������� 6
Basic Operaon �������������������������������������������������������� 7
DAB/DAB+ Radio ������������������������������������������������������� 9
FM Radio �������������������������������������������������������������������11
CD player ����������������������������������������������������������������� 13
Bluetooth and AUX-In ���������������������������������������������� 14
USB Charging and Phone Stand ������������������������������� 15
Dual Alarm Seng ��������������������������������������������������� 16
Sleep Seng ������������������������������������������������������������ 18
Sengs: Clock and Date ������������������������������������������ 19
Sengs Menu ���������������������������������������������������������� 21
Addional Features �������������������������������������������������22
Troubleshoong ...................................................... 23
Specicaons ..........................................................24
Warranty .................................................................24
Safety Informaon................................................... 25
Contents
Watch video tutorials and register
your product for a FREE 3-year warranty
at www.majorityradios.co.uk
3YEAR
WARRANTY

1
What’s in the Box?
Box Contents
1. Majority Castle Music System
2. Remote Control
3. Phone Stand
4. Power Adapter
5. Instructions Guide

2
Controls And Funcons
Top View
1. USB Out 1
2. USB Out 2
3. Antenna
4. Power/Mode
5. Menu
6. Scan
7. Preset
8. Eect
9. Volume/Select dial & Snooze
10. Display (on front of music
system)
11. Skip Back
12. Play/Pause
13. Skip Forward
14. Stop
15. Eject CD
31 2
4
5
6
7
8
9
10 11
12
13
14
15
17
18
1916
1
3
2
5
4
6
7
8
9
10
11
12
13
20

3
Controls And Funcons
Rear View
16. Aux-In Jack
16. Headphone jack
16. DC 9v in jack - wall plug
16. On/O switch
16. Phone stand
31 2
4
5
6
7
8
9
10 11
12
13
14
15
17
18
1916
1
3
2
5
4
6
7
8
9
10
11
12
13
20

4
Controls And Funcons
Remote Control
31 2
4
5
6
7
8
9
10 11
12
13
14
15
17
18
1916
1
3
2
5
4
6
7
8
9
10
11
12
13
20
1. Volume Control
2. Mute
3. Reduce Treble
4. Play/Pause
5. Previous Track
6. Bass+ Loudness
Compensation*
7. Reduce Bass
8. Power/Standby
9. Switch Mode
10. Increase Treble
11. Next Track
12. Increase Bass
13. Reset Treble & Bass Levels
* Bass Loud Compensation increases the level of low frequencies. Audio
at low frequencies can lose bass and treble. The loud button helps to
rectify this.

5
Support
Support
Thank you for your purchase of the Majority Castle radio.
Please follow the guidance of the manual to set up your
new purchase and begin enjoying its features.
If you require further assistance with your new radio,
please contact our support team on the Majority website:
https://www.majorityradios.co.uk/support

6
Instrucons Guide
Navigation Settings
Standby/Mode button:
Press this button to turn the radio on and take o of standby. To
turn the radio to standby, simply press and hold this button.
To switch the radio o entirely, use the ON/OFF switch at the
back.
When the radio is switched on, press the button repeatedly to
switch between modes.
Volume dial Select/Snooze:
Rotate the dial clockwise or anticlockwise to change the volume.
To make selections and conrm settings, press down the dial to
select. You can also snooze your alarms when they are sounding
by pressing down the dial.
Menu button:
Select the Menu button to access radio settings options, DAB
settings and FM settings.
< and > buttons:
Use the previous and next buttons to browse through stations
and settings. Select your choices with the dial.
Play/Pause, Skip Forward/Backward, Stop, Eject CD:
All buttons can be used in CD mode.

7
Basic Operation
Instrucons Guide
Please note that the instructions within this manual will refer to
the radio button number e.g (Ref.*number*) in accordance to
the diagrams on pages 2-3.
Starting up your radio
Plug the adaptor connector into the back of the system labelled
‘DC 9V’ (Ref.) and turn the power on from the mains. Press the
button at the back of the radio to‘ON’(Ref.).
Press the ‘Power/Mode’button to turn the unit on (Ref.).
On rst use the radio will display“Language - English” on the
display screen. To change the language to German, use the ‘Skip
Back’ (Ref.) or‘Skip Forward’ (Ref.) button to scroll through
options. Once you have chosen your desired language, press
down the ‘Volume/Select’ dial (Ref.) on the unit to select.
On rst use, the unit will automatically start up in DAB radio
mode and begin scanning for available DAB/DAB+ stations.
Once the scan is complete, you can browse through the
available stations or select a mode by pressing the‘Power/Mode’
button (Ref.) until your required option displayed on the front
screen (Ref.). There are four available modes:
• DAB - DAB Radio
• FM - FM Radio
• CD - CD Player
• BT Mode (Bluetooth) - Phone connection
• AUX In

8
Instrucons Guide
Standby
To place the music system back on standby, press and hold
the ‘Power/Mode’ Button (Ref.). The front display will show
“Goodbye”and then go into standby, showing the time and date.
To turn o fully, press the button on rear of the unit (Ref.) and
switch o at the mains. The cord must be kept out of reach of
children.

9
Instrucons Guide
DAB/DAB+ Radio
Press the ‘Power/Mode’button (Ref.) to switch to DAB/DAB+
Radio. In DAB/DAB+ mode, the radio will synchronize with the
time and date of the station.
Ensure that the antenna is fully extended so that the best signal
is being received for the radio scan (Ref.).
On rst use, the radio on DAB mode will automatically scan
all stations and save them. If the radio has not automatically
started a scan, you can start an auto scan by pressing the‘Scan’
button (Ref.) and then release. This will start scanning up the
frequency band and store all stations that have good signal.
The radio will automatically save all the stations with a strong
signal, up to 240 MHz. After searching has nished it will
automatically play the rst station stored.
To browse through all stations that have been stored, use
the ‘Skip Back’ and ‘Skip Forward’ buttons (Ref./13) to scroll
through them. The station will automatically begin playing
without needing to select it.
When you turn the radio on again after it switching o, it will
automatically tune to the same station (DAB or FM) that was last
selected.
When listening to a DAB station, you can view information about
the station by pressing the‘Menu’button (Ref.)

10
Instrucons Guide
DAB/DAB+ Preset Stations
How to store a preset radio station
Up to 10 DAB/DAB+ stations can be preset for easy navigation
and listening. To store a station that you are currently playing, it
is best to be listening to the station.
To preset your chosen station, press and hold the ‘Preset’ button
(Ref.) until “Preset Store <1: (Empty)” shows on the screen.
Use the ‘Skip Back’ or ‘Skip Forward’ buttons (Ref./13) until the
number displays that you wish to save the station preset number
as. To select your choice, press down the ‘Volume/Select’ dial
(Ref.).
The display will then show“Preset [x] Stored”.
Repeat the same process when making other preset stations. To
remove a station as a preset, simply save a new station over it.
How to play a preset radio station
Press the ‘Preset’ button (Ref.) to view the preset stations you
have saved (do not hold button).
Scroll through your preset stations with the ‘Skip Back’ or ‘Skip
Forward’ buttons (Ref./13) until the station displays that you
would like to play.
Once your chosen station displays that you wish to play, simply
press down the‘Volume/Select’ dial to select it to play.

11
Instrucons Guide
FM Radio
Press the ‘Power/Mode’button (Ref.) to switch to FM Radio. The
rst time you do this, FM frequency “87.50MHz” will be displayed
on the screen.
Ensure that the antenna is fully extended so that the best signal
is being received for the radio scan (Ref.).
To auto scan up the bandwidth, press and release the ‘Scan’
button (Ref.). This will start scanning up the frequency band
and save available stations. The rst available station with strong
signal will begin to play.
To ne tune or search for stations, use the ‘Skip Back’ or ‘Skip
Forward’ buttons (Ref./13). You can press and release these
buttons multiple times to browse through slowly, or press and
hold the buttons to search quickly.
Press down the ‘Volume/Select’ dial to switch between Mono
and Auto. Mono will play the same through both speakers and
Auto will oer a better stereo sound.
When you turn the radio on again after it switching o, it will
automatically tune to the same station (DAB or FM) that was last
selected.
When listening to a FM station, you can view information about
the station by pressing the‘Menu’button (Ref.).

12
Instrucons Guide
FM Radio Preset Stations
How to store a preset radio station
Up to 10 FM stations can be preset for easy navigation and
listening. To store a station that you are currently playing, it is
best to be listening to the station.
To preset your chosen station, press and hold the ‘Preset’ button
(Ref.) until “Preset Store <1: (Empty)” shows on the screen.
Use the ‘Skip Back’ or ‘Skip Forward’ buttons (Ref./13) until the
number displays that you wish to save the station preset number
as. To select your choice, press down the ‘Volume/Select’ dial
(Ref.).
The display will then show“Preset [x] Stored”.
Repeat the same process when making other preset stations. To
remove a station as a preset, simply save a new station over it.
How to play a preset radio station
Press the ‘Preset’ button (Ref.) to view the preset stations you
have saved (do not hold button).
Scroll through your preset stations with the ‘Skip Back’ or ‘Skip
Forward’ buttons (Ref./13) until the station displays that you
would like to play.
Once your chosen station displays that you wish to play, simply
press down the‘Volume/Select’ dial to select it to play.

13
Instrucons Guide
CD player
To select CD mode, press the‘Power/Mode’button (Ref.) until
“CD MODE”is displayed on the front screen (Ref.).
The display screen for the CD function will now show “Reading...”
followed by “No Disc”.
Select the Open/Close CD function on the radio (Ref.). Insert
your CD slightly and the drive will take the CD into the system to
play.
The rst song on the CD will now begin to play.
Functions
Press and release the ‘Play/Pause’ button (Ref.) to play/pause.
Press and release the ‘Skip Back’ (Ref.) or‘Skip Forward’ (Ref.)
button to select previous or upcoming tracks.
Press and hold the ‘Skip Bk’ or‘Skip Fwd’ button to rewind or fast
forward.
Press and release the ‘Stop’button to stop (Ref.).
Press and release the ‘Eject’ button (Ref.) to eject the CD.

14
Bluetooth
To select Bluetooth mode, press the‘Power/Mode’button (Ref.)
until “BT Mode”is displayed on the front screen (Ref.).
Once on Bluetooth mode, go to your settings on your phone/
tablet that you wish to connect to the Majority Castle. Select the
‘Majority Castle’to begin connecting via Bluetooth.
Once connected, the radio’s display screen will show“BT Mode
Connect”. You can now begin to enjoy music and media from
your Bluetooth device.
To select music you will need to select the album or playlist from
your phone, but once selected you can then use the ‘Skip Back’
(Ref.) or ‘Skip Forward’ (Ref.) button to select previous or
next tracks.
AUX-In Port
To select AUX mode, press the ‘Power/Mode’button (Ref.) until
“AUX Mode”is displayed on the front screen (Ref.).
Connect an AUX cable into the AUX-in port at the back of the
radio (Ref.) and connect to your chosen device.
Begin playing media and controlling media from your chosen
device. Ensure that the volume is switched up on your device.
Instrucons Guide
Bluetooth and AUX-In

15
Instrucons Guide
USB Charging and Phone Stand
Dual USB Ports – Charging your phone
Both USB Ports have an output of 5V/2A (Ref./2). When
connected via a USB lead into the USB port, the system will
charge your device.
Please note that you can not play your music via the USB
connection - it is purely a charging facility. You can play your
phone music either using Bluetooth or an Aux 3.5mm cable as
instructed on page 14.
Phone Stand Set Up
To set up the phone stand (Ref.), remove the rubber strip from
the top of the unit (Ref.) and insert the phone stand. (If the
rubber strip is hard to remove, use a small pin to extract it from
the top of the music system).
The soft protector strip faces the same way as the display screen
so that the phone is protected when resting horizontally on top
of the speaker.

16
Instrucons Guide
Dual Alarm Setting
Press and hold the ‘Menu’ button (Ref.) for 1 second to open
Menu Settings. Browse to “Alarm1 Setting/Alarm 2 Setting” with
the ‘Skip Back’ (Ref.) and ‘Skip Forward’ (Ref.) buttons. Select
this option by pressing down the‘Volume/Select’ dial (Ref.) on
top of the system once.
Three choices will then display: “Alarm On/O”, “Alarm Del”
(Delete), and “Alarm Set”.
If you have chosen“Alarm Set”, you can begin setting your
alarm. Firstly, you will need to set the alarm sound. Do this by
browsing through with the ‘Skip Back’ and ‘Skip Forward’ buttons
(Ref./13): BUZZER/DAB Mode/FM Mode. Select your choice by
pressing down the‘Volume/Select’ dial.
The hour digits for the alarm will then ash. Choose the hour of
the alarm using the ‘Skip Back’ and ‘Skip Forward’ buttons until
your alarm hour is displayed. Select the hour by pressing down
the ‘Volume/Select’ dial. Repeat this process for the minutes.
The alarm volume can then be changed on the dial by using the
‘Skip Back’ and ‘Skip Forward’ buttons. Conrm the volume by
pressing down the‘Volume/Select’ dial.
To turn the alarm on, go back to the ‘Alarm 1 Setting/Alarm 2
Setting’from the Menu screen and select the ‘Alarm On/O’
option. Turn this alarm to “ON”using the ‘Skip Back/Forward’
buttons (Ref./13) and press down the ‘Volume/Select’ dial for
the alarm to be set.
Once the alarm is set, an alarm icon will display on the screen.

17
Instrucons Guide
Alarm Functions
Cancelling and Deleting Alarms
To turn the alarm on or o, or delete the alarm set, go back to
the ‘Alarm 1 Setting/Alarm 2 Setting’from the Menu screen and
select ‘Alarm On/O’or ‘Alarm Del’.
By selecting ‘Alarm On/O’ you can turn the alarm on to sound,
or turn it o to cancel from sounding.
If you select ‘Alarm Del’ you can delete the alarm from being set
up on the radio for future use. Set a new alarm using the process
on page 16.
Snooze mode
When your alarm is sounding, press down the ‘Volume/Select
dial (Ref.) on top of the system once to put the radio into
Snooze mode. This will set for the alarm will sound again 10
minutes after snooze has been pressed.

18
Sleep Setting
Sleep setting enables you to programme the music system to
switch o after a set time. This option can be made for a range of
times up to 120 minutes.
To set the sleep setting, press and hold the ‘Menu’ button (Ref.)
for 1 second to display the menu setting options. Browse to the
“Sleep Setting”option by using the ‘Skip Back’ and ‘Skip Forward’
buttons. Select this option by pressing down the‘Volume/Select’
dial (Ref.) on top of the system once.
Use the ‘Skip Back’ and ‘Skip Forward’buttons to browse through
to the number of minutes you would like the system to play
before turning o into sleep mode. Conrm your choice by
pressing down the‘Volume/Select’ dial (Ref.).
Instrucons Guide
Table of contents
Other MAJORITY Stereo System manuals
MAJORITY
MAJORITY CASTLE CB3A-CDAB-WHT Manual
MAJORITY
MAJORITY SCAFELL PIKE SKP-BAR-BLK Manual

MAJORITY
MAJORITY D40 User manual

MAJORITY
MAJORITY KINGS KNG-ALL-BLK Manual

MAJORITY
MAJORITY HOMERTON 2 User manual
MAJORITY
MAJORITY HUNTINGDON Manual
MAJORITY
MAJORITY Fitzwilliam 3 Manual
MAJORITY
MAJORITY QUADRIGA Manual

MAJORITY
MAJORITY Humboldt Manual
MAJORITY
MAJORITY OAKINGTON Manual
