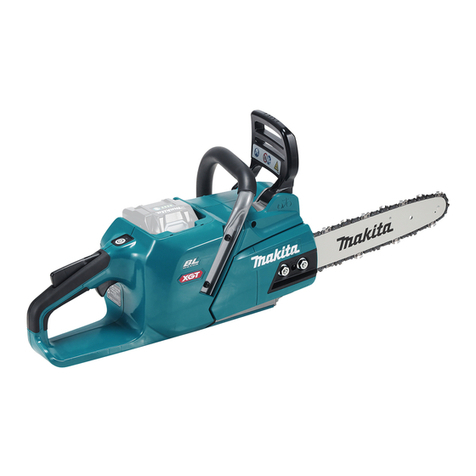
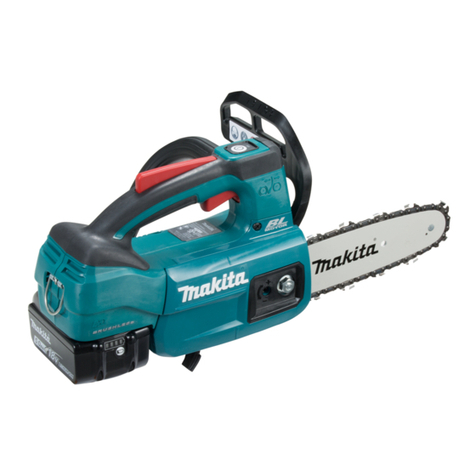
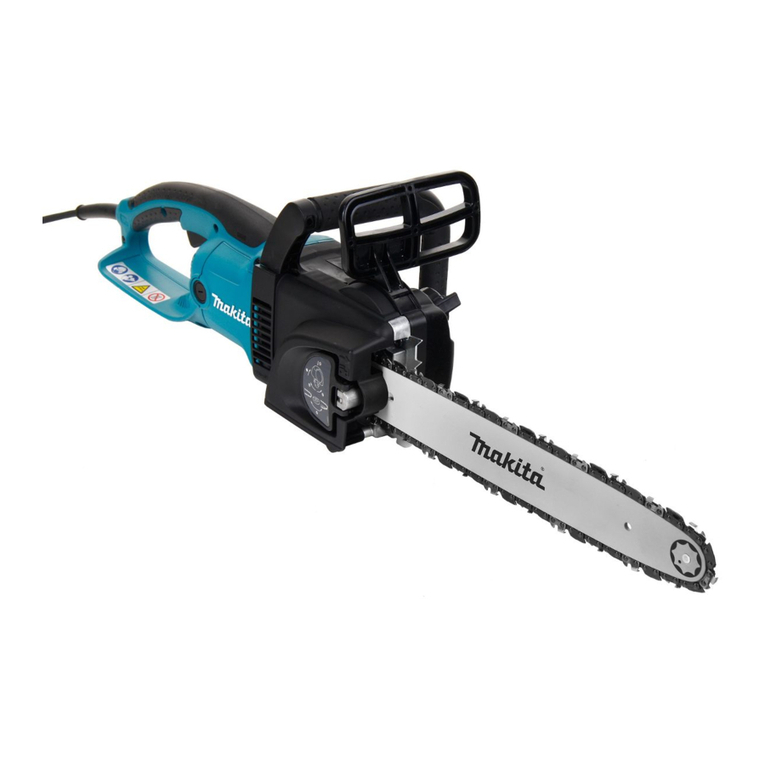
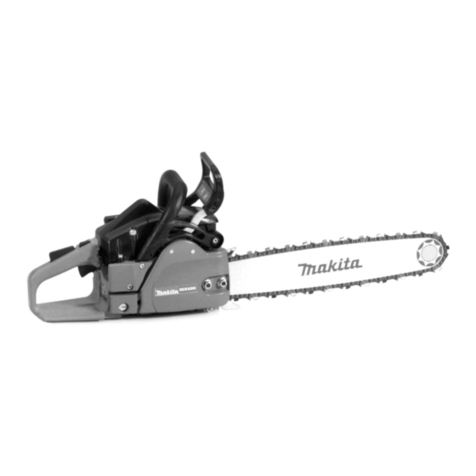
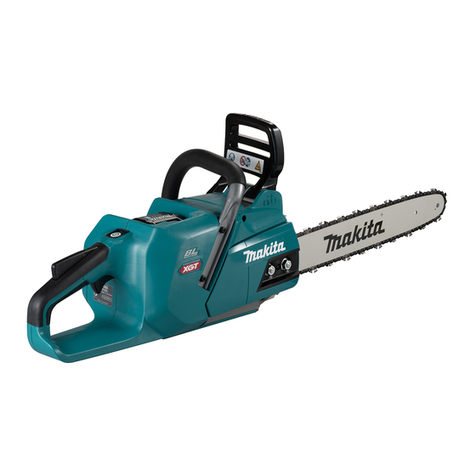
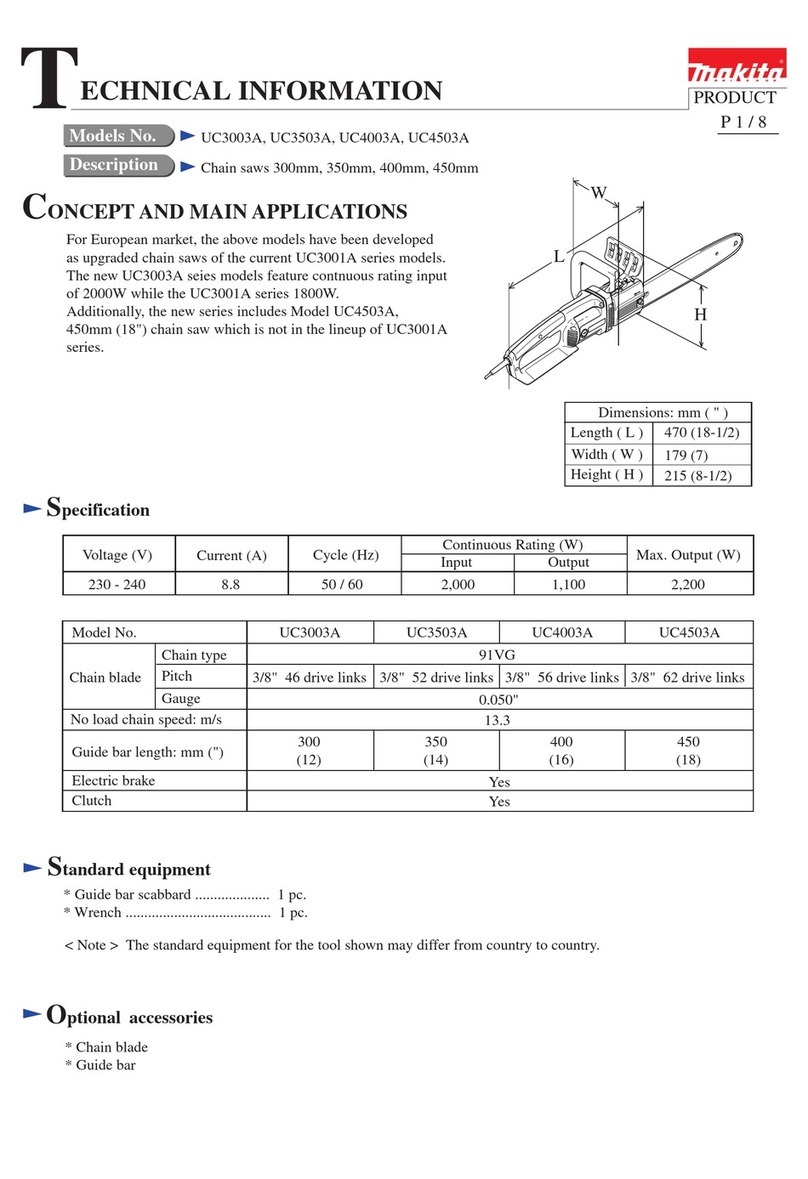
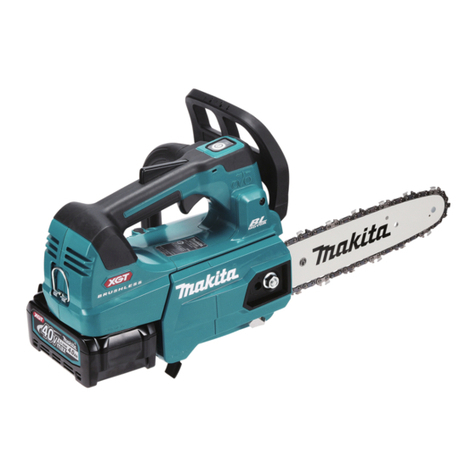
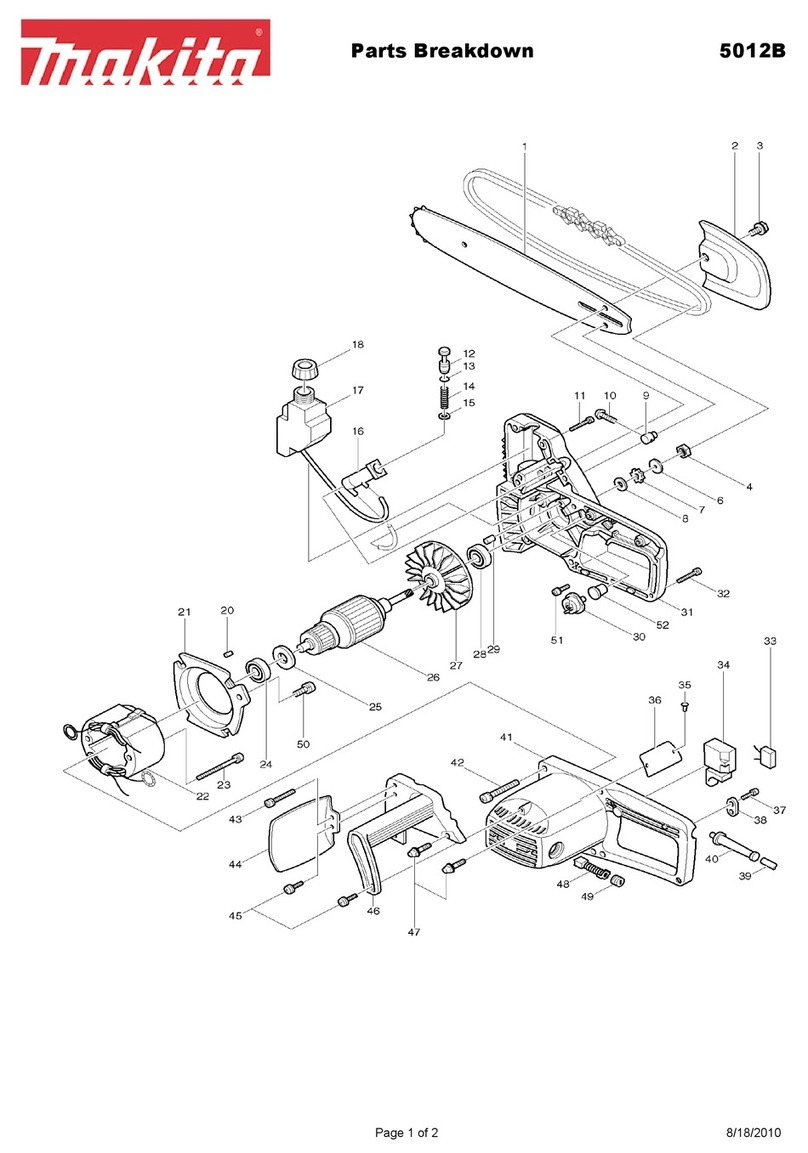
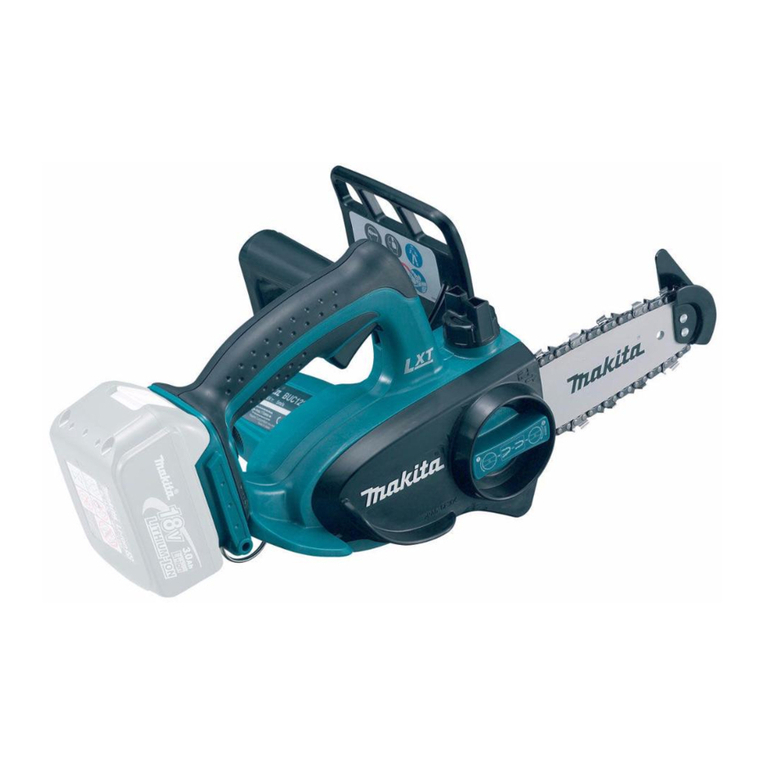
Makita 5016N8 User manual

Chain
Saw
MODEL
5014NB
501
6N8
340
mm
(13-3/8")
MODEL 5014NB
375
mm
(14-3/4")
MODEL 5016NB
Overall Net
Chain speed Length of Saw chain
Pitch Gauge length weight
IFPM)
guide bar
1,300
6
kg
340
mm
9.5
mm
1.27
mm
760
mm
(1
3.318") 1318")
(0.050")
130")
(13.2
Ibs)
375
mm
9.5
mm
1.27
mm
795
mm
1,300 (14-314") (318") 10.050") 131-114") (13.9
Ibs)
6.3
kg
INSTRUCTION
MANUAL
I
DOUBLE
INSULATION
I
SPECIFICATIONS

IMPORTANT
SAFETY
INSTRUCTIONS
WARNING:
WHEN USING AN ELECTRICCHAIN SAW, BASIC
SAFETY PRECAUTIONS SHOULD ALWAYS BE FOLLOWED TO
REDUCE THE RISK OF FIRE, ELECTRIC SHOCK, AND INJURY
TO
PERSONS, INCLUDING THE FOLLOWING:
READ ALL
INSTRUCTIONS.
1.
2.
3.
4.
5.
6.
7.
8.
2
Keep Work Area Clean
Clutteredareasinvite injuries. Donot start cutting untilyou have aclear work
area, secure footing, and a planned retreat path from the falling tree.
Consider Work Area Environment
Use extreme caution when cutting small size brush and saplings because
the slender material may catch the saw chain and be whipped toward you
or pullyou off balance. Do not operate a chain saw ina tree unless specifi-
cally trained to
do so.
When cuttinga limb that is under tension be alert for
spring back
so
that you will not be struck when the tension in the wood
fibers is released. Don’t expose chain saw to rain. Don’t use chain saw
in
damp or wet locations. Do not use chain saw
in
presence
of
flammable
liquids or gases.
Guard Against Electric Shock
Prevent body contact with groundedsurfaces. For example: metal pipes, wire
fences.
Keep Children Away
Do not let visitors contact chain saw or extension cord. All visitors should
be kept away from work area.
Store Idle Chain Saw
When not in use, chain saws should be stored in a dry, and high or locked-
up place
-
out of the reach of children. When storing saw, use a scabbard
or carrying case.
Don’t Force Chain Saw
It
will do the job better and safer at the rate for which
it
was intended.
Use Right
Tool
Cut wood only. Don‘t usechain saw for purpose notintended
-
for example
-
Don’t use chain saw for cutting plastic, masonry non-wood building
materials.
Dress Properly
Donotwear loose clothingorjewelry. They canget caught
in
movingparts.
Rubber gloves and non-skid footwear are recommended when working
outdoors. Wear protective hair covering to contain long hair.

9.
Use Safety Glasses
Also use safety footwear; snug fitting clothing; protective gloves; hearing
and head protection.
Carry the chain saw by the front handle with the saw stopped, finger off
the switch, the guide bar and saw chain to the rear.
Inspect chain saw cords periodically and if damaged, have repaired by
authorized service facility.
Keep
cord
clear
of
the chain and operator at all
times. Never carry saw by the cord
or
pull
it
todisconnect from receptacle.
Keep cordfrom oilandsharp edges. Inspectextension cords periodically and
replace
if
damaged. Keep tools sharp and clean for better and safer perfor-
mance. Follow instructions for lubricating and changing accessories. Keep
handles dry, clean, and free from oil and grease.
Disconnectchainsaw when notinuse, before servicing, and when changing
accessories and attachments, such as saw chain and guard.
Use only extension cords intended for use outdoors and
so
marked.
Watch what you are doing. Use common sense. Do not operate chain saw
when youare tired. Keepallpartsofthe bodyaway fromthesaw chainwhen
the motor is operating. Before you start the saw, make sure the saw chain
is not contacting anything.
Before further use
of
the chain saw, a guard or other part that is damaged
should be carefully checked to determine that
it
will operate properly and
perform itsintendedfunction. Check for alignment of moving parts, binding
of movingparts, breakage of parts, mounting, and any other conditions that
may affect its operation. A guard or other part that is damaged should be
properly repairedor replaced by an authorized service center unless other-
wise indicatedelsewhere
in
this instructionmanual. Havedefectiveswitches
replaced by authorized service center.
Do
not use chain saw if switch does
notturn
it
onand off. Donotoperate a chainsaw that is damaged, improperly
adjusted, or isnot completely and securely assembled. Be sure that the saw
chain stops moving when the trigger is released.
WARNING: KICKBACK may occur when the nose or tip
of
the guide bar
touches an object, or when the wood closes
in
and pinches the saw chain
in
the cut. Tip contact
in
some cases may cause a lightning fast reverse
reaction, kickingthe guide bar upand back towards the operator. Pinching
the saw chain along the top of the guide bar may pushthe guide bar rapidly
back towards the operator. Either of these reactions may cause you tolose
controlof the saw whichcould result
in
serious injurytouser. The following
precautions should be followed to minimize kickback.
IO.
Carrying Saw
11.
Maintain Chain Saw With Care
12.
Disconnect Chain Saw
13.
Outdoor Use Extension Cords
14.
Stay Alert
15.
Check Damaged Parts
16.
Guard Against Kickback
3

(1)
Grip saw firmly. Hold the chain saw firmly with both hands when the
motoris running. Use afirm grip withthumbs and fingers encircling the
chain saw handles.
(2)
Do
not over reach.
(3)
Keep proper footing and balance at all times.
(4)
Don't letthe noseof the guide bar contact a log, branch, ground, or other
(5)
Don't cut above shoulder height.
(6)
Use devices suchas low kickback chain, chain brakes and special guide
(7)
Only use replacement bars and chains specified by the manufacturer.
Connect chain saw to correct voltage, that is, be sure that the voltage
supplied is the same as that specified on the nameplate
of
the tool.
When servicing use only identical replacement parts.
obstruction.
bars that reduce the risks associated with kickback.
17.
Power Supply
18.
Replacement Parts
19.
Wear ear protectors during operation.
20.
Before making a felling cut, remove dirt, stones, loose bark, nails, staples
21.
Secure the log
so
that
it
will not roll or move suddenly during operation.
22.
AVOID UNINTENTIONAL STARTING. Don't carry plugged-intool withfinger
23.
Attention!
Do
not expose this tool to rain and pull plug immediately
if
the
24.
The chain saw must notbeleft outdoors during rain and
it
must notbe used
and wire from the tree.
on switch. Be sure switch is
OFF
when plugging
in.
supply cable be damaged or cut.
when wet.
VOLTAGE WARNING: Before connecting the toolto a power source (receptacle.
outlet, etc.) be sure the voltage supplied is the same as that specified on the
nameplate of the tool. A power source
with
voltage greater than that specified
for the tool can result
in
SERIOUS INJURY tothe user
-
as
well as damage to
the tool.
If
in
doubt,
DO
NOT PLUG IN THE TOOL. Using a power source with
voltage less than the nameplate rating is harmful to the motor.
4

Use Of Extension Cord
If
the extension cord isintended to be used outdoors, the cord shall be marked
with the suffixW-Afollowing the cord type designation, for example
-
SJTW-
A, to indicate
it
is acceptable for outdoor use. Use an extension cord heavy
enough tocarry the current the tool
will
draw. Undersize cord will cause a drop
inlinevoltage resulting
in
loss
of power andover-heating. Makesure the exten-
sion cord is ingood condition before using. Keep the cord away from the cut-
tingarea and toposition cord
so
that
it
will
notbecaught onbranches, and the
like, during cutting. Use the table below to determine the proper wire size re-
quired
in
the extension cord.
Ampere rating
(on
nameplate)
0
-
5.0 5.1
-
10.0 10.1
-
13.0 13.1
-
15.0
Ext.
Cord
Length
25
Ft.
50
Ft.
75
Ft.
100
Ft.
125
Ft.
150
Ft.
~ ~ ~
Contact MakitaAuthorized or Factory Service Center
if
a proper extension cord
cannot be found.
Wire Size (American Wire Gauge)
18 18 16 14
18 16 16 14
18 16 14 14
16 14 12 12
16 12 12 12
16 12 12
-
SAVE
THESE
INSTRUCTIONS.
5

Chain
Saw
Nomenclature
LEFT
SIDE
Front handle
v
RIGHT
Rear handle
/
Trigger switch
SIDE
Oil
cap Guide bar nose
\
I
Guide bar
mounting pad
Sprocket
Bar Tip Guard
-
An attachment that may be provided on the end of the guide
bar to prevent the chain at the end of the guide bar from contacting the wood.
Bucking
-
The process of cross cutting a felled tree or log into lengths.
Chain Brake
-
A device used to stop the chain saw.
Chain Saw Powerhead
-
A chain saw without the saw chain and guide bar.
Clutch
-
A mechanism for connecting and disconnecting a driven member to
and from a rotating source of power.
Drive Sprocket or Sprocket
-
The toothed part that drives the saw chain.
Felling
-
The process of cutting down a tree.
Felling Back Cut
-
The final cut
in
atree felling operation made onthe opposite
side of the tree from the notching undercut.
Front Handle
-
The support handle located at or toward the front of the chain
saw.
6

Front Handle Guard
-
A structural barrier between the front handle
of
a chain
saw and the guide bar, typically located close to the hand position on the front
handle and sometimes employed as an activating lever for a chain brake.
Guide Bar
-
A solid railed structure that supports and guides the saw chain.
Kickback
-
The backwardor upwardmotion, or bothof the guide bar occurring
when the saw chain near the nose of the top area of the guide bar contactsany
object such as a logor branch, or when the wood closes
in
and pinches the saw
chain
in
the cut.
Kickback, Pinch
-
The rapid pushback of the saw which can occur when the
wood closes
in
and pinches the moving saw chain
in
the cut along the top of
the guide bar.
Kickback, Rotational
-
The rapidupward and backward motionof the saw which
can occur when the moving saw chain near the upper portionof the tip of the
guide bar contacts an object, such as a log or branch.
Low-Kickback Chain
-
A chain that complies with the kickback performance
requirements of ANSI B175.1 when tested on a representative sample of chain
saws.
Normal Cutting Position
-
Those positions assumed inperforming the bucking
and felling cuts.
Notching Undercut
-
A notch cut in a tree that directs the tree's fall.
Oiler Control
-
A system for oiling the guide bar and saw chain.
Rear Handle
-
The support handle located at or toward the rear of the saw.
Reduced Kickback Guide Bar
-
A guide bar which has been demonstrated to
reduce kickback significantly.
ReplacementSaw Chain
-
A
chainthat complies with the kickback performance
requirements of ANSI 6175.1 when tested with specific chain saws.
It
may not
meet the ANSI performance requirements when used with other saws.
Saw Chain
-
A loop of chain having cutting teeth, that cut the wood, and that
is driven by the motor and is supported by the guide bar.
Spiked Bumper (Spike)
-
The pointed tooth or teeth for use when felling
or
bucking to pivot the saw and maintain position while sawing.
Switch
-
A device that when operated will complete or interrupt an electrical
power circuit to the motor of the chain saw.
Lock-Off Button
-
A
movable stop that prevents the unintentional operation
of
the switch
until
manually actuated.

Installingsaw chainand guide bar
CAUTION
:
Always be sure that the tool
is
switched off and unpluggedbefore installingsaw chain and
guide bar
Use the socket wrench to loosen the hex
bolt holding the chain cover. Remove the
chaincover.
1
Fig.
2
Fit one end
of
the chain over the sprocket
and the other over the end of the guide
bar. Notice that the cutters must be inthe
direction
of
the arrow in Fig.
3
and
4.
Keep the chain in the guide bar grooves.
Install the guide bar
so
that the lower hole inthe guide bar
is
just over the adjustingpin.
Install the chain cover and tighten the hex bolt only tight enough to hold the guide bar
temporarily.
8

Adjusting
saw
chain tension
CAUTION
:
Always be sure that the tool
is
switched off and unpluggedbefore adjustingchain tension.
Grasp the chain in the middle of the guide
bar and lift up. The gap between the side
link of the chain and the guide bar should
be about3 mm to4
mm
(1/8"
-
5/32").
Fig.
5
If the gap
is
not about 3mm
to
4mm
(1/8"
-
5/32"), adjust the chain tension.
Use
a
screwdriver toturn the chain tension
adjustingscrew clockwisefor more tension,
or counterclockwise for
less
tension. When
adjusting the chain tension, lift the end of
the guide bar slightly.
Fig.
6
After adjusting the chain tension, use the
socket wrench to tighten the hex bolt
securely.
CAUTION
:
When breakingin
a
new chain, adjust the ten
I
Fig.
7
ision often, since
it
tends to 'stretch'.
9

Lubrication
This tool
is
equipped with an automatic lubrication system,
so
the chain
is
lubricated
automatically when the motor
is
running.
I
Gear
housing
cover
\
I
Window
To replenish the oil, take off the cap on
the tank and fill with the oil supply. The
oil tank capacity
is
170
cc
(5.5
oz).
CAUTION
:
Turbine oil
#200
or machine oil
is
recommended.
A
special oil or one of high viscosity
is
neither needed nor advisable, since the aim
is
to lubricatethe chain and the guide bar.
Do
notuse dirty oil nor volatile oil.
Switch
action
To
prevent the trigger from being acciden-
tally pulled,
a
lock-off button
is
provided
as
a
safety feature.
To
start the tool, press in the lock-off
button and pull the trigger.
Release
the
trigger tostop.
Trigger
switch
I_
r---
Lock-off button
I
CAUTION
:
Before plugging in the tool, always check to
see
that the trigger switch actuates properly
and returns to the
"OFF"
position when released.
10

Hook
When using an extension cord, secure
it
to the
tool’s
cord with the hook provided.
Attach the hook about
100-200
mm
(4”-
8”)
from the extension cord connector.
This will help prevent unintentional dis-
connection.
Power cord
Extension
cord
Fig.
Cutting
operation
Turn the tool on and allow the chain to reach full speed before
it
contacts the
wood.
Be
sure the chain
is
adequately lubricated.
Use the spike
as
a
pivot point and
ease
the
tool into the
wood,
rocking
it
in gently.
Do
not force the guide bar in,
as
this may
cause overload-and overheating.
Instantchain brake
This tool
is
equipped with an instantchain brake
to
reduce the risk caused by kickback.
To
actuate the instant chain brake, push
the protector forward.
Fig.
13
CAUTION
:
As
soon
as
the instantchain brake actuates, turn the tool
off.
Keepingthe motor running
with the chain brake actuated may cause damage tothe tool.
11

To release the chain brake, reset the pro-
tector to the exact original position after
turningthe tool off.
Fig.
14
WARNING:
0
Under normal circumstances,
it
should never be necessary to intentionally release the
chain brake while the tool
is
running. Occasionally, after the brake has been actuated,
the protector may notresettothe exact originalposition.
If
this happens, placethe tool
on
a
flat surface
in
a
clear area (away from other persons or objects that might contact
the saw chain). Then turn the tool on. After running the tool for
a
couple of seconds,
turn the tool off. While the motor
is
coasting, reset the protector with the same hand
you used toturnthe tool on. Holdthe tool firmly by grasping the front handlewith the
other hand.
Careless handling of the tool
at
this time could result in serious injury, therefore use
extremecaution when resettingthe chainbrake inthis manner.
0
Before operation, always check to
see
that the chain brake
actuates
properly.
Holding
the
chainsaw
Always grip each handle with the thumb
I
and fingers encircling the handle
as
shown
in
Fig.
15.
Use this grip
thumb below-
handle
12

Using the chain
saw
Always be sure of your footing and hold the chainsaw firmly with both hands while the
motor
is
running.
Felling
a
tree
When bucking and felling operations are beingperformedby
two
or more persons,
at
the
same time, the felling operation should be separated from the bucking operation by
a
distance of
at
least
twice the height of the tree beingfelled. Trees should notbe felledin
a
manner that would endanger any person, strike any utility line or cause any property
damage. If the tree does make contact with any utility line, the utility company should
be notified immediately.
The chain saw operator should keep on the uphill side of the terrain
as
the tree
is
likely
to roll or slide downhill after
it
is
felled.
A retreat path should be planned and
cleared
as
necessary beforecuts are started.
The retreat path should extend back and
diagonally to the rear of the expected line
of fall
as
shown in Fig.
16.
I
Treat
Direct
I
on
of fall
-_--
I
Fig.
1
Before felling
is
started, consider the natural lean of the tree, the location of larger
branches and the wind direction tojudge which way the tree will fall. Remove dirt,stones,
loose bark, nails, staples, and wire from the tree where fellingcuts are tobe made.
Notchingundercut
Make the notch
1/3
the diameter of the tree, perpendicular to the direction of fall
as
shown in
Fig.
17.
Make the lower horizontal notching cut first. This will help to avoid
pinchingof either the saw chain or the guide bar when the second notch
is
beingmade.
13

Felling
back
cut
Limbing
a
tree
Limbing
is
removing the branches from
a
fallen tree. When limbing,
leave
larger
lower limbs to support the log off the
ground. Remove the small limbs in one
cut
as
shown in Fig. 18. Branches under
tension should be cut from the bottomup
to avoid binding the chain saw.
Make the felling back cut
at
least
2
inches
(50.8
mm)higher than the horizontal notch-
ing cut
as
shown in Fig.
17.
Keep the fell-
ing back cut parallel to the horizontal
notching cut. Make the felling back cut
so
enough wood
is
left
to
act
as
a
hinge. The
hinge wood keeps the tree from twisting
and falling in the wrong direction.
Do
not
cut through the hinge.
LIMB
CUT
Keep
work
off
ground
Leave support limbs until log
is
cut
of
fall
-
Direction
back
cut
Notch
-
__
---7
2
inches
Hinge
1
\\
\\\
1
Fig.
1
As
the felling cut
gets
close to the hinge the tree should begin to fall. If there
is
any
chance that the tree may not fall in the desired direction or itmay rock back and bind
the saw chain, stop cutting before the felling back cut
is
complete and use wedges of
wood, plastic
or
aluminum to open the cut and drop the tree along the desired line of fall.
When the tree begins to fall remove the chain saw from the cut, stop the motor, put the
chain saw down, then use the retreat path planned. Be alert for overhead limbs falling
and watch your footing.
Fig.
1
14

Bucking
a
log
Bucking is cutting
a
loginto lengths.
It
is
important tomake sure your footing
is
firm and
your weight
is
evenly distributed on both feet. When possible, the
log
should
be
raised
and supported by the use of limbs, logs or chocks. Follow the simple directions for easy
cutting.
I
When the log
is
supported along its entire
length
as
shown in Fig.
19,
it
is
cut from
the top (overbuck).
(2/3diameter)
to meet 1stcut
(toavoid pinching)
When the log is supported on one end,
as
shown in Fig.
20,
cut
1/3
the diameter
from the underside (underbuck). Then
make the finished cut by overbucking to
meet the first cut.
When the log
is
supported on both ends,
as
shown in
Fig.
21,
cut
1/3
of that diameter
from the top overbuck. Then make the
finished cut by underbuckingthe lower
2/3
to meet the first cut.
Cut from top (overbuck)
avoid cuttingearth
Fig.
21
I
1stcut overbuck
(1
/3 diameter)
(to avoid splintering)
--.-
2nd cut underbuck
(2/3diameter) to
meet 1st cut
(toavoid pinching)
I
Fig.
2
15

When bucking on
a
slope, always stand on
the uphill side of the log,
as
shown in Fig.
22.
When ”cutting through”, to maintain
complete control, release
the
cutting pres-
sure near the end of the cut without re-
laxing your grip on the chain saw handles.
Don‘t
let
the chain contact the ground.
After completing the cut, wait for the saw
chain to stop before you move the chain
saw. Always stop the motor before moving
from tree totree.
1
log
may
roll.
Fig.
2:
Carrying
tool
Carry the tool by the front handlewith the
tool turned off, finger off the switch, the
guide bar and the saw chain to the rear.
Use the scabbard to cover the guide bar
and the saw chain.
I
Fig.
2
16

MAINTENANCE
CAUTION
:
Always be sure that the tool
is
switched off and unpluggedbefore attempting toperform
inspection or maintenance.
Fillingsaw chain
To
get
the most in cutting performance from your tool, you must keep the cutter sharp
and filed properly
as
shown below.
TOP PLATE ANGLE SIDE PLATE ANGLE TOP FILING ANGLE
Cutter Raker
,
/
A
top
plateangle
of
If
you
have filed the
top
30'
is ideal.
85".
andside platecorrectly
the
top
fillingangle will
be
60"
-automatically.
Filetheside plate
to
Fig.
2r
To
file the saw chain, push the file in the
direction of the arrow. When pulling
it
back, be careful not to touch the cutters
with the file.
Saw
chain
Fig.
2!
After
a
saw chain has been filed two or three times, the "raker"
(see
Fig.
24)
may need
to be filed down slightly. This is because the raker acts
as
a
depth gauge for the cutters.
As
the cutters are filed, they lose some height due totheir angled shape. Eventually, the
cutters will become lower than the depth gauge and consequently, will not be able to
cut. To remedy this, use
a
flat file to file the tops of the rakers
so
that they are about
0.5
mm
(0.025")
below the tips of the cutters
(see
Fig.
24).
Be careful not to file the
rakers excessively or the cutters will be allowed to take too large of
a
"bite", causing
the tool tostall or snag in the cut.
17

Removingchip buildup
Chips and sawdust will build up in the guide bar groove and oil hole, cloggingthem and
impairing oil flow. Removethe guide bar and clean them out.
Replacingcarbon brushes
Remove and check the carbon brushes
regularly. Replace when they wear down
to the limit mark. Keep the carbon brushes
clean and free to slip in the holders. Both
carbon brushes should be replaced
at
the
same time. Use only Makita carbonbrushes.
Use
a
screwdriver to remove the brush
holder caps. Take out the worn carbon
brushes, insert the new ones and secure the
brush holder caps.
Clean
out
Guide
bar
Fig.
2
/
Limit
mark
Storing the
tool
Beforestoring the tool,
be
sure
td
dothe following:
0
Removethe chain cover. Removeany chips and sawdust from the tool.
0
Install the chain cover. Turn the tool on and depress the oil button
4
or
5
times.
.Cover the saw chain and the guide bar with the scabbard.
To maintain product SAFETY and RELIABILITY, repairs, any other maintenance
or
adjustment should be performed by Makita Authorized or Factory Service Centers,
always usingMakita replacementparts.
18

ACCESSORIES
CAUTION
:
These accessories or attachments are recommended for use with your Makita tool specified in this
manual. The use
of
any other accessories or attachments might present
a
risk
of
injury to persons.The
accessories or attachments should be used only inthe proper and intended manner.
Socket wrench
13
0
Screwdriver
File
Part No.
78221
2-4 Part No. 783001-0 Part No. 744003-1
Scabbard
Oil
supply Cap
for
oil
supply
Part
No.
414593-5 Part
No.
181117-9
Part
No. 242012-9
Saw chain
Part No. 713014-7 (For 5014NB)
Part No. 713015-5 (For5016NB)
Hook
Part
No.
158024-1
19

Aq-25438
US
CHAIN SAW
340
mm
(13-318")
Model 5014NB
375
mm
(14-3/47 Model 5016NB
Note: The switch, noise suppressor and other part configurations
may differ from country to country.
20
This manual suits for next models
1
Table of contents
Other Makita Chainsaw manuals

Makita
Makita UC3050A User manual

Makita
Makita EA3203S User manual

Makita
Makita XCU04 User manual

Makita
Makita DUC252 User manual

Makita
Makita UC3030A User manual

Makita
Makita DUC305 User manual

Makita
Makita DUC303 User manual

Makita
Makita DUC121 User manual

Makita
Makita BUC250 User manual

Makita
Makita DCS540 Instruction Manual

Makita
Makita UC004G User manual

Makita
Makita EA3200S User manual

Makita
Makita UC002G User manual

Makita
Makita DCS430 User manual

Makita
Makita UC4010A Manual

Makita
Makita XCU05 User manual

Makita
Makita EA5000P Instruction Manual

Makita
Makita DCS460 Instruction Manual

Makita
Makita XCU05 User manual

Makita
Makita BUC250 User manual