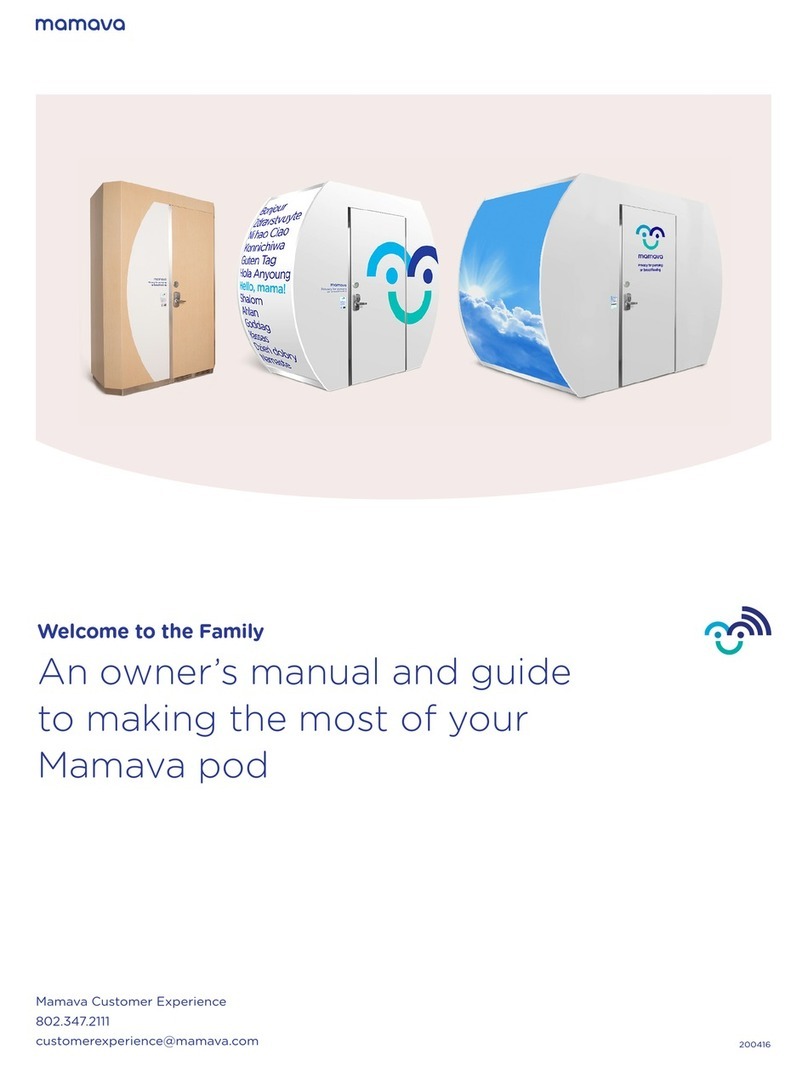
Mamava Solo User manual

1
Preparing for Your Mamava
Your Mamava pod is arriving soon, which means…it’s nesting
time! This document will help you choose the best pod
locations and provide essential information for delivery day
(detailed assembly instructions will arrive with your pod).
Mamava Original
7’3”W x 3’7”D x 7’3”H*
Weight: 475 lb
Shipping carton
4’3”W x 8’D x 4’2”H**
Total weight: 755 lb
Mamava Solo
5’W x 2’10”D x 7’3”H
Weight: 380 lb
Shipping carton
7’9”W x 2’10”D x 4’2”H**
Total weight: 490 lb
Mamava XL
9’5”W x 5’4”D x 7’3”H*
Weight: 900 lb
Shipping carton
4’5”W x 8’D x 6’H**
Total weight: 1,085 lb
*Pod height does not include a 4” antenna, which can be folded
down to 1/2 inch if necessary.
**Dimensions include the cribbing on the bottom of the pallet,
which provides pallet jack or forklift access.
220215
Access other useful assets
on mamava.com
• Step-by-step assembly video
• Owner’s manual
• Signage templates

2
Be sure it fits the space
Mamava Original
7’3”W x 3’7”D x 7’3”H *
Door swing: 35”
Mamava XL
9’5”W x 5’4”D x 7’3”H *
Door swing: 36” **
Ensure privacy
If your model is one with a more open
perforated ceiling (XL/Original V5 or Solo
V1.1), avoid placing in a stairwell, directly
underneath security cameras or anywhere
that provides an overhead view.
Place within 2’ of a standard outlet
The pod comes with a GFCI-protected
electrical cord that plugs into a standard
20A 120v receptacle. Be sure the cord
does not span any walkways.
Consider temperature
Vent fans help to move air, but do not
heat or cool the pod. Place your pod in
an area that’s comfortable in terms of
temperature.
Ensure cellular service or Wifi
Breastfeeding parents need cell service or
Wifi to open pods with the Mamava app.
Find a flat surface
Place your Mamava on a flat, consistent
surface. Not advisable: grouted tiles,
brick, or sloped floors. Low-pile carpets
are OK.
Make accessibility, safety, and convenience top priority
Pods are only as accessible as the space they’re placed in. Ensure
placement doesn’t degrade or impede audible or visible alarms.
We also recommend placing your pod near a bathroom to
provide easy access to a sink and changing table.
1
Select a Spot for Your Pod
2
3
4
5
6
7
* Height does not include a 4” antennae, which can be folded down to 1/2 inch if needed.
** Ensure 60” clearance in front of the door and 18” clearance on the latch side.
Important: Mamava pods are intended
for indoor use only. The unit should
not be stored or installed in any area
where it will be exposed to moisture,
excessive humidity, wind or other
outdoor elements, including extreme
temperatures (below 40°F (4°C) or
greater than 90°F (32°C)).
2’
Mamava Solo
5’W x 2’10”D x 7’3”H
Door swing: 18”
18”
29”

3
Wayfinding
Add signage to direct
breastfeeding parents to your
pod. Place signs at the entrances
to restrooms so moms know you
provide a dedicated lactation
accommodation. Go to help.
mamava.com to download and
print our wayfinding decals.
Trash can
Place a trash can outside of your
pod to keep the inside clean and
smelling fresh. Learn more about
Mamava’s all-in-one trash can and
wipe dispenser at mamava.com/
sanitization.
Wipes or sanitizers
Add hand sanitizer or wipes.
To learn more about Mamava’s
sanitization oerings, visit
mamava.com/sanitization.
Locate our Mamava lactation pod
with the Mamava app.
We have a peaceful place
to pump or breastfeed.
Lactation pods and a locator app
for moms on the go.
Mod Your Pod!
Adding a few key amenities can make breastfeeding parents extra happy.

4
Receiving Your Mamava
What to expect when you’re expecting? Your Mamava will arrive unassembled
in a series of cardboard boxes stacked and banded together on a wooden pallet.
Move your carton to your pod assembly location
Assemble the pod as close as possible
to the final placement
Once assembled, the Original and XL pods
can move on retractable casters, but consider
this furnishing like you would a refrigerator—
you don’t want to be scooting it far distances
or up sloped surfaces. (The Solo pod does
not have casters and must be assembled in
its final location.)
You’ll need an 8’6” ceiling during
assembly (8’ for the Solo pod)
You’ll need additional clearance so the side
panels can slide in from above. Contact
Mamava for alternate options if you don’t
have the appropriate ceiling height.
Take care when moving
your carton
Use a forklift or pallet jack to move
your Mamava carton from the truck,
and a cart or dolly to move it to its
assembly spot.
If you’re welcoming multiples, don’t
stack cartons (pods) on top of each
other at any time.
Unless you have long forks, lift the
carton from the long side of the pallet,
not the narrow end.
Consider the dimensions of the carton
as you plan your route from delivery
site to assembly spot.
What’s included in your carton
Your pod parts, several of which are about the size
of a standard door and weigh up to 70 lbs.
• For an Original pod, the largest rigid panel is approx. 3’ x 7’
and the largest flexible panel is approx. 4’ x 8’
• XL panels are slightly larger: 3.5’ x 7.5’ and 5.5’ x 8’
• The Solo panels measure 2.5’ x 7.25’
A bag containing the following
• Assembly instructions
• Hardware (e.g., screws, fasteners)
• Rotolock wrench (key)
• Keychain + keys (2) to access your pod with the physical lock
• Information about accessing your Owner’s Manual
• 4’ level (Solo only)

5
Here’s how it will go down
on assembly day
Move your carton to its assembly spot
Refer to the previous page for guidelines about choosing
an assembly spot and transporting the carton.
Then dive in and start building
It takes two people and four hours to assemble an Original or
XL pod. (If available, a third person can be helpful.) The Solo
pod can be assembled by two people in two hours.
When it’s all done, you’ll celebrate!
All together? Give yourself or your fellow assembly-people a
pat on the back. Or a high five. Maybe even a nice cold drink.
If you need to move your Original or XL pod, level it
Casters make it easy to roll an Original or XL pod a few feet.
If you do, you’ll need to level it in its final spot. Details on how
to level are provided in the assembly guide. The Solo pod does
not have casters and must be disassembled to relocate safely.
Don’t forget to clean up
The cardboard from the carton may be recycled while the
rest of the packing materials must be discarded.
Download your Owner’s Manual
You’ll find a handout in the bag with your pod’s hardware telling
you exactly how to do this. Or visit help.mamava.com to obtain
a copy. If you’re not the person who will be responsible for
maintaining the pod, pass this info along to the person who is.
Snap a picture of your new pod
Orient your phone horizontally, back up about 15’ and capture
a stunning shot, head-on. Send it to customerexperience@
mamava.com so we can add it to our app. Share with
breastfeeding parents (through email, social, etc.)—more
ideas in your Owner’s Manual—or with the best person at your
organization to do so.
What you can do right now
Recruit your assembly crew
Identify two people who are comfortable
working with tools and assembling kit-type
furniture—they should be able to put your
pod together in about four hours. A third
person may be helpful, but is not necessary.
Plan your locations, walk your route
Walk the path you’ll take from receiving
your carton to installing the pod and make
sure everything will fit all along the way.
During this walk-through, scope out great
spots for wayfinding signage.
Gather your tools
• Step ladder (2’-6’—consider the height
of your crew!)
• 4’ level (provided with Solo)
• #3 & #2 Phillips head screwdriver
• Adjustable wrench (up to 17mm)
• 9/16” socket wrench (with a short
extension preferable)
• Hex key (Mamava provides one with
each unit)
• Drill with Phillips Screwdriver bit (for
Solo shipping create disassembly only)
Watch the assembly video
Visit help.mamava.com to find helpful
assembly resources.
Use your camera app
to scan the QR code
for easy viewing
Assembling Your Pod
Mamava pods are easy to assemble, especially when you’re
prepared. Please read this section in advance of opening your
Mamava carton.
1
2
3
4
5
6
7
Other manuals for Solo
5
This manual suits for next models
2
Other Mamava Personal Care Product manuals
Popular Personal Care Product manuals by other brands
Orliman
Orliman Manutec MF-61 Use and maintenance instructions
Orliman
Orliman SOFY-PLANT TL-618F Use and maintenance instructions
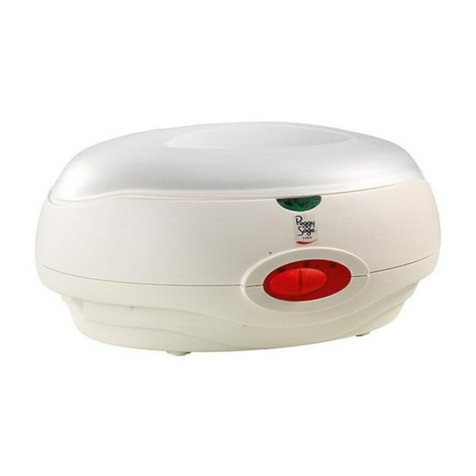
Peggy Sage PARIS
Peggy Sage PARIS 120031 Instructions for use
Orliman
Orliman oneplus OPL350 Use and maintenance instructions
Philips
Philips HB171/02 operating instructions
Norvell
Norvell Oasis user manual
Arzum
Arzum REVOLUTION AR 5162 instruction manual
Somnox
Somnox Sleep Robot 2 Full manual
American Standard
American Standard 2149.012 Elongated Front parts list
Mojia
Mojia Microcurrent user manual
American Standard
American Standard Ravenna Pedestal Sink 0268.100 Specification sheet

Imetec
Imetec N9701 operating instructions
