manuals.online logo
Brands
  1. Home
  2. •
  3. Brands
  4. •
  5. Manhattan
  6. •
  7. Mouse
  8. •
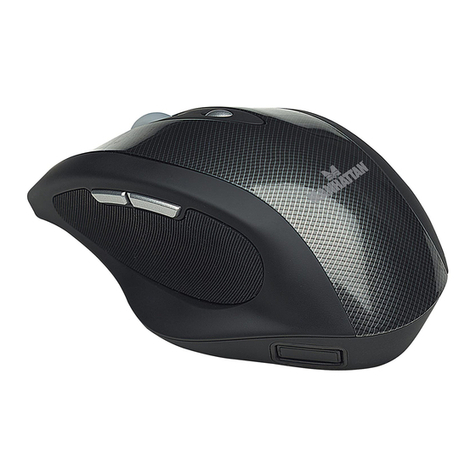
  9. Manhattan 179256 User manual

Manhattan 179256 User manual

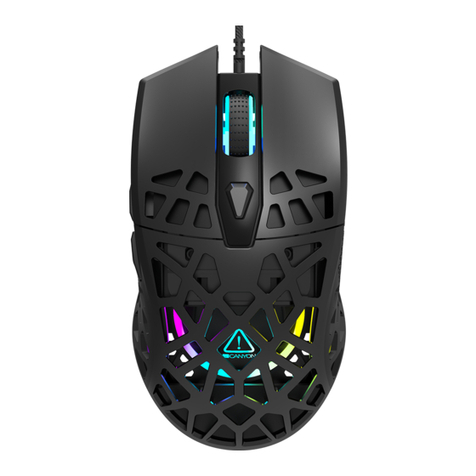
Wired Optical
LED Gaming
Mouse
Instructions
Model 179256
Important: Read before use. • Importante: Leer antes de usar.
MH_179256_QIG_0321_REV_5.11
All trademarks and trade names are the property of their respective owners. © IC Intracom. All rights
reserved. Manhattan is a trademark of IC Intracom, registered in the U.S. and other countries.
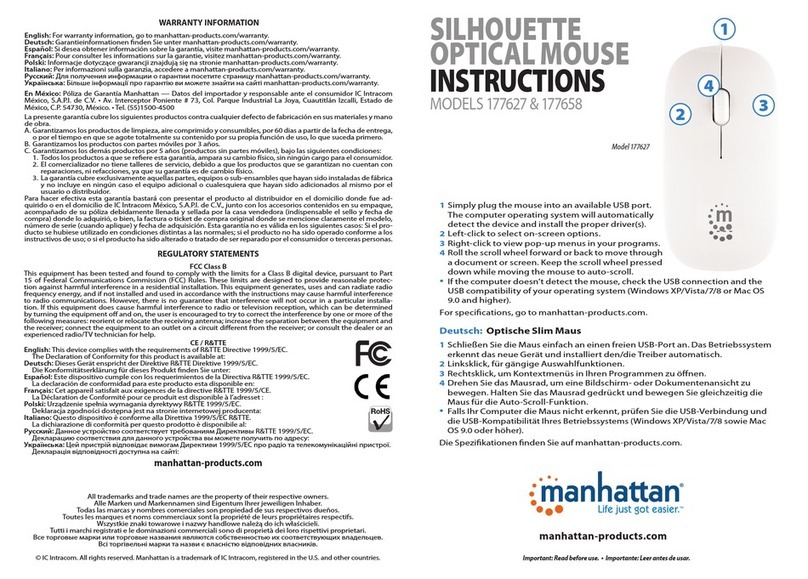
1 Plug the mouse into an available
USB port. The computer operating
system will automatically
detect the device and install
the proper driver(s).
2 Left-click to select on-screen options.
3 Right-click to view pop-up
menus in your programs.
4 Roll the scroll wheel forward or
back to move through a document
or screen. Keep the scroll wheel
pressed down while moving
the mouse to auto-scroll.
5 Press the DPI button to cycle
through the four resolution settings:
1200, 1600, 2000 and 3200.
6 Page forward and page back.
For specifications, go to
manhattanproducts.com.
Printed on recycled paper.
WARRANTY AT:| GARANTIE AUF: | GARANTÍA EN: | GARANTIE À : | GWARANCJA NA: | GARANZIA A:
manhattanproducts.com
EN MÉXICO: Póliza de Garantía Manhattan — Datos del importador y responsable ante el consumidor IC Intracom México, S.A.P.I. de C.V.
• Av. Interceptor Poniente # 73, Col. Parque Industrial La Joya, Cuautitlán Izcalli, Estado de México, C.P. 54730, México. •Tel. (55)1500-
4500 • La presente garantía cubre los siguientes productos contra cualquier defecto de fabricación en sus materiales y mano de obra. A)
Garantizamos los productos de limpieza, aire comprimido y consumibles, por 60 dias a partir de la fecha de entrega, o por el tiempo en
que se agote totalmente su contenido por su propia función de uso, lo que suceda primero. B) Garantizamos los productos con partes
móviles por 3 años. C) Garantizamos los demás productos por 5 años (productos sin partes móviles), bajo las siguientes condiciones: 1.
Todos los productos a que se refiere esta garantía, ampara su cambio físico, sin ningún cargo para el consumidor. 2. El comercializador no
tiene talleres de servicio, debido a que los productos que se garantizan no cuentan con reparaciones, ni refacciones, ya que su garantía
es de cambio físico. 3. La garantía cubre exclusivamente aquellas partes, equipos o sub-ensambles que hayan sido instaladas de fábrica
y no incluye en ningún caso el equipo adicional o cualesquiera que hayan sido adicionados al mismo por el usuario o distribuidor. • Para
hacer efectiva esta garantía bastará con presentar el producto al distribuidor en el domicilio donde fue adquirido o en el domicilio de
IC Intracom México, S.A.P.I. de C.V., junto con los accesorios contenidos en su empaque, acompañado de su póliza debidamente llenada
y sellada por la casa vendedora (indispensable el sello y fecha de compra) donde lo adquirió, o bien, la factura o ticket de compra
original donde se mencione claramente el modelo, número de serie (cuando aplique) y fecha de adquisición. Esta garantía no es válida
en los siguientes casos: Si el producto se hubiese utilizado en condiciones distintas a las normales; si el producto no ha sido operado
conforme a los instructivos de uso; o si el producto ha sido alterado o tratado de ser reparado por el consumidor o terceras personas.
REGULATORY STATEMENTS
FCC Class B
This equipment has been tested and found to comply with the limits for a Class B digital device, pursuant to Part 15 of
Federal Communications Commission (FCC) Rules.These limits are designed to provide reasonable protection against
harmful interference in a residential installation.This equipment generates, uses and can radiate radio frequency energy,
and if not installed and used in accordance with the instructions may cause harmful interference to radio communications.
However, there is no guarantee that interference will not occur in a particular installation. If this equipment does cause
harmful interference to radio or television reception, which can be determined by turning the equipment off and on,
the user is encouraged to try to correct the interference by one or more of the following measures: reorient or relocate
the receiving antenna; increase the separation between the equipment and the receiver; connect the equipment to an
outlet on a circuit different from the receiver; or consult the dealer or an experienced radio/TV technician for help.
CE
ENGLISH : This device complies with the requirements of CE 2014/30/EU and / or
2014/35/EU.The Declaration of Conformity for is available at:
DEUTSCH : Dieses Gerät enspricht der CE 2014/30/EU und / oder 2014/35/EU. Die
Konformitätserklärung für dieses Produkt finden Sie unter:
ESPAÑOL : Este dispositivo cumple con los requerimientos de CE 2014/30/EU y / o
2014/35/EU. La declaración de conformidad esta disponible en:
FRANÇAIS : Cet appareil satisfait aux exigences de CE 2014/30/EU et/ou 2014/35/EU. La Déclaration de Conformité est disponible à :
POLSKI : Urządzenie spełnia wymagania CE 2014/30/EU I / lub 2014/35/EU. Deklaracja
zgodności dostępna jest na stronie internetowej producenta:
ITALIANO : Questo dispositivo è conforme alla CE 2014/30/EU e / o 2014/35/EU. La dichiarazione di conformità è disponibile al:
support.manhattanproducts.com/barcode/179256
Scan to
register your
product warranty
For additional benets:
or go to: register.manhattanproducts.com/r/179256
2
1
3
4
65
North & South America
IC Intracom Americas
550 Commerce Blvd.
Oldsmar, FL 34677, USA
Asia & Africa
IC Intracom Asia
4-F, No. 77, Sec. 1, Xintai 5th Rd.
Xizhi Dist., New Taipei City 221, Taiwan
Europe
IC Intracom Europe
Löhbacher Str. 7
D-58553 Halver, Germany
DEUTSCH
1 Schließen Sie die Maus einfach an einen
freien USB-Port an. Das Betriebssystem
erkennt das neue Gerät und installiert
den/die Treiber automatisch.
2 Linksklick, für gängige Auswahlfunktionen.
3 Rechtsklick, um Kontextmenüs in
Ihren Programmen zu öffnen.
4 Drehen Sie das Mausrad, um eine
Bildschirm-oder Dokumentenansicht
zu bewegen. Halten Sie das Mausrad
gedrückt und bewegen Sie gleichzeitig
die Maus für die Auto-Scroll-Funktion.
5 Drücken Sie die DPI-Taste, um zwischen
den 4 Auflösungen zu wechseln:
1200, 1600, 2000 und 3200.
6 Seite vor, Seite zurück.
Die Spezifikationen finden Sie auf
manhattanproducts.com.RegistrierenSieIhrProdukt
auf register.manhattanproducts.com/r/179256
oder scannen Sie den QR-Code auf dem Deckblatt.
ESPAÑOL
1 Solo conecte el ratón en un puerto USB
disponible. El sistema operativo detectará
automaticamente el nuevo dispositivo
e instalará el driver necesario.
2 Haga clic izquierdo para seleccionar
opciones en la pantalla.
3 Haga clic derecho para ver los menús
emergentes en sus programas.
4 Gire la rueda de desplazamiento hacia
delante o hacia atrás para desplazarse por
un documento o una pantalla. Mantenga
la rueda de desplazamiento presionado
mientras mueve el ratón para auto-scroll.
5 Pulse el botón de DPI para recorrer
las configuraciones de resolución
4: 1200, 1600, 2000 y 3200.
6 Avance y retroceso de página.
Para mas especificaciones, visite
manhattanproducts.com. Registre el producto
en register.manhattanproducts.com/r/179256
o escanee el código QR en la cubierta.
FRANÇAIS
1 Connectez la souris à un port USB disponible.
Votre système d’exploitation identifie la souris
et installe le(s) pilote(s) automatiquement).
2 Clic gauche pour activer des
fonctions à l’écran.
3 Clic droit afin d’afficher des
menus de contexte.
4 Tournez la molette de souris afin de défiler
l’affichage d’un document ou d’un site
Web Appuyez-la constamment et bougez
la souris pour la fonction défilement auto.
5 Appuyez sur le bouton PPP pour
commuter entre les 4 résolutions :
1200, 1600, 2000 et 3200.
6 Bouton page précédente et page suivante.
Vous trouvez les spécifications sur
manhattanproducts.com.Enregistrezvotreproduit
sur register.manhattanproducts.com/r/179256
ou scannez le code QR figurant sur la couverture.
POLSKI
1 Podepnij mysz do wolnego portu USB
komputera. System automatycznie
wykryje podłączone urządzenie i
zainstaluje odpowiednie sterowniki. W
przypadku podpinania urządzeń USB nie
ma potrzeby wyłączania komputera.
2 Lewy przycisk myszy – wybieranie
lub zaznaczanie elementów.
3 Prawy przycisk myszy – rozwija
menu kontekstowe.
4 Rolka „scroll”– służy do przewijania
dokumentów. Wciśnięcie i przytrzymanie
rolki spowoduje włączenie funkcji
„auto-scroll” – przewijanie w górę i
w dół, zgodnie z ruchem myszy.
5 Przycisk do zmiany rozdzielczości przełącza
sekwencyjnie między rozdzielczościami w
kolejności: 1200, 1600, 2000 lub 32000.
6 6 Następna strona, poprzednia strona.
Pełną specyfikację produktu
znajdziecie Państwo na stronie
manhattanproducts.com. Zarejestruj produkt
na register.manhattanproducts.com/r/179256
lub zeskanuj znajdujący się na pokrywie kod QR.
WASTE ELECTRICAL & ELECTRONIC EQUIPMENT
Disposal of Electric and Electronic Equipment (applicable in the E.U. and other countries with separate collection systems)
ENGLISH:This symbol on the product or its packaging means that
this product must not be treated as unsorted household
waste. In accordance with EU Directive 2012/19/EU on
Waste Electrical and Electronic Equipment (WEEE), this
electrical product must be disposed of in accordance with the
user’s local regulations for electrical or electronic waste. Please
dispose of this product by returning it to your local point of sale or
recycling pickup point in your municipality.
DEUTSCH: Dieses auf dem Produkt oder derVerpackung
angebrachte Symbol zeigt an, dass dieses Produkt nicht mit
dem Hausmüll entsorgtwerden darf. In Übereinstimmung
mit der Richtlinie 2012/19/EU des Europäischen Parlaments
und des Rates über Elektro- und Elektronik-Altgeräte (WEEE)
darf dieses Elektrogerät nicht im normalen Hausmüll oder
dem Gelben Sack entsorgt werden.Wenn Sie dieses Produkt
entsorgen möchten, bringen Sie es bitte zurVerkaufsstelle
zurück oder zum Recycling-Sammelpunkt Ihrer Gemeinde.
ESPAÑOL: Este símbolo en el producto o su embalaje indica
que el producto no debe tratarse como residuo doméstico. De
conformidad con la Directiva 2012/19/EU de la UE sobre residuos
de aparatos eléctricos y electrónicos (RAEE), este producto
eléctrico no puede desecharse se con el resto de residuos no
clasificados. Deshágase de este producto devolviéndolo a su punto
de venta o a un punto de recolección municipal para su reciclaje.
FRANÇAIS: Ce symbole sur Ie produit ou son emballage signifie
que ce produit ne doit pas être traité comme un déchet ménager.
Conformément à la Directive 2012/19/EU sur les déchets
d’équipements électriques et électroniques (DEEE), ce produit
électrique ne doit en aucun cas être mis au rebut sous forme
de déchet municipal non trié.Veuillez vous débarrasser de ce
produit en Ie renvoyant à son point de vente ou au point de
ramassage local dans votre municipalité, à des fins de recyclage.
POLSKI: Jeśli na produkcie lub jego opakowaniu umieszczono
ten symbol, wówczas w czasie utylizacji nie wolno wyrzucać tego
produktu wraz z odpadami komunalnymi. Zgodnie z Dyrektywą
Nr 2012/19/EU w sprawie zużytego sprzętu elektrycznego i
elektronicznego (WEEE), niniejszego produktu elektrycznego nie
wolno usuwać jako nie posortowanego odpadu komunalnego.
Prosimy o usuniecie niniejszego produktu poprzez jego zwrot
do punktu zakupu lub oddanie do miejscowego komunalnego
punktu zbiórki odpadów przeznaczonych do recyklingu.
ITALIANO: Questo simbolo sui prodotto o sulla relativa confezione
indica che il prodotto non va trattato come un rifiuto domestico.
In ottemperanza alla Direttiva UE 2012/19/EU sui rifiuti di
apparecchiature elettriche ed elettroniche (RAEE), questa prodotto
elettrico non deve essere smaltito come rifiuto municipale misto.
Si prega di smaltire il prodotto riportandolo al punto vendita o al
punto di raccolta municipale locale per un opportuno riciclaggio.
ITALIANO
1 Semplicemente collegare il mouse in una
porta USB disponibile. Il sistema operativo
del computer rileverà automaticamente la
nuova periferica e installerà i driver corretti.
2 Cliccare il tasto sinistro per selezionare
le opzioni sullo schermo.
3 Cliccare sul tasto destro per vedere
pop-up menu nei vostri programmi.
4 Ruotare la rotellina Avanti o indietro per
muoversi all’interno di un documento o
nello schermo. Mantenere la rotella premuta
mentre si muove il mouse per l’auto-scroll.
5 Premere il tasto DPI per passare
attraverso i 4 settaggi di risoluzione:
1200, 1600, 2000 e 3200.
6 Pagina avanti, pagina indietro.
Per ulteriori specifiche, visita il sito
manhattanproducts.com.Registrailtuoprodotto
su register.manhattanproducts.com/r/179256
o scansiona il codice QR presente sulla copertina.
2
1
3
4
65
This manual suits for next models

1

Other Manhattan Mouse manuals

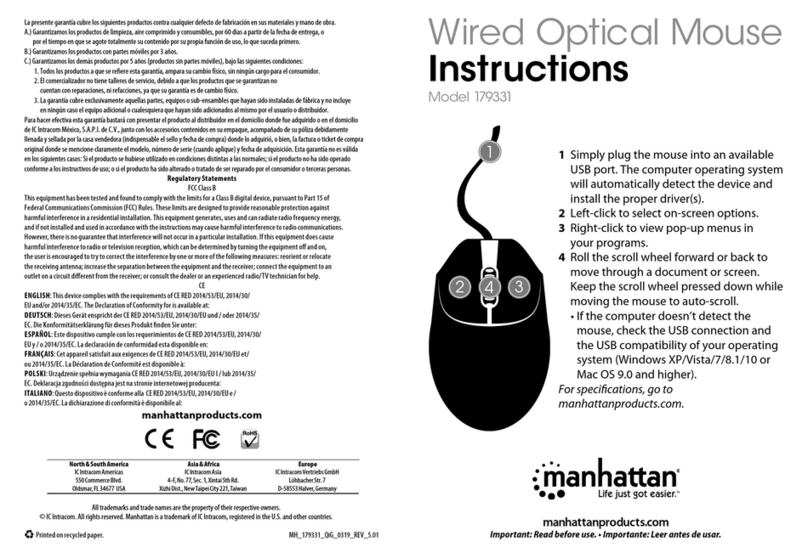
Manhattan MH3 User manual

Manhattan

Manhattan MH3 User manual

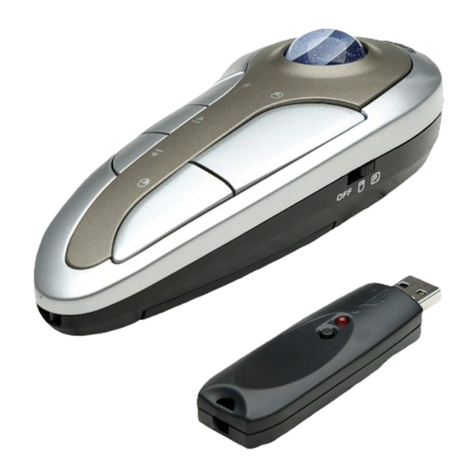
Manhattan 176897 User manual

Manhattan

Manhattan 176897 User manual

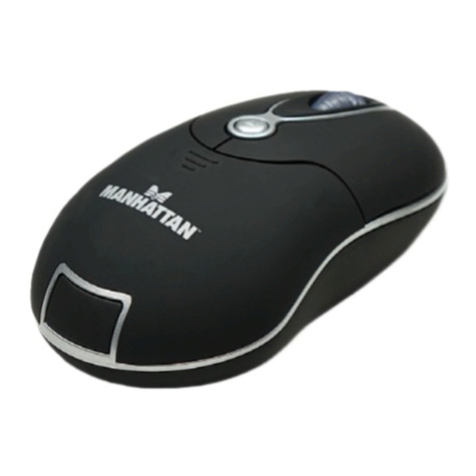
Manhattan 176811 User manual

Manhattan

Manhattan 176811 User manual

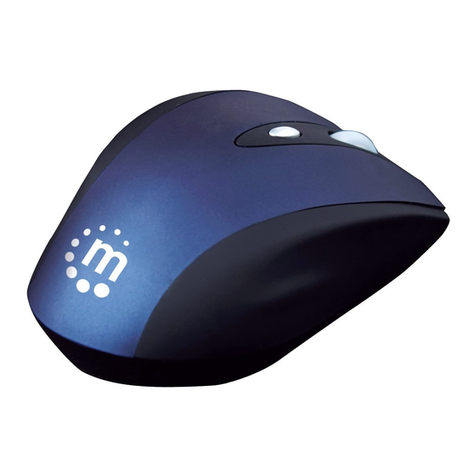
Manhattan 178808 User manual

Manhattan

Manhattan 178808 User manual

Manhattan 177078 User manual

Manhattan

Manhattan 177078 User manual

Manhattan MM1 Optical Mobile Mini Mouse User manual

Manhattan

Manhattan MM1 Optical Mobile Mini Mouse User manual

Manhattan Contour 178198 User manual

Manhattan

Manhattan Contour 178198 User manual

Manhattan 179430 User manual

Manhattan

Manhattan 179430 User manual

Manhattan Contour 178198 User manual

Manhattan

Manhattan Contour 178198 User manual

Manhattan 177795 User manual
Manhattan

Manhattan 177795 User manual

Manhattan 179478 User manual

Manhattan

Manhattan 179478 User manual

Manhattan MH3 177009 User manual

Manhattan

Manhattan MH3 177009 User manual

Manhattan 177139 User manual

Manhattan

Manhattan 177139 User manual

Manhattan 177498 User manual

Manhattan

Manhattan 177498 User manual

Manhattan 177535 User manual

Manhattan

Manhattan 177535 User manual

Manhattan 176569 User manual

Manhattan

Manhattan 176569 User manual

Manhattan 179478645 User manual

Manhattan

Manhattan 179478645 User manual

Manhattan 77221 User manual

Manhattan

Manhattan 77221 User manual

Manhattan 178785 User manual

Manhattan

Manhattan 178785 User manual

Manhattan MH1 176880 User manual

Manhattan

Manhattan MH1 176880 User manual

Manhattan M01 User manual

Manhattan

Manhattan M01 User manual

Manhattan 176873 User manual

Manhattan

Manhattan 176873 User manual

Manhattan MO1 User manual

Manhattan

Manhattan MO1 User manual

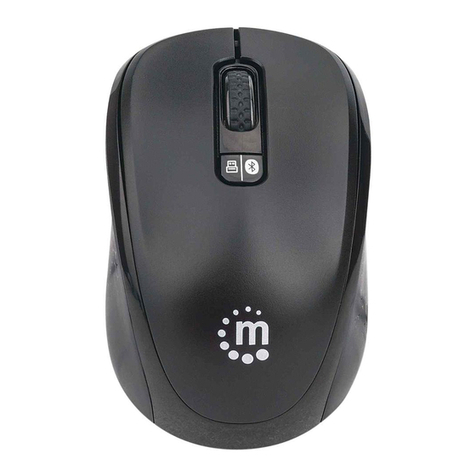
Manhattan MM5 User manual

Manhattan

Manhattan MM5 User manual

Popular Mouse manuals by other brands

Tecknet M021 instructions

Tecknet

Tecknet M021 instructions

Hama S2 Operating	 instruction

Hama

Hama S2 Operating instruction

Fury BATTLER Quick installation guide

Fury

Fury BATTLER Quick installation guide

Saitek M80X user manual

Saitek

Saitek M80X user manual

Fujitsu WI610 user manual

Fujitsu

Fujitsu WI610 user manual

Genius Ergo 8200S quick guide

Genius

Genius Ergo 8200S quick guide

Hama Optical Mouse Operating	 instruction

Hama

Hama Optical Mouse Operating instruction

SWEEX MI459 manual

SWEEX

SWEEX MI459 manual

Origin Instruments headmouse nano installation guide

Origin Instruments

Origin Instruments headmouse nano installation guide

Tecware Exo Lite quick start guide

Tecware

Tecware Exo Lite quick start guide

Logitech G102 LIGHTSYNC Setup guide

Logitech

Logitech G102 LIGHTSYNC Setup guide

Bakker Elkhuizen Evoluent 3 Quick guide / user manual

Bakker Elkhuizen

Bakker Elkhuizen Evoluent 3 Quick guide / user manual

ThunderX3 TM20 user manual

ThunderX3

ThunderX3 TM20 user manual

perixx MX-1000 user manual

perixx

perixx MX-1000 user manual

Microsoft UUC-00001 - SideWinder X3 Mouse Product dimensions

Microsoft

Microsoft UUC-00001 - SideWinder X3 Mouse Product dimensions

Logitech M500 Setup guide

Logitech

Logitech M500 Setup guide

Deltaco Gaming GAM-120-P manual

Deltaco Gaming

Deltaco Gaming GAM-120-P manual

Genius TRAVELER 100 datasheet

Genius

Genius TRAVELER 100 datasheet

manuals.online logo
manuals.online logoBrands
  • About & Mission
  • Contact us
  • Privacy Policy
  • Terms and Conditions

Copyright 2025 Manuals.Online. All Rights Reserved.