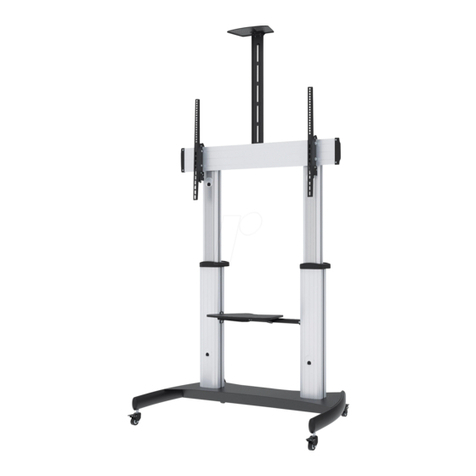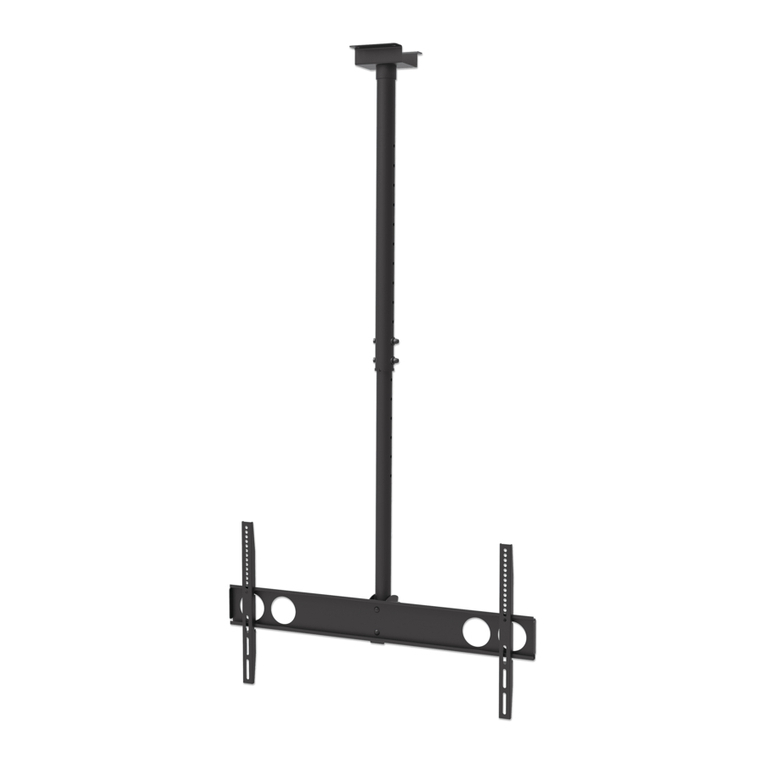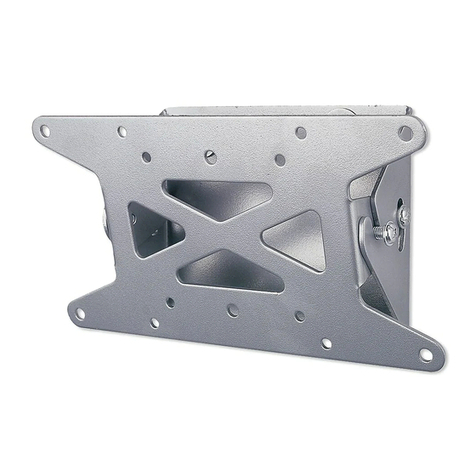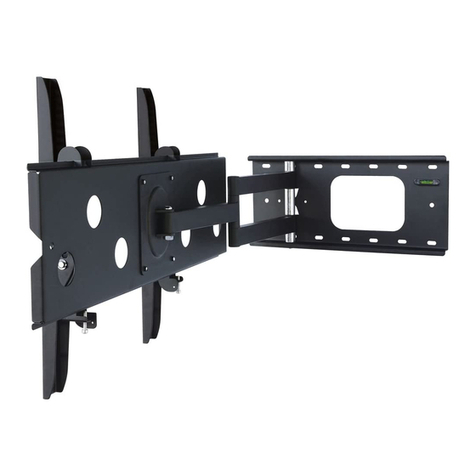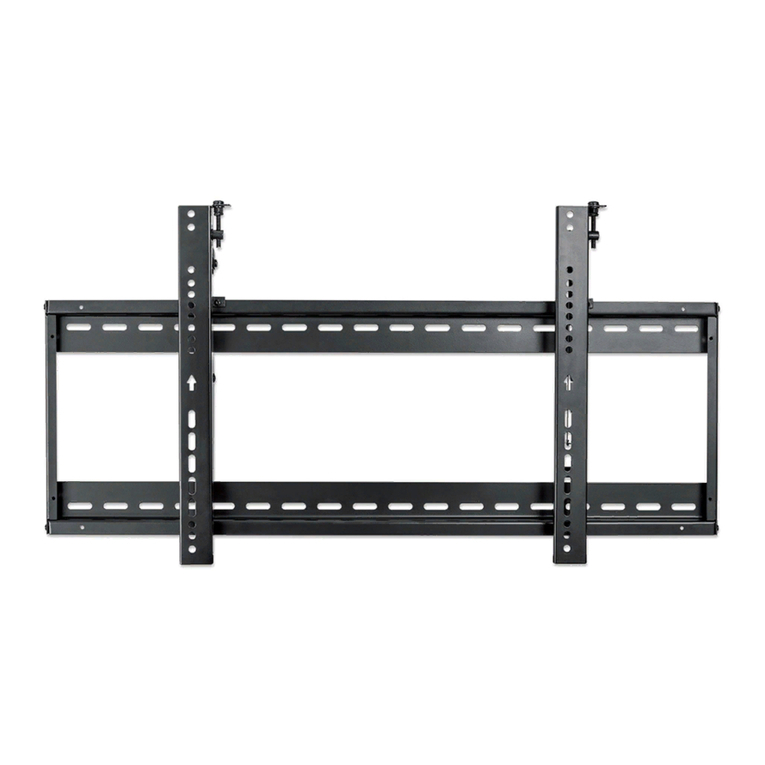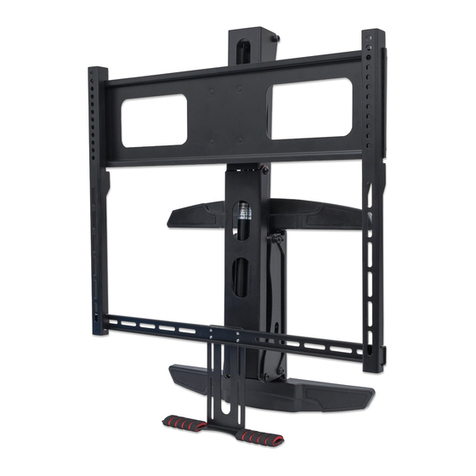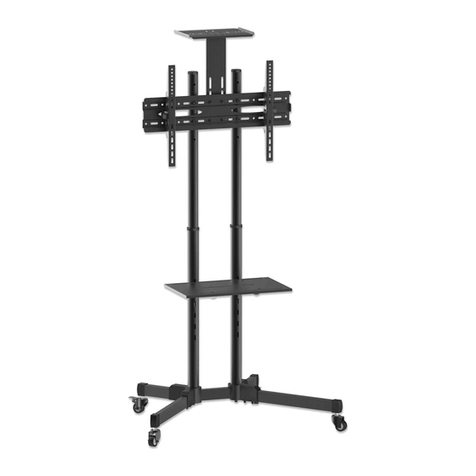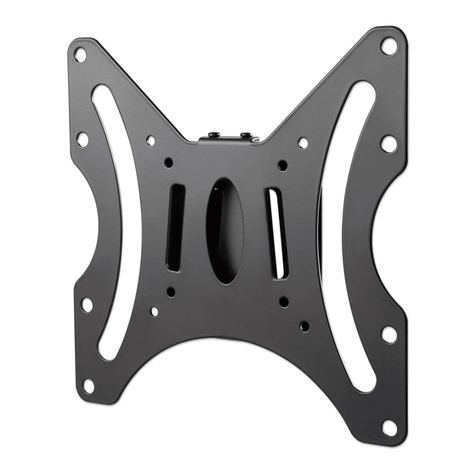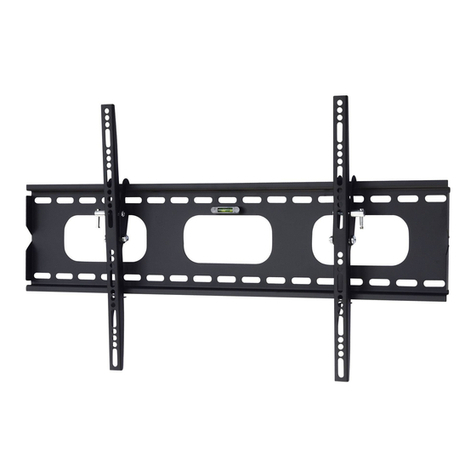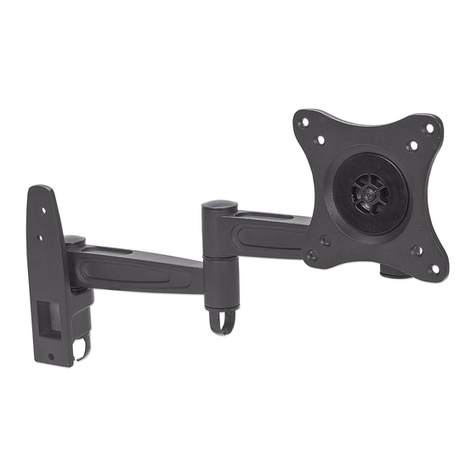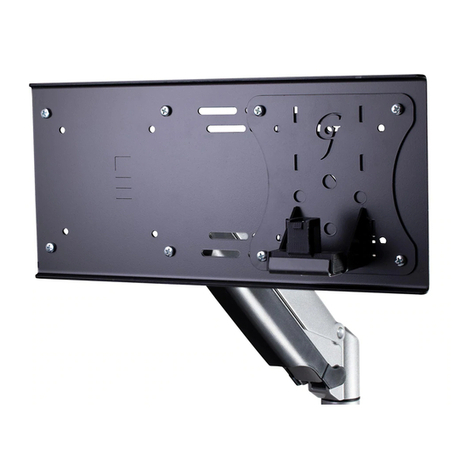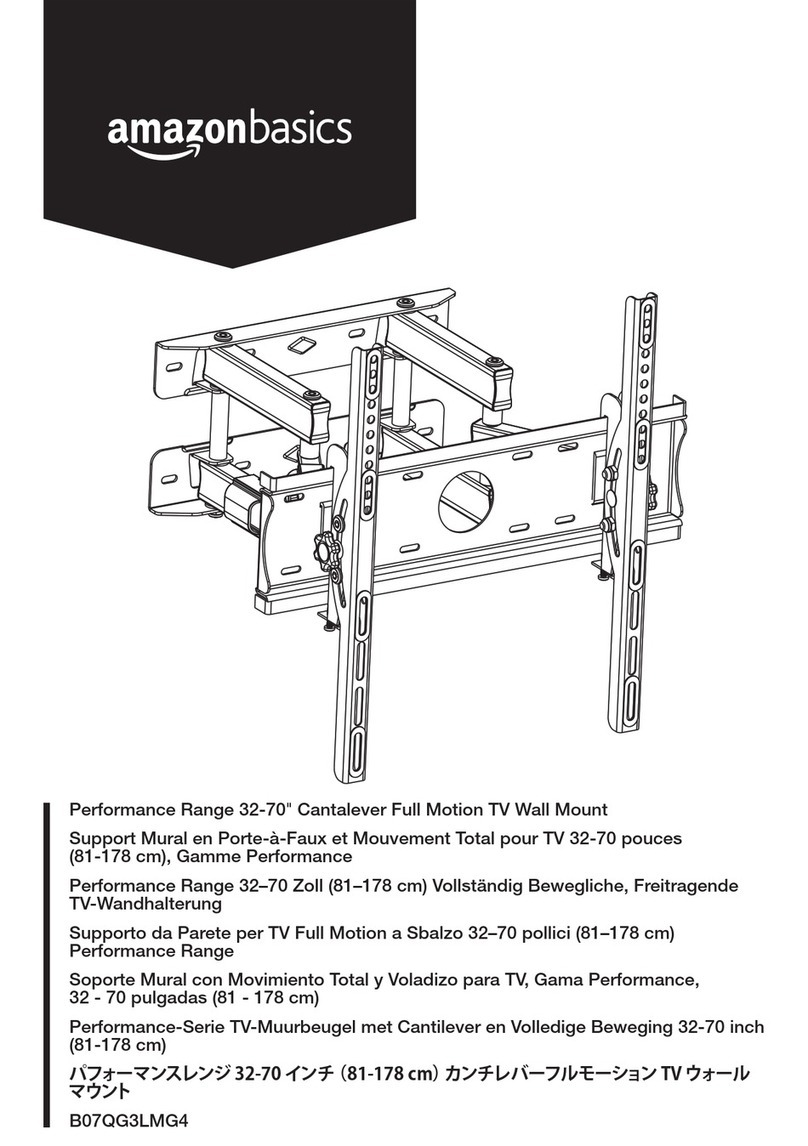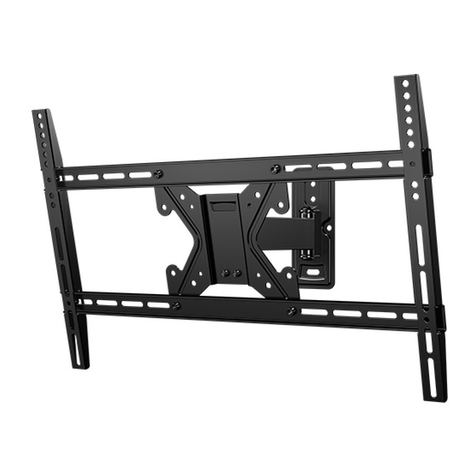
Español: Soporte de TV para Video WallDeutsch: Videowand-TV-HalterungEnglish: Video-Wall TV Mount
Italiano: Supporto TV per Video-Wall
Polski: Uchwyt Ścienny TV do Systemu Ściany Wizyjnej
Français : Support TV pour mur vidéo
MH_461702_QIG_0619_REV_5.01
Printed on recycled paper.
manhattanproducts.com
Warranty Information
ENGLISH: For warranty information, go to manhattanproducts.com.
DEUTSCH: Garantieinformationen nden Sie unter manhattanproducts.de.
ESPAÑOL: Si desea obtener información sobre la garantía, visite manhattanproducts.eu o manhattanproducts.mx (en México).
FRANÇAIS: Pour consulter les informations sur la garantie, visitez manhattanproducts.eu.
POLSKI: Informacje dotyczące gwarancji znajdują się na stronie manhattanproducts.eu.
ITALIANO: Per informazioni sulla garanzia, accedere a manhattanproducts.it.
EN MÉXICO: Póliza de Garantía Manhattan — Datos del importador y responsable ante el consumidor IC Intracom México, S.A.P.I. de C.V. • Av.
Interceptor Poniente # 73, Col. Parque Industrial La Joya, Cuautitlán Izcalli, Estado de México, C.P. 54730, México. • Tel. (55)1500-4500
La presente garantía cubre los siguientes productos contra cualquier defecto de fabricación en sus materiales y mano de obra.
A. Garantizamos los productos de limpieza, aire comprimido y consumibles, por 60 dias a partir de la fecha de entrega, o por el
tiempo en que se agote totalmente su contenido por su propia función de uso, lo que suceda primero.
B. Garantizamos los productos con partes móviles por 3 años.
C. Garantizamos los demás productos por 5 años (productos sin partes móviles), bajo las siguientes condiciones:
1. Todos los productos a que se reere esta garantía, ampara su cambio físico, sin ningún cargo para el consumidor.
2. El comercializador no tiene talleres de servicio, debido a que los productos que se garantizan no cuentan con reparaciones, ni refacciones, ya que su garantía es de cambio físico.
3. La garantía cubre exclusivamente aquellas partes, equipos o sub-ensambles que hayan sido instaladas de fábrica y no incluye en
ningún caso el equipo adicional o cualesquiera que hayan sido adicionados al mismo por el usuario o distribuidor.
Para hacer efectiva esta garantía bastará con presentar el producto al distribuidor en el domicilio donde fue adquirido o en el domicilio de IC Intracom México, S.A.P.I.
de C.V., junto con los accesorios contenidos en su empaque, acompañado de su póliza debidamente llenada y sellada por la casa vendedora (indispensable el sello
y fecha de compra) donde lo adquirió, o bien, la factura o ticket de compra original donde se mencione claramente el modelo, número de serie (cuando aplique)
y fecha de adquisición. Esta garantía no es válida en los siguientes casos: Si el producto se hubiese utilizado en condiciones distintas a las normales; si el producto
no ha sido operado conforme a los instructivos de uso; o si el producto ha sido alterado o tratado de ser reparado por el consumidor o terceras personas.
North & South America
IC Intracom Americas
550 Commerce Blvd.
Oldsmar, FL 34677 USA
Asia & Africa
IC Intracom Asia
4-F, No. 77, Sec. 1, Xintai 5th Rd.
Xizhi Dist., New Taipei City 221, Taiwan
Europe
IC Intracom Europe
Löhbacher Str. 7
D-58553 Halver, Germany
All trademarks and trade names are the property of their respective owners. © IC Intracom. All rights reserved.
Manhattan is a trademark of IC Intracom, registered in the U.S. and other countries.
Video-Wall TV Mount Instructions
Mo de l 4 617 0 2
Important: Read before use. • Importante: Leer antes de usar.
manhattanproducts.com
Safety Precautions
• Use with products heavier than the rated weights
indicated may result in instability, causing possible injury.
• Be sure that you understand all instructions before you
begin assembly. Ensure that you have received all parts
according to the component checklist prior to installation.
• Safety gear and proper tools must be used. This
product should only be installed by professionals.
• This product is designed to be installed
on solid concrete walls or brick walls.
• Make sure that the supporting surface will safely
support the combined weight of the equipment
and all attached hardware and components.
• Use the mounting screws provided and DO
NOT OVER TIGHTEN mounting screws.
• This product is intended for indoor use only.
• Maintenance: Check that the bracket is secure and safe
to use at regular intervals (at least every three months).
Sicherheitshinweise
• Bei Verwendung mit Produkten, die das zulässige
Gewicht überschreiten, können Schäden oder
möglicherweise Verletzungen die Folge sein.
• Lesen Sie alle Anweisungen vor dem Zusammenbau
sorgfältig durch. Vor der Montage bitte alle erhaltenen
Bauteile mit der Bauteilelist abgleichen.
• Es müssen Sicherheitsausrüstung und passendes
Werkzeug verwendet werden. Die Montage des Produktes
sollte nur von Fachleuten durchgeführt werden.
• Dieses Produkt kann auf Wänden mit massiven
Beton-oder Steinwänden montiert werden.
• Die tragenden Oberflächen sollten das gesamte
Gewicht von Geräten und allen zusätzlichen
Bauteilen sicher aushalten können.
• Nur die mitgelieferten Einbauschrauben verwenden
und die Schrauben NICHT ZU FEST ANZIEHEN.
• Dieses Produkt sollte nur in Innenbereichen
verwendet werden.
• Wartung: Die Halterungsklammer
regelmäßig auf Sicherheit und Stabilität
prüfen (am besten alle drei Monate).
Precauciones de seguridad
• Utilzar con productos de mayor peso al
indicado en los límites de peso podría ocasionar
inestabilidad y posibles heridas personales.
• Antes de ensamblar, procure haber entendido
todas las instrucciones. Asegúrese de que
haya recibido todas las peizas según la lista de
verificación de componentes para la instalación.
• Se debe usar tanto equipo de seguridad, así
como las herramientas apropiadas. Este producto
solo debe ser instalado por profesionales.
• Este producto está diseñado para instalaciones
en paredes de concreto sólido o bloques.
• Asegúrese de que la superficie de fijación
sostenga de manera segura el peso total de
equipo y todos sus componentas y hardware.
• Utilice los tornillos de ensamble suministrados y
NO aplique demasiada tensión a los tornillos.
• Este producto está diseñado exclusivamente
para uso en interiores.
• Mantenimiento: Compruebe periódicamente
que el soporte esté asegurado y listo para
usar (al menos cada tres meses).
Précautions de sécurité
• L’utilisation de produits plus lourds que les
poids nominaux indiqués peut entraîner une
instabilité causant des blessures potentielles.
• Avant de commencer l’assemblage, assurez-
vous que vous comprenez toutes les instructions
et que vous avez reçu toutes les pièces selon
la liste de vérification des composants.
• Vous devez utiliser un équipement de sécurité
et des outils adaptés. Ce produit devrait être
installé uniquement par des professionnels.
• Ce produit est conçu pour être installé sur des
murs en béton massif ou murs en brique.
• Assurez-vous que la surface de soutien supporte
en sécurité le poids combiné de l’équipement et
de tous les matériaux et composantes associés.
• Utilisez les vis de montage fournies et NE
SERREZ PAS TROP les vis de montage.
• Ce produit est conçu pour une utilisation
en intérieur uniquement.
• A intervalles réguliers (au moins tous les trois mois)
vérifiez que le support est d’utilisation sûre et fiable.
Środki ostrożności
• Używanie wraz ze stojakiem produktów cięższych od
podanego obciążenia znamionowego może prowadzić
jego niestabilności oraz powodować potencjalne szkody.
• Przed rozpoczęciem montażu upewnij się, że rozumiesz
wszystkie instrukcje oraz dodatkowe informacje
dotyczące bezpieczeństwa. Sprawdź wszystkie dostępne
elementy z ulotką upewniając się, że niczego nie brakuje.
• Należy stosować odzież ochronną oraz odpowiednie
narzędzia. Produkt powinien być instalowany przez
osoby posiadające odpowiednie kwalifikacje.
• Produkt przeznaczony jest do montażu na
ścianach wykonanych z betonu lub cegły.
• Upewnij się, że powierzchnia nośna utrzyma łączny
ciężar produktu oraz wszystkich zamocowanych
i podłączonych urządzeń oraz komponentów.
• Używaj śrub dołączonych do zestawu, pamiętając
aby przy dokręcaniu ich nie przeciągać.
• Produkt przeznaczony jest do użytku
wewnątrz pomieszczeń.
• Konserwacja: Stabilność uchwyty należy
sprawdzać co trzy miesiące upewniając się, że
wszystkie elementy łączące są bezpieczne.
Misure di sicurezza
• L’utilizzo con prodotti più pesanti di quelli indicati
può causare instabilità e possibili infortuni.
• Prendere visione delle istruzioni di montaggio ed
assicurarsi di averle comprese completamente
prima di iniziare l’assemblaggio. Maneggiare
tutte le parti con cura e verificare la lista delle
parti per assicurarsi che nulla sia mancante.
• Devono essere utilizzati attrezzi sicuri e
strumenti adeguati. Questo prodotto dovrebbe
essere installato solo da professionisti.
• Questo prodotto è stato progettato per essere
installato su robusti muri di cemento o mattoni.
• Assicurarsi che la superficie di appoggio possa
sostenere in modo sicuro il peso combinato delle
attrezzature e di hardware e component allegati.
• Utilizzare le viti di fissaggio in dotazione e
NON STRINGERLE ECCESSIVAMENTE.
• Questo prodotto è destinato
esclusivamente all’uso interno.
• Manutenzione: Controllare le parti congiunte, ogni tre
mesi, assicurandosi che tutti i collegamenti siano sicuri.
7-2 8
7-1
6-5
D
F
EN: Kickstands for cable access
DE: Ständer für Kabelzugang
ES: Soportes para el acceso por cable
FR: Béquilles pour l’accès aux câbles
PO: Podpórki dostępu do przewodów
IT: Supporti per l’accesso via cavo
EN: Level the displays.
DE: Displays nivellieren.
ES: Nivele las pantallas.
FR: Niveler les écrans.
PO: Wypoziomować ekrany.
IT: Regolare i display.
EN: Leave a 1.2 mm gap between displays.
DE: Einen Abstand von 1,2 mm zwischen den Displays lassen.
ES: Deje una separación de 1,2 mm entre las pantallas.
FR: Laisser un espace de 1,2 mm entre les écrans.
PO: Pozostawić między ekranami 1,2 mm odstępu.
IT: Lasciare uno spazio di 1,2 mm tra i display.
EN: Fix the antiskid blocks as close to the brackets as possible.
DE: Antirutsch-Blöcke so nah wie möglich an den Halterungen befestigen.
ES: Fije los bloques antideslizamiento lo más cerca posible de las sujeciones.
FR: Fixer les blocs antidérapants le plus près possible des supports.
PO: Zamontować bloczki antypoślizgowe jak najbliżej wsporników.
IT: Fissare i blocchi antiscivolo il più vicino possibile ai supporti.
EN:Install/adjust the displays in the order shown.
DE: Displays in der gezeigten Reihenfolge installieren/anpassen.
ES: Instale/ajuste las pantallas en el orden que se muestra.
FR: Installer et ajuster les écrans dans l’ordre indiqué.
PO: Zamontować/wyregulować ekrany w przedstawionej kolejności.
IT: Installare/regolare i display nell’ordine mostrato.
A
(2)
B
(2)
C
(2)
D
(2)
E
M5x8 (8)
F
(1)
M-A
M5x14 (4)
M-B
M6x14 (4)
M-C
M8x20 (4)
M-D
M6x30 (4)
M-E
M8x30 (4)
M-F
(4)
M-G
(8)
M-H
(4)
W-A
ST6.3x55 (6)
W-B
(6)
W-C
D6 (6)
