www.SteamPoweredRadio.Com
TAPE
MONITORING
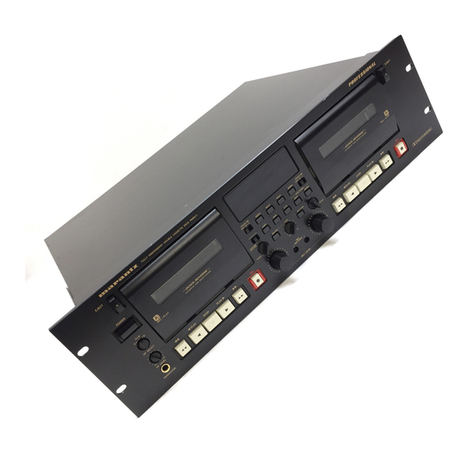
(PMD430
only)
In
addition
to
source
monitoring,
the
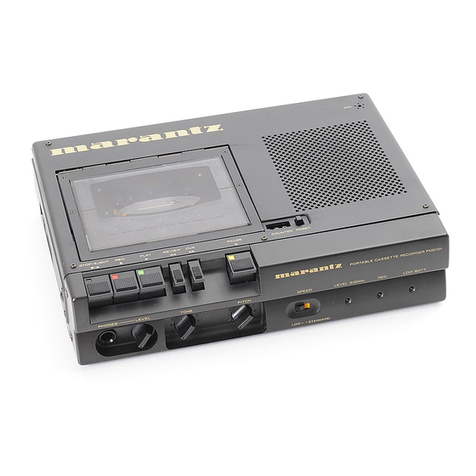
PMD430
contains
a
third
head
which
enables
you
to
monitor
directly
from
the
tape
as
a
recording
is
made.
To
use
this
feature,
place
the
MONITOR
Switch
in
the
TAPE
position
and
turn
up
the
VOLUME
Con-
trol.
Source
and
Tape
Monitoring
may
be
accomplished
through
the
use
of
the
internal
speaker,
line
output
connections
or
a stereo
headphone
.
The
SPKR
MODE
preliminary
control
setting
given
is
for
monitoring
through
the
internal
speaker.
NOTE
:
Refer
to
Page
9 for instructions on how
to
monitor
Dolby
NR recordings.
It
takes about
1
second
to
start recording
after
the
PLAY
or
RECORD
button
is
pressed.
To
start operation immediately,
press
the PAUSE button, then the
PLAY
or
RECORD
button,
and
the PAUSE button again.
CAUTION:
To
avoid audio feedback when making a microphone record-
ing,
place the microphones a suitable distance away from the
speaker.
If
desired, the internal speaker may
be
defeated by
placing the SPKR
MON
Switch
to
the
OFF
position.
ADVANCED
RECORDING
TECHNIQUES
CONTROLLING
THE
RECORD
LEVEL
The
best
method
of
controlling
the
record
level
is
deter-
mined
by
the
content
of
the
particular
program
source. Use
the
guidelines
below
to
obtain
the
desired
recording
results.
LIMITER
ON:
Allows
you
to
manually
set
the
recording
level
of
both
channels using
the
Rec Level
Controls
while
an
inter
-
nal
limiter
circuit
automatically
prevents
overload
dis-
tortion
resulting
from
sudden
level peaks.
OFF
: Permits
full
manual
control
of
the
recording
level
of
both
c
hann
els using
the
Rec Level
Controls
.
This
position
assures
optimum
dynamic
range
recordings.
SETTING
THE
RECORD
LEVEL
PROCEDURES
FOR
RECORDING
WITH
THE
LIMITER
Turn
the
limiter
on
after
setting
the
recording
level.
To
set
the
level, set
the
limiter
switch
to
OFF,
then
adjust
the
REC
VOLUME
control
while
watching
the
VU
meters
.
Ordinarily,
VU
meter
needle
deflection
should
be
as
large
as
possible,
while
the
peak level
meter
should
only
light
up
occasionally
.
If
the
indicator
lights
continuously,
the
level
is
too
high;
this
wil
I
result
in
distorted
sound
.
Conversely,
if
the
VU
meter
needle stays
on
the
left
side
of
the
scale
and
the
indicator
does
not
light
at
all,
the
level
is
too
low
and
a
poor
S/N
ratio
will
result.
8
HIGH
VOLUME
MICROPHONE
RECORDINGS
Certain
microphone
recording
situations
may
result
in ex-
tremely
high
microphone
input
levels.
In
such cases
the
Rec Level
Control
cannot
be set
to
the
desired
position
without
VU
meter
deflection
far
into
the
red zone. A
greater
range
of
Record
Level
Control
rotation
can be
obtained
by
depressing
the
MIC
ATT
Switch
. When depressed,
this
switch
will
attenuate
the
input
level
by
15
dB
or
30
dB
.
In
normal
recording,
leave
the
MIC
ATT
Sw
itch
in
the
"
out
"
position
or
"0".
NOISE
REDUCTION
SYSTEMS
dbx Noise Reduction System
(PMD430
only)
The
dbx
NR
system
provides
a large noise
reduction
effect
resulting
in
wide
dynamic
recording
.
The
dbx
NA
system has
the
following
features:
1.
The
noise
reduction
effect
is
about
30
dB
in
the
absence
of
a signal.
2.
The
dbx
works
linearly
on
the
whole
audio
band
to
obtain
a
wide
band
noise
reduction
effect.
3.
The
sound
should
not
distort
even
at
high
recording
levels.
4.
The
maximum
recording
level
at
high
frequency
is
in
-
creased.
5.
Low
distortion
recording
is
possible, resu
I
ting
in real
hi-
fi
sound.
6.
Level
matching
is
not
necessary,
resulting
in
small
track-
ing
error
between
recording
and
playback
.
Recording/playback
with
dbx
NR
system
The
PMD430
NR
switches
are
located
as
shown
in
the
figure
6.
DOLBY
Bl-~
OFF--~
dbxf-
NA
Figure
6.
"dbx"
. When
the
NR
switch
is
set
to
dbx,
recording
and
playback
using
the
dbx
NR
system
are possible.
"dbx
encoded disk"
..
To
record
a
dbx
encoded
disk,
set
the
NA
switch
to
OFF
.
To
playback
the
recorded
tape,
set
the
Noise
Re
duction
switch
to
dbx.
DOLBY
B
NR
SYSTEM
The
Dolby
B
Noise
Reduction
system
increases
the
level
of
low
volume,
mid
and
high
frequency
signals
during
recording
and
reduces
the
level
of
these signals
by
an
identical
amount
during
playback.
As a
result
the
playback
signal
is
identical
to
the
original
source
signal
but
the
level
of
background
noise generated
by
the
tape
and
tape
recorder
is
reduced.
Recording/Playback
with
Dolby
B
NR
system
For
recording
and
playback
with
the
Dolby
noise
reduction
system
set
the
NOISE
REDUCTION
switch
to
DOLBY
B
NR
.
MPX
FILTER
(PMD430
only)
When
recording
FM
stereo
with
the
Dolby
NA
system,
set
the
MPX
FIL
TEA
s
witch
to
ON.
When
recording
from
other
sources
or
without
Dolby
NA,
set
the
MPX
FILTER
switch
to
OFF
.

