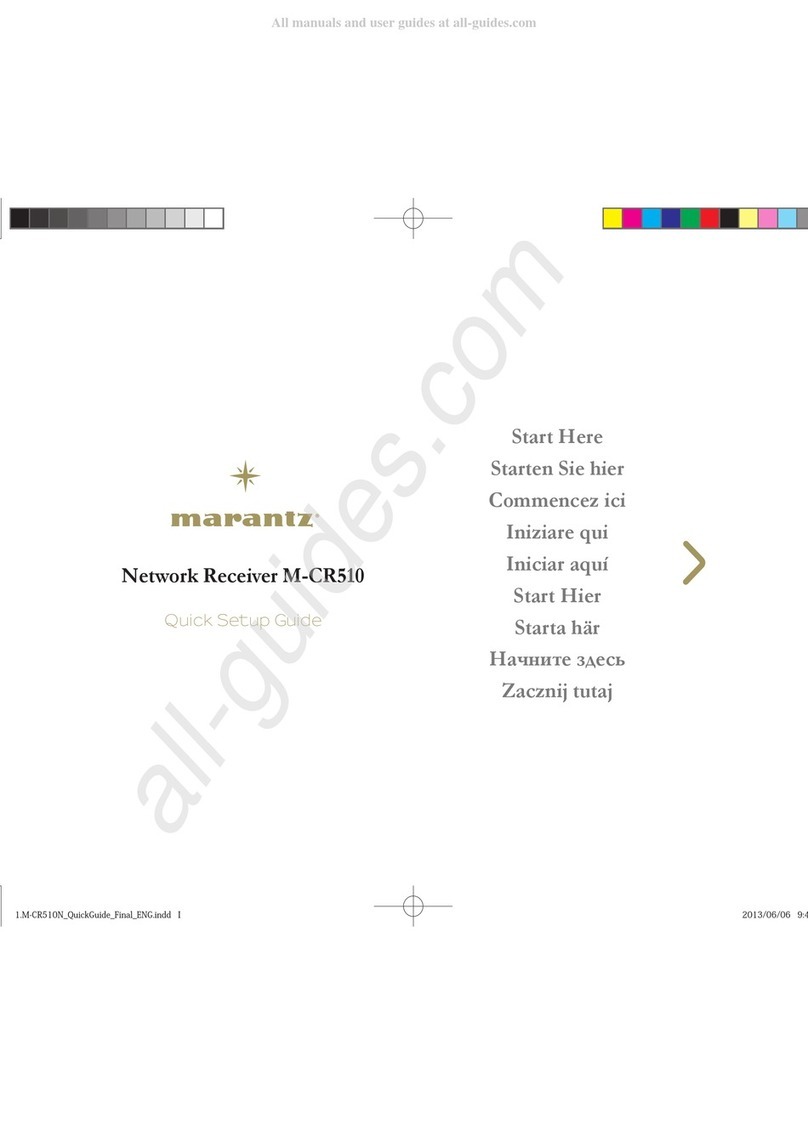
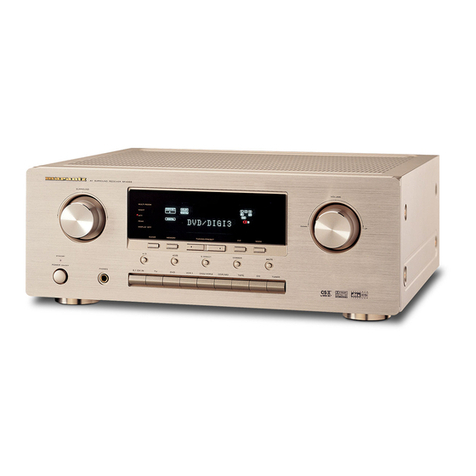
Marantz M-CR510 User manual

Appendix
TipsSettingsPlaybackConnections
Contents
Front panel Rear panel IndexRemote
Owner’s Manual
Network Receiver
M-CR510
You can print more than one page of a PDF onto a single sheet of paper.

2
Appendix
TipsSettingsPlaybackConnections
Front panel Rear panel IndexRemote
Contents
Accessories························································································ 5
Inserting the batteries ······································································ 6
Operating range of the remote control unit ····································· 6
Features······························································································ 7
Multiple music formats are supported, all in a compact form factor ···7
Easy operation·················································································· 7
Part names and functions
Front panel ························································································ 8
Rear panel························································································ 10
Remote control unit······································································ 12
Connections
Speaker connection······································································ 16
Connecting the speaker cables ······················································ 16
Connection the subwoofer····························································· 17
Speaker connection········································································ 17
Connecting an analog device····················································· 18
Connecting a digital device························································ 18
Connecting an iPod or USB memory device to
the USB port··················································································· 19
Connecting to a home network (LAN)···································· 21
Wired LAN······················································································ 21
Wireless LAN ················································································· 22
Connecting the power cord························································ 23
Contents
Playback
Basic operation ·············································································· 25
Turning the power on····································································· 25
Selecting the input source ····························································· 25
Adjusting the master volume ························································· 26
Turning o the sound temporarily ·················································· 26
Listening to Internet Radio························································· 27
Listening to Internet Radio····························································· 28
Playing the last played Internet Radio station ································ 29
Using vTuner to add Internet Radio stations to favorites··············· 29
Playing back files stored on a PC and NAS···························· 30
Applying media sharing settings ···················································· 31
Playing back files stored on a PC and NAS ···································· 32
Listening to Last.fm······································································ 34
Listening to Last.fm ······································································· 35
Log Out ·························································································· 36
Listening to Spotify ······································································ 37
Listening to Spotify ········································································ 37
Favorite function ··········································································· 40
Registering stations or files to the favorites list····························· 41
Calling stations or files from the favorites list ································ 41
To switch between registered stations and files during playback ····41
Deleting stations or files from the favorite list ······························· 41
3
Appendix
TipsSettingsPlaybackConnections
Front panel Rear panel IndexRemote
Contents
Playing iPod ···················································································· 42
Listening to music on an iPod ························································ 43
Setting operation mode (Remote iPod Mode) ······························· 44
Charging the iPod··········································································· 45
Playing a USB memory device ·················································· 46
Playing files stored on USB memory devices ································ 47
Listening to ANALOG IN ····························································· 48
Listening to DIGITAL IN······························································· 48
AirPlay function ············································································· 49
Streaming music stored in iPhone, iPod touch,
or iPad directly to the unit ······························································ 49
Playing iTunes music with this unit················································ 50
Selecting multiple speakers (devices) ············································ 50
Perform iTunes playback operations with the remote control unit
of this unit ······················································································ 51
Remote play function··································································· 52
Settings required for each device ·················································· 53
Web control function···································································· 54
Controlling the unit from a web control ········································· 54
Other functions·············································································· 59
Adjusting the tone·········································································· 60
Sleep timer function······································································· 61
Checking the current time······························································ 61
Switching the display’s brightness················································· 61
Settings
Menu map························································································ 62
Menu operation·············································································· 64
Inputting characters ····································································· 65
Using the number buttons ····························································· 65
Using the cursor buttons································································ 65
General ····························································································· 66
Alarm······························································································ 66
Clock ······························································································ 67
Speaker Response ········································································· 67
Language························································································ 68
Auto Standby·················································································· 68
Firmware ························································································ 68
Network ··························································································· 71
Network Information ······································································ 71
Network Control············································································· 71
Friendly Name ················································································ 71
Last.fm Display ·············································································· 71
Settings ·························································································· 72

4
Appendix
TipsSettingsPlaybackConnections
Front panel Rear panel IndexRemote
Contents
Tips
Contents··························································································· 75
Tips································································································· 76
Troubleshooting ············································································· 77
Resetting factory settings··························································· 87
Appendix
Playing back USB memory devices·············································· 88
Playing back Internet Radio ··························································· 89
Playing back files stored on PC or NAS ······································· 90
Last function memory····································································· 90
Explanation of terms ······································································· 91
Trademark information···································································· 95
Specifications ··················································································· 96
Index ·································································································· 99
License ···························································································· 101

5
Appendix
TipsSettingsPlaybackConnections
Contents
Front panel Rear panel IndexRemote
Accessories
Check that the following parts are supplied with the product.
qQuick Setup Guide wCD-ROM (Owner’s Manual) eSafety Instructions rNotes on radio
tPower cord yRemote control unit (RC010CR) uR03/AAA batteries
Thank you for purchasing this Marantz product. To ensure proper operation, please read this owner’s manual carefully before using the product.
After reading this manual, be sure to keep it for future reference.

6
Appendix
TipsSettingsPlaybackConnections
Contents
Front panel Rear panel IndexRemote
Operating range of the remote control
unit
Point the remote control unit at the remote sensor when operating it.
30°
30°
Approx. 7 m
Inserting the batteries
qRemove the rear lid in the direction of the
arrow and remove it.
wLoad the two batteries properly as
indicated by the qand wmarks in the
battery compartment.
R03/AAA
ePut the rear cover back on.
NOTE
•When inserting the batteries, be sure to do so in the proper direction, following the
qand wmarks in the battery compartment.
•To prevent damage or leakage of battery fluid:
•Do not use a new battery together with an old one.
•Do not use two dierent types of batteries.
•Remove the batteries from the remote control unit if it will not be in use for long
periods.
•If the battery fluid should leak, carefully wipe the fluid o the inside of the battery
compartment and insert new batteries.

7
Appendix
TipsSettingsPlaybackConnections
Contents
Front panel Rear panel IndexRemote
Multiple music formats are supported,
all in a compact form factor
•Supports Internet Radio and music streaming
Supports AirPlay®(vpage 49)
You can enjoy a wide variety of content, including listening to Internet
Radio, playing audio files stored on your PC.
This unit also supports Apple AirPlay which lets you stream your music
library from an iPhone®, iPad®, iPod touch® or iTunes®.
•DLNA ver. 1.5 support for audio networks
•Supports online music, including Last.fm, Spotify
•Support for High Quality Audio playback
WAV/FLAC/ALAC (Apple Lossless Audio Codec)
•Support for Gapless playback
Playback with no gap between music files (for WAV/FLAC only)
•Wi-Fi network capability with built-in diversity antenna, and is
certified under WMM (Wi-Fi Multi Media) for ecient wireless
connectivity
Easy operation
•Easy wireless connection is possible by pressing the Wi-Fi CONNECT
button (WPS and Wi-Fi Sharing)
See the separate “Quick Setup Guide”.
•iPod auto detect charges your device even after the unit switches
to standby mode
•Compatible with “Marantz Remote App” for performing basic
operations of the unit with an iPad, iPhone or Androidzsmartphone
“Marantz Remote App” is application software that allows you to
perform basic operations with an iPad, iPhone, Android smartphone or
Android tablet such as turning the unit ON/OFF, controlling the volume,
and switching the source.
zDownload the appropriate “Marantz Remote App” for iOS and
Android devices. This unit needs to be connected to your LAN and
the iPad, iPhone, Android smartphone, Android tablet or other device
needs to be connected to the same network by Wi-Fi (wireless LAN).
•3 Line OLED (Organic Light Emitting Diode) display
•Auto Standby mode for energy savings
Features

8
Appendix
TipsSettingsPlaybackConnections
Contents
Front panel Rear panel IndexRemote
Front panel
urr yew t
Q0 io
Q2 Q1
q
Part names and functions

9
Appendix
TipsSettingsPlaybackConnections
Contents
Front panel Rear panel IndexRemote
i
yt ure
wq
oQ2 Q1 Q0
qINPUT button
Selects the input source.
wStandby indicator
The standby indicator changes as shown below according to the status
of the unit.
•Power on : O
•Standby : O
•When “Network Control” is set to “On” : Red (vpage71)
•iPod charge standby : Red (vpage45)
•Alarm standby : Orange (vpage66)
•Display o : Green (vpage61)
ePower operation button (X)
Turns power to this unit on and o (standby).
rRemote control sensor
This receives signals from the remote control unit (vpage6).
tHeadphones jack (PHONES)
Used to connect headphones.
When the headphones are plugged into this jack, audio will no longer
be output from the connected speakers.
NOTE
•To prevent hearing loss, do not raise the volume level excessively when using
headphones.
yVolume up/down button (VOLUME df)
Adjusts the audio volume.
uUSB port (Front)
Used to connect iPod or USB memory devices (vpage19).
iReverse-skip/Forward-skip buttons (8, 9)
oPlay/Pause button (1/3)
Q0 Display
Various information is displayed here.
Q1 ENTER button
This determines the selection.
Q22 Cursor button (uio p)
These select items.

10
Appendix
TipsSettingsPlaybackConnections
Contents
Front panel Rear panel IndexRemote
Rear panel
q w e r
ui y
t

11
Appendix
TipsSettingsPlaybackConnections
Contents
Front panel Rear panel IndexRemote
trewq
u yi
qAC inlet (AC IN)
Used to connect the power cord (vpage23).
wSpeaker terminals (SPEAKERS)
Used to connect speakers (vpage16, 17).
eSW OUT connector
Used to connect a subwoofer with a built-in amplifier
(vpage17).
rANALOG IN connectors
Used to connect devices equipped with analog audio connectors
(vpage18).
tNETWORK connector
Used to connect this unit to the network (vpage21).
yUSB port (Rear)
Used to connect iPod or USB memory devices (vpage19).
uDIGITAL IN connector
Used to connect devices equipped with digital audio connector
(vpage18).
iWi-Fi CONNECT button
Used to connect to the wireless LAN.
(See the separate “Quick Setup Guide”.)

12
Appendix
TipsSettingsPlaybackConnections
Contents
Front panel Rear panel IndexRemote
Remote control unit
qRemote control signal transmitter
This transmits signals from the remote control unit (vpage6).
wCLOCK button
The current time appear on the unit (vpage67).
eSLEEP button
This sets the sleep timer (vpage61).
rInput source select buttons
These select the input source (vpage25).
tSystem buttons
These perform playback related operations
(vpage28, 32, 34, 37, 44, 47).
•Previous / Next buttons (8, 9)
•Play/pause button (1/3)
Channel buttons (CH +, –)
These operate the Favorite function (vpage40).
yMUTE button ( )
This mutes the output audio (vpage26).
q
e
w
r
t
y

13
Appendix
TipsSettingsPlaybackConnections
Contents
Front panel Rear panel IndexRemote
uFAVORITES ADD / CALL buttons
•To add radio stations or files to the favorite list, press ADD.
•To call up a radio station or file registered in the favorite list, press
CALL (vpage40).
iTOP MENU button
To back to the top of the menu (vpage64).
oENTER button
This determines the selection (vpage64).
Q0 Cursor buttons (uio p)
These select items (vpage64).
Q1 SEARCH button
This displays the search menu (vpage28, 47).
Q2 Number buttons (0 – 9, +10)
These enter letters or numbers into the unit (vpage65).
Q3 RANDOM button
Switches the random playback.
Q4 REPEAT button
Switches the repeat playback
(vpage32, 37, 44, 47).
Q5 DIMMER button
Adjust the display brightness of this unit (vpage61).
Q6 POWER button (X)
This turns the power on/standby (vpage25).
Q6
Q5
u
i
Q0
o
Q1
Q2
Q3
Q4

14
Appendix
TipsSettingsPlaybackConnections
Contents
Front panel Rear panel IndexRemote
Q7 DBB/TONE button
Adjusting the tone (vpage60).
Q8 VOLUME buttons (df)
These adjust the volume level (vpage26).
Q9 Information button (INFO)
This switches display items such as the album name and title name in
the playback screen (vpage32, 34, 44, 46).
W0 SETUP button
This displays the setup menu on the display (vpage64).
W1 CLEAR button
This cancels the settings (vpage41, 65).
W2 MODE button
Switching the operation mode (vpage44).
Q8
Q7
W0
W1
W2
Q9

15
Appendix
TipsSettingsPlayback
Contents
Front panel Rear panel IndexRemote
Connections
Connections
Speaker connection (vpage16)
Connecting an analog device (vpage18)
Connecting a digital device (vpage18)
Connecting an iPod or USB memory device to the USB
port (vpage19)
Connecting to a home network (LAN) (vpage21)
Connecting the power cord (vpage23)
NOTE
•Do not plug in the power cord until all connections have been completed.
•Do not bundle power cords together with connection cables. Doing so can result
in noise.
2Cables used for connections
Provide necessary cables according to the devices you want to connect.
Speaker cable
Subwoofer cable
Optical cable
Audio cable R
L
R
L
LAN cable

16
Appendix
TipsSettingsPlayback
Contents
Front panel Rear panel IndexRemote
Connections
Speaker connection
Here we connect the speakers in the room to this unit.
This section explains how to connect them using typical examples.
NOTE
•Disconnect this unit’s power plug from the power outlet before connecting the
speakers. Also, turn o the subwoofer.
•Connect so that the speaker cable core wires do not protrude from the speaker
terminal. The protection circuit may be activated if the core wires touch the rear
panel or if the + and – sides touch each other (vpage93 “Protection circuit”).
•Never touch the speaker terminals while the power cord is connected. Doing so
could result in electric shock.
•Use speakers with an impedance of 6 – 8 Ω/ohms. The protection circuit may be
activated if speakers with an impedance other than specified are used.
Connecting the speaker cables
Carefully check the left (L) and right (R) channels and + (red) and – (black)
polarities on the speakers being connected to this unit, and be sure to
connect the channels and polarities correctly.
1Peel o about 10 mm of sheathing from
the tip of the speaker cable, then either
twist the core wire tightly or terminate it.
2Turnthespeakerterminalcounterclockwise
to loosen it.
3Insert the speaker cable’s core wire to the
hilt into the speaker terminal.
4Turn the speaker terminal clockwise to
tighten it.

17
Appendix
TipsSettingsPlayback
Contents
Front panel Rear panel IndexRemote
Connections
Connection the subwoofer
Use a subwoofer cable to connect the subwoofer.
SW
Speaker connection
R L

18
Appendix
TipsSettingsPlayback
Contents
Front panel Rear panel IndexRemote
Connections
Connecting an analog device
AUDIO
LR
OUT
L
R
L
R
AUDIO
Analog
device
Connecting a digital device
AUDIO
OPTICAL
OUT
Digital
device

19
Appendix
TipsSettingsPlayback
Contents
Front panel Rear panel IndexRemote
Connections
Connecting an iPod or USB memory device to the USB port
To connect an iPod to this unit, use the USB adapter cable that was supplied with the iPod.
For operating instructions see “Playing iPod” (vpage42) or “Playing a USB memory device” (vpage46).
USB
memory
device
iPod
or
RearFront
%
•Marantz does not guarantee that all USB memory devices will operate or receive power. When using a portable USB hard disk drive (HDD) which came with an AC adapter,
use that device’s supplied AC adapter.
NOTE
•USB memory devices will not work via a USB hub.
•It is not possible to use this unit by connecting the unit’s USB port to a PC via a USB cable.
•Do not use an extension cable when connecting a USB memory device. This may cause radio interference with other devices.

20
Appendix
TipsSettingsPlayback
Contents
Front panel Rear panel IndexRemote
Connections
2Supported iPod / iPhone models
•iPod classic
•iPod nano
•iPod touch
•iPhone
Other manuals for M-CR510
5
Table of contents
Other Marantz Receiver manuals

Marantz
Marantz NR1604 User manual

Marantz
Marantz SR7008 User guide

Marantz
Marantz 4300 User manual

Marantz
Marantz SR5600 User manual

Marantz
Marantz SR5008 Product information sheet

Marantz
Marantz SR2000 User manual

Marantz
Marantz SR7500 User manual

Marantz
Marantz SR-14 User manual

Marantz
Marantz SR-4320 User manual

Marantz
Marantz SR6005 User manual

Marantz
Marantz SR5013 User manual

Marantz
Marantz SR3053 User manual

Marantz
Marantz SR5009 User manual

Marantz
Marantz SR5004 User manual

Marantz
Marantz SR5012 User manual

Marantz
Marantz SR-4021 User manual

Marantz
Marantz SR7008 User manual

Marantz
Marantz 2270 User manual

Marantz
Marantz SR9600 User manual

Marantz
Marantz SR8002 User manual