4. BASIC INSTRUCTIONS:
Positioning
•The equipment must be placed on a surface capable of bearing the weight of the chiller
complete with water. Install the equipment following the schematic described in this user
guide.
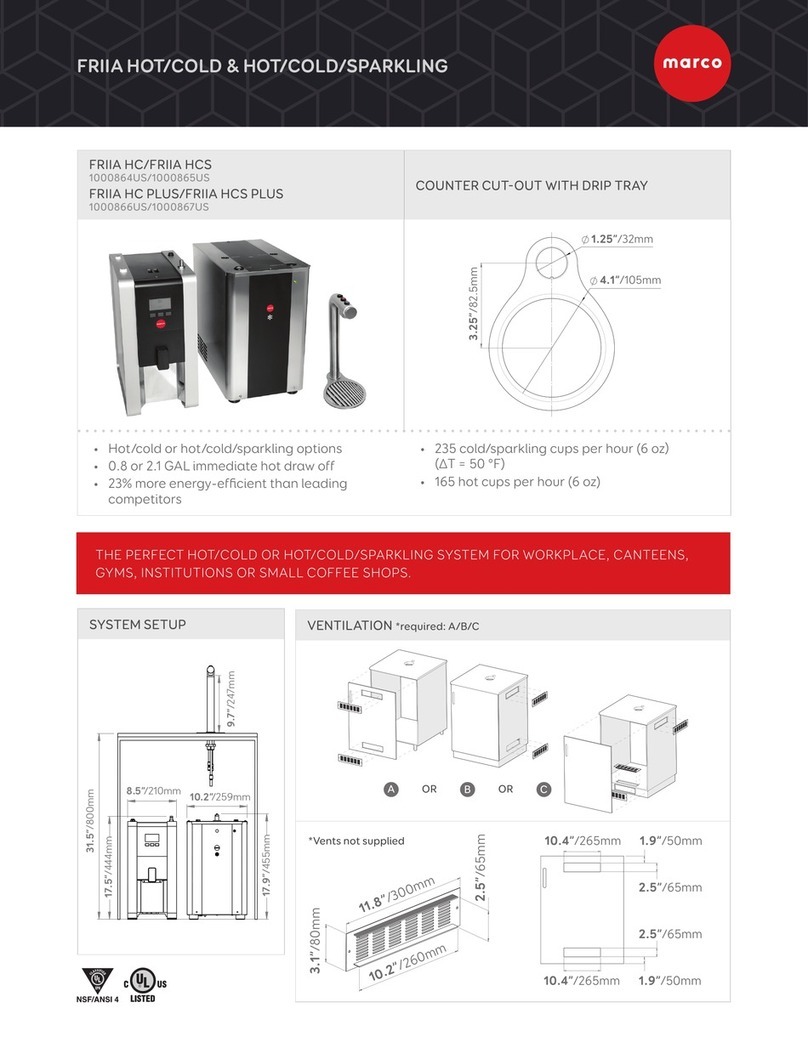
•The chosen position must in any case allow satisfactory ventilation; in particular, there
must be a gap of at least 10 cm (3.9 in) around the back and top for ventilation.
•The equipment must not be placed close to direct or indirect heat sources (ovens,
stoves, radiators, etc.).
•The electrical connection and water supply points must be close to the equipment and
located in such a way the power cable and water hose do not form an obstruction.
•The appliance must not be installed where water jets can be generated. Do not spray
water on the device; this could cause electric shock or fires.
Electrical installation:
•Electrical specification: 180W-230V-50Hz.
•Electrical specification US: 180W-110V-60Hz.
•A moulded IEC C13 power cord is provided. This should be plugged into the IEC
connection on the back of the chiller, then plugged into a suitable power outlet.
•A US 3 Pin (NEMA 5-15P) plug to C13 IEC is provided with the 110V chillers.
Plumbing installation procedure:
•Mains water pressure not to exceed 10 Bar.
•To ensure that the maximum value of pressure of 3 Bar is not exceeded the chiller
integrates a pressure reducer.
•Ensure that the equipment is installed according to local plumbing & water regulations.
•Fit a stop valve on the 3/8” cold water line.
•Make sure the pipe is pushed fully into the fitting; Make sure that, when required, the
pre-attached sealing washer is fitted.
•Turn on the water to flush any impurities, dust etc from the inlet hose and water pipe.
Allow several liters through. Especially for new installations.
•Connect water supply lines following the installation drawings.
•If the filter is new, turn on water and flush at least 10 liters (2.5 gallon) through the filter
before connecting it to the cooler.
• Connect the 3/8” hose to the inlet elbow of the chiller. Make sure the pipe is pushed fully
into the fitting.
•Turn on water and check for leaks.
FRIIA Service manual Page 6
4.1. INSTALLATION DETAILS:


