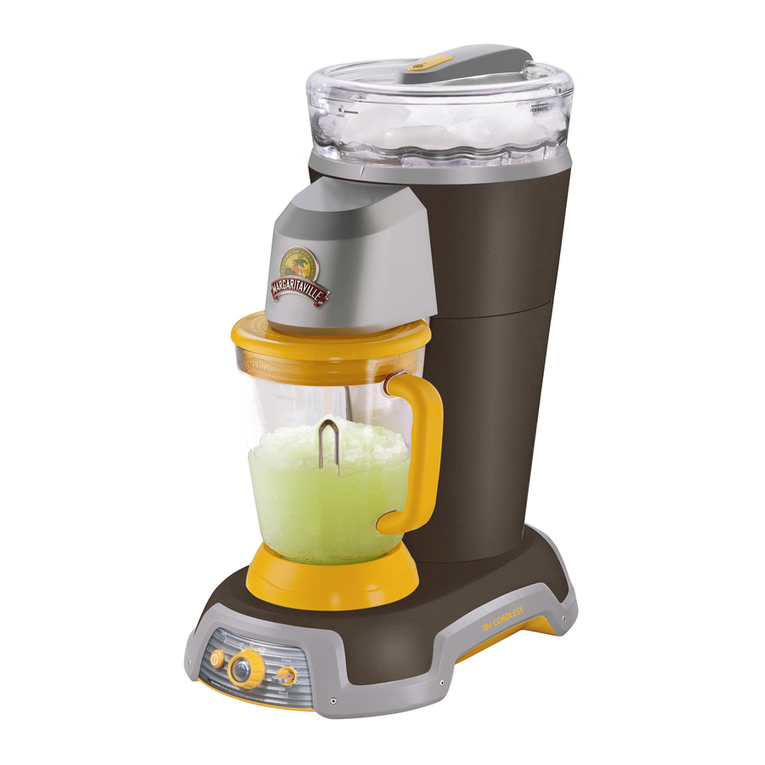
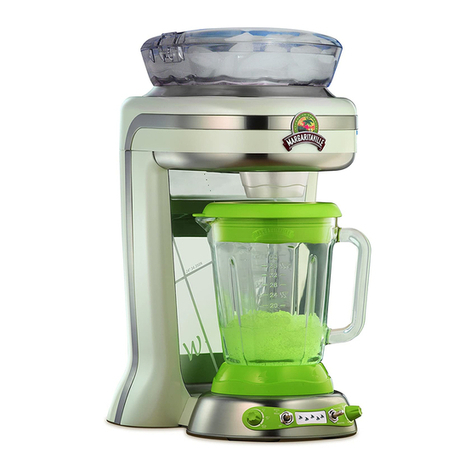
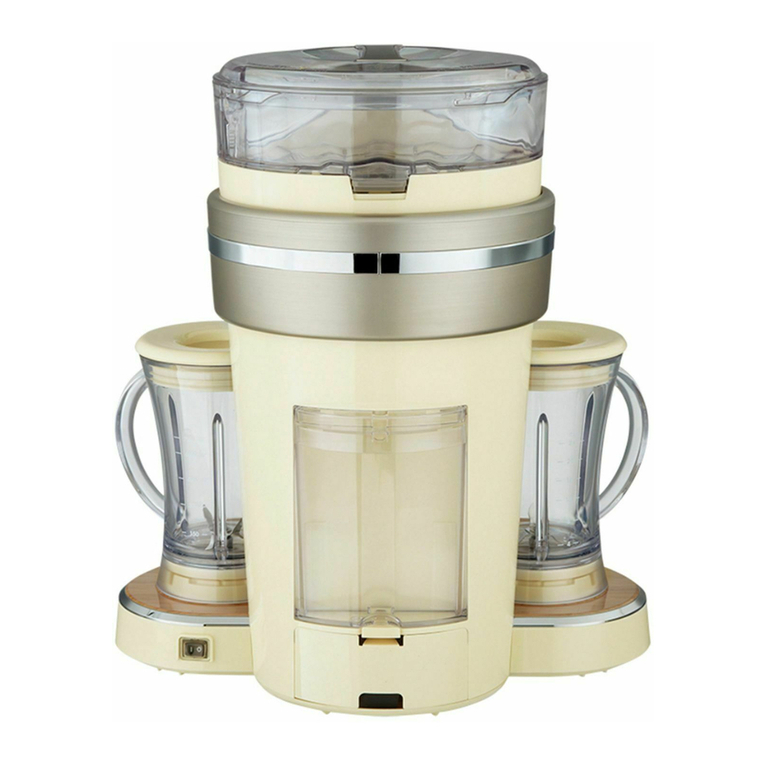
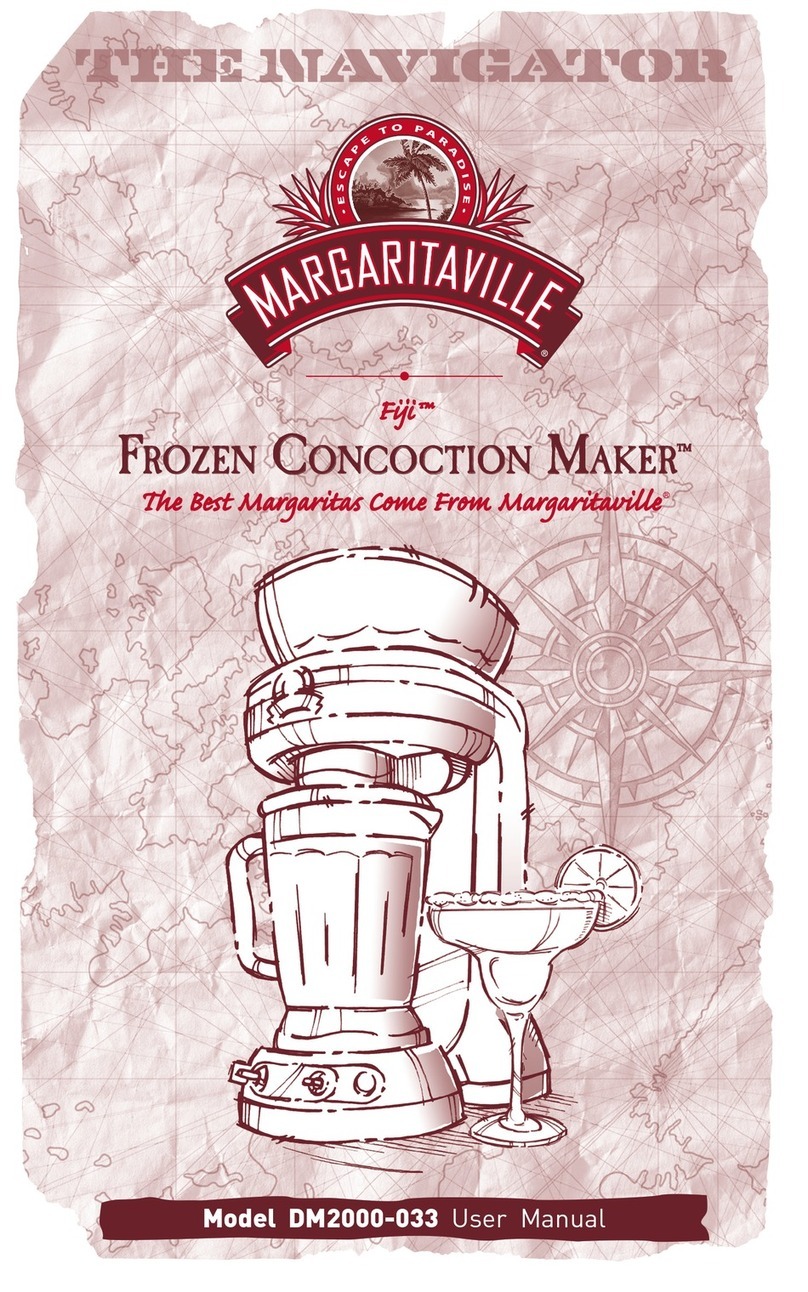
Margaritaville DM2000 Series User manual

Model DM2000 Series User Manual
Fj
Fj
™
B Mrgts Cm Fr Mrgtvl
B Mrgts Cm Fr Mrgtvl®
FROZEN CONCOCTION MAKER
FROZEN CONCOCTION MAKER®

WHEN USING ELECTRICAL APPLIANCES, BASIC SAFETY
PRECAUTIONS SHOULD ALWAYS BE FOLLOWED, INCLUDING
THE FOLLOWING:
1. READ ALL INSTRUCTIONS BEFORE USING.
2. To protect against electric shock, do not immerse appliance,
cord or plug in water or other liquids.
3. Close supervision is necessary when any appliance is used near
children. This appliance should not be used by children.
4. Unplug from outlet when not in use, before putting on or taking
off parts, and before cleaning.
5. Avoid contacting moving parts.
6. Do not operate any appliance with damaged cord or plug or after
the appliance malfunctions, or is dropped or damaged in any
manner. Return appliance to the nearest authorized service
facility for examination, repair or electrical or mechanical
adjustments. Contact 1-877-689-2737 for customer service.
7. Do not use outdoors.
8. Do not let cord hang over the edge of a table or counter, or
touch hot surfaces, including the stove.
9. Keep hands and utensils out of container while blending and/or
ice shaving to reduce risk of severe injury to persons or damage
to the unit. A rubber spatula may be used but must be used only
when the appliance is not running.
10. Blades are sharp; handle carefully.
11. Always operate appliance with Jar Lid and Ice Reservoir Lid
in place.
12. The use of attachments not recommended or sold by the
manufacturer may cause fire, electric shock or injury.
13. Do not use broken, chipped, or cracked Blending Jar or
Ice Reservoir.
14. To reduce risk of injury to persons, never place blending blade
assembly on base without the Glass Blending Jar properly
attached.
15. Do not leave appliance unattended while it is operating.
IMPORTANT SAFEGUARDS
-1-
16. To disconnect, turn control to off, then remove plug from
wall outlet.
17. Do not use appliance for other than intended use.
18. Never place fingers or other utensils into feed or
discharge areas.
19. Check Ice Reservoir for presence of foreign objects
before using.
20. Be certain the Jar Lid and Ice Reservoir Lid are securely
locked in place before operating appliance.
21. Do not blend hot liquids.
NOTE: NEVER SHAKE OR REMOVE BLENDER JAR DURING
OPERATION AS JAR BLADE ASSEMBLY CAN GET
DAMAGED.
SAVE THESE INSTRUCTIONS
FOR HOUSEHOLD USE ONLY
This appliance has a polarized plug (one blade is wider than the
other). As a safety feature, this plug will fit in a polarized outlet
only one way. If the plug does not fit fully into the outlet, reverse
the plug. If it still does not fit, contact a qualified electrician. Do
not attempt to defeat this safety feature.
Polarized Plug

-2-
Frozen Concoction
Maker®
Welcome
Cngrlis r rch t Mrgtvl®
Fro CncoiMkr® – DM2000 Si!
To learn more about Margaritaville®products,
please visit us at www.margaritavillecargo.com.
PARTS LIST
1Ice Reservoir Lid – Covers the Ice Reservoir.
2Ice Reservoir – Holds the ice for making
frozen drinks.
3Shaving Paddle – Moves ice across the
Shaving Blade.
4Ice Hopper (ice deflector blade assembly) –
Feeds ice from reservoir to Shaving Blade.
5Ice Shaving Blade with deflector – Shaves ice.
6U-Lock –Holds Shaving Blade in place.
7Ice Chute – Directs ice from Ice Hopper into
Blending Jar.
8Blending Base – Holds Blending Jar securely
in place.
9Control Panel – Contains all necessary controls to
operate your unit.
2
3
9
8
1
7
6
5
4

I
O
-3-
16
17
18
11
12
13
14
15
10 On/Off Switch.
11 Jar Lid – Seals the blending jar.
12 Blending Jar – Maximum capacity of 36 oz.
13 Blending Blade Sealing Ring – Seals the blending jar and blending base.
14 Blending Blade – Creates forward action when blending drinks.
15 Jar Base – Designed with wide base for stability.
16 Ice Reservoir Release Button – Releases ice
reservoir from unit.
17 Ice Melt Reservoir – Contains melted ice excess.
18 Cord Storage Door – Covers power cord
storage area.
10

H
]
V
k
Z
È
c
7
a
Z
c
Y
H
]
V
k
Z
D
c
a
n
7
a
Z
c
Y
D
c
a
n
G^iVh
9V^fj^g^h
Ha^YZh
Hbddi]^Zh
-4-
123 4 5 6
Fiji™DM2000 Series – Control Panel
1Drink Selector Rotary Switch – Selects
from 4 different types of drinks.
•Ritas – liquid ingredients only
•– liquid ingredients
+ frozen fruit
•Slides – liquid ingredients
+ ice cream
•– liquid ingredients
+ fresh fruit
2Shave ’n Blend™ Toggle Switch – Used
to select automatic Shave ’n Blend cycle.
3Power Indicator Light – Blinks when
unit is plugged in to indicate ready
for use.
4Progress Indicator Lights – Shows
status of Shave ’n Blend cycle.
5Blend Only/Shave Only Toggle Switch –
Used to manually operate ice shaver
and blender.
6Number of Drinks Rotary Switch – used
to select 1, 2 or 3 twelve oz. frozen drinks.

Figr 1
Figr 2
Figr 3
Figr 4 -5-
1. Place the unit on a clean dry flat surface.
2. Place the Ice Reservoir on the unit front first, then
push down firmly on back. Reservoir must click
into place. Figr 1
NOTE: IF ICE RESERVOIR IS NOT SEATED FIRMLY
IN PLACE THE UNIT WILL NOT OPERATE.
3. Remove the Cord Storage Door by pushing down on
the release tab located on the Cord Storage Door.
Remove the power cord and plug the unit into a
standard 120 Volt wall socket. Replace the cord
storage door and position the power cord in the slot
below the cord storage release tab. Figr 2
4. Remove the Ice Reservoir Lid using the Release Button
located on the top of the Ice Reservoir. Figr 3
NOTE: NEVER PUT ANYTHING BUT ICE IN
THE ICE RESERVOIR.
5. Fill the Ice Reservoir with ice cubes. Figr 4
6. Replace the Ice Reservoir Lid and snap closed.
7. Lift and remove the Blending Jar. The Ice Chute is
spring-loaded and can be pushed up.
8. Remove Blending Jar Lid.
9. Add appropriate amount of ingredients to the
Blending Jar for the number of drinks being made
(1, 2 or 3).
Making frozen
drinks

-6-
C = cups Tbs = tablespoons
1 Drink 2 Drinks 3 Drinks
floz ml fl oz ml fl oz ml
Raspberry Sherbert
Ice Cream 4Tbs 59 8Tbs 118 12Tbs 177
Pineapple Juice 3 90 6 180 9 270
Fresh Strawberries 1⁄2C118 1C 236 11⁄2C355
Ingredients
The Best Smoothie Recipe – “Smoothies”
Amount (12 fluid oz drink)
1 Drink 2 Drinks 3 Drinks
floz ml fl oz ml fl oz ml
Bailey’s Irish Cream 11⁄340 22⁄380 42⁄3140
Kahlua 11⁄340 22⁄380 42⁄3140
Vanilla Ice Cream 4Tbs 59 8Tbs 118 14Tbs 207
Chocolate Syrup 2⁄3 20 11⁄3 40 21⁄370
Ingredients
The Best Slide Recipe – “Slides”
Amount (12 fluid oz drink)
Ingredients
The Best Margarita Recipe – “Ritas”
Amount (12 fluid oz drink)
1 Drink 2 Drinks 3 Drinks
floz ml fl oz ml fl oz ml
Margaritaville®Gold Tequila 11⁄340 2
2⁄380 4 120
Triple Sec 1⁄310 2⁄320 1 30
Lime Juice 2⁄3 20 1 1⁄3 40 260
Orange Juice 2⁄3 20 1 1⁄3 40 2 60
Margaritaville®Margarita Mix 11⁄340 2
2⁄380 4 120
Ingredients
The Best Daiquiri Recipe – “Daiquiris”
Amount (12 fluid oz drink)
1 Drink 2 Drinks 3 Drinks
floz ml fl oz ml fl oz ml
Light Rum 1.5 45 3 90 4.5 135
Sugar 1Tbs 15 2Tbs 30 3Tbs 45
Cranberry Juice 3 90 6180 9270
Frozen Strawberries 2⁄3C157 11⁄3C315 2C 473
For best results, use ice that has been out
of the freezer between 10 to 15 minutes.

-7-
10. Replace Blending Jar Lid and return Blending
Jar to Blending Base by pushing up on the Ice
Chute with the Blending Jar and then placing it
on the Blending Base.
11. Set the Number of Drinks Rotary Switch to
correspond to the number of drinks being made.
12. Select the type of drink to be made by turning
the drink selector rotary switch to the
desired setting.
13. Turn the ON/OFF switch (located at the right side of unit) to the ON position.
NOTE: NEVER SHAKE OR REMOVE JAR DURING OPERATION –
BLADE ASSEMBLY WILL GET DAMAGED.
H
]
V
k
Z
D
c
a
n
7
a
Z
c
Y
D
c
a
n
H
]
V
k
Z
È
c
7
a
Z
c
Y
G^iVh
9V^fj^g^h
Ha^YZh
Hbddi]^Zh
Number of Drinks
Rotary Switch
Drink Selection
Rotary Switch
FIJI™ DM2000 SERIES

H
]
V
k
Z
È
c
7
a
Z
c
Y
G^iVh
9V^fj^g^h
Ha^YZh
Hbddi]^Zh
-8-
Automated Shave ’n Blend™ Cycle
14. Start the automatic shave and blend cycle
by pushing up on the Shave ’n Blend™
Toggle Switch.
15. The unit will shave ice for the appropriate
time (based on the Number of Drinks Rotary
Switch setting – and drink selection type.
The blender will start automatically. The
unit will stop at the completion of the cycle.
NOTE: DURING THE SHAVE AND BLEND CYCLE
THE PROGRESS INDICATOR LIGHTS
WILL ILLUMINATE IN A SEQUENCE FROM LEFT
TO RIGHT TO INDICATE THE CYCLE PROGRESS.
DO NOT REMOVE THE BLENDING JAR WHILE THE
PROGRESS INDICATOR LIGHTS ARE ILLUMINATED.
16. The Power Indicator Light will blink to indicate the unit
is ready to make more drinks.
17. To serve:
a. Lift and remove the Blending Jar.
b. Remove Blending Jar Lid.
c. Pour and enjoy.
NOTE: TO REMOVE EXCESS ICE FROM THE
ICE RESERVOIR HOLD THE SHAVE
ONLY TOGGLE SWITCH IN THE SHAVE
ONLY POSITION UNTIL THE ICE
RESERVOIR IS EMPTY. WARNING: DO
NOT PLACE FINGERS IN THE ICE HOPPER
THE SHAVING BLADE IS SHARP AND
COULD CAUSE INJURY.
18. Turn off the unit.
19. Periodically check the Ice Melt reservoir
and empty as needed.
Shave ’n Blend™
Toggle Switch
FIJI™
DM2000 SERIES

-9-
Manual Cycle
To make a thicker drink:
a. Hold the “Blend Only/Shave Only” Toggle Switch
in the Shave Only position to add more ice to the
Blending Jar.
b. To stop adding ice, release the toggle switch.
c. To mix the newly added ice into the drink, hold
the Blend Only/Shave Only Toggle Switch in the
blend only position until the desired consistency
is achieved. To stop the blending release the
toggle switch.
d. Use less drink mixer than in recipe.
(example: for 3 drinks, use 9 oz. liquid content)
To make a thinner drink:
a. Hold the Blend Only/Shave Only Toggle Switch in the
Blend Only position until the desired consistency is
achieved.
b. To stop blending release the toggle switch.
c. Add more drink mixer than in recipe
(example: for 3 drinks, use 10.5 oz. of total mix)
DM2000
H
]
V
k
Z
D
c
a
n
7
a
Z
c
Y
D
c
a
n
Blend Only/
Shave Only
Toggle Switch

Figr 1
Figr 3
Figr 4
Figr 2
SHAVING
BLADE
-10-
IMPORTANT: Your Blending Jar, Shaving and Blending Blades are subject to
wear during normal use. Always inspect for nicks, chips, or cracks. Always
inspect for broken, cracked, or loose blades. If the jar or Shaving and Blending
Blades are damaged, do not use. Call our toll-free customer service number,
1-877-689-2737, to obtain replacement parts.
1. Make sure unit is unplugged. Place on a clean dry
surface. Turn the unit so the back is facing you. Push
down on the Ice Reservoir Release Button. Lift the back
of the Ice Reservoir and remove. This will expose the
Shaving Paddle and Ice Hopper. Figr 1
Note the location of the Shaving Blade inside
the Ice Hopper. Figr 2
WARNING: DO NOT PLACE FINGERS INSIDE
THE ICE HOPPER NEAR THE SHAVING BLADE.
BLADE IS SHARP HANDLE CAREFULLY.
2. To Remove the Shaving Paddle: Press the button
located behind the Ice Chute. If the button cannot be
pressed, rotate the Shaving Paddle for a half turn and retry.
While pressing the button (Figr 3), rotate the
Shaving Paddle counter-clockwise (to the left) by
placing fingers in the ridges of the Shaving Paddle and
unscrew. This will expose the Ice Hopper and Shaving
Blade. Figr 4
To re-assemble the Shaving Paddle, simply replace it
into the threaded insert and rotate clockwise. Hand
tighten only.
3. Press the two Ice Hopper release catches and lift the
Ice Hopper to remove. Figr 4
4. Remove the ice deflector blade assembly by pushing
and sliding the u-lock upwards. Pull the ice deflector
blade from the ice hopper and store in a safe place.
Figr 5
Cleaning and
Maintenance

ICE
DEFLECTOR
Figr 5
Figr 6
Figr 7
Figr 4
-11-
BE SURE TO RINSE THE SHAVING BLADE AND DRY
THOROUGHLY BEFORE STORAGE
5. Carefully lift the Blending Jar straight up to
remove. The Ice Chute is spring-loaded and
can be pushed up. If the Bending Jar is not easily
removed, rock gently and lift. Do not twist.
6. Turn the Blending Jar upside down and unscrew the
Jar Base counter clockwise (to the left). Carefully
remove the Blending Blade, and Blending Blade
Sealing Ring. Figr 6
WARNING: THE BLENDING BLADE IS SHARP.
HANDLE WITH CARE.
7. To remove the Ice Melt Reservoir hold the unit still
and pull straight out on the handle. Figr 7
8. The Ice Reservoir Lid, Ice Reservoir, Shaving Paddle,
Ice Hopper, Shaving Blade Assembly Nut, Shaving
Blade, Blending Jar Lid, Blending Jar, Blending Blade,
Blending Blade Sealing Ring, Jar Base and Ice Melt
Reservoir can be safely washed in the top rack of your
dishwasher. Use only top rack. Failure to do so
will result in damage.
Do not place the aluminum ice shaving paddle in the
dishwasher as discoloration will occur.
9. Use a damp cloth to clean the outside of the unit.
WARNING: UNPLUG UNIT BEFORE CLEANING. DO NOT USE
SOLVENTS. NEVER IMMERSE THE UNIT IN WATER.
10. Clean the inside walls of the ice chute with a damp cloth
after every use.

-12-
Troubleshooting
If the Power Indicator Light does not light:
Check that the unit is plugged into a working power outlet.
If liquid leaks from the base of the Blending Jar:
Remove it from the unit and check that the Blending Blade Sealing Ring is
properly installed and that the Blending Jar Base is tightened.
If water leaks from the unit: Empty the Ice Melt Reservoir and make sure
reservoir is in place.
If the Blending Jar overflows during the Shave ’n Blend™ cycle:
Follow the drink recipes included in “making frozen drinks” section and make
sure to not exceed the specified total volume.
If the Blending Jar will not sit on the Blending Base:
Remove it from the unit and check for ice on the Blending Base.
WARNING: unplug the unit before removing ice from the Blending Base.
If the shaver does not shave sufficient ice for the liquid in the Blending Jar:
Check that the Number of Drinks Rotary Switch setting corresponds to the
amount of liquid in the Blending Jar.
If the drink is too watery: Make sure to follow the recipe guide (pg.6) or
manually shave more ice until the desired consistency is achieved.
Dos and Don’ts
DO NOT Place fingers into the Blending Jar or Ice Hopper. The blades in this
unit are sharp and could cause injury.
DO NOT place Blending Jar onto Blending Base while motor is running. The
spinning Blending Base could damage the Blending Jar.
DO NOT twist Blending Jar when removing. Simply lift and remove. Twisting
the Blending Jar could loosen the Blending Jar Base causing it to leak.
DO NOT put hot liquid into the Blending Jar. Hot liquids could be ejected
during the blending process causing injury.
DO NOT place ice, frozen foods or very cold liquids into a Blending Jar which
has come directly from a hot dishwasher. The sudden change in temperature
could cause the Blending Jar to crack.
DO NOT place very hot liquids or foods into a Blending Jar that has come
directly from the freezer. The sudden change in temperature could cause the
Blending Jar to crack.
DO Follow the Cleaning and Maintenance instructions prior to your first use.
DO unplug the unit when not in use.

-13-
1 Year Limited Warranty
Sunbeam Products, Inc, d/b/a Jarden Consumer Solutions or if in Canada, Sunbeam
Corporation (Canada) Limited d/b/a Jarden Consumer Solutions (collectively “Sunbeam”)
warrants that for a period of one year from the date of purchase, this product will be free
from defects in material and workmanship. Sunbeam, at its option, will repair or replace
this product or any component of the product found to be defective during the warranty
period. Replacement will be made with a new or remanufactured product or component.
If the product is no longer available, replacement may be made with a similar product of
equal or greater value. This is your exclusive warranty.
This warranty is valid for the original retail purchaser from the date of initial retail
purchase and is not transferable. Keep the original sales receipt. Proof of purchase is
required to obtain warranty performance. Sunbeam dealers, service centers, or retail
stores selling Sunbeam products do not have the right to alter, modify or any way change
the terms and conditions of this warranty.
This warranty does not cover normal wear of parts or damage resulting from any of the
following: negligent use or misuse of the product, use on improper voltage or current, use
contrary to the operating instructions, disassembly, repair or alteration by anyone other
than Sunbeam or an authorized Sunbeam service center. Further, the warranty does not
cover: Acts of God, such as fire, flood, hurricanes and tornadoes.
What are the limits on Sunbeam’s Liability?
Sunbeam shall not be liable for any incidental or consequential damages caused by the
breach of any express, implied or statutory warranty or condition.
Except to the extent prohibited by applicable law, any implied warranty or condition of
merchantability or fitness for a particular purpose is limited in duration to the duration of
the above warranty.
Sunbeam disclaims all other warranties, conditions or representations, express, implied,
statutory or otherwise.
Sunbeam shall not be liable for any damages of any kind resulting from the purchase, use
or misuse of, or inability to use the product including incidental, special, consequential
or similar damages or loss of profits, or for any breach of contract, fundamental or
otherwise, or for any claim brought against purchaser by any other party.
Some provinces, states or jurisdictions do not allow the exclusion or limitation of
incidental or consequential damages or limitations on how long an implied warranty lasts,
so the above limitations or exclusion may not apply to you.
This warranty gives you specific legal rights, and you may also have other rights that vary
from province to province, state to state or jurisdiction to jurisdiction.
How to Obtain Warranty Service
If you have any question regarding this warranty or would like to obtain warranty service,
please call 1- 877-689-2737 and a convenient service center address will be provided
to you.
In the U.S.A., this warranty is offered by Sunbeam Products, Inc. located in Boca Raton,
Florida 33431.
PLEASE DO NOT RETURN THIS PRODUCT TO ANY OF THESE ADDRESSES
OR TO THE PLACE OF PURCHASE.

-14-
DO NOT RETURN THIS PRODUCT TO THE PLACE OF PURCHASE
For product questions:
Sunbeam consumer services
U.S.A. 1-877-689-2737
www.margaritavillecargo.com
©2007 Sunbeam Products, Inc., d/b/a Jarden Consumer Solutions.
All rights reserved.
Margaritaville®is a registered trademark of Margaritaville®
.
Printed in China P. N. 122557-4

-15-
Modelos: Series DM2000 Manual del Usuario
Fj
Fj
™
Ls Mjr Mrgts Vin d Mrgtvl
Ls Mjr Mrgts Vin d Mrgtvl®
FROZEN CONCOCTION MAKER
FROZEN CONCOCTION MAKER®

-16-
AL UTILIZAR ELECTRODOMÉSTICOS, SIEMPRE SE DEBEN TOMAR
ALGUNAS MEDIDAS BÁSICAS DE SEGURIDAD, ENTRE LAS QUE
FIGURAN:
1. LEER TODAS LAS INSTRUCCIONES ANTES DE LA UTILIZACIÓN.
2. Para evitar riesgos de descargas eléctricas, no se debe sumergir el
electrodoméstico, cable o enchufe en agua u otros líquidos.
3. Se recomienda supervisar estrictamente si se utiliza el
electrodoméstico cerca o en presencia de niños. Los niños no
deben utilizar este electrodoméstico.
4. Desenchufar el electrodoméstico del tomacorriente cuando no
se utilice, antes de colocar o sacar los componentes y antes de
la limpieza.
5. Evitar el contacto con los componentes móviles.
6. No poner en funcionamiento cualquier electrodoméstico que
posea el cable o el enchufe dañado, como así tampoco si se
detectó mal funcionamiento, golpes o se encuentra dañado de
alguna forma. Envíe el artefacto al centro de servicio autorizado
más cercano a fin de que lo examinen, lo reparen o le efectúen
ajustes eléctricos o mecánicos. Comuníquese con Servicio al
Cliente llamando al 1-877-689-2737.
7. No utilizar los electrodomésticos en exteriores.
8. No dejar el cable colgando fuera del borde de la mesa o mueble
ni en contacto con superficies calientes, incluido el horno.
9. Mantener las manos y utensilios fuera del contenedor al
mezclar y/o raspar hielo para reducir el riesgo de lesiones
graves en personas o daños en la unidad. Se puede utilizar una
espátula de goma, sólo cuando el electrodoméstico no esté en
funcionamiento.
10.
Las cuchillas son afiladas, por lo tanto deben manipularse con
cuidado.
11. El electrodoméstico debe funcionar siempre con la Tapa de la
Jarra y la Tapa del Contenedor para Hielo colocadas en su lugar.
12. La utilización de otros elementos no recomendados o vendidos
por el fabricante pueden ocasionar incendios, descargas
eléctricas o lesiones.
MEDIDAS DE SEGURIDAD
IMPORTANTES

-17-
13. No se debe utilizar la Jarra Mezcladora o el Contenedor para
Hielo si se detectan daños, astillas o grietas.
14. Para reducir el riesgo de lesiones en personas, nunca se debe
dejar la cuchilla mezcladora en la base sin la Jarra Mezcladora
de Vidrio.
15. No dejar de supervisar el electrodoméstico mientras esté en
funcionamiento.
16. Para desconectar, girar el interruptor a la posición apagado y
luego retirar el enchufe del tomacorriente.
17. No utilizar el electrodoméstico para otros usos que el indicado.
18. Nunca colocar los dedos u otros utensilios en las áreas de
alimentación y descarga.
19. Antes de la utilización, controlar que el Contenedor para Hielo
no contenga elementos extraños.
20. Controlar que la Tapa de la Jarra y la Tapa del Contenedor
para Hielo estén fijas en su lugar antes de utilizar el
electrodoméstico.
21. No mezclar líquidos calientes.
NOTA: NUNCA AGITE O RETIRE EL VASO DE MEZCLAR
DURANTE SU FUNCIONAMIENTO, YA QUE EL CONJUNTO
DE CUCHILLAS DEL VASO PUEDE DAÑARSE.
GUARDAR ESTAS INSTRUCCIONES
SÓLO PARA USO DOMÉSTICO
Este artefacto está equipado con un enchufe de tres patas. Esta es una
característica de seguridad cuyo propósito es ayudar a reducir el riesgo
de choque eléctrico. Si no puede insertar el enchufe en una toma de cor-
riente, comuníquese con un electricista calificado a fin de reemplazar la
toma de corriente obsoleta. No intente anular el propósito de seguridad
del enchufe de tres patas modificándolo de alguna manera.
Enchufe con conexión a tierra

-18-
Frozen Concoction
Maker®
Bienvenido
¡Fctacin r adqci d Mrgtvl®
Fro Cncoi Mkr® – Si DM2000!
Para obtener más información sobre los productos Margaritaville®,
visítenos en www.margaritavillecargo.com.
2
3
9
8
1
7
6
5
4
LISTA DE PIEZAS
1Tapa del depósito de hielo – Cubre el depósito
de hielo.
2Depósito de hielo – Contiene el hielo para preparar
tragos helados.
3Paleta de triturar – Envía el hielo a través de
la cuchilla de triturar.
4Tolva de hielo (conjunto de cuchilla del
deflector de hielo) – Transporta el hielo
desde el depósito hacia la cuchilla de triturar.
5Cuchilla de triturar hielo con deflector –
Tritura el hielo.
6Traba con forma de U – Sostiene la cuchilla de
triturar en posición.
7Vertedor de hielo – Envía el hielo de la tolva de
hielo hacia el vaso de mezclar.
8Base de mezclar – Mantiene el vaso de mezclar
firmemente en posición.
9Panel de control – Contiene todos los controles
necesarios para operar la unidad.
Table of contents
Languages:
Other Margaritaville Kitchen Appliance manuals

Margaritaville
Margaritaville Bahamas DM0500 Series User manual

Margaritaville
Margaritaville DM 1000 User manual

Margaritaville
Margaritaville Chillin' Pour NBMGDC1XXX Series User manual

Margaritaville
Margaritaville DM3500 Series User manual

Margaritaville
Margaritaville DM2000Series User manual

Margaritaville
Margaritaville DM2000-033 User manual

Margaritaville
Margaritaville Bahamas DM0500 Series User manual

Margaritaville
Margaritaville MD 3000 Series User manual

Margaritaville
Margaritaville DM 1000 User manual

Margaritaville
Margaritaville DM 1000 User manual