Precision Spotlight Instructions Precision Spotlight Instructions
Remote Specifications
Included *
Wireless Bridge Remote
(SPLR-2)
(Optional) †
Hand Held Bridge Remote
(SPLR-1)
(Optional) s
Wired Bridge Remote
(SPLR-3)
Power 12 or 24 Volt
(hard wired to power)
CR2540 button
cell battery
12 or 24 Volt
(hard wired to spotlight)
Current draw
(idle / in use) negligible negligible negligible
Wireless range 200 ft (65m) 200 ft (65m) —
Estimated
battery life — > 40 hours
(continuous use) —
Dimensions 3.5"W x 2.25"H x .75"D
88mm x 57mm x 19mm
2.0"W x 3.78"H x 1"D
51mm x 96mm x 25mm
3.5"W x 2.25"H x .75"D
88mm x 57mm x 19mm
Weight 2.12 oz. (60g) 2.82 oz. (80g) 2.12 oz. (60g)
Housing material UV resistant PC/ASA UV resistant PC/ASA UV resistant PC/ASA
Button material Silicone (glow in the dark) Silicone (glow in the dark) Silicone (glow in the dark)
Wire 16AWG — 24AWG
Operating
temp range 5°F to 113°F (-15°C to 45°C) 5°F to 113°F (-15°C to 45°C) 5°F to 113°F (-15°C to 45°C)
IP Rating IP54 IP56 IP54
Caution: you must feel the screw reach a twist-
ing torque to know that it is properly engaged
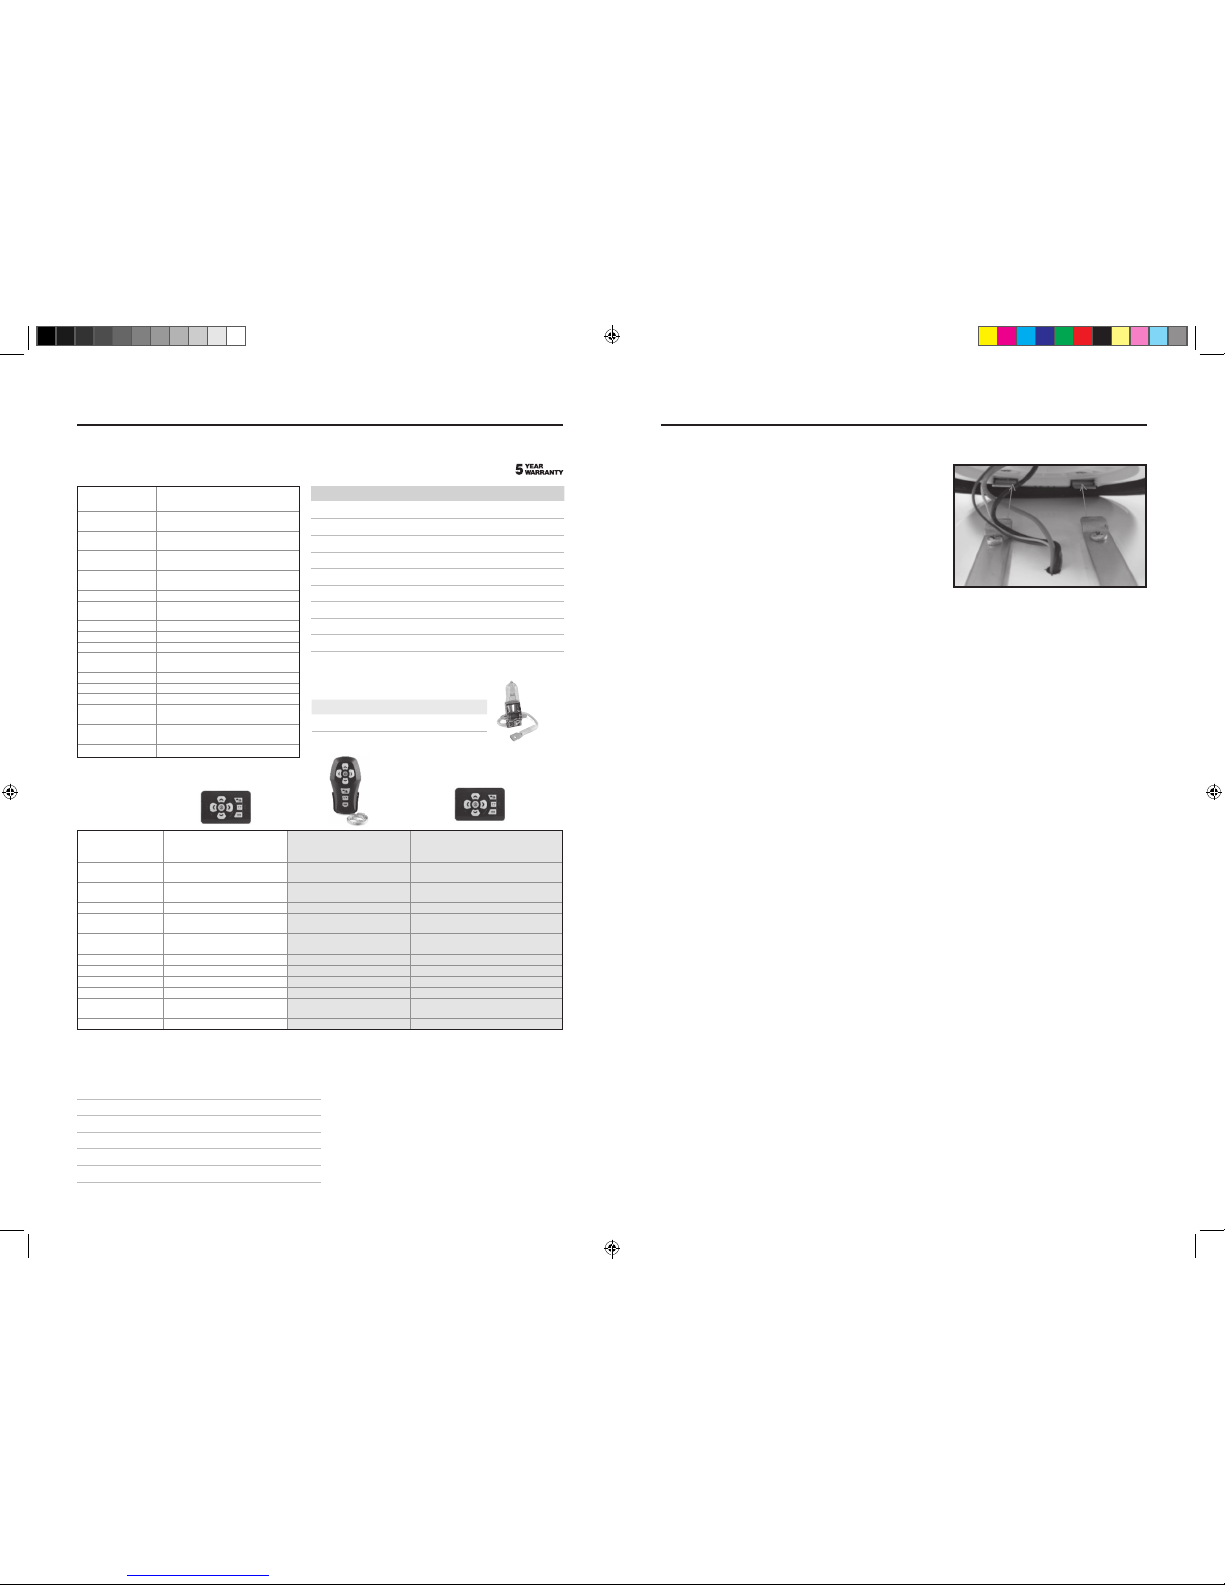
Note: In the photograph, the purple and yellow
control wires are shown for the wired-remote. If a
wireless bridge remote is used, then the purple
and yellow leads are not necessary and can be
tucked away within the spotlight base
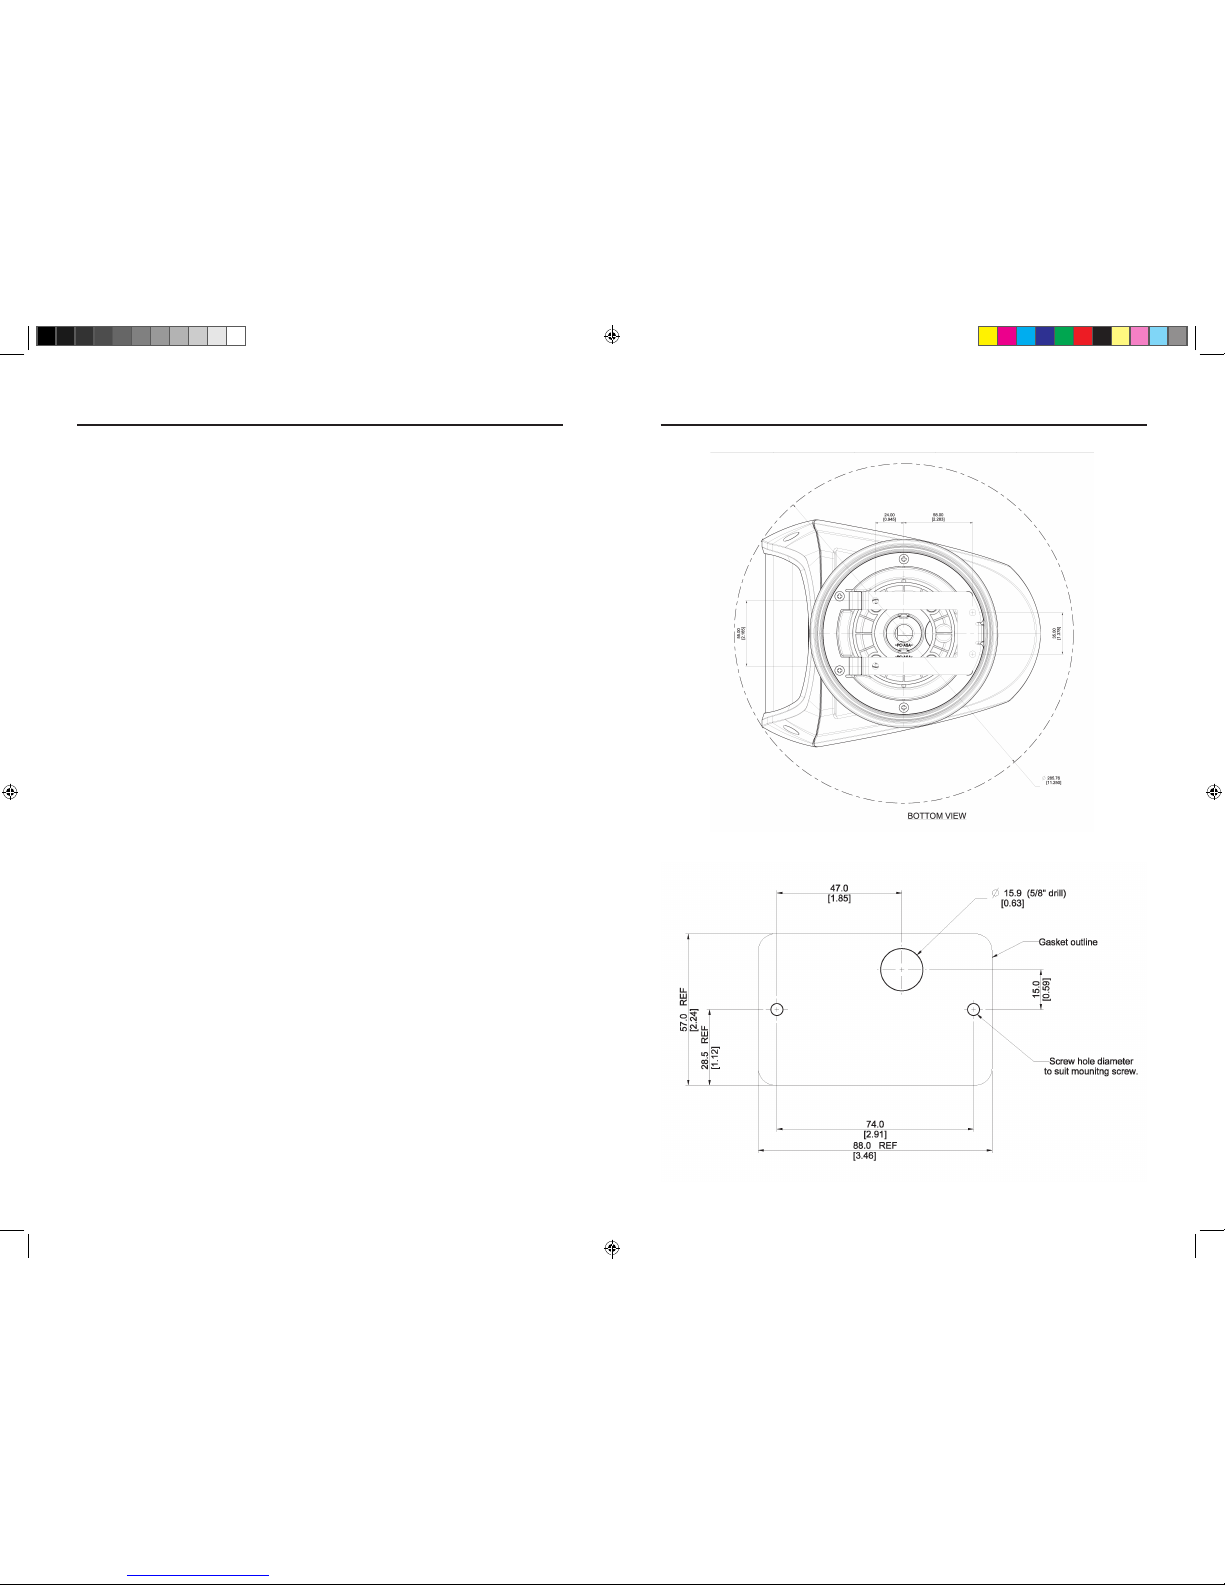
Mounting the wired and wireless remote
1. The remotes are all IP54 weather resistant.
2. Please choose a mounting location based on the gasket supplied with the remote
(large hole should be towards top)
3. Drill holes the correct size for the mounting screws. The holes through the remotes are
sized for a No. 6 pan head screw. The length and thread type will need to be determined
by the application. Set aside the 2 screw covers.
4. Drill hole for the wiring. Note that the hole needs to be 5/8" to allow the unit to sit flat.
5. If mounting the wireless bridge remote it will require a 12 V or 24 V power source.
If mounting the hard wired bridge remote then it does not need a local power source and
instead uses the 2 wires connecting from the spotlight to the remote. These two
wires will supply the remote with power and control the spotlight. The terminals on the
remote can handle a 16 awg to 26 awg wire. Maximum torque on the terminals is
2.21in lbs (.25 nm)
6. Feed wires through drilled surface hole and gasket from below
7. For the wireless bridge remote attach the power source wires to the remote (+) positive
and (-) negative terminals.
For the hard wired bridge remote attach the 2 wires from the spotlight. The yellow wire
needs to connect to the (+) positive and the purple wire needs to connect to the (–)
negative. Maximum Torque on the terminals is 2.21in lbs( .25 nm)
8. Place remote in location align holes and tighten down.
9. Apply screw caps to remote to hide screws.
PAIRING OF MOUNTED AND HAND HELD WIRELESS REMOTE TO SPOTLIGHT
1. Turn off all power to the spotlight.
2. Apply power to mounted remote. Press and hold the power button on the wireless remote.
3. While pressing the power button apply power to the spotlight.
4. After a few seconds you will hear the relay click and the light will turn on.
5. When the light turns on the paring is complete, release power button.
PROGRAMMING THE REMOTE WHEN MOUNTING THE SPOTLIGHT UP-SIDE-DOWN
NOTE: This procedure reverses the directional buttons on the remote.
1. Pairing of the remote described above must be completed first.
2. Remove all power to the spotlight.
3. Hold down the tilt UP and DOWN buttons on the remote.
4. While pressing the 2 buttons apply power to the spotlight and continue to hold down the
buttons for 3 seconds until the spotlight tilts up or down.
5. The spotlight is now configured for inverted mode. Release buttons.
6. To return the spotlight to the standard configuration repeat steps above.
WARNING: BEFORE OPERATION REMOVE BLUE FILM FROM LENS
SPECIFICATIONS
Description Color Item # OEM #
12/24 Volt, 100 Watt white SPL-12W —
12/24 Volt, 100 Watt black SPL-12B —
12/24 Volt, 100 Watt chrome SPL-12C —
12 Volt, 100 Watt white — SPL-12W.OEM
12 Volt, 100 Watt black — SPL-12B.OEM
12 Volt, 100 Watt chrome — SPL-12C.OEM
24 Volt, 100 Watt white — SPL-24W.OEM
24 Volt, 100 Watt black — SPL-24B.OEM
24 Volt, 100 Watt chrome — SPL-24C.OEM
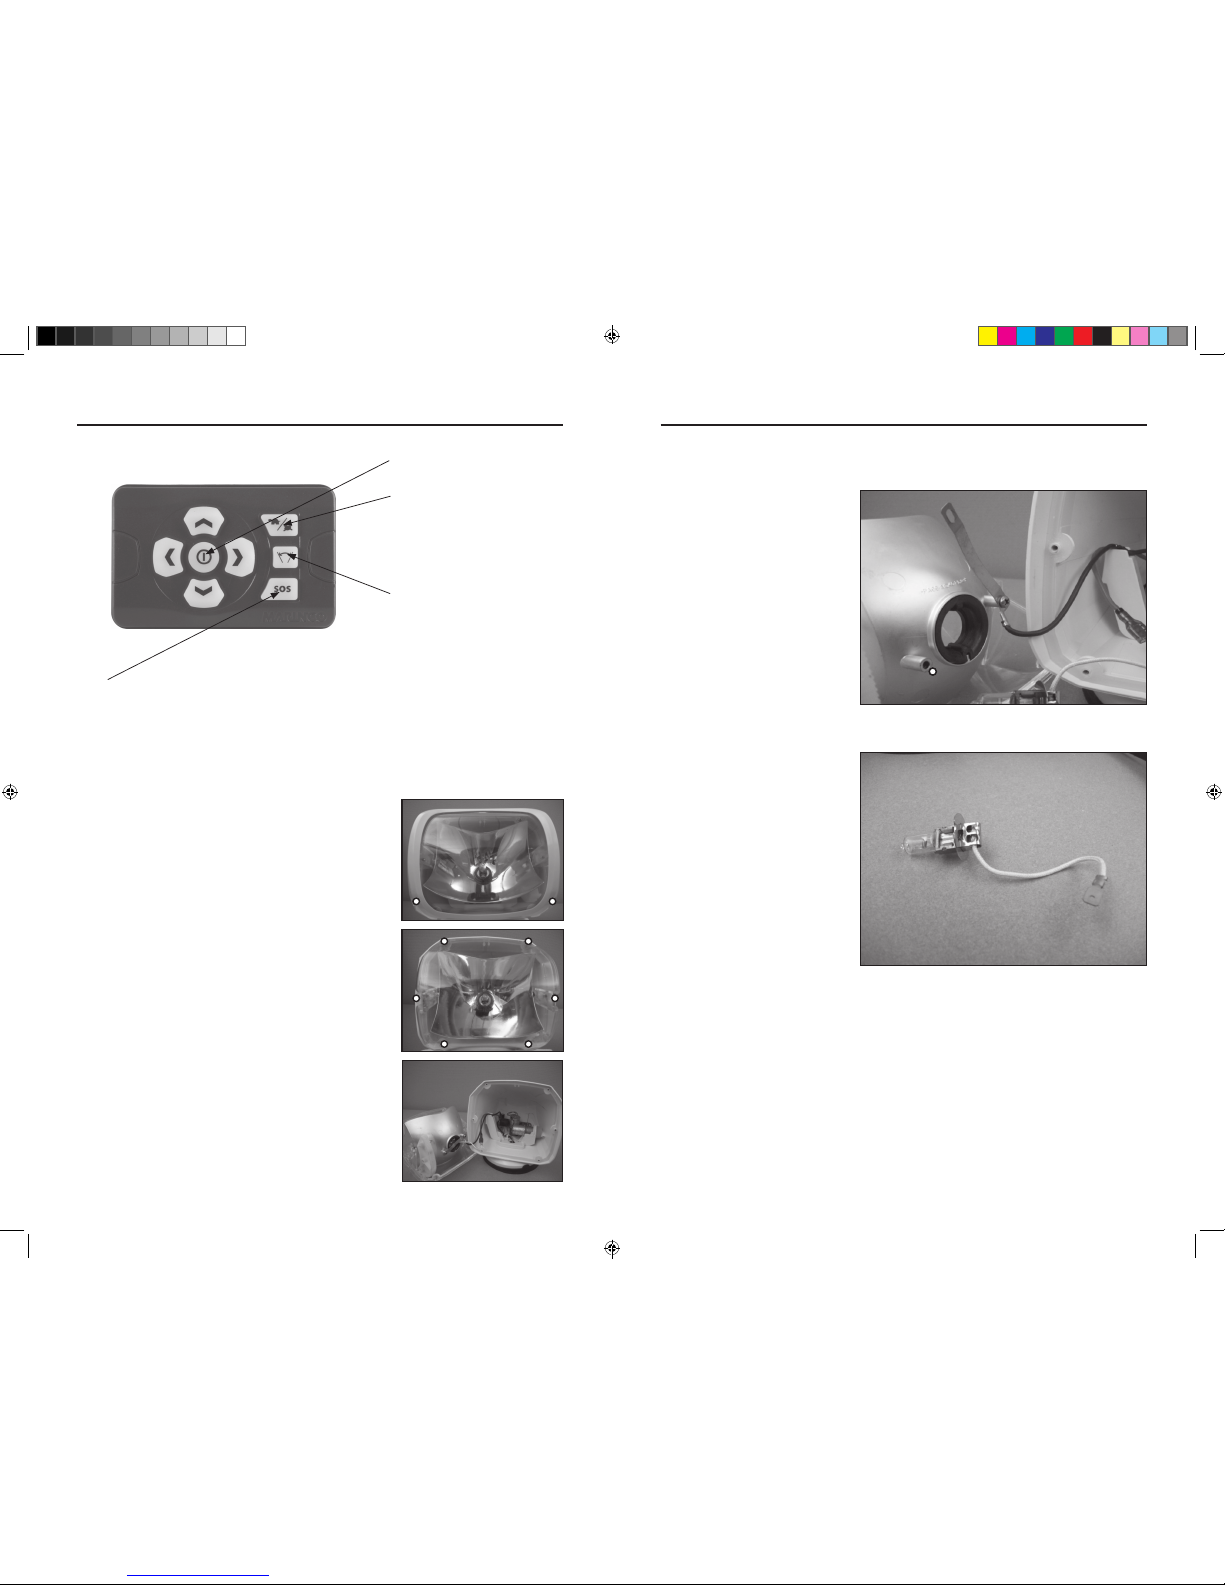
Replacement Bulbs
Description Item #
12 Volt, H3 Halogen 202319
Replacement Parts
Part# Description
202319 12V, H3 halogen replacement bulb
202320 24V, H3 halogen replacement bulb
SPLR-1 Spotlight remote, wireless hand-held
SPLR-2 Spotlight remote, wireless bridge mount
SPLR-3 Spotlight remote, wired bridge mount
63
* There is no wiring required from the spotlight to the
bridge remote. The spotlight and the bridge remote must
be wired locally to power.
† The hand held bridge remote includes a wrist lanyard
and a surface mount cradle.
s The wired bridge remote requires hard wiring of 2 leads
from the spotlight to the bridge.
Bulb 100 Watt, H3 Halogen (replaceable)
(12 volt installed / 24 Volt included)
Power
(Input voltage)
12 volt or 24 Volt
(note: must match bulb with voltage)
Current draw
(idle / in use) 0.03 Amps / 7.0 Amps
Peak beam
intensity 210,000 candella
Peak beam
distance 917 ft (280 m)
Lux @ 66' (20m) 525 Lux
Coverage at 66'
(20 m)
132 sq Ft
(12 sq m)
Rotatation 370° (built in limit stops)
Tilt 120° Tilt (75°up and 45° down)
Wireless range 200 ft (65m)
Dimensions 7.5"W x 7.5"H x 9.25"D
(19cm x19cm x 23.5cm)
Weight 3.30 lbs (1.5 kg)
Housing material UV resistant PC/ASA
Lens material UV resistant Lexan®
Wire type 16 AWG power
24 AWG control
Operating
temp range 5°F to 113°F (-15°C to 45°C)
IP Rating IP56
Tested in accordance with ANSI/NEMA standard FL1
MAR_TL_029_1011_Precision_Spotlight_ Manual_6x9_Ins.indd 5-6 11/3/11 11:16 AM