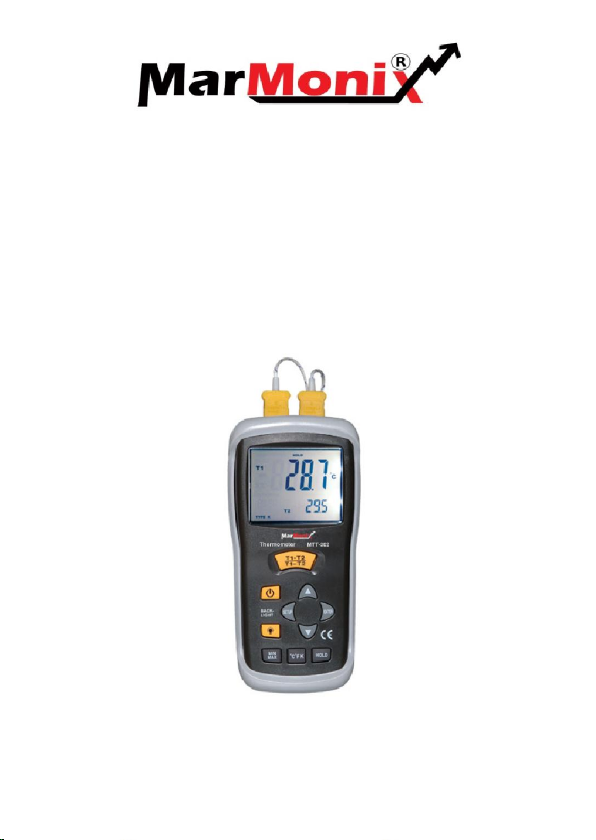
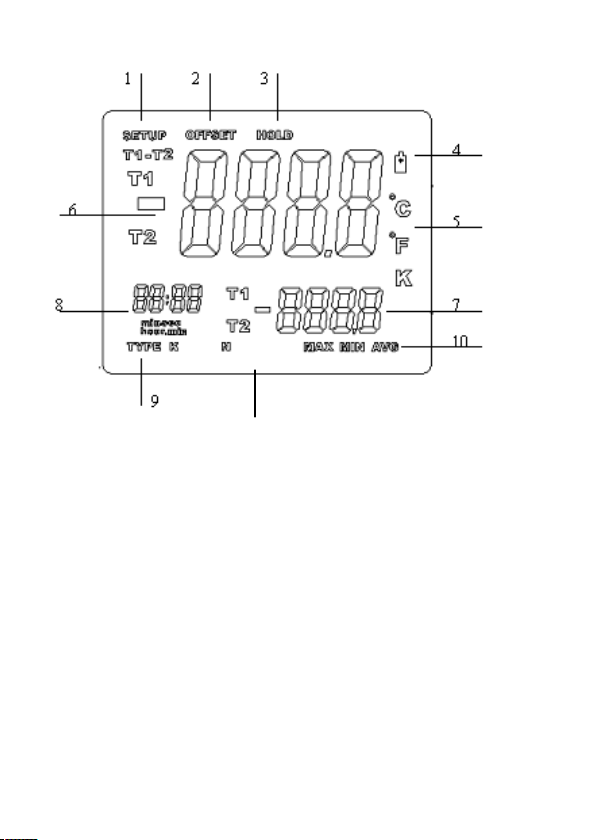
Features
1. Large backlit dual display shows any combination of
T1, T2, T1-T2 plus MAX, MIN, AVG
2.Relative time clock on MAX MIN and AVG provides a
time reference for major events
3.Electronic Offset function allows compensation of
thermocouple errors to maximize overall accuracy.
4.Readout in 0C, 0 F ,or Kelvin(K)
5. Auto Power Off mode (Sleep mode) increases battery
life.
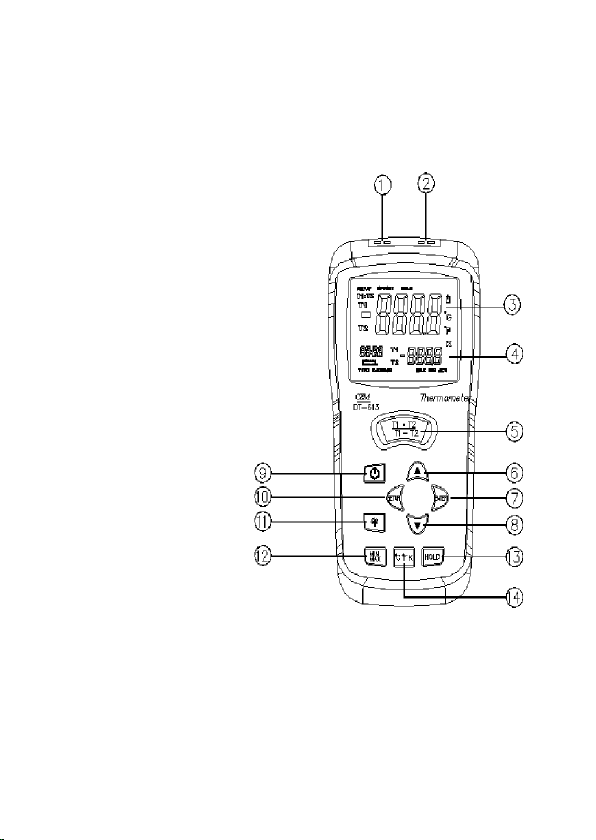
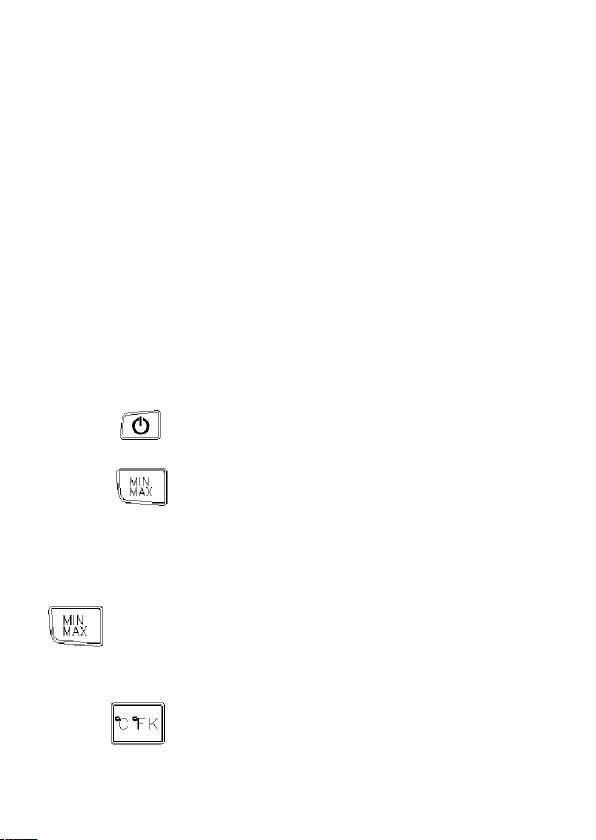
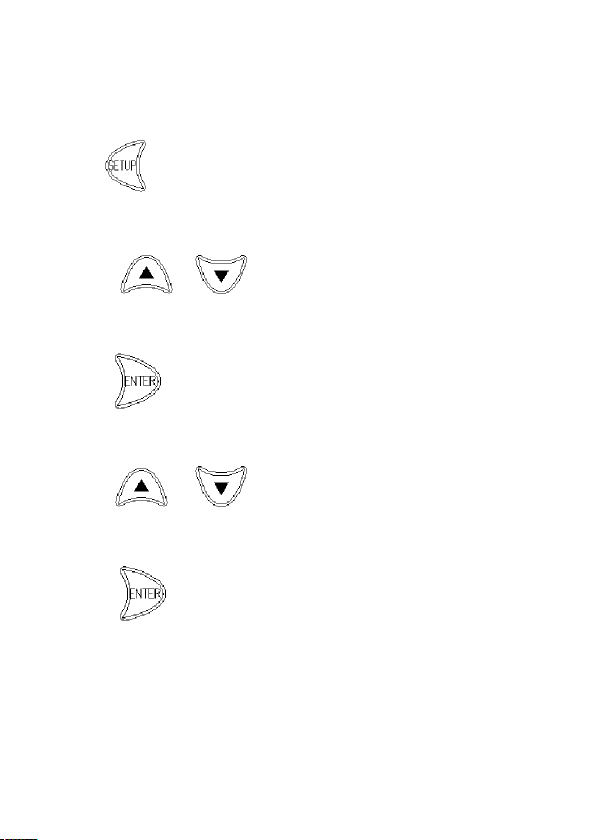
Button
1.Press to turn the thermometer on or off.
2.Press to step through the maximum, minimum,
and average readings. Whenreadings, shows the
maximum, minimum, and average of the logged
readings. To exit the MIN/MAX/AVGmode , press the
button for 3 seconds to return to normal
operation.
3.Press to switch between Celsius (0C), Fahrenheit
(0 F), and Kelvin (K).