Marvel AVENGERS 34887 User manual

INSTRUCTION MANUAL
2.4 GHz 4.5CH RC SUPERDRONE
2.4GHz
14+
FOR AGES 14 AND UP
ITEM NO. 34887

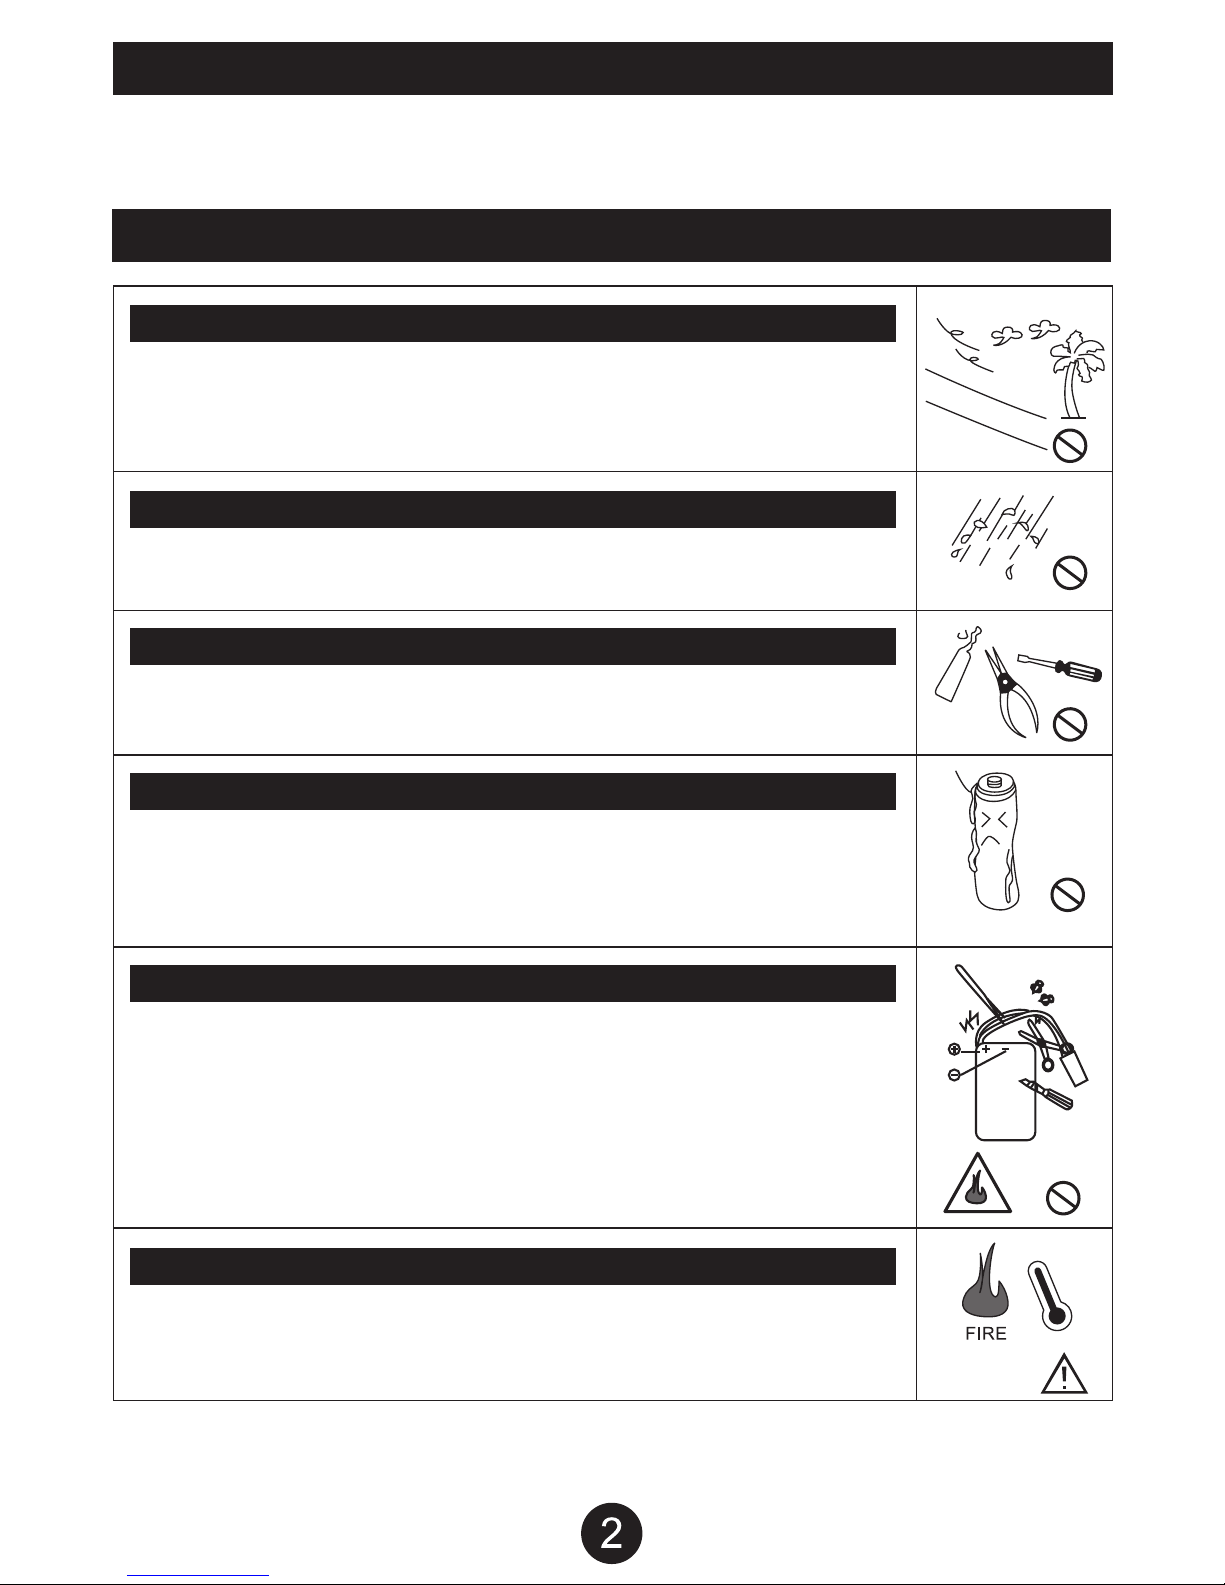
INDOOR AND OUTDOOR FLIGHT PRECAUTIONS
PREVENTING MOISTURE
PROPER OPERATION
TRANSMITTER AA BATTERY SAFETY
DRONE BATTERY PACK SAFETY
KEEP AWAY FROM HEAT
PRECAUTIONS
This drone is designed for indoor and outdoor flight. Please make sure there are no obstacles in the
flight path of the drone. Colliding into an obstacle while flying may damage the drone. Make sure there
is little to no wind when flying outside. Only fly the drone when people are a safe distance away. Do
not fly the drone within the vicinity of a crowd. The spinning rotors may cause injury if the drone comes
in contact with someone.
Do not fly the drone outside when it is raining. Do not fly the drone close to open water.
If the drone’s comes in contact with water, it may short circuit the electronics and damage the drone.
Do not modify or add anything to the drone. Modifying the drone may change its ability to fly properly
causing it to crash. Do not disassemble the drone.
Make sure the AA batteries in the transmitter are installed with the correct polarity. Do not mix
rechargeable AA batteries with non-rechargeable AA batteries. Do not dispose of drained AA batteries
into a fire. Batteries may explode if disposed in a fire causing injury. Remove the AA batteries in the
transmitter if you are not going to fly the drone for a long period of time. Store AA batteries in a cool
dry place. Keep AA batteries away from heat.
The drone’s battery pack is Lithium polymer. Li-po batteries pose higher operational risks compared to
other battery packs so it’s important to follow the instructions when using the battery. Manufacturer and
dealer assume no liability for accidental damages caused by improper usage.
Do not use a charger other than the factory supplied charger to avoid causing a fire or damaging the
battery pack. Do not try to disassemble, crush, burn or reverse polarity. Make sure there are no
metallic materials close to the contacts of the battery. Do not charge the battery unsupervised.
Do not charge the battery overnight. Over charging the battery may damage it, causing it to not hold a
charge. Stop using or charging the battery if you notice the battery temperature has increased more
than usual.
The drone is made out of various plastics and Styrofoam. Plastics and Styrofoam are very susceptible
to damage or deformation due to extreme heat and cold temperatures. Make sure not to store the
drone near any source of heat such as an oven or heater. It is best to store the drone indoors in a
climate controlled room temperature environment.
INTRODUCTION
Thank you for purchasing this amazing World Tech Toys product. This drone is suitable for indoor and outdoor flight.
Please carefully read the entire manual before operating this drone and keep it for reference in the future.

DRONE PARTS
Styrofoam Body Receiver Board
Rotor Blade
Motor Frame Motor Shield
Rotor Shaft
Flip Stunt Mode
Speed Control
Power Switch
Antenna
Forward/Backward
[Left/Right Sideways Flight]
Ascend/Descend
[Left/Right Turning]
Left/Right Turning Trim
Power Indicator
Left/Right Sideways Trim
LCD Screen
Forward/Backward Trim
TRANSMITTER SPECIFICATIONS

SYNCING AND LCD INTERFACE PROCEDURE
Signal Icon
Channel Display
Left/Right Turn
Trimming Display
Battery Level
Stick Modes
Display
Forward/Backward
Trim Display
Left/Right Sideways
Trim Display
After installing the batteries, turn the transmitter
switch to “ON.” The power indicator light flashes
and the signal icon “ ” appears in the top left of
the LCD screen, when there is no signal. After the
transmitter successfully pairs with the drone, the
transmitter will beep twice and the signal icon
changes to “ ”. Push the Ascend/Descend
control to the top, then pull the control back to the
bottom. The transmitter will beep once. The power
indicator will light. The transmitter has successfully
paired with the and control information appears on
the LED screen.
Battery Cover
4 AA Batteries
(Batteries not included.)
First remove the screw on the battery
cover and then remove the battery cover
itself. Then install 4 AA batteries.
Make sure they are installed with the
correct polarity. Replace the battery
cover and screw.
CAUTION:
1. Make sure the polarity of the batteries
are correctly installed.
2. Do not mix old and new batteries.
3. Do not mix different types of batteries.
TRANSMITTER BATTERY INSTALLATION
CHARGING THE DRONE
WARNING
The drone battery pack has 2 connection wires. One for the charger and one for drone. Use the included wall
charger and plug it into a wall outlet. Then connect the wall charger cord to the drone battery pack. The LED on the
wall charger should turn red when the battery is charging. The LED on the wall charger will turn green when the
battery is full charged. Full charge takes approximately 1.5 hours.
DO NOT CHARGE THE BATTERY UNSUPERVISED. DO NOT CHARGE THE BATTERY OVERNIGHT.
DO NOT OVER CHARGE THE BATTERY. OVER CHARGING THE BATTERY CAN DAMAGE THE BATTERY
AND OR CAUSE A CATASTROPHIC FAILURE.
Charger
Iron Li-po Battery
LED Light

WALL CHARGER SPECIFICATIONS
BATTERY PACK SPECIFICATIONS
Green Light Red Light Input
Battery Type Battery Specification Usage Duration Charge Time
Charging Current Full Voltage
HOW TO CONTROL THE DRONE
Before flying the drone for the first time please read the instructions carefully and
make sure you fully understand how to control the drone.
Move Right/Move Left Throttle
Move Right
Move Left Fly Upward
Fly Downward
Turn Left
Turn Right
Move Forward/Backward Turn Left/Turn Right

ADJUSTING THE TRIM
If the drone moves in any direction while hovering without transmitter input, you will need to adjust the trim.
If the drone is spinning to the left, push the RIGHT TRIM
button until the drone stops spinning.
If the drone is spinning to the right, push the LEFT TRIM
button until the drone stops spinning.
If the drone is moving forward, push the BACKWARD
TRIM button until the drone stops moving forward.
If the drone is moving backward, push the FORWARD
TRIM button until the drone stops moving backward.
If the drone is moving left, push the MOVE RIGHT TRIM
button until the drone stops moving left.
If the drone is moving right, push the MOVE LEFT TRIM
button until the drone stops moving right.
Left Trim Right Trim
Forward Trim Forward
Right
Left
Backward Trim
Backward
Move
Right Trim
Move Right
Move Left
Move
Left Trim

DRONE SPEED CONTROL
SPEED CONTROL BUTTON
To control the speed of the drone, push the Speed Control
button, has 3 speeds, High, Medium, and Low.
- Low Speed: Transmitter beeps once
- Medium Speed: Transmitter beeps 2 times.
- High Speed: Transmitter beeps 3 times.
DRONE FLIP STUNT
FLIP STUNT BUTTON
Have the drone hover at least 10 feet off the ground.
Press the FLIP STUNT BUTTON and the drone will
perform a single flip.
WARNING
Make sure the drone is hovering at least 10 feet off the ground
before performing the flip stunt. The flip stunt will cause the drone
to drop approximately 6 feet. If you perform the flip stunt while
being less than 10 feet off the ground, the drone may crash and
become damaged.
POST FLIGHT
After you are done flying the drone make sure the battery pack on the drone is disconnected and the transmitter
power is turned off. If you are not going to use the drone for a long period of time, please remove the AA batteries
from the transmitter to prevent the batteries from draining or leaking.

TROUBLESHOOTING
PROBLEM CAUSE SOLUTION
Drone is unresponsive. The
Transmitter light keeps flashing.
Drone is unresponsive.
Transmitter light is ON. Drone is
unresponsive.
Drone’s rotors spins but doesn’t take off.
Drone is shaking when flying.
Drone still moves forward after
adjusting the trim.
Drone moves while hovering without
transmitter input. Trim needs to be adjusted. Adjust the trim.
Gyroscope midpoint is off. Turn off both transmitter and drone.
Go through power on process and make
sure you place the drone on a flat
surface before taking off.
Transmitter batteries are
installed incorrectly.
Transmitter and or drone
is not powered ON.
Turn both transmitter and drone ON.
Transmitter batteries are drained.
Drone’s battery pack
is drained.
Rotor blades are damaged. Replace the damaged rotor blades.
Drone is not on a
flat surface.
Place the drone on a flat surface
before attempting to take off.
Charge the drone’s battery pack.
Drone’s battery pack is drained. Charge the drone’s battery pack.
Install fresh batteries to the transmitter.
Install the batteries with the
correct polarity.
Transmitter is not syncing with drone. Repeat the power up process.
Website: www.worldtechtoys.com
Email: [email protected]
Phone: (877) 498-8697
Monday - Friday / 9:00AM - 5:00PM / Pacific Time
WWW.WORLDTECHTOYS.COM
MADE IN CHINA
SPECIFICATIONS, COLORS AND CONTENT
MAY VARY FROM ILLUSTRATIONS
Table of contents