manuals.online logo
Brands
  1. Home
  2. •
  3. Brands
  4. •
  5. Master cool
  6. •
  7. Security Sensor
  8. •
  9. Master cool 55500 User manual

Master cool 55500 User manual

Instruction Manual
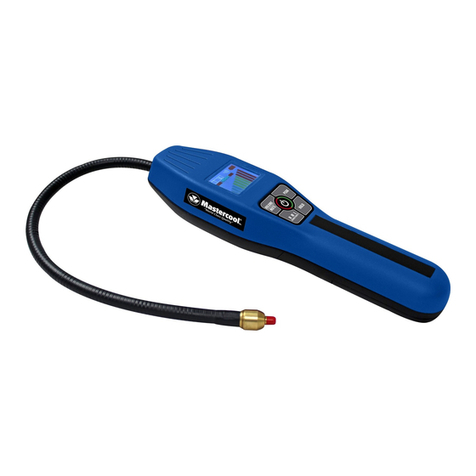
ELECTRONIC LEAK DETECTOR
MODEL# - 55500, 55500-220, 55750, 55750-220
KEYPAD FUNCTIONS AND PARTS
1. Turns unit ON and OFF
2. Reset Sensitivity Level to the level of concentration currently detected
3. Increase Sensitivity
4. Decrease Sensitivity
5. Turns Alarm ON/OFF
6. Turns the LED Light ON/OFF
7. LED UV Blue Light
OPERATING PROCEDURES
TURN ON THE UNIT AND WARM-UP
Start the leak detector by pressing the “ON/OFF” key, the unit will show six red illuminated LEDS to indicate automatic
warm-up stage. After warm-up, the unit will sound an audible beep and a green LED will display indicating the unit is
ready for use.
SENSITIVITY LEVELS
The unit offers six sensitivity levels (1-6). When the unit is turned ON, it will default to Level 5.
To view the sensitivity level on the LED, press either the UP or DOWN arrow key. The LED display will illuminate for
approximately two seconds (One Red LED for every sensitivity level). One illuminated Red LED is the lowest sensitivity
setting, six illuminated LEDS is the highest sensitivity setting.
RESET OPERATION
The primary use for the reset function is to pinpoint the leak source. When the unit detects a leak and goes into alarm,
press the RESET button – Resetting will ignore any leaks at that level or lower and only detect leaks of higher
concentration.
UV LED LIGHT FUNCTION
The UV LED Blue Light can be used to help detect leaks in systems containing Ultra Violet Dye. The light can be activated
by pressing the UV light button. This function will operate with the unit ON or OFF.
WEAR SPECIAL PROTECTIVE UV GLASSES!
MUTE
Pressing this button will toggle beeper sound ON and Off.
IMPORTANT LEAK DETECTION TIPS
• For the best leak detection results, the probe should be moved across the leak detection area at the rate of 1” - 2”
per second (25mm to 50mm per second) and held 1/4” (5mm) away from the surface. An increase in the alarm rate
will indicate a leak.
• When unit is used in contaminated area with certain gas concentration, erratic alarming may occur. For best results in
these types of areas, adjust the unit to the existing environment before inspecting. Pressing the “RESET” button will
adjust the unit to the existing environment.
• If the battery is lower than a level at which the unit can work properly, the unit will illuminate 6 GREEN LEDS after unit
pre warm-up. The unit will not operate unless it is turned off and the battery is recharged.
• It is recommended to fully discharge the battery before you recharge. This will give the Ni-MH battery a longer
life span.
• ALWAYS KEEP SENSOR FREE OF GREASE, DUST OR DIRT. Otherwise, these materials will prevent the airflow from
entering the sensor.
LED LIGHT REPLACEMENT
To remove, pull the LED out of the socket. To install, press the LED into the socket with the long terminal to the outside.
     
     
Warm-Up Ready for Use
           
Lowest Sensitivity Setting Highest Sensitivity Setting
LOW BATTERY INDICATOR
The unit has a low battery indicator function which lets the operator easily check the battery level of their unit and then
helps them make the decision if the battery needs to be recharged or not. Simply press and hold the ON/OFF key when
the unit is ON. This activates the battery indicator function. Six LEDS will illuminate partial red and the others green. The
red LEDS are on the left hand side of the six LED display indicating how much battery charge is left with respect to full
battery display of 6 red LEDS. Therefore, if 6 LEDS are all green, that means “NO CHARGE IN BATTERY”. It is
recommended that you recharge your battery at this time. DO NOT WORK YOUR UNIT WITH LOW BATTERY LEVELS.
RECHARGEABLE BATTERIES
The unit works with (2) 1.2 VDC rechargeable batteries. The unit will operate continuously for 8 hours with fully charged
batteries. A battery charger will be shipped with the unit. Simply plug the charger into a 110V outlet and the output to the
charger jack on the leak detector. FOUR-HOUR CHARGING IS RECOMMENDED TO COMPLETELY CHARGE THE BATTERIES.
WARRANTY
This product is warranted for a period of 1 years from the date of purchase to the original purchaser. A repair or
replacement will be made at no cost to customer with proof of purchase. Damage through tampering or improper use
will void warranty. This warranty does not cover batteries, sensors, LED bulb or other materials that are considered
normal wear items.
SPECIFICATIONS
• Operating Temperature: 32˚F - 125˚F (0 - 52˚C) • Power Supply: 2 C-Size 1.2 V Ni-MH Battery
• Battery Life: (Fully Charged) Approximately 8 Hrs • Warm-Up Time: 25 Seconds
• Probe/Core Length: 15” • Dimension: 7” by 7”
• Weight: 1.10 lbs (500gr)
WARNING!
• Pressurized systems can leak
• Wear safety shield (USER AND BYSTANDER)
• DO NOT breathe gas vapors
• Keep self and tools clear of moving parts
• Pressurized leaks and breathing may cause injury
• Wear UV safety glasses (USER AND BYSTANDER)
55500: DESIGN CERTIFIED BY MET LABORATORIES INC. TO MEET SAE J1627 FOR R134a, R12 AND R22
PATENT PENDING MADE IN USA
     
     
2/3 charge left in battery No charge left in battery

This manual suits for next models

3

Other Master cool Security Sensor manuals

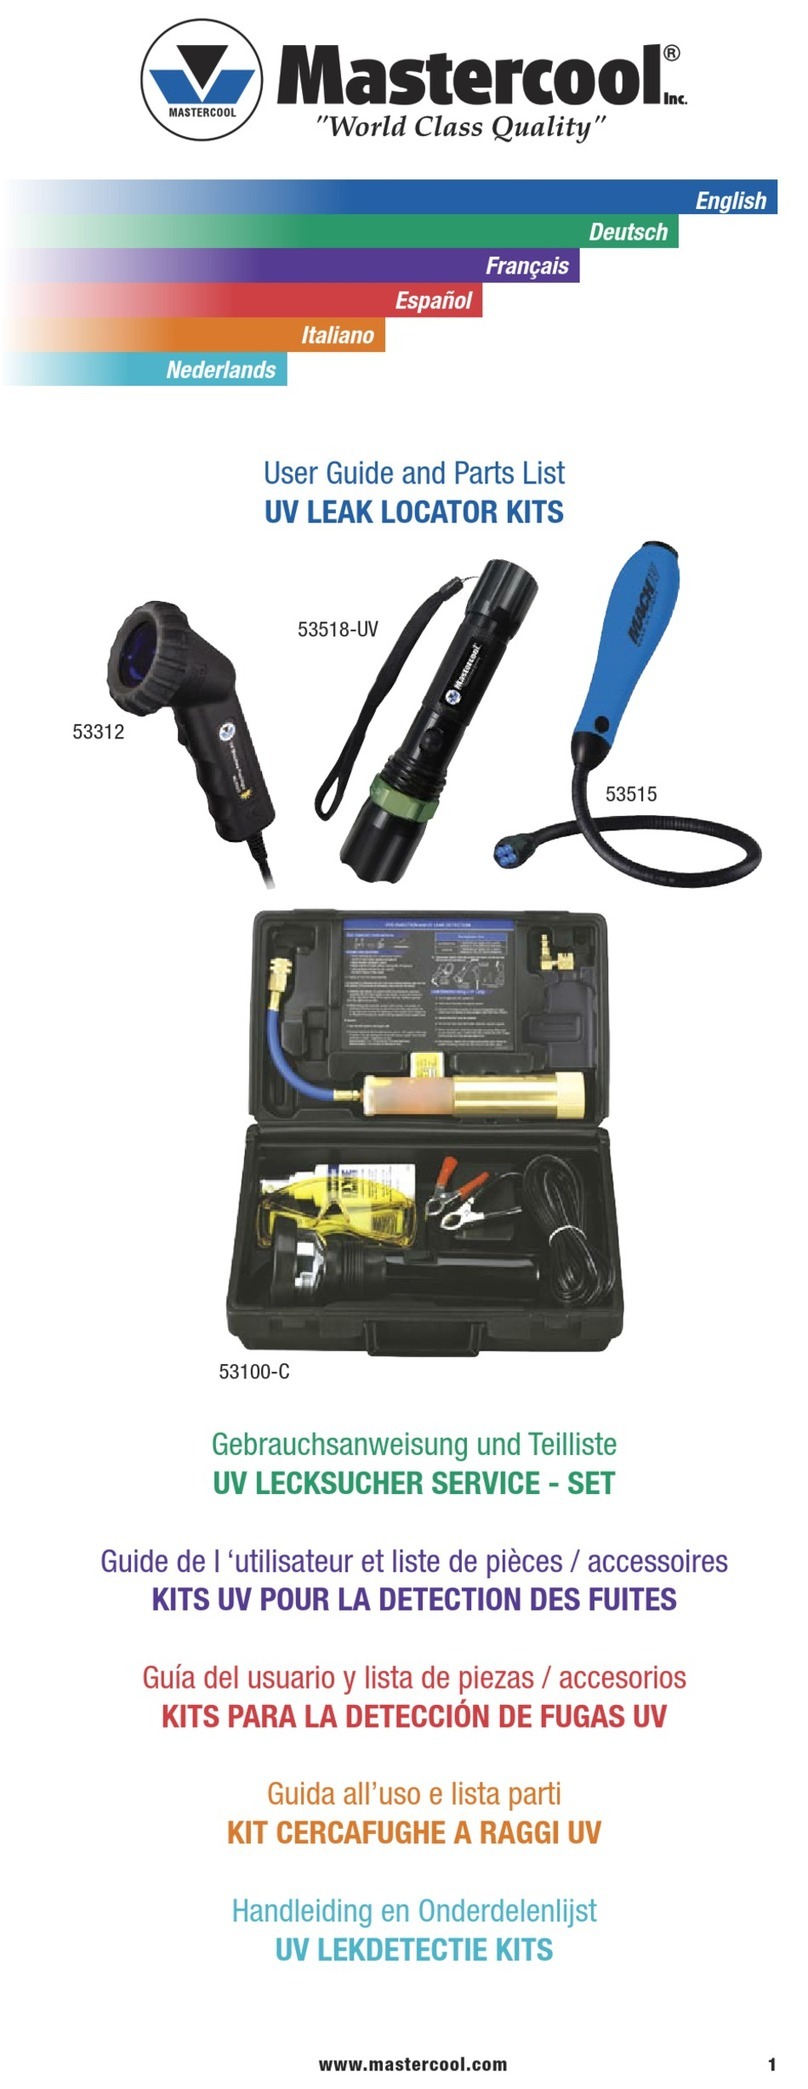
Master cool 53312 User manual

Master cool

Master cool 53312 User manual

Master cool 55600-A User manual

Master cool

Master cool 55600-A User manual

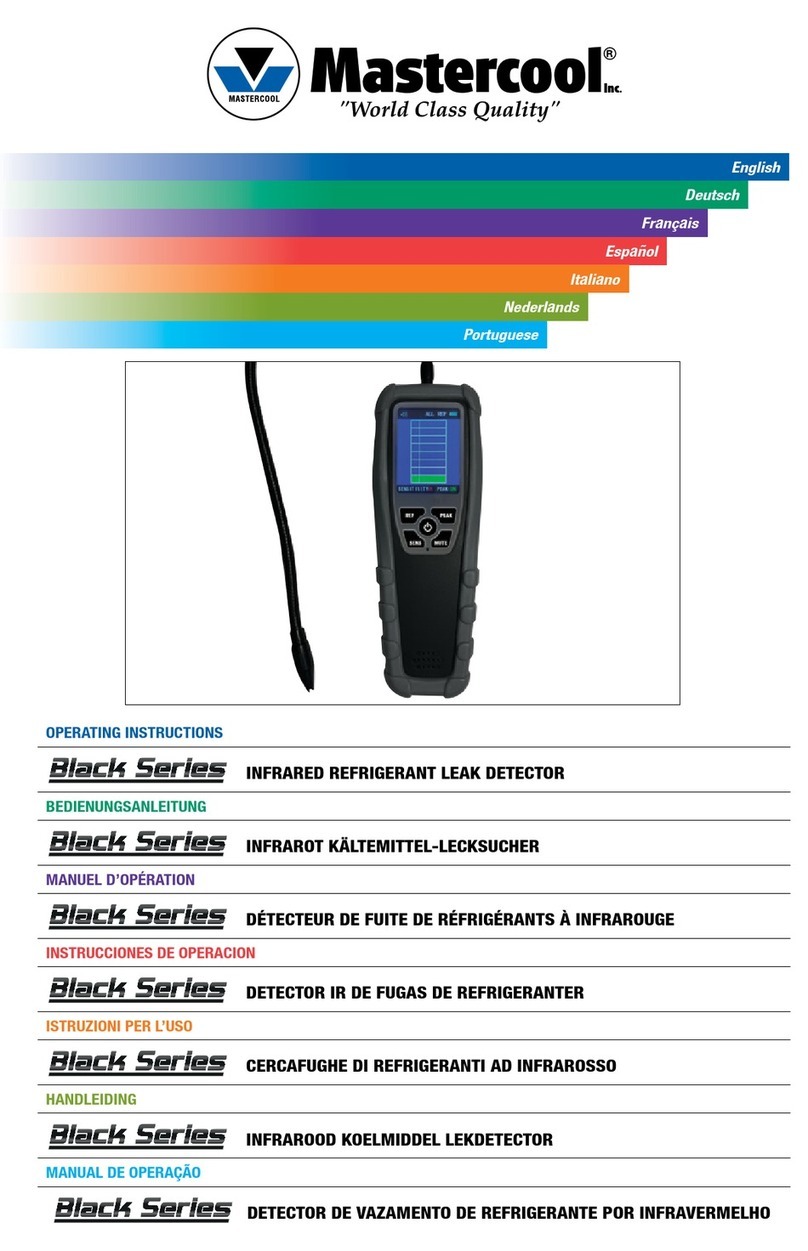
Master cool 55744 User manual

Master cool

Master cool 55744 User manual

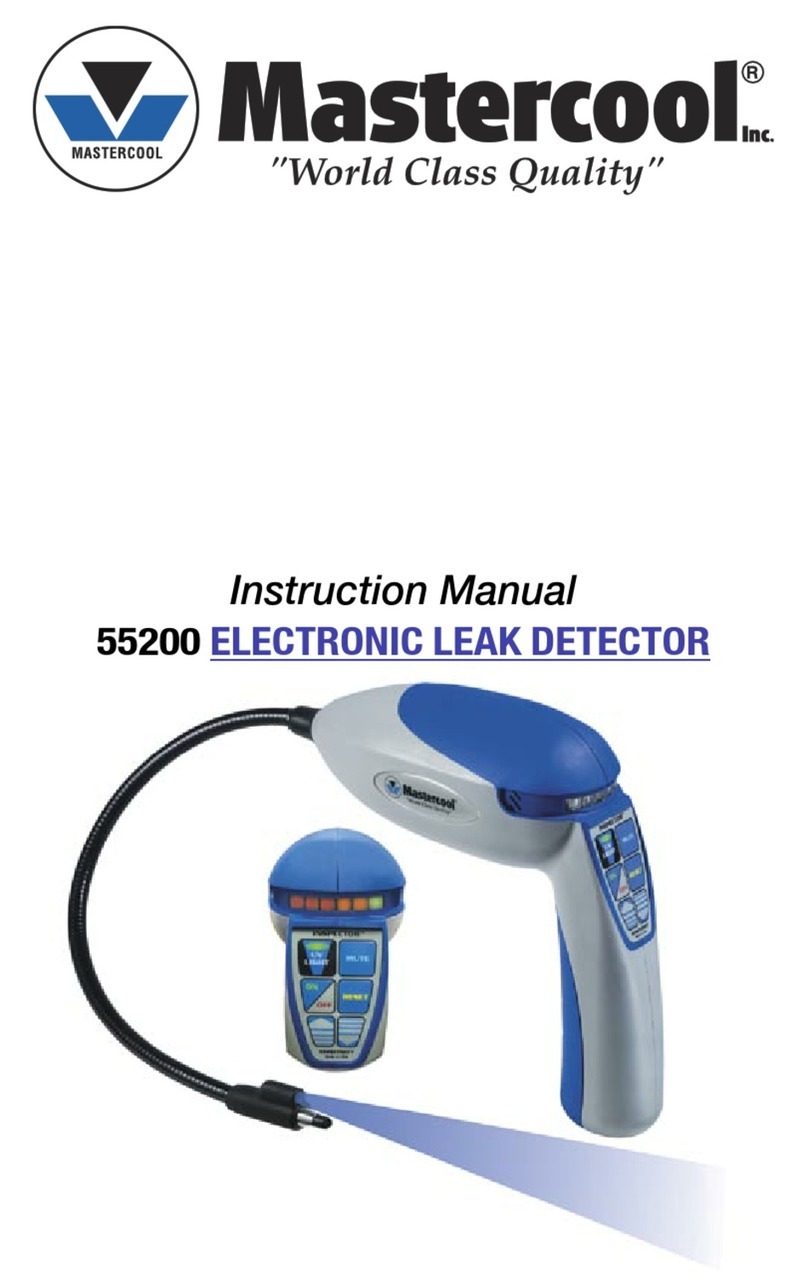
Master cool 55200 User manual

Master cool

Master cool 55200 User manual

Master cool Intella Sense 55800 User manual

Master cool

Master cool Intella Sense 55800 User manual

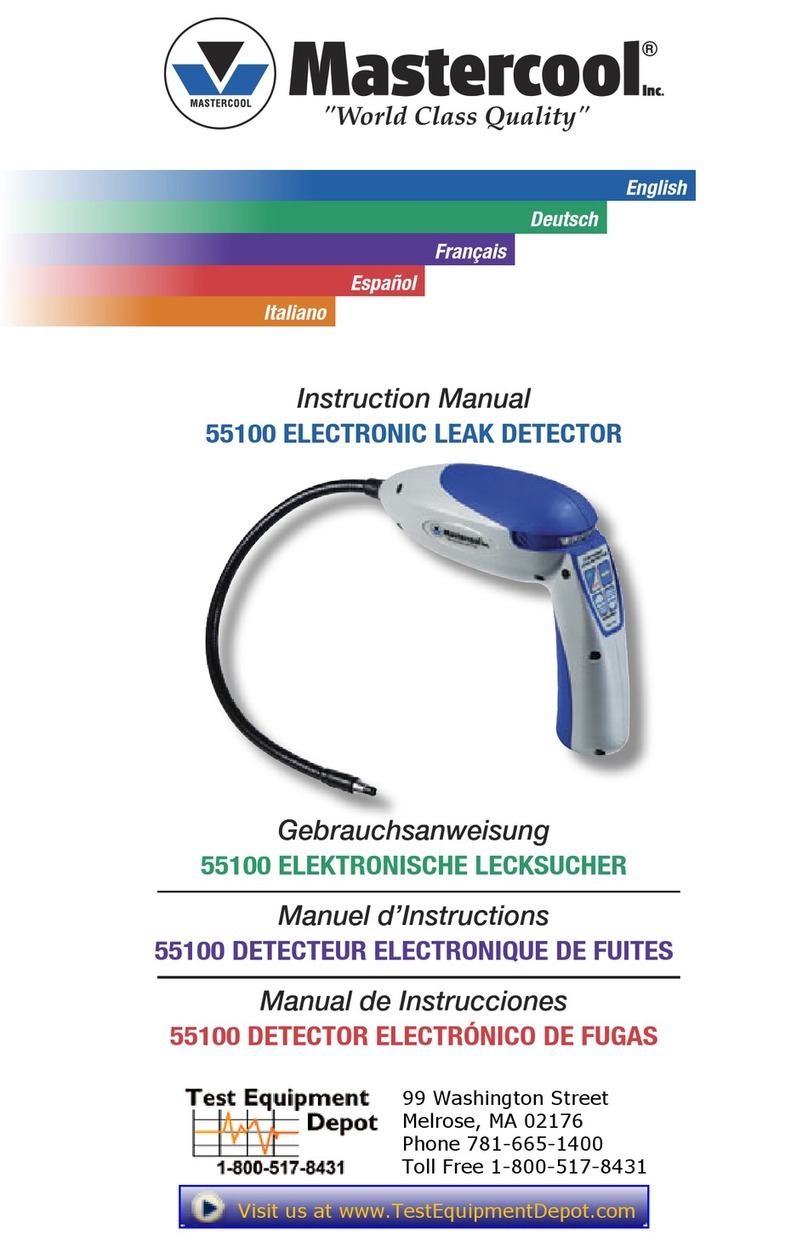
Master cool 55100 User manual

Master cool

Master cool 55100 User manual

Popular Security Sensor manuals by other brands

MUNBYN IMC02 user manual

MUNBYN

MUNBYN IMC02 user manual

GTE ADICOS HOTSPOT-X0 Interface-X1 operating manual

GTE

GTE ADICOS HOTSPOT-X0 Interface-X1 operating manual

Satronic DKO 974 Technical data

Satronic

Satronic DKO 974 Technical data

Milesight WS202-868M user guide

Milesight

Milesight WS202-868M user guide

Research Electronics International ORION 2.4 user manual

Research Electronics International

Research Electronics International ORION 2.4 user manual

Hitachi EUP-F531 instruction manual

Hitachi

Hitachi EUP-F531 instruction manual

teko Astra-MA user guide

teko

teko Astra-MA user guide

Risco iWISE RWT92043300C quick start guide

Risco

Risco iWISE RWT92043300C quick start guide

optitrack S250e quick start guide

optitrack

optitrack S250e quick start guide

pdlux PD-MV1012-A instructions

pdlux

pdlux PD-MV1012-A instructions

Abilia Gewa Andromeda IR-DET 3 manual

Abilia

Abilia Gewa Andromeda IR-DET 3 manual

STEINEL professional HPD2 KNX quick start guide

STEINEL

STEINEL professional HPD2 KNX quick start guide

Access One WVD100 product manual

Access One

Access One WVD100 product manual

C-LOGIC 645-MD instruction manual

C-LOGIC

C-LOGIC 645-MD instruction manual

Risco LUNAR DT RK150 manual

Risco

Risco LUNAR DT RK150 manual

ESYLUX MD-W200i Installation and operating instructions

ESYLUX

ESYLUX MD-W200i Installation and operating instructions

Autonics PR Series product manual

Autonics

Autonics PR Series product manual

iRay Technology Mars1717V user manual

iRay Technology

iRay Technology Mars1717V user manual

manuals.online logo
manuals.online logoBrands
  • About & Mission
  • Contact us
  • Privacy Policy
  • Terms and Conditions

Copyright 2025 Manuals.Online. All Rights Reserved.