manuals.online logo
Brands
  1. Home
  2. •
  3. Brands
  4. •
  5. Masterplug
  6. •
  7. Accessories
  8. •
  9. Masterplug BDCPL30 User manual

Masterplug BDCPL30 User manual

●x3 Fixing Screws
●x3 Rawl Plugs
●Double Sided Sticky Pad
●Push Button Battery (3V CR2032)
Accessories
Door chime and push button with a 100m range.
100M
6
Push
Button
LED
Indicator
LED
Indicator
CR2032 Battery
Included
Speaker Melody
Control
Removable
Battery Cover
(requires 3 x 1.5V “AAˮ
batteries not included)
Fixing point
Volume
Push Button Receiver
Installation:
4. Pull plastic tab from under battery to power the push button.
1. First, identify a suitable area for the push button to be positioned. Ideally, this should be sheltered
from rain or excess heat. It would be recommended that the button is tted to the door frame itself,
so you are able to screw directly into the woodwork, making the installation simple.
2. Place a small athead screwdriver into the slotted hole and gently twist to remove push button
back.
3. Offer the push button backing up to the wall and drill holes. If tting to masonry, use a 6mm drill
bit, as per the depressions and securing by using the supplied rawl plugs and screws. If tting
directly to the woodwork, use a 2mm drill bit and screw directly into frame or use the provided
sticky pad.
5. Ret the push button to the secured backing by offering up the button of the push button and
gently pushing back together.
6. Remove the battery cover on the door chime to expose the battery compartment.
7. Fit 3 x AA batteries and ret the battery cover.
8. It is advised to check the operation before securing the door chime. Using a 6mm drill bit, drill
a single hole, and using the supplied rawl plug and screw, t the door chime using the key slotted
xing hole for a permanent x, or place in a convenient location for a portable solution. The door
chime and push button is only suitable for mounting at heights <2m.
Radio Equipment Directive (RED)
2014/53/EU
Article 3.1(a) Health
EN62479:2010
EU Directives Conformas to
2011/65/EU and its amendment
2015/863/EU (ROHS)
ROHS 2011/65/EU and its amendment
2015/863/EU
2009/125/EC ERP ERP:
EN 50564:2011
Article 3.2 Radio:
EN 300 220-1 V3.1.1 (2017-02)
EN 300 220-2 V3.1.1 (2017-02)
Article 3.1(b) EMC:
Draft EN 301 489-1 V2.2.0 (2017-03)
EN 301 489-3 V2.1.1 (2019-03)
Article 3.1(a) Safety:
EN62368-1:2014+A11:2017
This product belongs to receiver category 2
: Caution
Warning: Risk of explosion if the battery is replaced by an incorrect type.
Push Button
This product contains a coin/button cell battery and if ingested can cause severe chemical burns. If the battery has been ingested, please
seek medical advise immediately. In just 2 hours a digested battery can lead to death. Keep new and used batteries away from children. If
the battery compartment does not close securely, please stop using the product.
IP44: Protect from ingress of solid object which diameter greater than 1mm and splash water proof.
Direct current (DC Power)
Unique Code Selection
The door chime and push button will be paired straight of the box, with 1 out of 1 million unique codes to prevent interference with another
door chime. If the door chime does not sound, please refer to the ‘Pairing Additional Push Buttons & Door Chimes’ section.
Chime Selection
Single press the melody button on the left of the door chime to lter through the six different options – 4 x ‘Ding-dong’ and 2 x ‘Westminster’
chimes.
Volume Selection
Single press the volume selection button to lter through the four different volumes settings - mid (default) > high > mute > low
Pairing Additional Push Buttons & Door Chimes
To pair an additional push button to the door chime, remove the batteries from the door chime to power down. Re-insert the batteries into the
chime and press the push button after the rst ‘beep’ and before the second double ‘beep’. (A maximum of 16 push buttons can be paired).
Reset Door Chime
Press and hold the melody button for 10 seconds or until you hear a triple ‘beep’ to reset the door chime.
Door Chime Not Working?
1. Ensure new batteries are being used in both the door chime and push button
2. Check if the battery polarity in the door chime and push button is correct
3. Objects and materials, such as walls, doors, ceilings and furniture, could be blocking the signal. Try moving the chime closer to the push
button. Maximum distance is based on an open area environment. Any walls, doors or ceilings may reduce the operating range. Door chime
is to be used indoors only.
4. Wireless interference can be caused by external wireless devices, such as alarms and adaptors. Try moving away from these devices.
5. Door chime and push button are not paired-please refer to the ‘Pairing Additional Push Buttons’ secion.
IMPORTANT
This product does not consist of any serviceable parts and should not be repaired. The device should not be operated by persons who have
a lack of experience or knowledge in using such products. People who have a reduced physical, sensory or mental capability should be
supervised or given instruction when operating. Childen should be supervised, so that they do not play with the device.
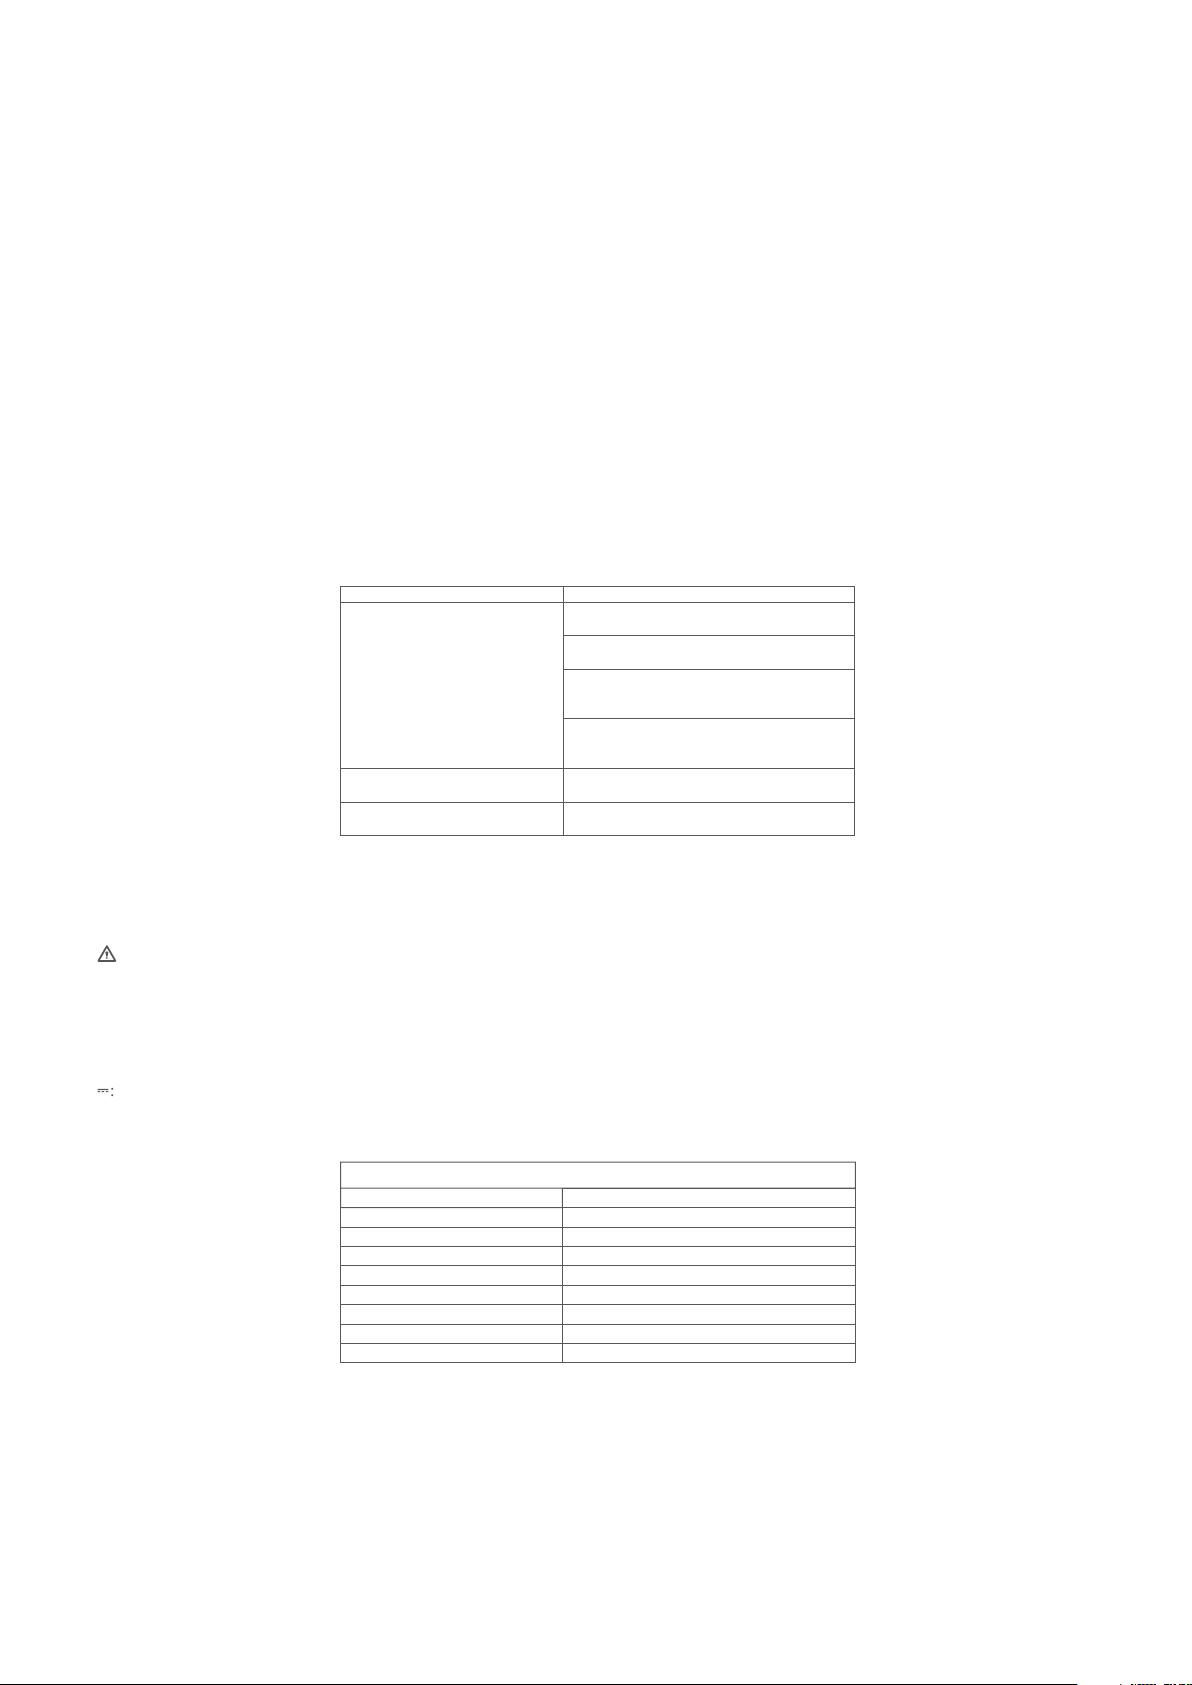
Push Button Battery: 1 x 3V CR2032
Push Button: IP44
Melody Count:
Sound Level: 80dB
Technical Data
Chime Battery:
Radiated Power: 8mW
Temperature: Max. 40°c
Range:
Frequency: 433.92MHz
3 x 1.5V AA (not supplied-portable version only)
6
100M (open area)
Masterplug Help Line Visit our website at
www.masterplug.com
Suppied by
Masterplug Ltd
Luceco PLC Stafford Park 1 Telford TF3 3BD ENGLAND
(EU) Luceco SEC/Bobinadora 1-5 08302 Mataró SPAIN
Environmental Protection
This symbol is known as the ‘Crossed-out Wheelie Bin Symbol’. When this symbol is marked on a product or battery, it means that it
should not be disposed of with your general household waste. Some chemicals contained within electrical/electronic products or bat-
teries can be harmful to health and the environment. Only dispose of electrical/electronic/battery items in separate collection schemes,
which cater for the recovery and recycling of materials contained within. Your co-operation is vital to ensure the success of these schemes
and for the protection of the environment.
EU Declaration of Conformity
Applicant: Luceco PLC
Address: Luceco Distribution Centre, Stafford Park 1, Telford Shropshire, United Kingdom
(EU) Luceco SEC/Bobinadora 1-5 08302 Mataró SPAIN
Description: Wireless door chime
Model: BDCPO100
Type / batch or serial number range 20W27 – 21W27
We declare under our sole responsibility that the products above are in conformity with the essential requirements of the following:
Signed for and on behalf of: David Cleaver
Senior Product Manager
Place of Issue: Stafford Park 1, Telford Shropshire, United Kingdom
Date of Issue: 16/Mar/2020

This manual suits for next models

1

Other Masterplug Accessories manuals

Masterplug BDCPL30 User manual

Masterplug

Masterplug BDCPL30 User manual

Masterplug Work Power ELS134 Series User manual

Masterplug

Masterplug Work Power ELS134 Series User manual

Masterplug IPS Instruction Manual

Masterplug

Masterplug IPS Instruction Manual

Masterplug 322BELL User manual

Masterplug

Masterplug 322BELL User manual

Masterplug BDCPL100 User manual

Masterplug

Masterplug BDCPL100 User manual

Popular Accessories manuals by other brands

Chef's Choice Chef'sChoice 312 instructions

Chef's Choice

Chef's Choice Chef'sChoice 312 instructions

Black Box SP4000A quick start guide

Black Box

Black Box SP4000A quick start guide

Digistar SCALE LINK SL2 Technical manual

Digistar

Digistar SCALE LINK SL2 Technical manual

WindowMaster WLA 330 manual

WindowMaster

WindowMaster WLA 330 manual

GOAL ZERO Guide 10 Plus quick start guide

GOAL ZERO

GOAL ZERO Guide 10 Plus quick start guide

AquaticLife Barrel Buddie 270669 Installation, operation, maintenance guide

AquaticLife

AquaticLife Barrel Buddie 270669 Installation, operation, maintenance guide

Efitment A024 user manual

Efitment

Efitment A024 user manual

OBH Nordica 9960 Instructions for use

OBH Nordica

OBH Nordica 9960 Instructions for use

Rice Lake 1280 Enterprise Series Operation manual

Rice Lake

Rice Lake 1280 Enterprise Series Operation manual

NeuLog NUL-210 quick start guide

NeuLog

NeuLog NUL-210 quick start guide

Pavone Sistemi DAT 500 Technical manual

Pavone Sistemi

Pavone Sistemi DAT 500 Technical manual

LEGRAND HD15 quick start guide

LEGRAND

LEGRAND HD15 quick start guide

SimPal SimPal-T40-V2 user manual

SimPal

SimPal SimPal-T40-V2 user manual

SICK DT50-2 Pro operating instructions

SICK

SICK DT50-2 Pro operating instructions

Nooploop TOFSense user manual

Nooploop

Nooploop TOFSense user manual

Chauvet COLORstrip LED-FS1 user manual

Chauvet

Chauvet COLORstrip LED-FS1 user manual

Coolbox FC25 manual

Coolbox

Coolbox FC25 manual

EVE Motion Get started

EVE

EVE Motion Get started

manuals.online logo
manuals.online logoBrands
  • About & Mission
  • Contact us
  • Privacy Policy
  • Terms and Conditions

Copyright 2025 Manuals.Online. All Rights Reserved.