Matelec FPC-12651 User manual

1P: 1800 281 282 |F: 1300 281 282 |E: info@matelecaustralia.com.au |W: www.matelecaustralia.com.au
OPERATION MANUAL
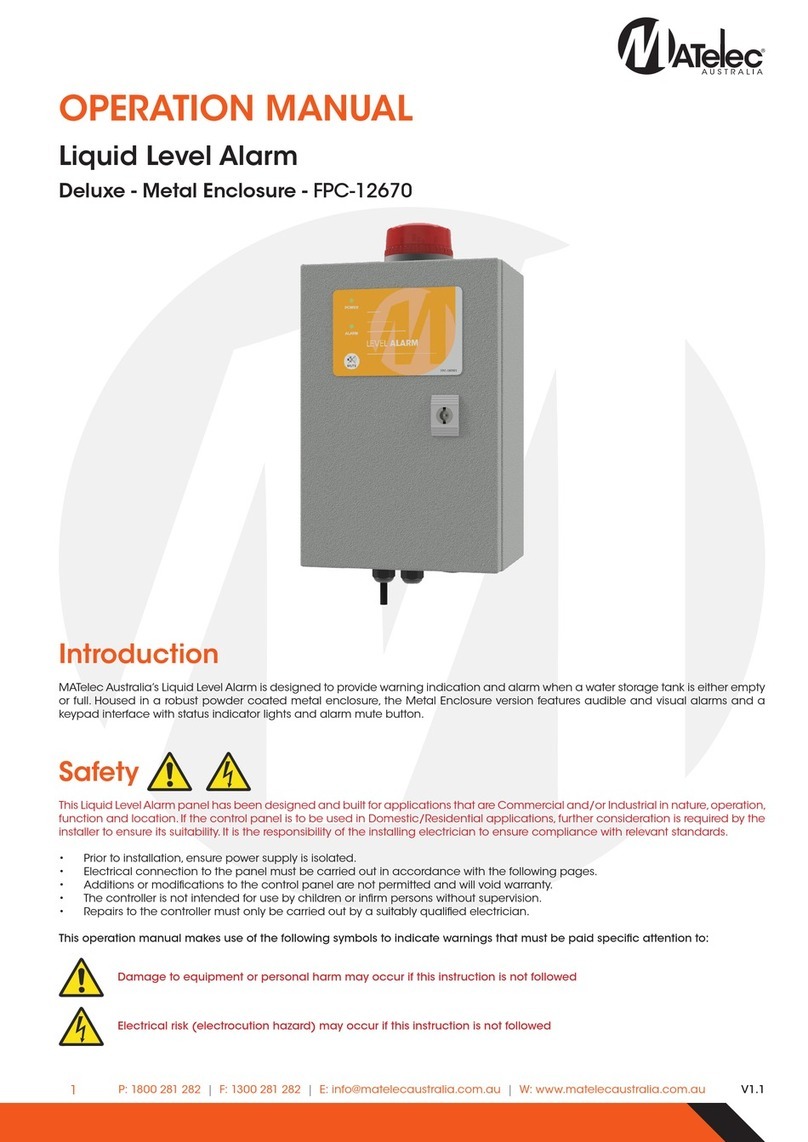
Liquid Level Alarm
Deluxe - FPC-12651
Safety
This Liquid Level Alarm panel has been designed and built for applications that are Commercial and/or Industrial in nature,operation,
function and location. If the control panel is to be used in Domestic/Residential applications, further consideration is required by the
installer to ensure its suitability. It is the responsibility of the installing electrician to ensure compliance with relevant standards.
• Prior to installation, ensure power supply is isolated.
• Electrical connection to the panel must be carried out in accordance with the following pages.
• Additions or modifications to the control panel are not permitted and will void warranty.
• The controller is not intended for use by children or infirm persons without supervision.
• Repairs to the controller must only be carried out by a suitably qualified electrician.
This operation manual makes use of the following symbols to indicate warnings that must be paid specific attention to:
Damage to equipment or personal harm may occur if this instruction is not followed
Electrical risk (electrocution hazard) may occur if this instruction is not followed
Introduction
MATelec Australia’s Liquid Level Alarm is designed to provide warning indication and alarm when a water storage tank is either empty
or full. Housed in a robust polycarbonate enclosure, the Deluxe version features audible and visual alarms and a keypad interface
with status indicator lights and alarm mute button.
V1.1

2P: 1800 281 282 |F: 1300 281 282 |E: info@matelecaustralia.com.au |W: www.matelecaustralia.com.au
Functions & Fault Protection
Level Alarm
The level alarm is activated when the input receives a closed contact.The alarm
indicator light and strobe will illuminate, the buzzer with sound, and the volt
free relay output will change state. The buzzer can be muted by pressing the
mute button on the keypad.The level alarm automatically resets when the input
receives an open contact.
Auto Silencing Alarm
If not muted, the buzzer will automatically silence after 5 minutes and enter
‘chirp’ mode, sounding for 2 seconds every 5 minutes. This ‘chirp’ can be muted
by pressing the mute button on the keypad. This feature can be disabled if a
continuous alarm is required, by switching the jumper on the module to the
‘continuous’ position.
Alarm Test
Holding down the mute button on the keypad for 2 seconds will trigger the alarm
test.The alarm indicator light and strobe will illuminate, the buzzer will sound and
the volt free relay output will change state.The alarm test will remain active until
the mute button is released.
Step 1 - Installation
• Use the supplied mounting brackets to install the Liquid Level Alarm.
• Liquid Level Alarm enclosure must be mounted in a vertical position.
• Ensure mounting method does not compromise enclosure weatherproof rating.
• Ensure cables/conduits entering the panel have mechanical protection and that the penetrations are sealed and do not
compromise the weatherproof rating of the enclosure.
Front View Side ViewBottom
Mounting Frame/Wall
Top
Mounting Holes
Closed
Open
High Level Float Switch

3
MATelec Australia reserves the right to alter technical data without notice
Warning: All electrical connections must be carried out by a suitably
qualified and registered electrician
Step 2 - Connections
2.1 - Control Module Connections
• For a high level alarm, connect brown and black float switch wires (close on rise configuration) to input terminals.
• For a low level alarm, connect blue and black float switch wires (close on fall configuration) to input terminals.
• For a high level alarm using conductivity probes, connect 2 probes to input terminals. Note - Reliable probe operation may be
hindered by the water/liquid quality.Test the probes in the liquid in which they are to be submersed before use.
• Connect to volt free output if required. If connected to ‘C’ and ‘NO’ terminals, the output will close when the alarm is inactive
and open when active or on power failure. If connected to ‘C’ and ‘NC’ terminals, the output will close when the alarm is active
or on power failure.
Keypad Operation
If this jumper is left on the ‘5 Min Timeout’
position, the buzzer will automatically
silence after 5 minutes if not muted, then
chirp briefly every 5 seconds.
If a continuously sounding alarm is required,
switch this jumper to the ‘Continuous’
position.
Solid - Power on
2.2 - Alarm Jumper Position
Indicator Lights
Solid - Alarm active
Push Buttons
Press for 1 sec - Mutes the buzzer
Press for 2 sec - Tests alarm
indicator light, strobe & buzzer
Close and secure enclosure door, connect the power lead into RCD protected GPO and switch on mains power.
Step 3 - Powerup

4
MATelec Australia reserves the right to alter technical data without notice
Fault Diagnosis
Fault Cause Remedy
Level alarm
(alarm indicator
light solid)
Water in the tank/pit is
at the alarm level.
Inspect the level in the tank/pit. If at the alarm level, mute the alarm until the level
rises/falls and the alarm condition subsides.
Float switch or probes
installed incorrectly.
Ensure the float switch or probes are installed at the correct height in the tank/pit,
adjust if required.
Moisture ingress into
cable joins.
Check for moisture in any cable joins, repair if needed.
Float switch wired
incorrectly.
Check the float switch wiring into the input:
• If a high level alarm is required, ensure the float switch is wired as close on rise
(black and brown wires for MATelec float switches).
• If a low level alarm is required, ensure the float switch is wired as close on fall
(black and blue wires for MATelec float switches).
Float switch damaged
or faulty.
Disconnect the float switch from the input. If the alarm clears,the float switch may be
faulty.With the float in the open position,test for leakage/shorts across the across the
wires. Replace the float switch if required.
Probe wires damaged. Disconnect the probes from the input. If the alarm clears, the probe wires may be
damaged.With the probes out of the liquid,test for leakage/shorts across the across
the wires. Replace if required.
Probe interference. Check for any objects touching the probe sensing points.
Liquid level alarm
keypad damaged.
If disconnecting the input did not clear the alarm,disconnect the keypad ribbon from
the module. If the alarm clears, the keypad is damaged and should be replaced.
Liquid level alarm
module faulty.
If disconnecting the input and keypad from the module did not clear the alarm, the
module is damaged and should be replaced.
Level alarm not
activating
Water in the tank/pit is
not at the alarm level.
Inspect the level in the tank/pit.If not at the alarm level, the unit is operating correctly.
Float switch or probes
installed incorrectly.
Ensure the float switch or probes are installed at the correct height in the tank/pit,
adjust if required/
Float switch wired
incorrectly or
damaged.
Check the float switch wiring into the input.
• If a high level alarm is required, ensure the float switch is wired as close on rise
(black and brown wires for MATelec float switches).
• If a low level alarm is required, ensure the float switch is wired as close on fall
(black and blue wires for MATelec float switches).
• After checking the float is wired correctly, raise/lower the float to test.If the alarm
still doesn’t activate, the float switch/cable is damaged, replace if required.
Conductivity probes
dirty, liquid not
conductive enough or
cable length too long
Lower probes into the liquid to test if alarm activates. If not, do the following:
• Remove the probes from the tank/pit, clean any build up of material on the
probes, then lower them down into the liquid and test if the alarm activates.
• If not,remove the probes from the tank/pit,check cables for damage and test for
continuity between the sensing point and cable termination.Replace if needed.
• Probe cable lengths in excess of 50m can cause inconsistent operation.
• The liquid in which the probes are submersed may not be conductive enough
for the probes to operate reliably. Replace with a float switch or use the Liquid
Level Alarm with conductivity relay (FPC-12665),which has sensitivity adjustment.
Liquid level alarm
module faulty.
If no other remedies were successful, bridge the input. If the alarm still does not
activate, the module is damaged and should be replaced.
Alarm test not
working
Liquid level alarm
keypad damaged.
If the indicator light, strobe and buzzer fail to activate when the mute button is held
down for 2 seconds, the keypad is damaged and should be replaced.
No power on
indication
Liquid Level Alarm does
not have power.
Connect and switch on the power supply to the panel.The power on indicator light
will be illuminated when power is on.
Keypad ribbon not
connected.
Ensure the keypad ribbon is connected to the control module ‘keypad’ pins. If
connected and still not working, the ribbon may be in the wrong orientation. Rotate
the ribbon 180° on the module pins.
Liquid level alarm
keypad or module
damaged.
Press the mute button on the keypad for 2 seconds (test this with the keypad ribbon
connected to the module pins in both orientations). If the alarm activates, but the
power on indicator does not, the keypad is damaged and needs replacing. If the
alarm does not activate, the control module is damaged and needs replacing.
Warning - Any remedy that requires access inside the enclosure must
be carried out by a suitably qualified and registered electrician.
Table of contents
Other Matelec Security System manuals