2/ 2
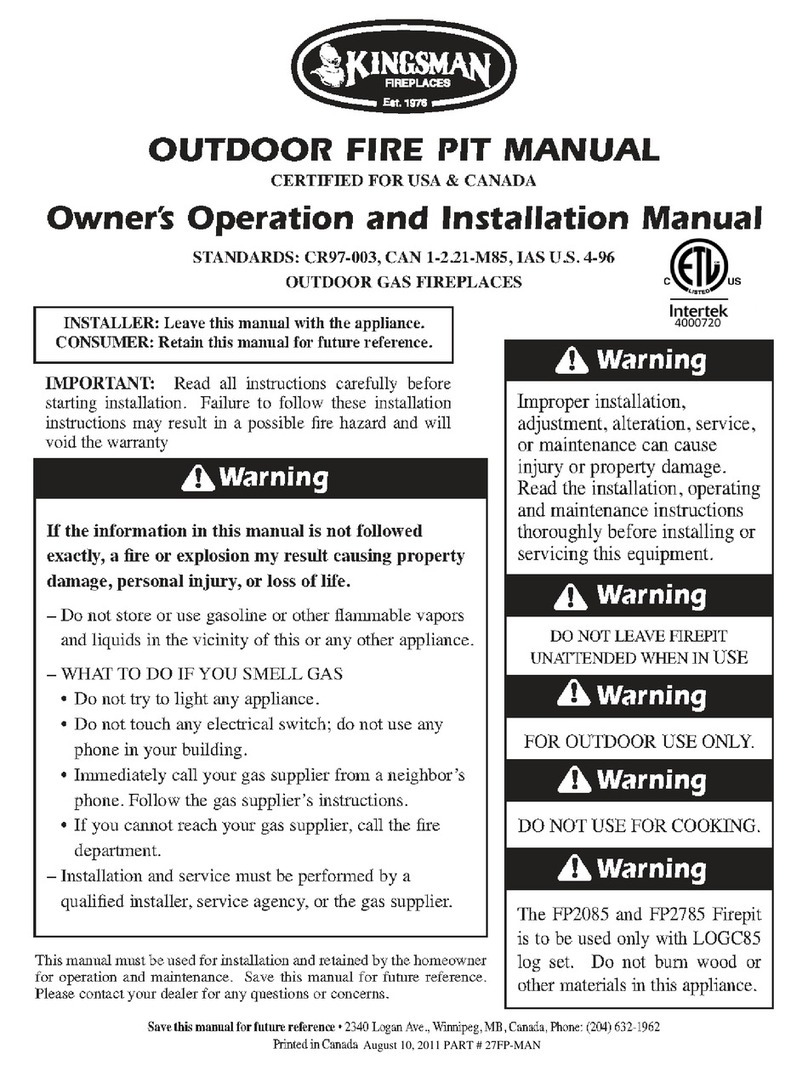
➢DO NOT use near flammable or combustible objects or materials.
➢Only CHROMED PLATED COOKING GRID(unprovided) is intended for cooking.LOG GRATE is
NOT intended for cooking and SHOULD NOT be used for this purpose.
Operation Instructions
➢Place wood logs on grate and light with match. DO NOT overload logs.
➢Please use Poker (provided) when handling.
➢We do not recommend pouring water over the fire unless necessary. The fire should be allowed to
expire on its own.
➢Tile is fragile so handle with care.
➢
Care and Maintenance
This fire pit is a quality-built product and is made to last for many years.
The frame structure of this unit is made of powder-coated steel extrusion and should resist rusting under
normal use. Should rusting occur, we suggest using a steel brush on the affected area followed by a
spray coating of high temperature anti-rust paint.
For additional rust proofing of the bowl, grate and mesh lid we recommend that a coat of high
temperature primer (such as rustoleum or similar brand) is applied before use.
You may cover the fire pit with a Protective Cover (unprovided) when the fire pit is not in use. Ensure
the fire pit has completely cooled down before using the Protective Cover.
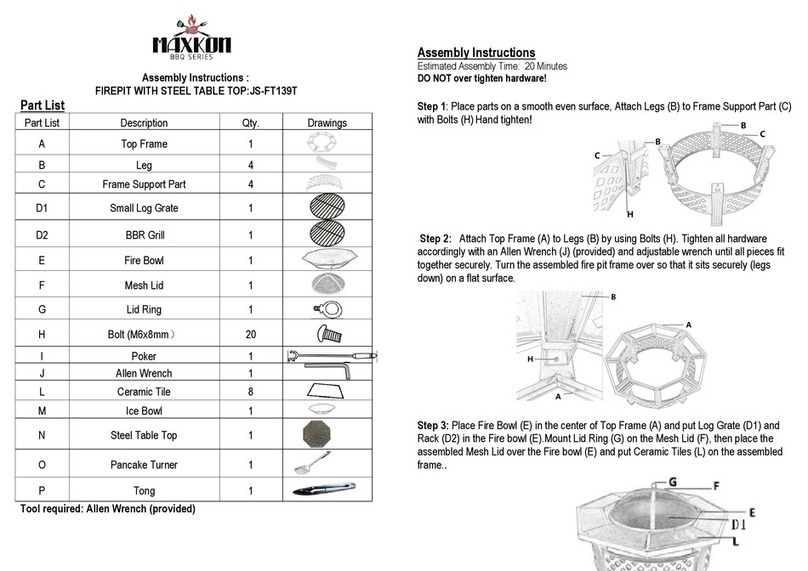
Assembly Instructions
Estimated Assembly Time: 20 Minutes
DO NOT over tighten hardware!
Step 1: Place parts on a smooth even surface,
Attach Legs (B) to Top Frame (A) with Bolts (H)
Hand tighten!(View Fig.1). Fig.1
.
Step 2: Attach Frame Support Parts (C) to Legs (B) by using Bolts
(H). Tighten all hardware accordingly with an Allen Wrench (J)
(provided) and adjustable wrench until all pieces fit together securely.
Turn the assembled fire pit frame over so that it sits securely (legs
down) on a flat surface. (View Fig. 2)
Fig. 2
Step 3: Place Fire Bowl (E) in the center of Top Frame (A) and put Log
Grate (D) in the Fire bowl (E).Mount Lid Ring (G) on the Mesh Lid (F), then
place the assembled Mesh Lid over the Fire bowl (E). (View Fig. 3)


