MBAT MS-1180 Owner's manual

These instructions contain important information which will help you get the best from your
equipment and ensure safe and correct assembly, use and maintenance.
If you need help or have damaged or missing parts, contact the Customer Help service:
Assembly & User Instructions - Please keep for future reference
Important –Please read these instructions fully before assembly or using
Mini Stepper
MS-1180

1
1
Contents
Safety Information
2
Assembly Instructions
4
Exploded Diagram
5
Exploded Part List
6
Computer Operations
7
Exercising Information
8-11
Before starting to exercise
8
Muscle chart
9
Warming up and cooling down
Exercises
10-11
1

This exercise equipment is built for optimum safety. However, certain precautions apply whenever you
operate a piece of exercise equipment. Be sure to read the entire manual before you assemble,
operate or use this equipment. In particular, note the following safety precaution.
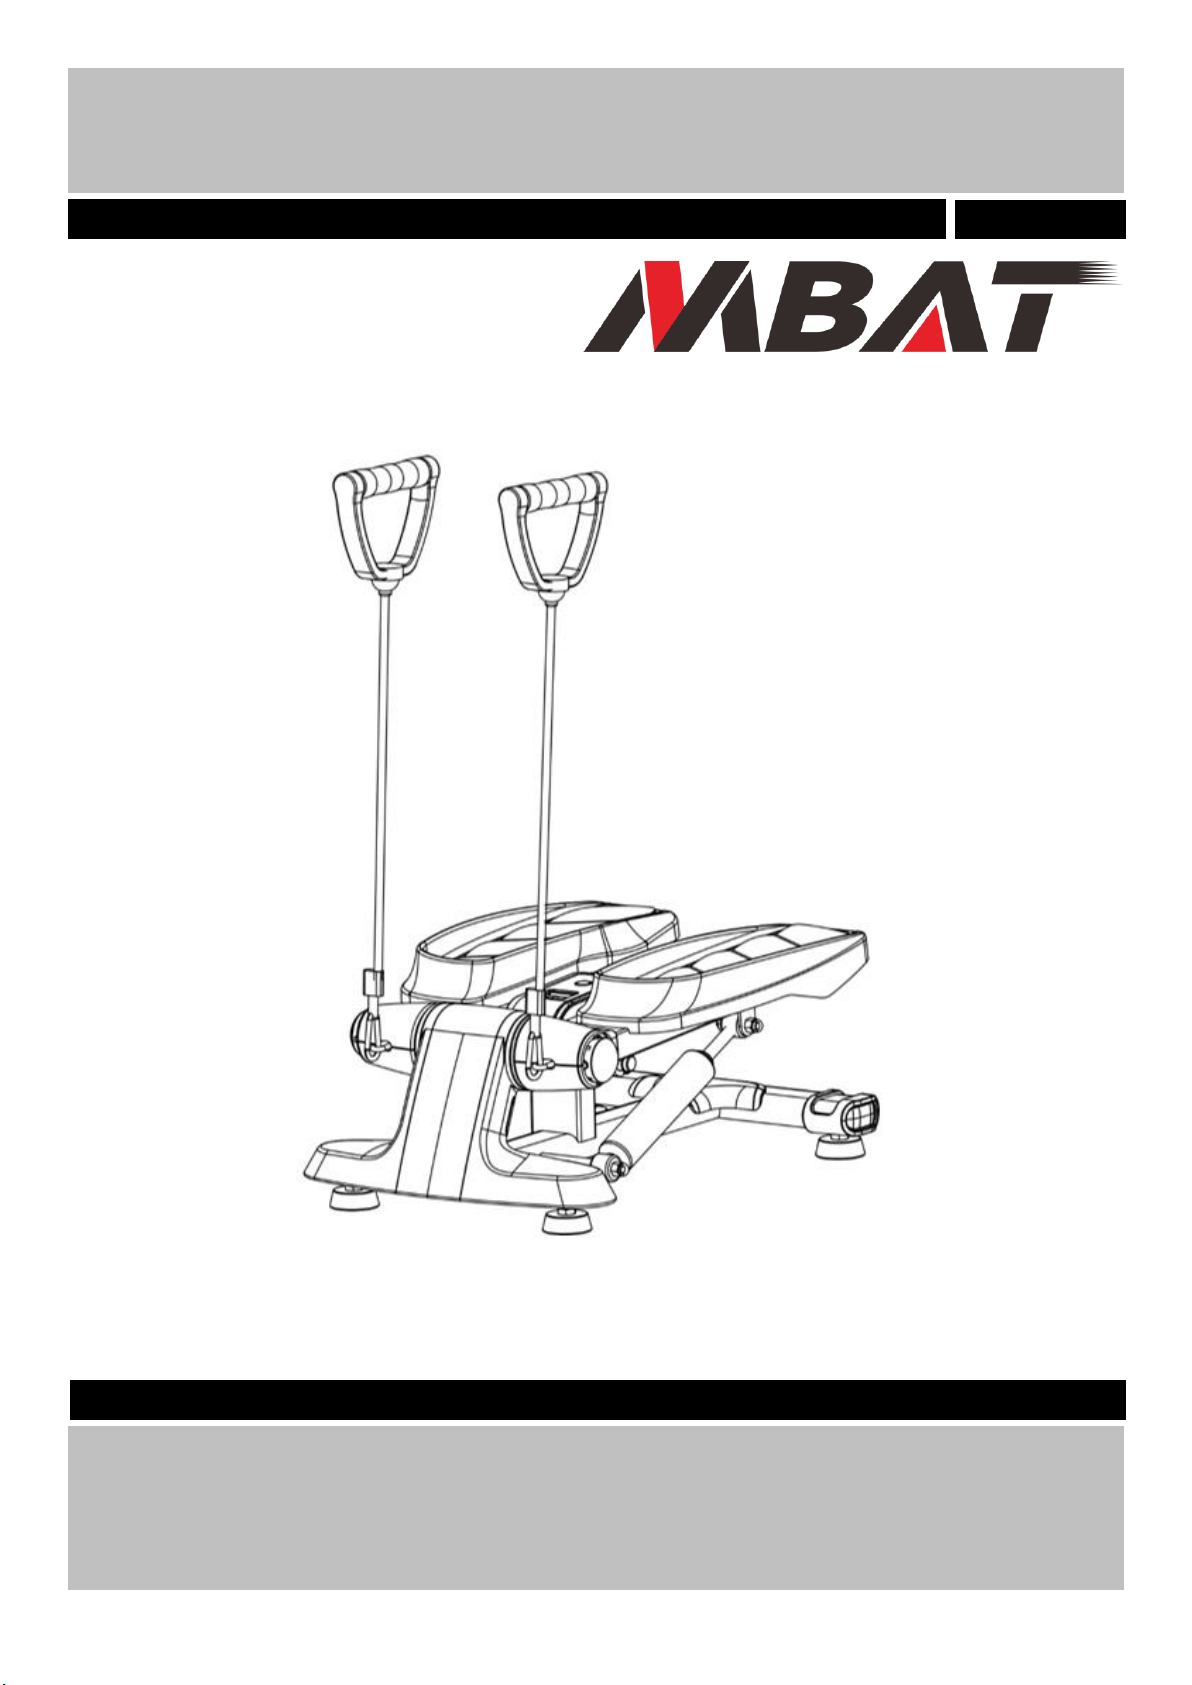
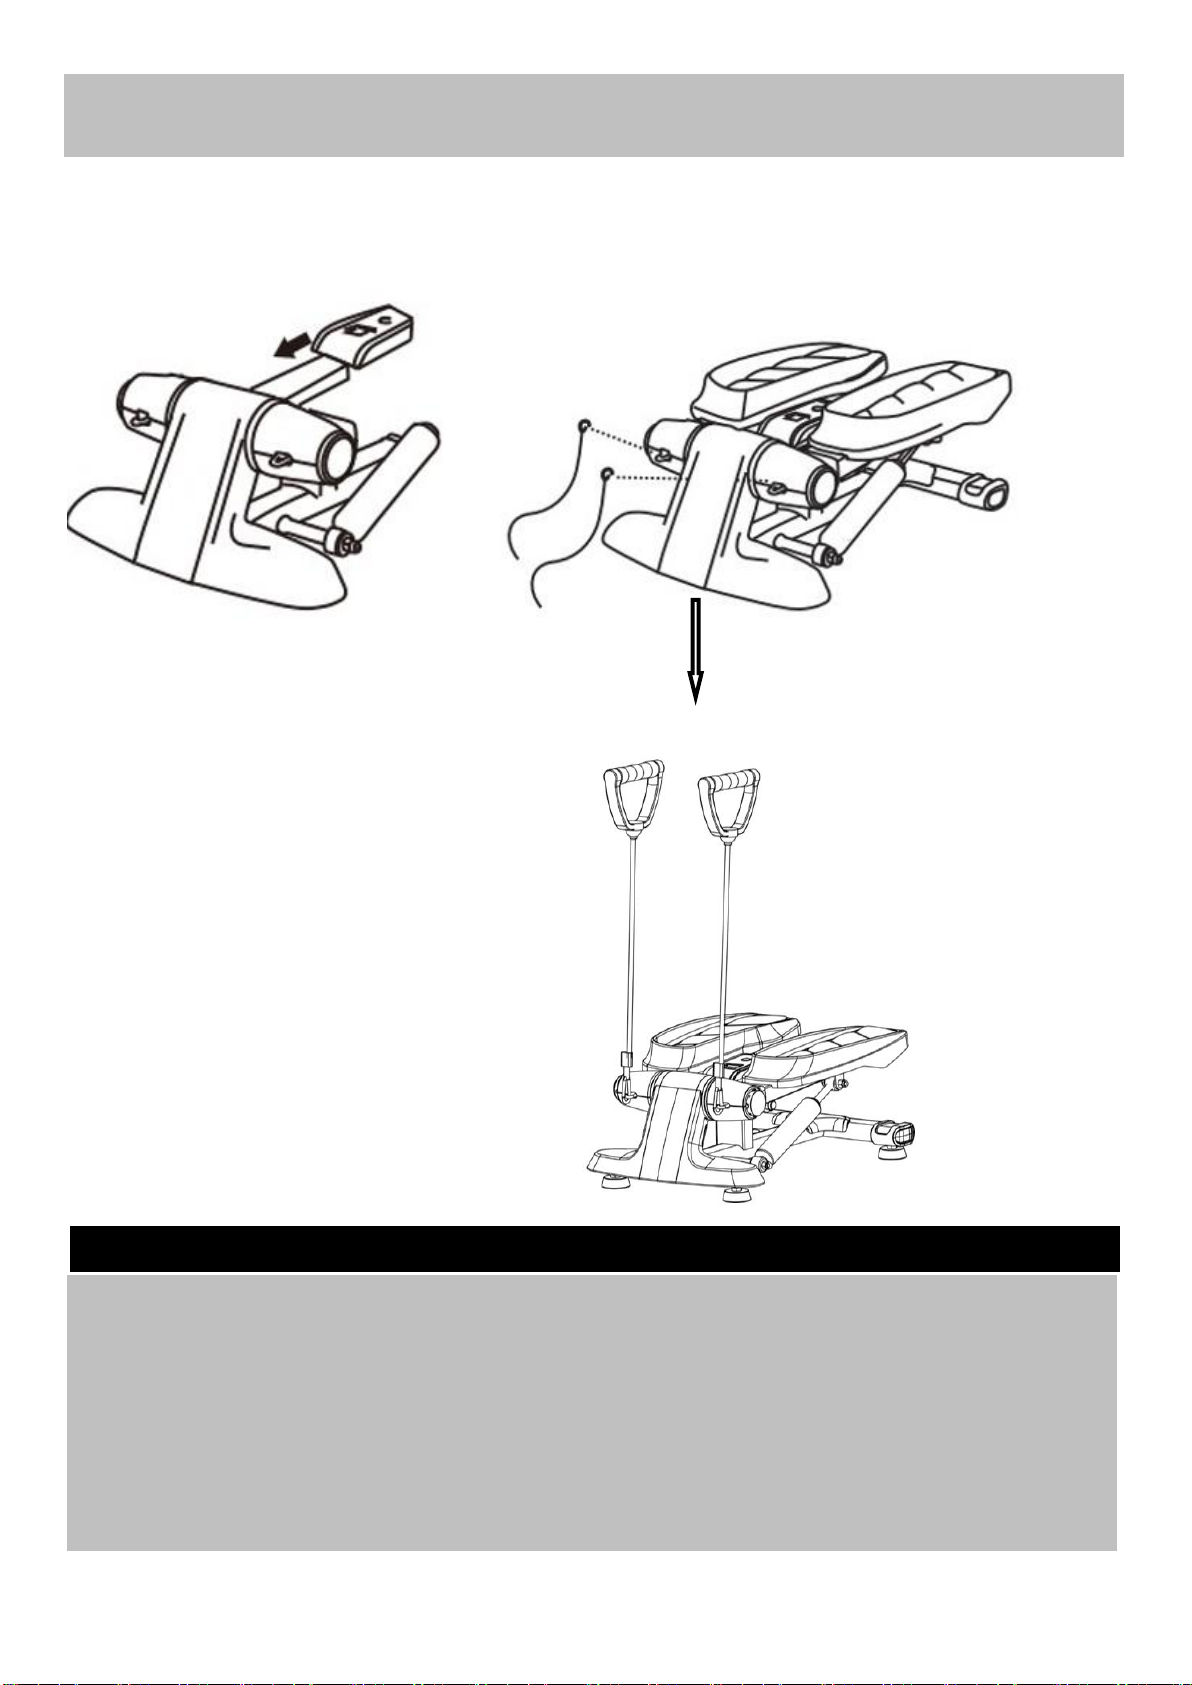
Assembly
•Check you have all the components and tools
• Remove all fittings from the plastic bags and
separate them into their groups.
• Keep children and animals away from the work
area, small parts can cause choking if swallowed.
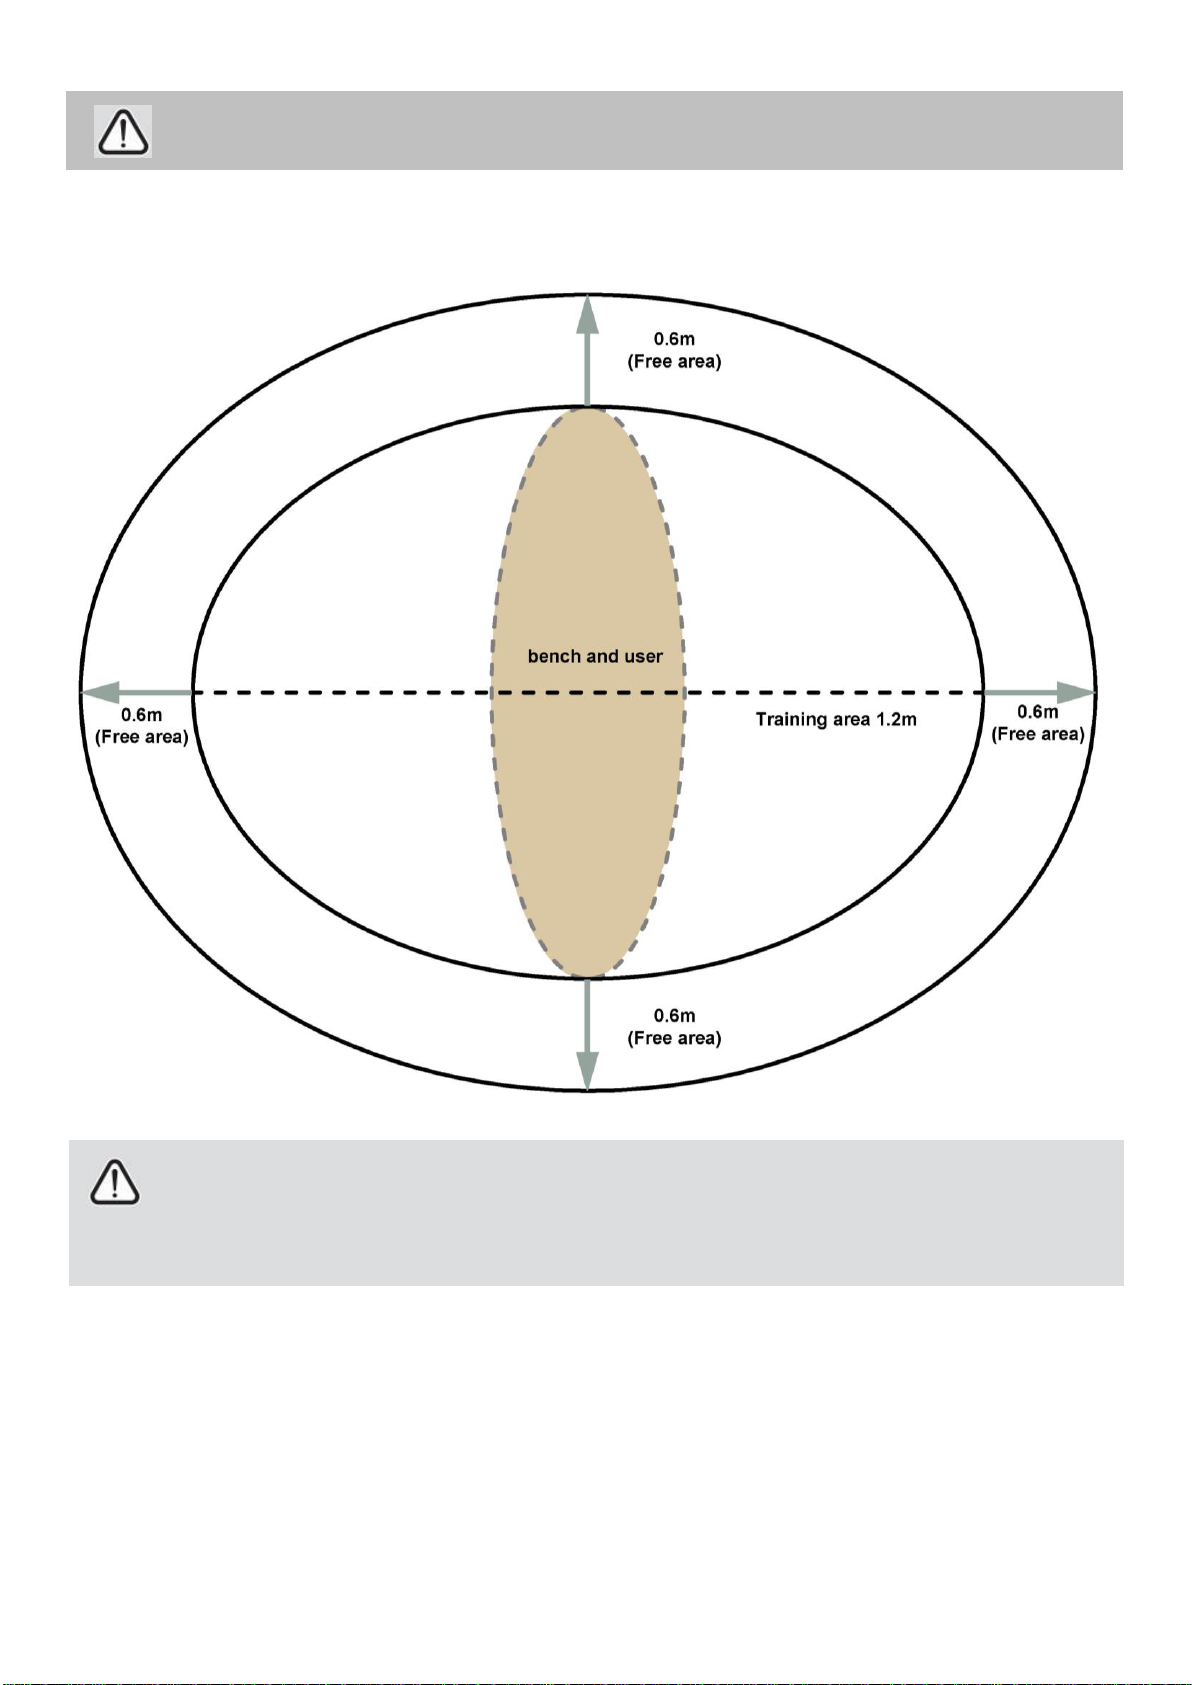
•Make sure you have enough space to layout the
parts before starting.
•The assembly of this equipment is best carried out
by 2 people.
• Assemble the item as close to its final position (in
the same room) as possible.
• Position the equipment on a clear, level surface.
• Dispose of all packaging carefully and responsibly.
Using
•Do not use the equipment near water or outdoors.
• Keep children and pets away from the equipment
at all times. Do not leave children unattended in the
same room with the equipment.
• Before using the equipment to exercise, always
warm up with stretching exercise.
•This product is intended for domestic use only.
•If the user experiences dizziness, nausea, chest
pain or any other abnormal symptoms STOP the
workout at once.
CONSULT A DOCTOR IMMEDIATELY
•Only one person at a time should use the
equipment.
• Keep hands away from all moving parts.
• Always wear appropriate workout clothing when
exercising. Do not wear loose flowing clothing that
could become caught in the equipment. Running or
aerobic shoes are also required when using the
equipment.
•Use the equipment only for intended use, as
described in this manual. Do not use attachments
not recommended by the manufacturer.
•Do not place any sharp objects on or near the
equipment.
•Disabled persons should not use the equipment
without a qualified person or doctor in attendance.
•Never operate or use the equipment if it is
damaged or not functioning properly.
•Examine the equipment frequently especially the
easily damaged parts. The safety level of the
equipment can only remain if it is examined
regularly. Replace any defective components
immediately. Do not use the equipment until it has
been repaired.
•Parents and others responsible for children must
be aware that playing on the equipment could be
dangerous and lead to possible injury. Children
must not be left unattended with the equipment.
•A spotter is recommended during exercise.
•This product is suitable for a maximum user
weight of: 120kgs.
•Your product is intended for use in clean dry
conditions. You should avoid storage in excessively
cold or damp places as this may lead to corrosion
and other related problems that are outside our
control.
•This product conforms to: (BS EN ISO 20957)
- PARTS 1.8 class (H) - Home Use - Class (C).
This product is not suitable for therapeutic
purposes.
•This exercise product has been designed and
manufactured to comply with the latest (BS EN ISO
20957)British and European Safety Standard.
Safety Information
2
Important –Please read fully before assembly or using

•Free area shall be not less than 0.6m greater than the training area in the directions from which
the equipment is accessed. The free area must also include the area for emergency dismount.
Where equipment is positioned adjacent to each other the value of the free area may be shared.
Keep unsupervised children away from the equipment.
Warning: Before beginning any exercise programme, consult your doctor. This is especially
important for individuals over the age of 35 or persons with pre-existing health problems. You
MUST read all instructions before using any fitness equipments. we assumes no responsibility for personal
injury or property damage sustained by or through the use of this product.
Safety Information
3

Assembly instructions
Step 1
1.) Take the Console (#9) from the package, and install 1pcs AAA battery into the battery housing of the
Console(#9). Place the Console on the Console Support(#8)of the Mini stepper, and insert the two
pins on the Console bottom into the two holes of the Console Support (#8).
2.) Attach 2pcs of Rubber Expanders (#36) to the Rings on the Mini stepper.
4

7
Exploded Diagram
5

Key
No..
Descriptions
Qty
Key
No..
Descriptions
Qty
1
Rear end cap
2
16
Rubber Bumper
2
2
Rear stabilizer
1
17
Nut M6*8
4
3
Adjustable feet
4
18
Hydraulic holder
2
4
Screw M8*1.25*15
4
19
Screw M5*10
9
5
Washer Ø8
4
20
Top Front Cover
2
6
Shaft Ø16x150
2
21
Bottom front cover
2
7
Shaft sleeve Ø28x56
2
22
Hook Ø5x75
2
8
Console holder
1
23
Right step
1
9
Console
1
24
Step support - right
1
10
Outer screw M12*110
1
25
Axle clamp for console bracket
2
11
Outer nut M12
1
26
Step tread clamp
4
12
Step mat - left
1
27
Side cover
2
13
Left step
1
28
Side round cover
2
14
Screw M6*40
4
29
Center Side Round Cover
2
15
Step support - left
1
30
Pedal holder
1
31
Cover for rear stabilizer
1
37
Hydraulic
2
32
Front cover - left
1
38
End cap M8
4
33
Front cover - middle
1
39
Nut M8*35
2
34
Front cover - right
1
40
Step mat - right
1
35
Front stabilizer
1
41
Hydraulic cylinder fixed 1Ø5x253.5
1
36
Rubber Expander
2
42
Middle frame
1
Exploded Parts List
6

Functions and operations
SCAN
Gradually displays the values
TIME
Training time from 0 to 99:59.
CALORIES
Calories burned, only a reference number
COUNT
Number of steps
REPS / MIN
Number of steps per minute
AUTO SCAN
Automatically displays REPS / MIN, TIME, CALORIES, SCAN every 4
seconds
AUTO ON / OFF
If there is no movement for 4 minutes, the display turns off
automatically.
You can restart the display by pressing the MODE / RESET button while
moving.
Any movement turn on the display. Press the MODE button to display different functions.
Computer Operations
7

85% to Max
65% to 85%
55% to 65%
Up to 55%
Before starting to exercise
How you begin your exercise programme depends on your physical condition. If you have been inactive for
several years or are severely overweight, you must start slowly and increase a few minutes per workout.
Initially, youmaybe ableto exercise onlyforafewminutes in your target zone; however, your aerobic fitness
willimprove over thenextsixto eight weeks. Don’tbe discouraged if it takes longer. It’simportant to work
at your ownpace. Ultimately, you’llbe ableto exercise continuously for30 minutes. Thebetter your aerobic
fitness, theharder youwillhaveto work to stay in your target zone.
Please remember these essentials:
•Have your doctor review your training anddiet programme to advise youof aworkout routine youshould
adopt.
•Begin your training programme slowly withrealistic goalsthat havebeensetby youandyour doctor.
•Monitor your pulse frequently. Establish your target heartrate based on your ageandcondition.
•Setup your equipment on aflat even surface at least 3feet fromwalls andfurniture.
Exercise intensity
To maximize thebenefitsof exercising, it is important to exercise withproper intensity. Theproper intensity
level can be found by using your heart rate as a guide. For effective aerobic exercise, your heart rate should
be maintained at a level between 65% and 85% of your maximum heart rate as you exercise. This is known as
your target zone. You canfind your target zone in thetable below.
200
180
160
140
120
100
80 25 30 35 40 45 50 55 60 70
Age
During thefirst fewmonths of your exercise programme,keep your heartrate nearthelowendof your target
zone as you exercise.After a few months, your heart rate can be increased gradually until it is near the middle of
your target zone as youexercises.
To measure your heart rate, stop exercising but continue moving your legs or
walking around andplace twofingers on your wrist. Takeasix-second heartbeat
count andmultiply theresults by 10 to find your heart rate. Forexample, if your
six - second heartbeat count is 14, your heart rate is 140 beats per minute.
(Asix-second count is used because your heart rate will drop rapidly when you
stop exercising.) Adjust the intensity of your exercise until your heart rate is at the
proper level.
Cardiovascular
performance
Intermediate aerobic
Effective fat burning
Exercising Information
Before starting to exercise
Beats per minutes (bpm)
8

Aerobic Exercise
Aerobic exercise improves thefitness of your lungs andheart-your body’smost important muscle. Aerobic
exercise fitness is promoted by anyactivity that uses your large muscles (arms, legs or buttocks, forexample).
Your heart beats quickly and you breathe deeply. An aerobic exercise should be part of your entire exercise
routine.
Weight Training
Along with aerobic exercising which helps get rid of and keep off the excess fat that our bodies can store,
weight training is an essential part of the routine process. Weight training helps tone, build and strengthen
muscle. If youareworking aboveyour target zone, youmaywant to do alesser amount of reps.
As always, consult your doctor before beginning any exercise programme.
Targeted Muscle Groups
The exercise routine that is performed on the Pro Fitness bench will develop the upper and lower body
muscle groups.
Exercising Information
Muscle chart
9

Each workout should include the following three parts:
1. Awarm up, consisting of 5 to 10 minutes of stretching and light exercise.Aproper warm up increases
your body temperature, heart rate and circulation in preparation for exercise.
2. Training zone exercise consisting of 20 to 30 minutes of exercising withyour heartrate in your training
zone. (Note:During thefirst fewweeks of your exercise programme,do notkeep your heartrate in your
training zone forlonger than 20 minutes.)
3. Acool down, with5to 10 minutes of stretching. Thiswill increase theflexibility of your muscles andwillhelp
to prevent post-exercise problems.
Exercise Frequency
To maintain or improve your condition, plan three workouts each week with at least one day of rest
between workouts.After afewmonths of regular exercise, youmaycomplete up to fiveworkouts each
week, if desired. Remember, the key to success is to make exercise a regular and enjoyable part of your
everyday life.
Toe touch stretch
Stand with your knees bent slightly and
slowly bend forward from your hips.
Allow your back and shoulders to relax
as you reach down toward your toes as
far as possible.
Hold 15 counts, and then relax.
Repeat 3 times.
Stretches: Hamstrings, back of knees and back.
Hamstring stretch
Sit with one leg extended. Bring the sole
of the opposite foot toward you and rest
it against the inner thigh of your
extended leg. Reach toward your toes
as far as possible.
Hold for 15 counts, and then relax.
Repeat 3 times for each leg.
Stretches: Hamstrings, lower back and groin.
Exercising Information
10
Warming up and Cooling down exercises

Calf / Achilles stretch
With one leg in front of the other, reach
forward and place your hands against awall.
Keep your back leg straight and your back
foot flat on the floor. Bend your front leg,
lean forward and move your hips toward the
wall.
Hold for 15 counts, and then relax.
Repeat 3 times for each leg. To cause
further stretching of the Achilles
tendons, bend your back leg as well.
Stretches: Calves, Achilles Tendons and Ankles.
Quadriceps stretch
With one hand against the wall for balance,
reach back and grasp one foot with your
other hand. Keeping your bent knee
pointing directly downward towards the floor,
gently pull your heel towards your buttock
until you feel a gentle stretch in the target
area.
Hold for 15 counts, and then relax.
Repeat 3 times for each leg.
Stretches: Quadriceps and Hip muscles.
Inner thigh stretch
Sit with the soles of your feet together
and your knees outward. Pull your feet
toward your groin area as far as possible.
Hold for 15 counts, and then relax.
Repeat 3 times.
Stretches: Quadriceps and Hip muscles.
Exercising Information
11
Table of contents