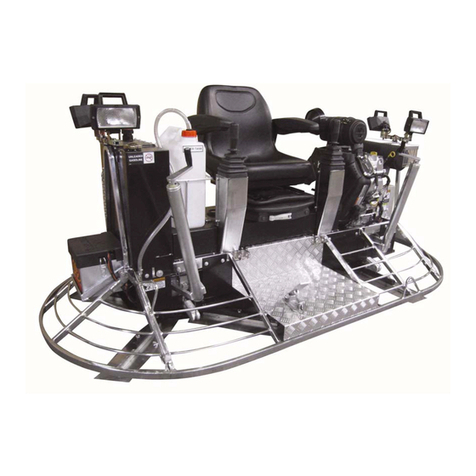
MBW MK8-120 User manual

OPERATOR’SSAFETY
AND SERVICE MANUAL
MBW, Inc.
250 Hartford Rd • PO Box 440
Slinger, WI 53086-0440
Phone: (262) 644-5234
Fax: (262) 644-5169
Email: mbw@mbw.com
Website: www.mbw.com
MBW (UK) Ltd.
Units 2 & 3 Cochrane Street
Bolton BL3 6BN, England
Phone: 01204 387784
Fax: 01204 387797 L18256 / 09.04.A
©MBW, Inc. 2004
Printed in the USA
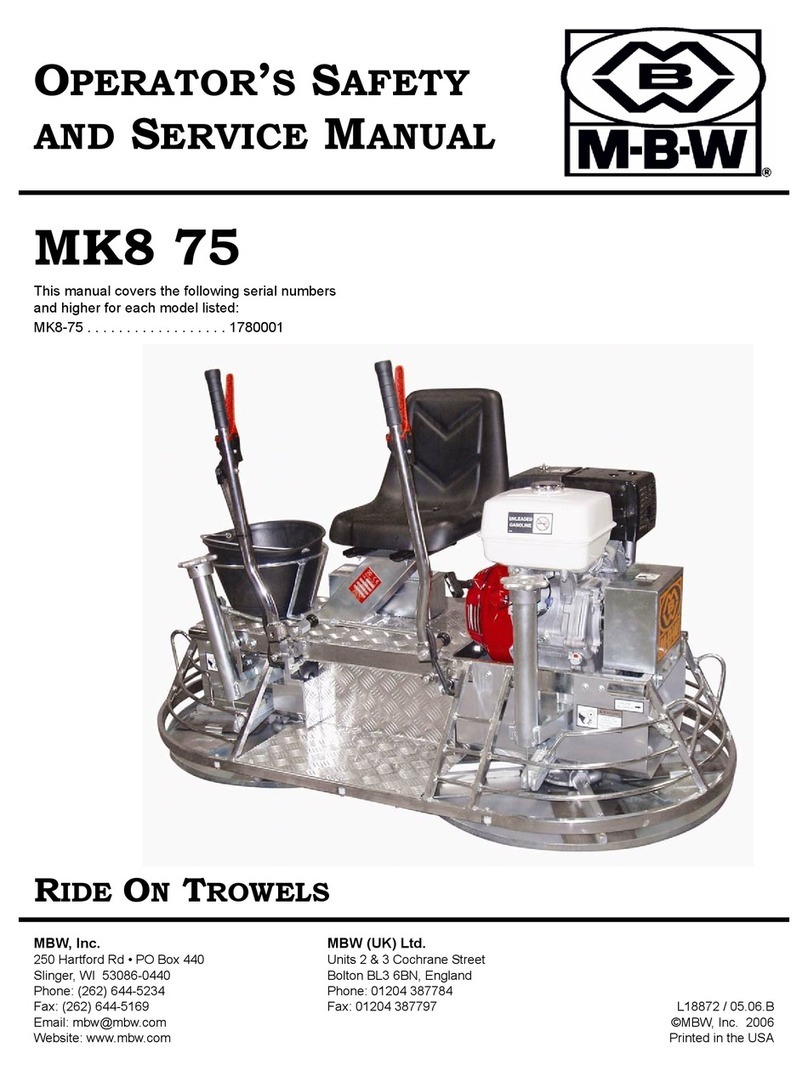
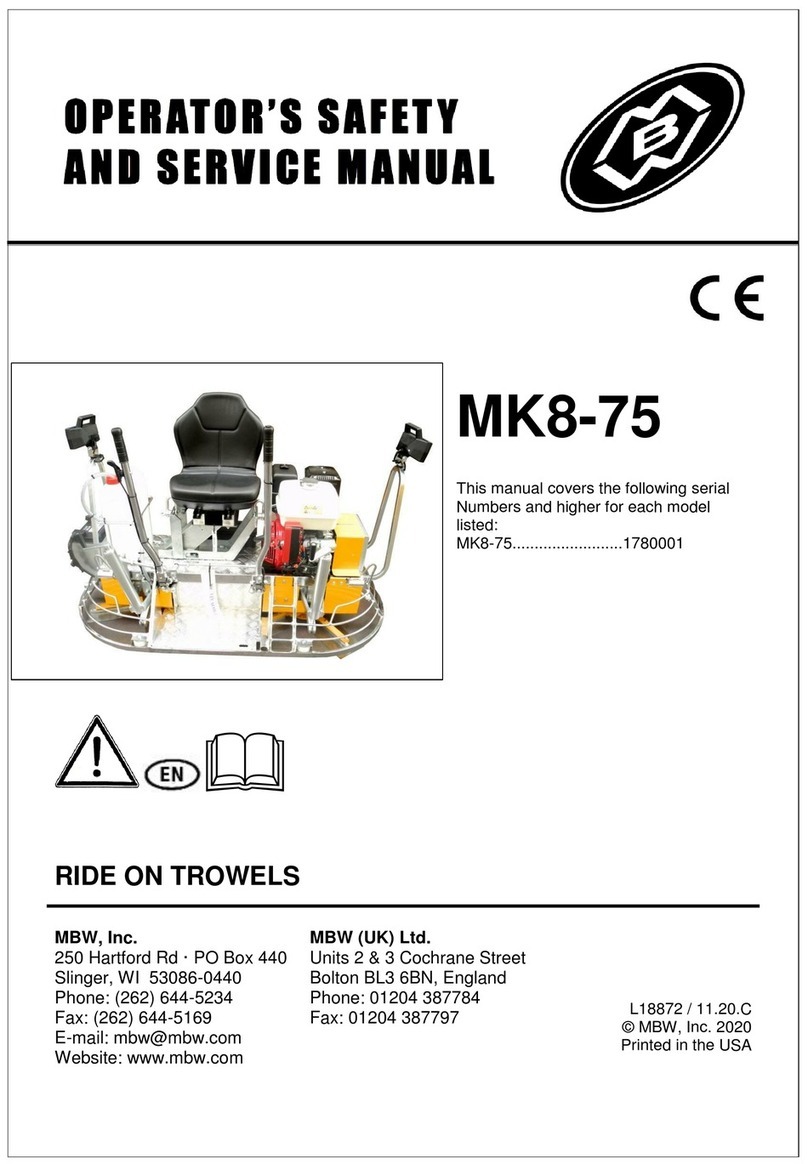
MK8 120
This manual covers the following serial numbers
and higher for each model listed:
MK8-120 . . . . . . . . . . . . . . . . . . 1770001
RIDE ONTROWELS

TABLE OFCONTENTS
Safety Information . . . . . . . . . . . . . . . . . . . . . . 1
Introduction . . . . . . . . . . . . . . . . . . . . . . . . . . . . . . . . . 1
Safety Precautions . . . . . . . . . . . . . . . . . . . . . . . . . . . 1
Safety Decals . . . . . . . . . . . . . . . . . . . . . . . . . . . . . . . 1
Specifications. . . . . . . . . . . . . . . . . . . . . . . . . . 3
Operation . . . . . . . . . . . . . . . . . . . . . . . . . . . . . 4
Introduction . . . . . . . . . . . . . . . . . . . . . . . . . . . . . . . . . 4
Before Starting & Operating . . . . . . . . . . . . . . . . . . . . 4
Starting Engine . . . . . . . . . . . . . . . . . . . . . . . . . . . . . . 4
Operating . . . . . . . . . . . . . . . . . . . . . . . . . . . . . . . . . . 4
Stopping Engine . . . . . . . . . . . . . . . . . . . . . . . . . . . . . 5
Stopping in emergency conditions:. . . . . . . . . . . . . . . 5
Maintenance . . . . . . . . . . . . . . . . . . . . . . . . . . . 6
Maintenance Schedule . . . . . . . . . . . . . . . . . . . . . . . . 6
Fluid Levels. . . . . . . . . . . . . . . . . . . . . . . . . . . . . . . . . 6
Engine Maintenance . . . . . . . . . . . . . . . . . . . . . . . . . . 6
Engine Speed . . . . . . . . . . . . . . . . . . . . . . . . . . . . . . . 6
Cleaning . . . . . . . . . . . . . . . . . . . . . . . . . . . . . . . . . . . 6
Reduction Gear Oil . . . . . . . . . . . . . . . . . . . . . . . . . . . 6
Lifting . . . . . . . . . . . . . . . . . . . . . . . . . . . . . . . . . . . . . 7
Storage. . . . . . . . . . . . . . . . . . . . . . . . . . . . . . . . . . . . 7
Changing Trowel Blades . . . . . . . . . . . . . . . . . . . . . . 7
Replacing The Battery . . . . . . . . . . . . . . . . . . . . . . . . 8
Replacing The Belts . . . . . . . . . . . . . . . . . . . . . . . . . . 8
Replacing The Floats . . . . . . . . . . . . . . . . . . . . . . . . . 8
Service. . . . . . . . . . . . . . . . . . . . . . . . . . . . . . . . 9
Torque Chart . . . . . . . . . . . . . . . . . . . . . . . . . . . . . . . 9
Parts Replacement Cycles and Tolerances . . . . . . . . 9
Replacement Parts . . . . . . . . . . . . . . . . . . . . . 10
Main Assembly . . . . . . . . . . . . . . . . . . . . . . . . . . . . . 11
Tank Assemblies . . . . . . . . . . . . . . . . . . . . . . . . . . . 12
Control Assembly . . . . . . . . . . . . . . . . . . . . . . . . . . . 13
Drive Assembly . . . . . . . . . . . . . . . . . . . . . . . . . . . . 14
Right Blade and Gearbox Assembly . . . . . . . . . . . . 15
Left Blade and Gearbox Assembly. . . . . . . . . . . . . . 16
Engine Assembly . . . . . . . . . . . . . . . . . . . . . . . . . . . 17
Engine Assembly, Briggs . . . . . . . . . . . . . . . . . . . . . 18
Frame Assembly . . . . . . . . . . . . . . . . . . . . . . . . . . . 19
Lifting Straps and Cart . . . . . . . . . . . . . . . . . . . . . . . 20
Warranty . . . . . . . . . . . . . . . . . . . . . . . . . . . . . 21

CALIFORNIA PROPOSITION 65 WARNING
Engine exhaust and some of its constituents are
known in the state of California to cause cancer,
birth defects, and other reproductive harm.
WARNING

- 1 -
SAFETY INFORMATION
Introduction
This Safety Alert Symbol is used to call attention
to items or operations which may be dangerous
to those operating or working with this
equipment. The symbol can be found
throughout this manual and on the unit. Please read these
warnings and cautions, along with all decals, carefully
before attempting to operate the unit. Make sure every
individual who operates or works with this equipment is
familiar with all safety precautions.
WARNING
GENERAL WARNING. Indicates information
important to the proper operation of the
equipment. Failure to observe may result in
damage to the equipment and/or severe bodily
injury or death.
CAUTION
GENERAL CAUTION. Indicates information
important to the proper operation of the
equipment. Failure to observe may result in
damage to the equipment.
Safety Precautions
LETHAL EXHAUST GAS: An internal
combustion engine discharges carbon
monoxide, a poisonous, odorless, invisible
gas. Death or serious illness may result if
inhaled. Operate only in an area with proper
ventilation. NEVER OPERATE IN A
CONFINED AREA!
DANGEROUS FUELS: Use extreme caution
when storing, handling and using fuels, as
they are highly volatile and explosive in vapor
state. Do not add fuel while engine is running.
Stop and cool the engine before adding fuel.
DO NOT SMOKE!
SAFETY GUARDS: It is the owner's
responsibility to ensure that all guards and
shields are in place and in working order.
IGNITION SYSTEMS: Breakerless, magneto,
and battery ignition systems can cause severe
electrical shocks. Avoid contacting these
units or their wiring.
SAFE DRESS: Do not wear loose clothing,
rings, wristwatches, etc. near machinery.
NOISE PROTECTION: Wear OSHA specified
hearing protection devices.
EYE PROTECTION: Wear OSHA specified
eye shields, safety glasses, and sweat bands.
FOOT PROTECTION: Wear OSHA specified
steel-tipped safety shoes.
HEAD PROTECTION: Wear OSHA specified
safety helmets.
DUST PROTECTION: Wear OSHA specified
dust mask or respirator.
OPERATOR: Keep children and bystanders
off and away from the equipment.
REFERENCES: For details on safety rules and regulations
in the United States, contact your local Occupational Safety
and Health Administration (OSHA) office. Equipment
operated in other countries must be operated and serviced
in accordance and compliance with any and all safety
requirements of that country. The publication of these
safety precautions is done for your information. MBW does
not by the publication of these precautions, imply or in any
way represent that these are the sum of all dangers present
near MBW equipment. If you are operating MBW
equipment, it is your responsibility to insure that such
operation is in full accordance with all applicable safety
requirements and codes. All requirements of the United
States Federal Occupational Safety and Health
Administration Act must be met when operated in areas that
are under the jurisdiction of that United States Department.
Safety Decals
Carefully read and follow all safety decals. Keep them in
good condition. If decals become damaged, replace as
required. If repainting the unit, replace all decals. Decals
are available from authorized MBW distributors. Order the
decal set listed on the following page(s).
- 2 -
Safety Decals (Decal Set #18007)
09867
ENGINE
OIL DRAIN
18006
12573
WARNING
ROTATING PARTS
can crush and cut.
Keep hands away!
WATER TANK
18002
CAUTION
Machine may fall and cause
injury or damage if lifted
improperly.
18004
Lift only by lift hooks
Weight~ #660 (300kg)
13483
CAUTION
Wear approved hearing protection,
foot protection, eye protection and
head protection.
STOP
Read the Operating Instructions
before operating this piece of
equipment.
Keep unauthorized and untrained
people away from this
equipment.
ROTATING & MOVING PARTS!
Make sure all guards and safety
devices are in place.
Failure to comply could result in serious
bodily injury.
SHUT OFF the motor before servic-
ing or cleaning.
DO NOT RUN in an enclosed area.
The engine produces carbon
monoxide, a POISONOUS GAS.
UNLEADED
GASOLINE
17892
OPERATING
INSTRUCTIONS
1. READ OWNER’S MANUAL before attempting to start or operate this
machine.
2. Check engine oil and trowel gearbox oil.
3. Put engine switch to on.
4. Set throttle at idle position.
5. Choke engine. A warm engine may not need to be choked.
6. Hold at least one safety switch. Turn key to ‘Start’ position.
7. After starting: open choke and allow engine to warm up at idle.
8. Position throttle for various operating
conditions.
9. TO STOP: Return throttle to idle position; Release both safety
switches; Turn key to ‘Off’ position. 18005
09867
CAUTION
ROTATING
BLADES CAN
CRUSH AND CUT
KEEP HANDS
CLEAR!
18031
09311 (NOT IN DECAL SET)
09867 (NOT IN DECAL SET)
18006
12573
18004
18005
18031
18003 (NOT IN DECAL SET)
17892 13483 18002
CAUTION
HOT SURFACE
DO NOT TOUCH
SURFACE CHAUDE
NE PAS TOUCHER

- 3 -
SPECIFICATIONS
Specifications subject to change without notice
MK8 120
Dimensions 96.5 x 47.4 x 41in. (2450x1205x1040mm)
Weight 661lbs. (300kg)
Motor Briggs 31HP / Kohler 27HP
Max Engine RPM 3600 RPM
Min / Max Blade RPM 70 / 125 RPM
Rotor Diameter 47.2in. (1200mm)
Max Forward Speed 295 ft./min. (90 m/min.)
Acoustic Level At Drivers
Seat 92.3 (dB)
Trowel Path 100in. (2540mm)

- 4 -
OPERATION
Introduction
MBW equipment is intended for use in very severe
applications. They are powered by four cycle engines and
are available in different sizes and a selection of engines.
This parts manual contains only standard parts. Variations
of these parts as well as other special parts are not included.
Contact your local MBW distributor for assistance in
identifying parts not included in this manual.
Before Starting & Operating
• REMEMBER! It is the owner’s responsibility to
communicate information on the safe use and proper
operation of this unit to the operators.
• Review ALL of the Safety Precautions listed on page 1 of
this manual.
• Familiarize yourself with the operation of the machine
and confirm that all controls function properly.
• Know how to STOP the machine in case of an
emergency.
• Make sure hands, feet, and clothing are at a safe
distance from any moving parts.
• OIL LEVEL - Check the oil level in the engine. For more
information see “Lubrication” under the respective
engine’s “Owners Manual” or the Maintenance section of
this manual.
• AIR CLEANER - Check to ensure element is in good
condition and properly installed.
• FUEL SUPPLY - The engines on MBW equipment
require an automotive grade of clean, fresh, unleaded
gasoline.
• FUEL FILTER - If clogged or damaged, replace.
• Make sure the machine is on a flat surface with a working
area of at least 3,000 square feet, and that there is a
sufficient area around the machine. (at least 6 ft.)
• See that the blade is inclined by at least 1/2” in order to
have better control over the float machine when starting.
• Adjust seat if necessary.
• Make sure the two drive control levers are vertical and
adjust if necessary.
Starting Engine
1. Close the choke. Choking may not be necessary on
warm engines.
2. Leave accelerator pedal at idle.
3. Hold one emergency stop lever closed and turn the
start key.
4. Open the choke once engine is warm.
Operating
CAUTION
To avoid premature clutch wear it is necessary to
accelerate quickly upon start up then back the
throttle off to the desired speed after the clutch is
fully engaged.
To drive the machine in the desired direction, there are two
control levers. Move the controls slowly and smoothly. To
stop the float machine return the control levers to the rest
position. The control lever positions and the relevant
movements are described on page 5 of this manual.
Preparing the surface:
Use a mechanical vibrating float or manual float to level the
floor surface in order to obtain a well-compacted concrete
footing and thus prepare the ideal surface for floating and
finishing. The float machine does not improve flatness of a
badly floated or uneven floor.
Floating phase:
The floor is ready for the first pass when the imprint of the
shoe heel sinks into the concrete by about 1/8” when
walking on it.
On average about 2700-3200 square feet of surface are
floated in 10 minutes. Speed varies with conditions.
When the concrete is still fresh, take care not to work
continuously on the same spot since, due to the weight of
the float machine, you may create an uneven floor surface.
During the floating phase the floats must not chatter on the
surface; this might be caused by dirt between the blades
and the floats.
Finishing phase:
When floating has been completed, detach the floats from
the blades and clean the cement that has collected during
the floating phase off the blades, the spider and the
protection rim. Turn the blade-lifting knob clockwise until the
blades are inclined by about 1/2” for the first pass; for the

- 5 -
subsequent smoothing operations continue increasing the
blade inclination until obtaining the desired finish.
The time between one pass and the next is determined by
the temperature and by the amount of water in the concrete.
If the concrete has hardened too quickly in some areas, it
can be moistened by spraying a small amount of water
using the button located on the left control bar in order to
obtain the degree of finish desired.
Stopping Engine
1. Release the accelerator pedal to idle and release the
two safety stop levers.
2. Close the fuel valve and remove the start key from
the engine.
Stopping in emergency conditions:
The safety stop levers are connected to two micro switches
which cut the electric power to the engine; in case of an
emergency, immediately release the levers.
WARNING
Always stop the engine before:
Adding fuel.
Leaving the equipment unattended for any
amount of time.
Before making any repairs or adjustments to the
machine.
Fig. 1, Control
Moving Forward
Push both control levers forward. Moving Backwards
Pull both control levers back.
Moving to the Right
Push both control levers right.
Moving to the Left
Push both control levers left.
Right turn
Push the left control lever forward
and pull the right control lever back.
Left turn
Push the right control lever forward
and pull the left control lever back.

- 6 -
MAINTENANCE
WARNING
Always follow the stopping procedure before
servicing or lubricating the unit.
After servicing the unit, replace and fasten all
guards, shields, and covers to their original
positions before resuming operation.
CAUTION
Always verify fluid levels and check for leaks after
changing fluids.
Do not drain oil onto ground, into open streams,
or down sewage drains.
Maintenance Schedule
1. Check all hardware after the first 5 hours of use, then follow the maintenance schedule.
Fluid Levels
Engine Maintenance
Refer to the engine owner’s manual for maintenance
intervals and procedures.
Engine Speed
The engine speed is factory preset according to the speeds
listed in the Specifications section. Do not tamper with the
governor settings. The governor establishes safe operating
limits that must not be exceeded.
Cleaning
Clean the float machine at the end of each working day to
prevent the cement from hardening on the machine. Wash
the dirty parts with a brush and water. Wet the parts exposed
to cement with "stripping" oil (never fuel oil). Do not oil the
rubber moving parts (belts, etc.).
Reduction Gear Oil
Checking the Oil
1. Make sure machine is off.
SYSTEM MAINTENANCE DAILY WEEKLY EVERY 100
HOURS YEARLY
Clean machine thoroughly X
Engine Refer to engine operator/owner manual X
Clean air filter X
Drive gear Check wear and tensioning of belts X
Grease drive shafts X
Check reduction gear oil X
Change gear oil X
Battery Check charge X
Check water level X
Clean posts X
Hardware Check and tighten as needed X
Check guard and blade hardware X
SYSTEM FLUID VOLUME RECOMMENDED OIL
Gearbox 52oz Cylinder/Gear Oil 460
Engine Refer to engine operator/owner manual

- 7 -
2. Locate the sight gage on the outward side of the
gearboxes.
3. Oil level should be centered in oil sight gage.
Replacing the Oil
1. Lift the blade guard and secure it out of the way.
2. Remove the drain plug, located under the sight gage,
and drain oil.
3. Replace drain plug.
4. Remove filler plug, located above sight gage, and fill
until the sight gage is half full. Refer to Fluid levels on
page 6 for type and quantity.
5. Replace filler plug.
6. Lower and secure the guard back to working position.
Lifting
WARNING
Never leave the floats attached to the float
machine when lifting it more than 3ft. off the
ground since it could detach and cause damage
to people and things
To lift the machine from one level to another use a hoisting
crane or lift truck of suitable capacity. Weight can be found
in Specifications, page 3.
To transport the machine on a truck place the blades in
horizontal position using the control knobs; transporting the
float machine with the blades inclined may damage the
blade tilt system.
Storage
WARNING
Never store the machine with fuel in the tank in
places where the fuel vapors might come into
contact with flames and/or sparks
If you know that the machine will not be used for more than
one month, drain the fuel from the tank in order to prevent
the formation of rubbery deposits, and disconnect the
battery.
If storing the machine in places where the temperature
might drop to below freezing drain the water tank.
Changing Trowel Blades
WARNING
Trowel blade edges may be sharp when they are
worn. Wear protective gloves when handling the
blades.
Always check the state of wear of the blades and if they are
damaged or bent, replace them. They must all be replaced
at the same time.
1. Clean the machine.
2. Open the guard by unscrewing the two fixing bolts
and hook the guard to the chain .
3. Slightly lift the float machine off the ground (about
4”).
4. Remove the blades by removing the bolts through
the arm.
To replace the metric blades with standard you will
need to use a bushing kit.
5. Use one bushing per blade in hole closest to the
spider.
6. Mount the new blades fixing a 5/16” x 1 3/4” bolt in the
hole with the bushing and the smallest two of the
holes.
(You will now be using three bolts instead of two)
7. When the blades have been mounted, lower the
trowel to the ground.
8. Reposition the guard and tighten the bolts.
Correct attachment of standard blades

- 8 -
Replacing The Battery
WARNING
Handle the battery with particular care since it
contains acid
1. Remove the battery cover by unhooking the two
hooks.
2. Remove the negative cable first.
3. Remove the battery and replace it with one with the
same characteristics (45 Ah)
Replacing The Belts
1. Changing the belts will be easier if the trowel blades
are off the ground. This can be done by lifting the
machine up and putting blocks under the guard ring
to stabilize the unit.
2. Loosen belt tensioner jam nut located by engine oil
filter.
3. Back out belt tensoiner bolt 1 to 2 inches.
4. Idler bracket should slide back and belts should be
loose. If not tap idler bracket back.
5. Remove belts by rolling them off the input sheave one
at a time.
Installing new belts
1. Install the replacement belts onto the clutch one at a
time and roll them into there respective groove on the
input sheave. Repeat this process for the remaining
two belts.
2. Tighten tensioner bolt against idler bracket until belts
have approximately ¼ to ½" deflection with moderate
pressure applied to the back side of belts.
3. Tighten jam nut.
4. After unit is run belt tension should be rechecked and
readjusted as needed.
Replacing The Floats
CAUTION
Be careful when installing the floats: one rotor
turns clockwise and the other counterclockwise,
therefore you need to check that the various com-
ponents have been properly arranged.
1. Before mounting the floats, check that the blades are
clean. The blades must be placed in horizontal
position using the pitch control.
2. Slightly lift the float machine off the ground (about 4”).
3. Mount the floats on the blades checking the correct
direction of rotation.
4. When the floats have been mounted, reposition the
float machine on the ground.

- 9 -
SERVICE
Assembly and disassembly should be performed by a
service technician who has been factory trained on MBW
equipment. The unit should be clean and free of debris.
Pressure washing before disassembly is recommended.
• Prior to assembly, wash all parts in a suitable cleaner or
solvent.
• Check moving parts for wear and failure. Refer to the
Replacement section in this manual for tolerance and
replacement cycles.
• All shafts and housings should be oiled prior to pressing
bearings. Also, ensure that the bearings are pressed
square and are seated properly.
• All bearings should be replaced when rebuilding any
exciter or gearbox.
• All gaskets and seals should be replaced after any
disassembly.
Torque Chart
Parts Replacement Cycles and Tolerances
SIZE GRADE 2 GRADE 5 GRADE 8
1/4-20 49 in•lbs 76 in•lbs 9 ft•lbs
1/4-28 56 in•lbs 87 in•lbs 10 ft•lbs
5/16-18 8 ft•lbs 13 ft•lbs 18 ft•lbs
5/16-24 9 ft•lbs 14 ft•lbs 20 ft•lbs
3/8-16 15 ft•lbs 23 ft•lbs 33 ft•lbs
3/8-24 17 ft•lbs 26 ft•lbs 37 ft•lbs
7/16-14 24 ft•lbs 37 ft•lbs 52 ft•lbs
7/16-20 27 ft•lbs 41 ft•lbs 58 ft•lbs
1/2-13 37 ft•lbs 57 ft•lbs 80 ft•lbs
1/2-20 41 ft•lbs 64 ft•lbs 90 ft•lbs
9/16-12 53 ft•lbs 82 ft•lbs 115 ft•lbs
5/8-11 73 ft•lbs 112 ft•lbs 159 ft•lbs
5/8-18 83 ft•lbs 112 ft•lbs 180 ft•lbs
3/4-16 144 ft•lbs 200 ft•lbs 315 ft•lbs
1-8 188 ft•lbs 483 ft•lbs 682 ft•lbs
1-14 210 ft•lbs 541 ft•lbs 764 ft•lbs
1-1/2-6 652 ft•lbs 1462 ft•lbs 2371 ft•lbs
M 6 3 ft•lbs 4 ft•lbs 7 ft•lbs
M 8 6 ft•lbs 10 ft•lbs 18 ft•lbs
M 10 10 ft•lbs 20 ft•lbs 30 ft•lbs
CONVERSIONS
in•lbs x 0.083 = ft•lbs
ft•lbs x 12 = in•lbs
ft•lbs x 0.1383 = kg•m
ft•lbs x 1.3558 = N•m
Bearings Replace anytime a bearing is rough, binding, discolored or removed from housing or
shaft.
Engine Components Refer to your engine manufacturer’s Owner’s Manual.
Hardware Replace any worn or damaged hardware as needed. Replacement hardware should
be grade 5 and zinc plated unless otherwise specified.
Safety Decals Replace if they become damaged or illegible.
Seals & Gaskets Replace if a leak is detected and at every overhaul or teardown.
V-Belts Replace if cracked, torn, or stretched to the point the belt won’t tension properly.

- 10 -
MBW, Inc.
250 Hartford Rd • PO Box 440
Slinger, WI 53086-0440
Phone: (262) 644-5234
Fax: (262) 644-5169
Email: mbw@mbw.com
Website: www.mbw.com
MBW (UK) Ltd.
Units 2 & 3 Cochrane Street
Bolton BL3 6BN, England
Phone: 01204 387784
Fax: 01204 387797
Contact Information
REPLACEMENT PARTS
The warranty is stated in this book on page 21. Failure to
return the Warranty Registration Card renders the warranty
null and void.
MBW has established a network of reputable distributors/
dealers with trained mechanics and full facilities for
maintenance and rebuilding, and to carry an adequate parts
stock in all areas of the country. Their sales engineers are
available for professional consultation. If you cannot locate
an MBW distributor in your area, contact MBW or one of our
Sales Branches listed below.
When ordering replacement parts, be sure to have the
following information available:
• Model and Serial Number of machine when ordering
MBW parts
• Model and Serial Number of engine when ordering
engine parts
• Part Number, Description, and Quantity
• Company Name, Address, Zip Code, and Purchase
Order Number
• Preferred method of shipping
REMEMBER - You own the best! If repairs are needed,
use only MBW parts purchased from authorized
MBW distributors.
The unit’s serial number is located on the side of the seat
pedestal.
Write Model Number here
Write Serial Number here
LOCATION
DECAL

- 11 -
Main Assembly

- 12 -
Tank Assemblies

- 13 -
Control Assembly

- 14 -
Drive Assembly

- 15 -
Right Blade and Gearbox Assembly

- 16 -
Left Blade and Gearbox Assembly

- 17 -
Engine Assembly, Kohler
Heavy Duty Clutch
Table of contents
Other MBW Trowel manuals
Popular Trowel manuals by other brands

MULTIQUIP
MULTIQUIP Whiteman series Operation manual

Bartell
Bartell B446 instruction manual

allen
allen MSP450A Operations & parts manual

Z.I.P.P.ER MASCHINEN
Z.I.P.P.ER MASCHINEN ZI-BG100Y user manual

Flextool
Flextool MQ WHITEMAN EHHNK5 operating instructions

MULTIQUIP
MULTIQUIP PRO46 Operation and parts manual