Assembly Instructions 14 X 14 Party Tent Style
V2.0 Party Tent 14 X 14 Size
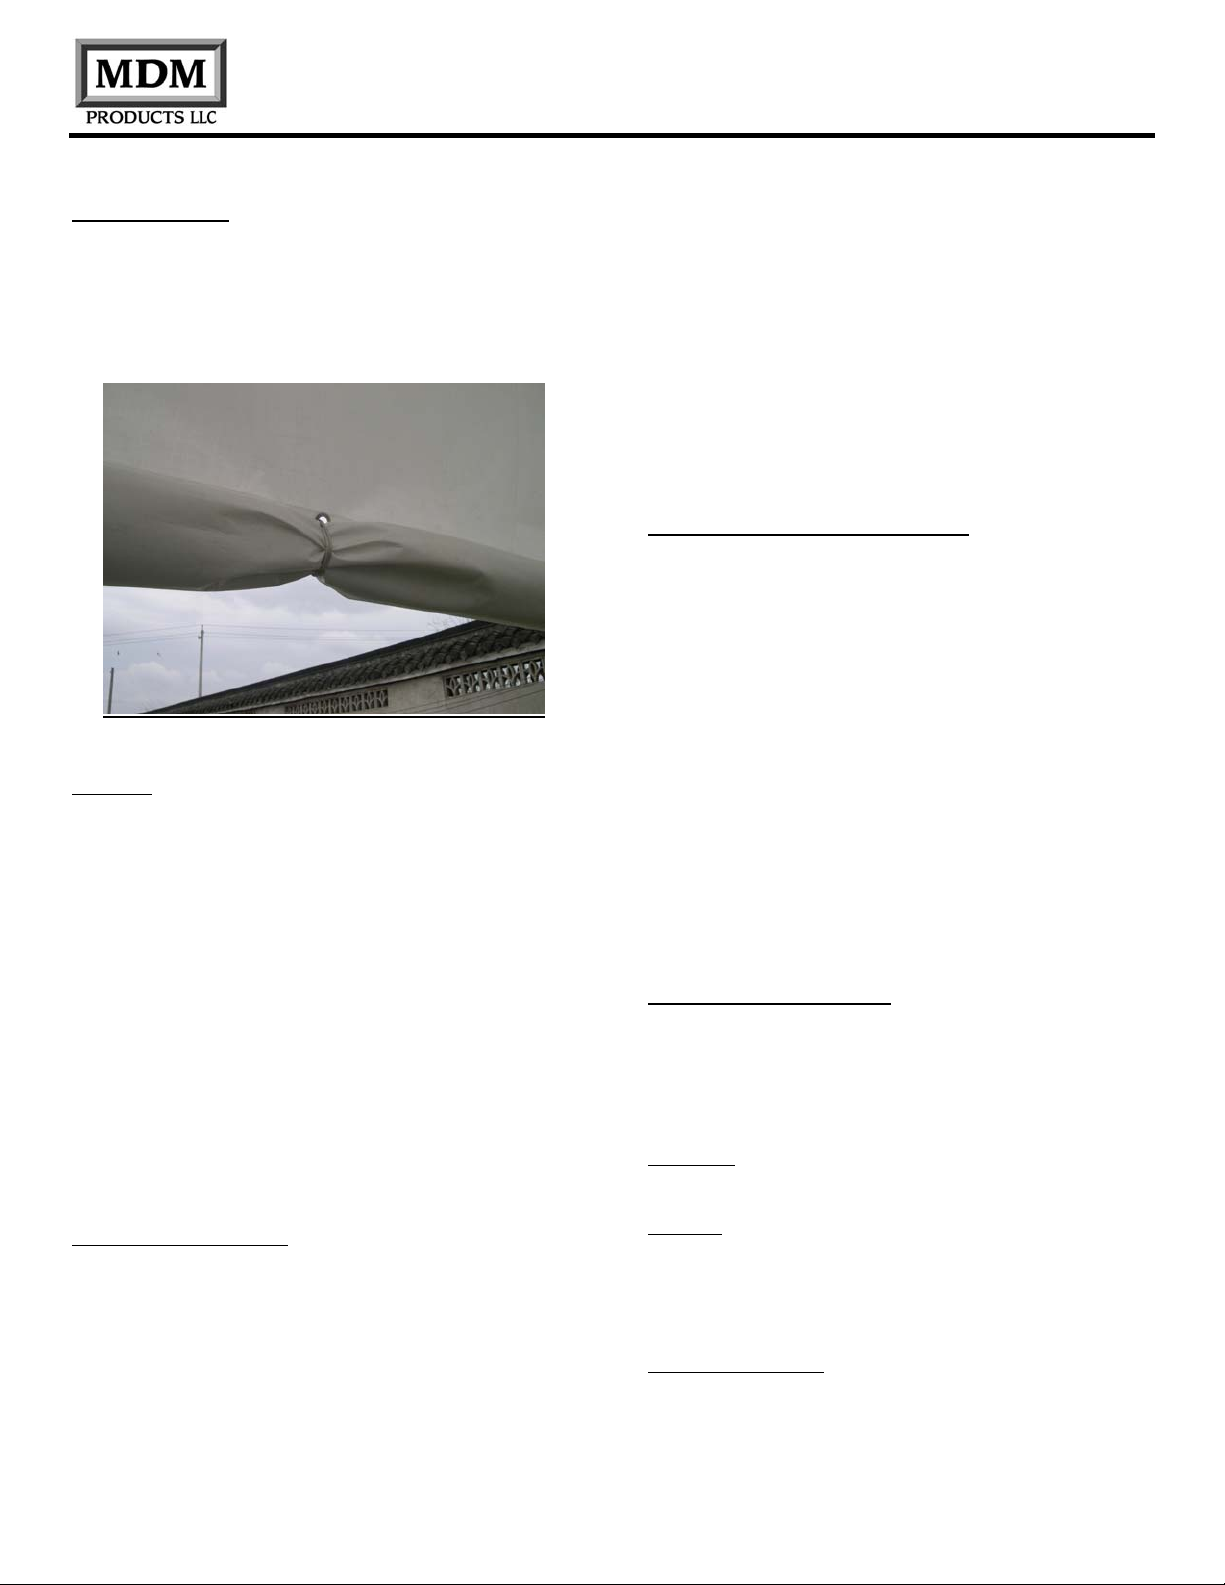
Door Hold Ups
All MDM Products doors are manufactured with a pocket
on the bottom edge along the width axis. A ½” plastic or
metal EMT tubing can be inserted into the pocket and
trimmed to fit. Four(4) bungee straps are provided to be
used as Door Hold Up straps.
Bungee Hold Ups support Door Fabric in Up Position
IN USE
Keep the exit(s) clear & free from obstruction to prevent
accidental damage to occupants and the party tent,
especially in an emergency.
To help keep the doors closed it may be necessary to
cross over the stake points at the base of zippers. Avoid
walking on the zippers and keep them free from dirt, as
this will maintain their smooth operation. Should the
zippers become difficult to operate, do not force them.
Adjust the stakes/guying of the tent to ease the pressure
on the zippers and lubricate with a silicon or similar
lubricant to maintain their smooth operation.
Periodically check each stake point or securing straps
and re adjust as necessary, especially during/after
stormy weather.
FIRE WARNING:
A Fire Retardant treatment has been applied to the
fabric of this tent that will significantly reduce the rate of
flame spread, but the tent is still flammable.
•Keep your party tent at least 20 feet from adjacent
tents.
•Keep all open flames and heat sources well away from
all tent fabrics.
•Do NOT Allow smoking of cigarettes, cigars, pipes, or
any open flame inside Party Tent
•Do not refill stoves or change fuel cartridges inside or
near to the tent.
•Never leave heating, lighting or cooking appliances
unattended in the vicinity of the tent.
Think Safety First
STORAGE & MAINTENANCE
NEVER store the tent unless it is completely dry.
Storing when damp allows the formation of mold and
mildew, which will rot natural fibers & damages the
waterproof coating to the fabric and leaves indelible
stains. Poles and fitments, including tent pegs, should be
cleaned, dried and stored separately from the main tent
parts. These poles may be given a light coating of
petroleum jelly to help prevent corrosion.
Light soiling may be removed either by the gentle use of
a soft brush or using a soft, dampened cloth and mild
detergents. Remove dirt from the fabric by gently
brushing when dry. Never use strong detergents, bleach
or similar cleaning products or wash in a washing
machine, as this will damage the fabric of the tent. Store
in a dry, well-aired place, any damage as a result of
incorrect storage will not be covered by the warranty.
Maintenance and Care
Every couple f days when in use the unit should be
completely inspected internally and externally to make
certain the unit remains properly installed and secured.
Particular attention should be paid to:
Hardware – check all bungee cords and hardware
connectors to be certain they are in place and tightened.
Anchors – during light weather trends, the unit will strain
against the anchors under windy conditions. Anchor
hardware connection to frame members should be
maintained tight and depth of anchors should be
checked to be certain they remain deeply and firmly set.
Snow Accumulation –under no circumstances should
this unit be set up during periods of snow.