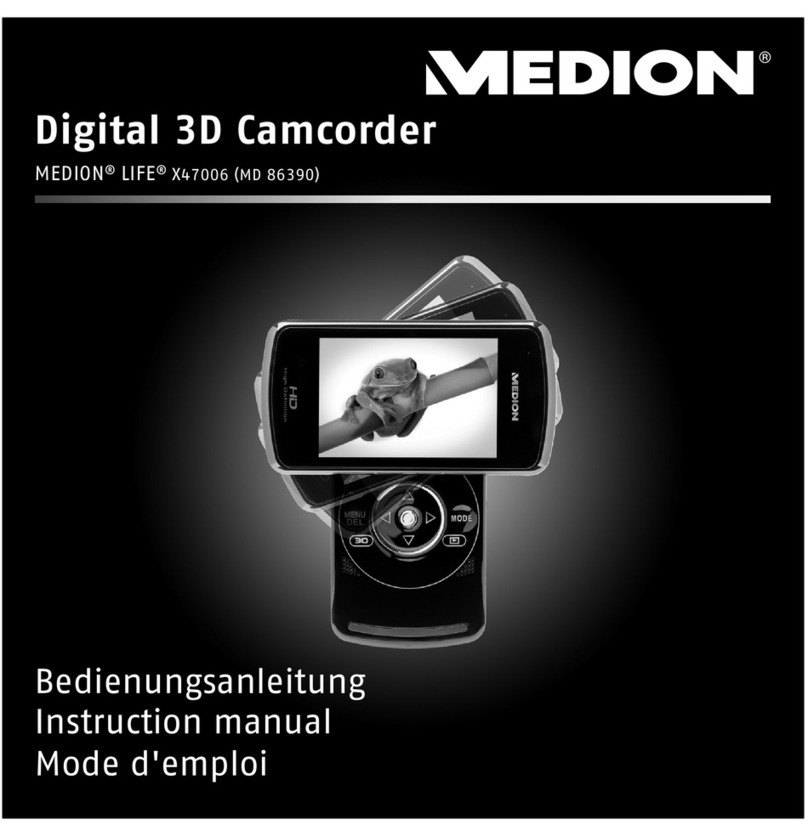
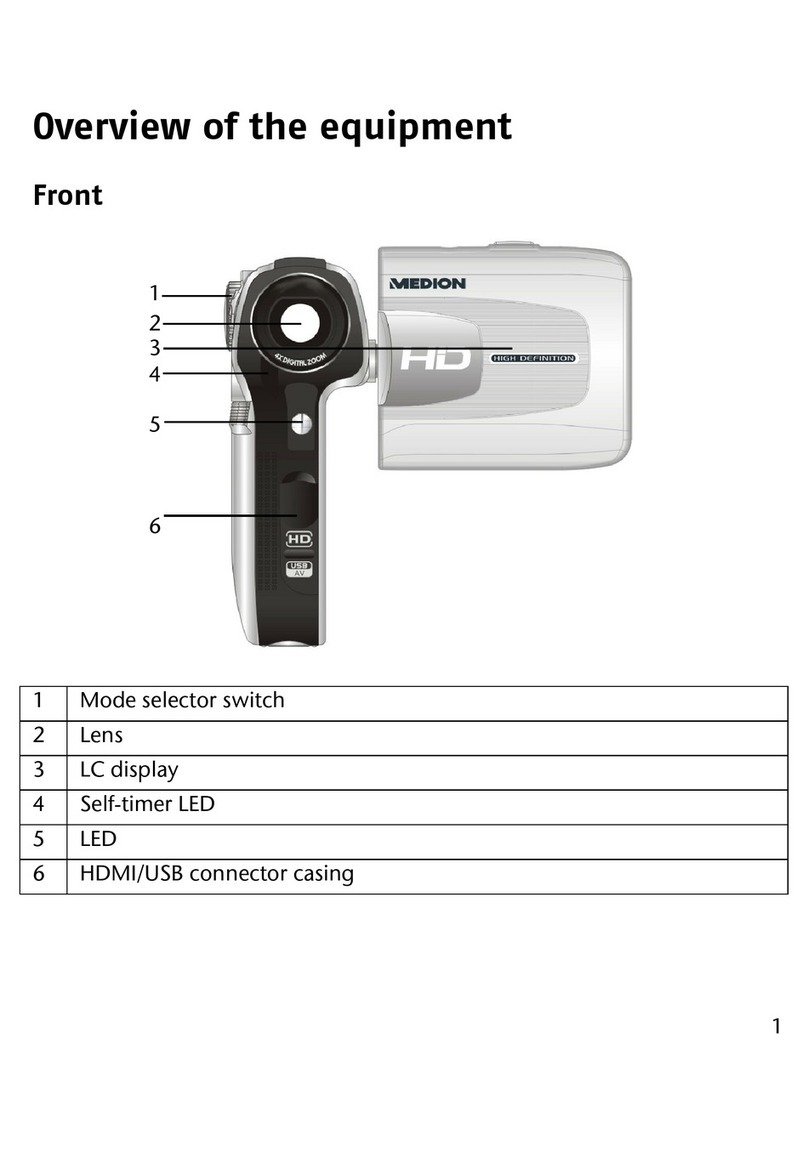
Medion LIFE X47007 User manual

C M Y CM MY CY CMY K
04/11
Medion Nordic A/S
Naverland 31
2600 Glostrup
Danmark
Hotline (+45) 70212025
Fax (+45) 70212029
E-Mail ser[email protected]
www.medion.dk
Super Slim Full HD
Camcorder with Touchscreen
MEDION® LIFE® 47007 (MD 86427)
Super Slim Full HD Camcorder
mit Touchscreen
Digital superslankt
Full-HD designvideokamera
Cam scope num rique Full HD
ultra fin avec cran tactile
Telecamera slim Full HD con
touchscreen
Medion Service Center
Hotline 199 309078
E-Mail ser[email protected]
www.medion.it
Medion Electronics Ltd.
120 Faraday Park, Faraday Road, Dorcan
Swindon SN3 5JF, Wiltshire
United Kingdom
Hotline 0871 37 61 020
(calls are charged at 7p per min
from a standard landline,
calls from mobiles could be higher)
Fax 01793 71 57 16
To contact us by email please visit
the Service and Support
section of our website at
www.medion.co.uk
Medion France
75 Rue de la Foucaudière
72100 LE MANS
France
Service Hotline 02 43 16 60 30
(appel non surtaxé)
Service PREMIUM hors garantie
08 92 35 05 40 (0.34 EUR/min)
E-Mail Pour nous contacter,
merci de vous rendre sur
notre site internet à la rubrique
« Service et Support »
www.medion.fr
MTC - Medion Technologie Center
D-45467 Mülheim / Ruhr
Deutschland
Hotline 01805 - 633 633
Fax 01805 - 665 566
(0,14 Euro/Minute aus dem dt. Festnetz,
Mobilfunk max. 0,42 Euro/Min)
Servicebereich der Homepage
www.medion.de/service
www.medion.de
DK IT
UK FR
DE
Quick Start Guide
Kurzanleitung
Guide de démarrage rapide
Guida rapida
Lynstartvejledning

1
FR
EN
DE
DK
FR
IT
Contents
Contents.................................................................................... 1
Safety instructions .................................................................... 2
The Camcorder.......................................................................... 7
Overview of the appliance......................................................... 9
Getting started....................................................................................13
Switching the camcorder on and off....................................... 15
The settings menu................................................................... 16
Operating the settings menu ..............................................................17
Recording videos..................................................................... 17
Video recording display.......................................................................18
Video playback....................................................................................19
The video playback display .................................................................20
Shooting photos...................................................................... 21
Shooting Photos Display .....................................................................22
Viewing photos in playback mode ......................................................23
The Photo Playback Display.................................................................24
Disposal................................................................................... 25
Cleaning .............................................................................................25
Technical specifications........................................................... 26

2
Safety instructions
This unit is not intended for use by people (including children)
with reduced physical, sensory or mental abilities or for those
without experience and/or knowledge, unless they are supervised
by a person responsible for their safety or they have been
instructed on its use. Children should be supervised to ensure
that they do not play with the appliance.
Also, keep the plastic packaging out of reach for children to avoid
danger of suffocation.
Preventing electric shocks
Never open the camcorder casing or the charger cradle except to
insert the battery.
Connect the charger cradle to a professionally installed 230 V ~
50 Hz mains socket.
To remove the mains cable quickly and easily from the mains in
an emergency, the socket must be easily accessible and close to
the appliance.
Do not bend or crush the mains cable.
Use only the charger cable supplied.
Take measures to prevent moisture or liquid from penetrating the
camcorder or the charger cradle.
Never touch the charger cradle with wet hands.
Never use the camcorder if the mains cable is damaged.
To avoid any danger, if the charger cradle or its mains cable are
damaged then it must only be replaced by a charger cradle of the
same type. Please contact the service centre if this is the case.
Switch the camcorder off immediately if it malfunctions.

3
FR
EN
DE
DK
FR
IT
Do not allow the camcorder or charger cradle to come into
contact with rain or be splashed by water.
Do not place containers containing liquid, e.g. vases, on the
appliance, the charger cradle or near to these and protect all parts
of the device from rain and water. The container may tip over and
the liquid may impair the electrical safety of the product.
Risk of explosion
Never expose batteries or rechargeable batteries to excessive heat
(such as direct sunlight, fire or similar).
Do not throw batteries into a fire.
Never short-circuit any (rechargeable) batteries.
Do not dismantle (rechargeable) batteries.
CAUTION! There is a risk of explosion if rechargeable
batteries are replaced incorrectly. Replace only with the same
or equivalent type.
Preventing fire hazards
Always uncoil the entire length of the mains cable.
Ensure there is adequate ventilation and never cover the charger
cradle.
Do not place naked flames such as lit candles on or near the unit.
Risk of poisoning
Keep the battery out of reach of children.

4
Risk of chemical burns
If the battery is depleted, remove it from the device immediately.
There is an increased risk of leakage. Avoid contact with skin, eyes
and mucous membranes. If these areas come into contact with
battery acid, rinse them immediately with plenty of clean water
and contact a doctor immediately.
Preventing damage to the eyes
Do not use the LED light close to anyone's eyes.
Always maintain a minimum distance of one metre when using
the LED light, especially with small children.
Preventing damage to the camcorder
If the battery is leaking, remove it from the camcorder
immediately. Clean the contacts before inserting a new battery.
Use only the lithium-ion battery supplied.
Before inserting the battery, check that the contacts in the
camcorder and on the batteries are clean. Clean the battery
connections if necessary with a clean, dry cloth or an eraser.
Do not touch the lens or lens mounting.
Preventing damage to the battery
Never insert the battery the wrong way round. Always ensure the
correct polarity at the +/- terminals.
Never allow the battery to come into contact with liquids.
Direct, intense heat can damage the battery. Therefore, do not
expose the camcorder to any sources of direct heat.
If the camcorder is not going to be used for long periods, remove
the battery.

5
FR
EN
DE
DK
FR
IT
Preventing breakages
Do not drop the camcorder.
Place the strap around your wrist when carrying the camcorder.
Preventing data loss
Never interrupt the power supply when data are being processed.
Preventing damage to SD cards
Never remove the SD card from the camcorder while it is saving
data.
Protecting against condensation
Avoid rapid changes in temperature.
Place the camcorder in its protective case or a plastic bag before
exposing it to any sudden changes in temperature.
Do not immediately connect the device using the mains cable if
the unit has been moved from a cold environment to a warm
room. The device can safely be connected for charging as soon as
the unit has reached room temperature.
Do not use or store the camcorder in direct sunlight or at high
temperatures.

6
At low temperatures the capacity of the battery can
drop significantly due to the reduced speed of the
chemical reactions. When recording in cold weather
keep a second battery pack in reserve in a warm place
(e.g. trouser pocket).
This symbol on the camcorder certifies that the
camcorder complies with EU guidelines (European
Union) on radiated emissions. CE stands for Conformité
Européenne (European conformity)
The device is intended for private use only and is not
designed to be used in a heavy industrial business or.

7
FR
EN
DE
DK
FR
IT
The Camcorder
Equipment description
The camcorder provides:
The functions of a digital camcorder and a digital camera in one
handy device.
Instead of a viewfinder, the camcorder has a high-resolution touch
screen LC display that enables you to check your pictures. The touch
screen LC display also serves to display the on-screen menus where
you can select your required settings.
The touch screen LC display can be used to change all camcorder
settings at the touch of a finger.
The Camcorder has four-times digital zoom and records videos to a
maximum resolution of Full HD 1920 x 1080 and photos in 2592 x
1944 (5M pixels).
The internal memory has a usable capacity of approx. 80 MB. Thus
you can also take photos or record short videos even if you do not
have an SD card in the camcorder.
The camcorder can be easily connected to a computer by USB or to a
compatible TV set by HDMI connection.

8
Package contents
Check that the following parts have been supplied in the package:
Camcorder
Charger cradle
Power cable
HDMI cable
AV cable with integrated USB plug
Case
Li-ion battery
Software CD
Operating instructions and guarantee document

9
FR
EN
DE
DK
FR
IT
Overview of the appliance
Front
Lens
Strap hole
LED light
Lens
Carr
y
in
g
stra
p
LED

10
Top
SD card slot
Macro switch
Bottom
Tripod mount
SD card slot
Macro switch
Tripod socket

11
FR
EN
DE
DK
FR
IT
UP/DOWN buttons
Mode button
LED/ Enter button
USB / A V Output
REC. / Power LED
REC. / STOP button
HD MI O utput
Rear
O
p
eratin
g
LED
Shutter release Mode selection button
Up / Down / Zoom
button
USB / AV output
HDMI output
LED / OK button

12
Playback
button
Power button
Battery cover
Battery cover latch
Menu
button
Speaker
Panel view
On / Off switch
Batter
y
com
p
artmen
t
Loudspeaker
Microphone
Battery compartmen
t
Menu button
Playback button

13
FR
EN
DE
DK
FR
IT
Getting started
To insert the battery you must open the display flap and remove the
battery cover.
Open the display flap.
Slide the battery compartment shutter as shown and insert the
battery.
Replace the battery compartment cover as shown to close the
battery compartment.
Ensure the +/- terminals are correct.
To insert an SD memory card you must open the SD compartment
cover.
Take an SD memory card and slide this into the SD card slot
which is behind the macro switch on the camcorder.

14
Ensure that the contacts on the card are facing downwards.
To remove the battery, remove the cover and take the battery out.
To remove the memory card, press the memory card until you
hear a click in the slot and then let go. The memory card will be
automatically ejected a little from the slot so that you can remove
the card.
Charging the battery
To charge the battery, connect the camcorder to the supplied
charging cradle.
Plug the mains adapter into a 230 V ~ 50 Hz socket and insert the
battery.
When the battery is fully charged the green LED will come on.
Ensure the +/- terminals are correct.
The battery requires approximately six hours to reach full
charge for the first time. The LED is lit red during the charging
procedure. The LED will light up green as soon as the charging
process is complete.
Tips for proper use of batteries can be found in the (safety
instructions / Preventing damage to the battery).
The camcorder enables you to charge the battery while it is in the
device. To do this, simply connect the camcorder to a PC via the USB
cable. When switched off the camcorder will now begin to recharge
the battery.
The PC must remain operational.

15
FR
EN
DE
DK
FR
IT
Switching the camcorder
on and off
To activate the camcorder, open the display panel as shown below.
Turn the display panel so that you can easily see the 3.0” LCD
display.
To turn the camcorder off, either simply fold the display panel
back to its original position or press the On/Off switch until the
LED turns off.
Take care to turn off the device after use to avoid using power
unnecessarily.
The operational LED lights up green when the camcorder is
activated.

16
The settings menu
To open the settings menu, press the mode selection button twice.
In the settings menu there are eight further sub-menus represented by
appropriate symbols.
Here you can select the following settings:
1. Date & Time
2. Tones
3. Auto Power Off
4. TV output
5. TV frequency
6. Language
7. Reset camcorder
8. Formatting
To select a menu, press the Up/Down buttons until the required
menu is in the highlighted dark area.
To open the required menu, press the OK button.
Touch the desired menu with a finger to open it directly.

17
FR
EN
DE
DK
FR
IT
Operating the settings menu
To change the individual settings you can either use the Up/Down
buttons or change the settings directly using a finger.
Recording videos
Proceed as follows in order to record videos:
Lift the LC display flap.
Choose the desired picture detail using the Up/Down buttons.
The digital zoom can only be used with a resolution of max.
720P.
Press the shutter-release button.
Amongst other things, the time will be shown on the LC display
during recording (hours:minutes:seconds) and the operational LED
blinks green/red.
Press the shutter-release button again to stop recording.
Press the OK button to activate the LED lighting.
Press the OK button again to deactivate the LED lighting.
While recording videos touch the ▲/ ▼buttons to quickly change
the brightness.
The camcorder can only record videos with a file size up to
3.66 GB. If the file volume is exceeded then the camcorder will
save the file separately.

18
3
2
678 5
1
4
9
Video recording display
While recording a video, the camcorder will show you all of the
important information on the LC display. The following symbols may
be displayed when recording a video.
1 Video recording mode activated
2 Zoom bar
3 / / / Macro mode activated/White balance
activated/Night mode activated/Effect
activated
4 Time of recording
5 /SD memory card has been inserted/No
memory card has been inserted, files will
be saved onto the internal memory
6 Remaining storage capacity
7 Current resolution
8 Battery status
9 EV – exposure display

19
FR
EN
DE
DK
FR
IT
Video playback
There are different options for viewing the video recordings saved in
the internal memory or on the optional memory card.
Press the Playback button in the previously selected mode (video or
photo) to activate the video playback menu.
Playback on the LC display
Proceed as follows to view the video recordings on the camcorder’s LC
display:
Press the Playback button in video mode
The main menu for the video playback mode will appear.
Press OK to start the playback.
Press OK once to stop playback.
Press the / buttons on the touch screen to forward or
rewind the video.
Press on the touch screen to pause the video.
Table of contents
Languages:
Other Medion Camcorder manuals

Medion
Medion S89038 User manual

Medion
Medion DIGITAL VIDEO CAMERA User manual

Medion
Medion LIFE S47100 User manual

Medion
Medion LIFE User manual

Medion
Medion MD 85733 User manual

Medion
Medion MD80566 User manual

Medion
Medion LIFE P47350 MD 86288 User manual

Medion
Medion Life X47006 User manual

Medion
Medion MD 86066 User manual

Medion
Medion Camcorder User manual