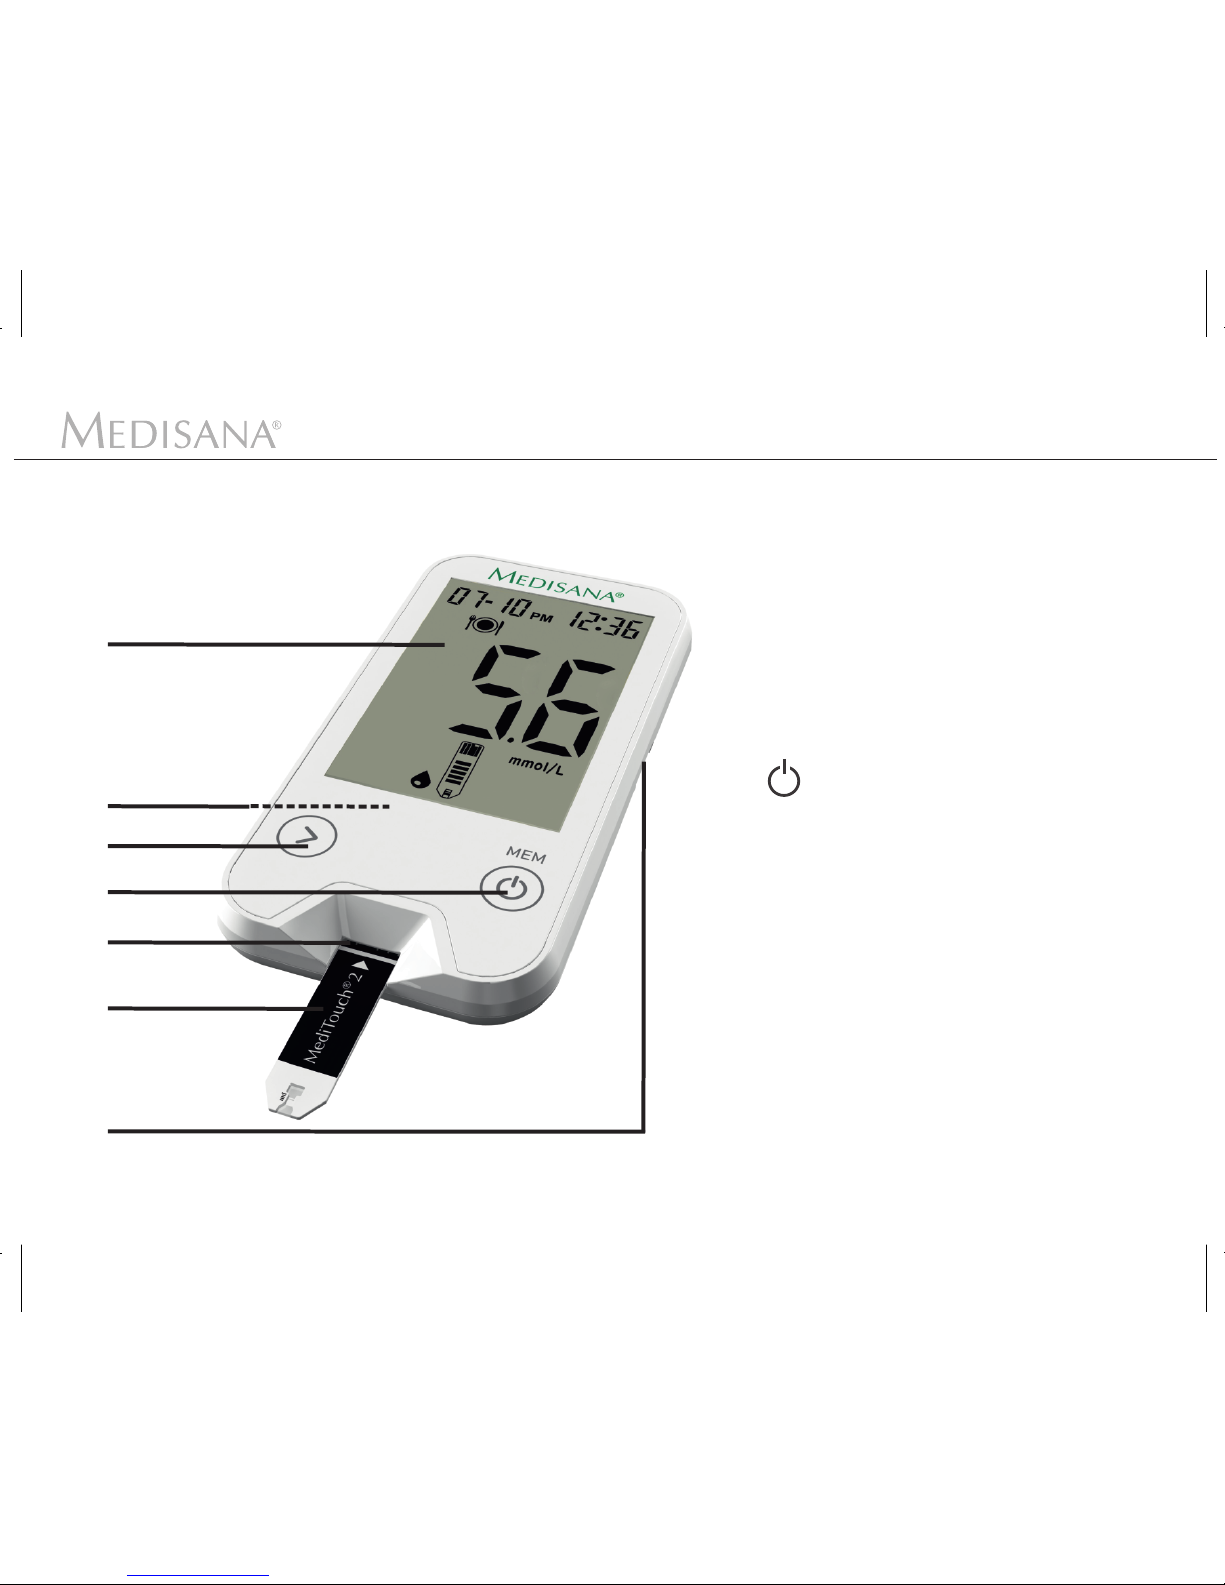
Device and controls
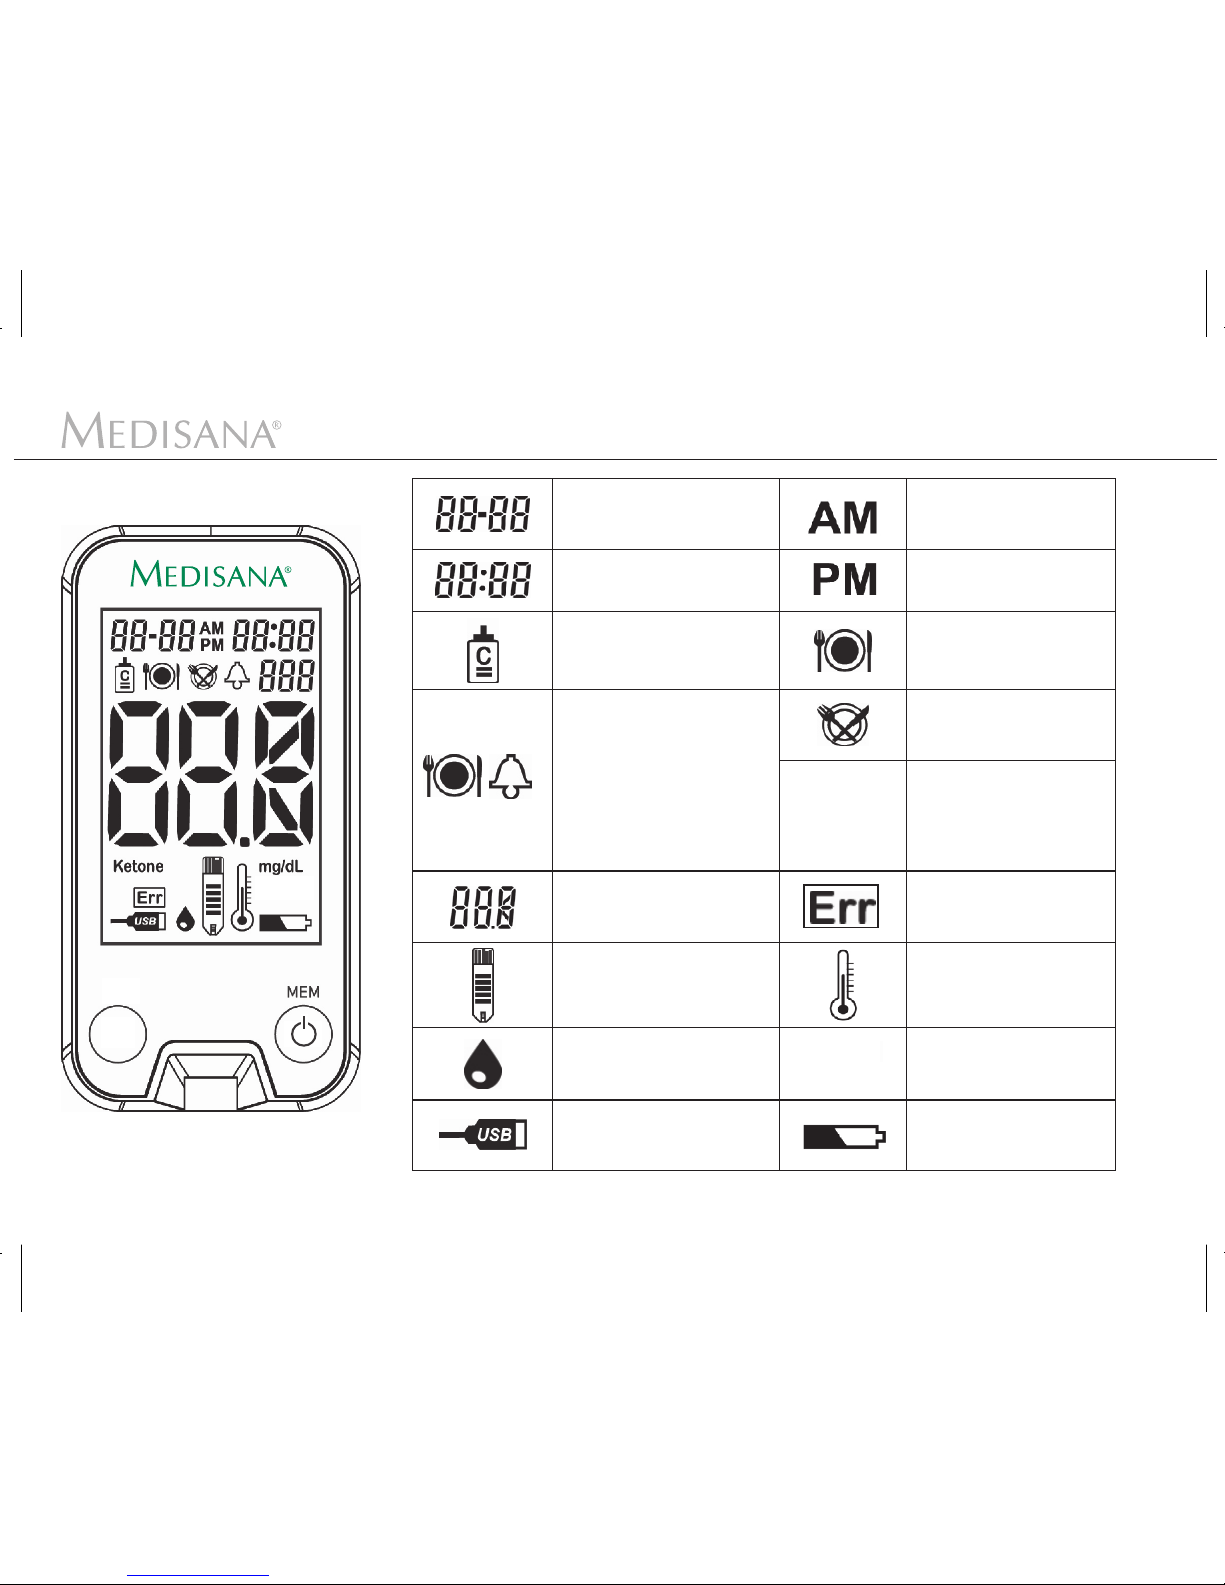
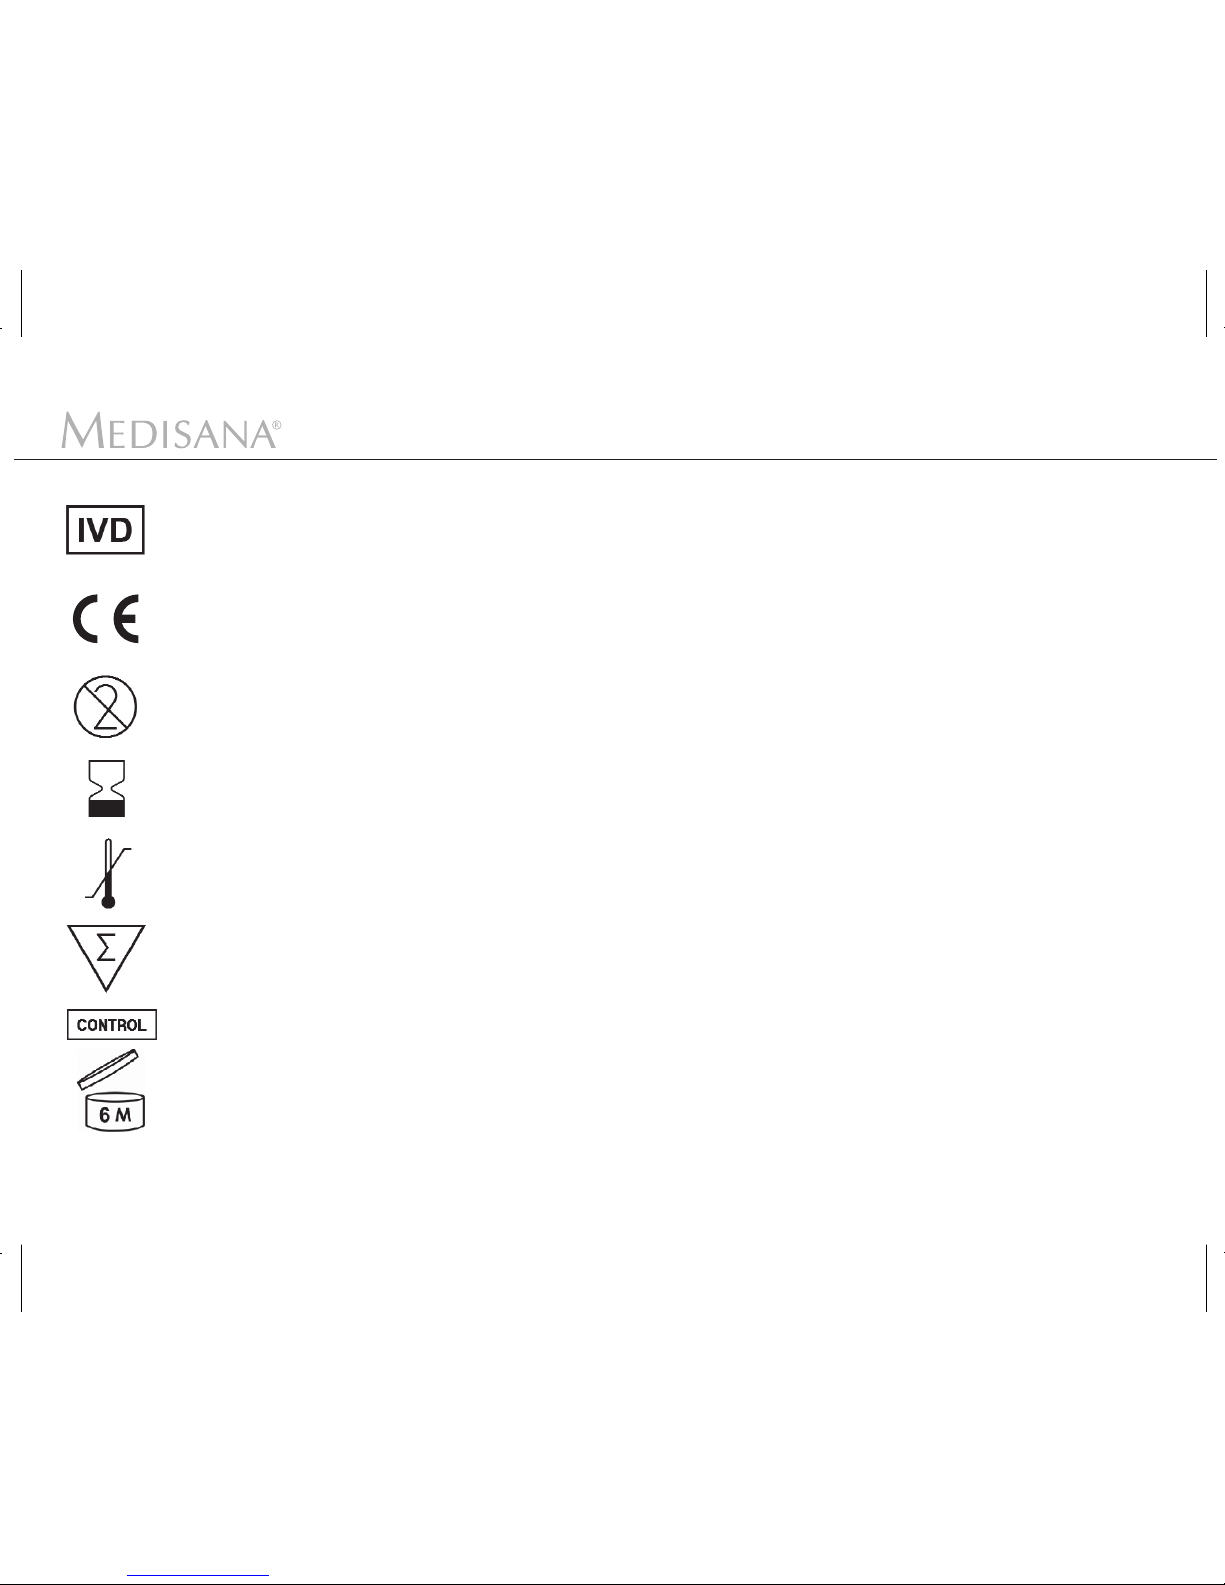
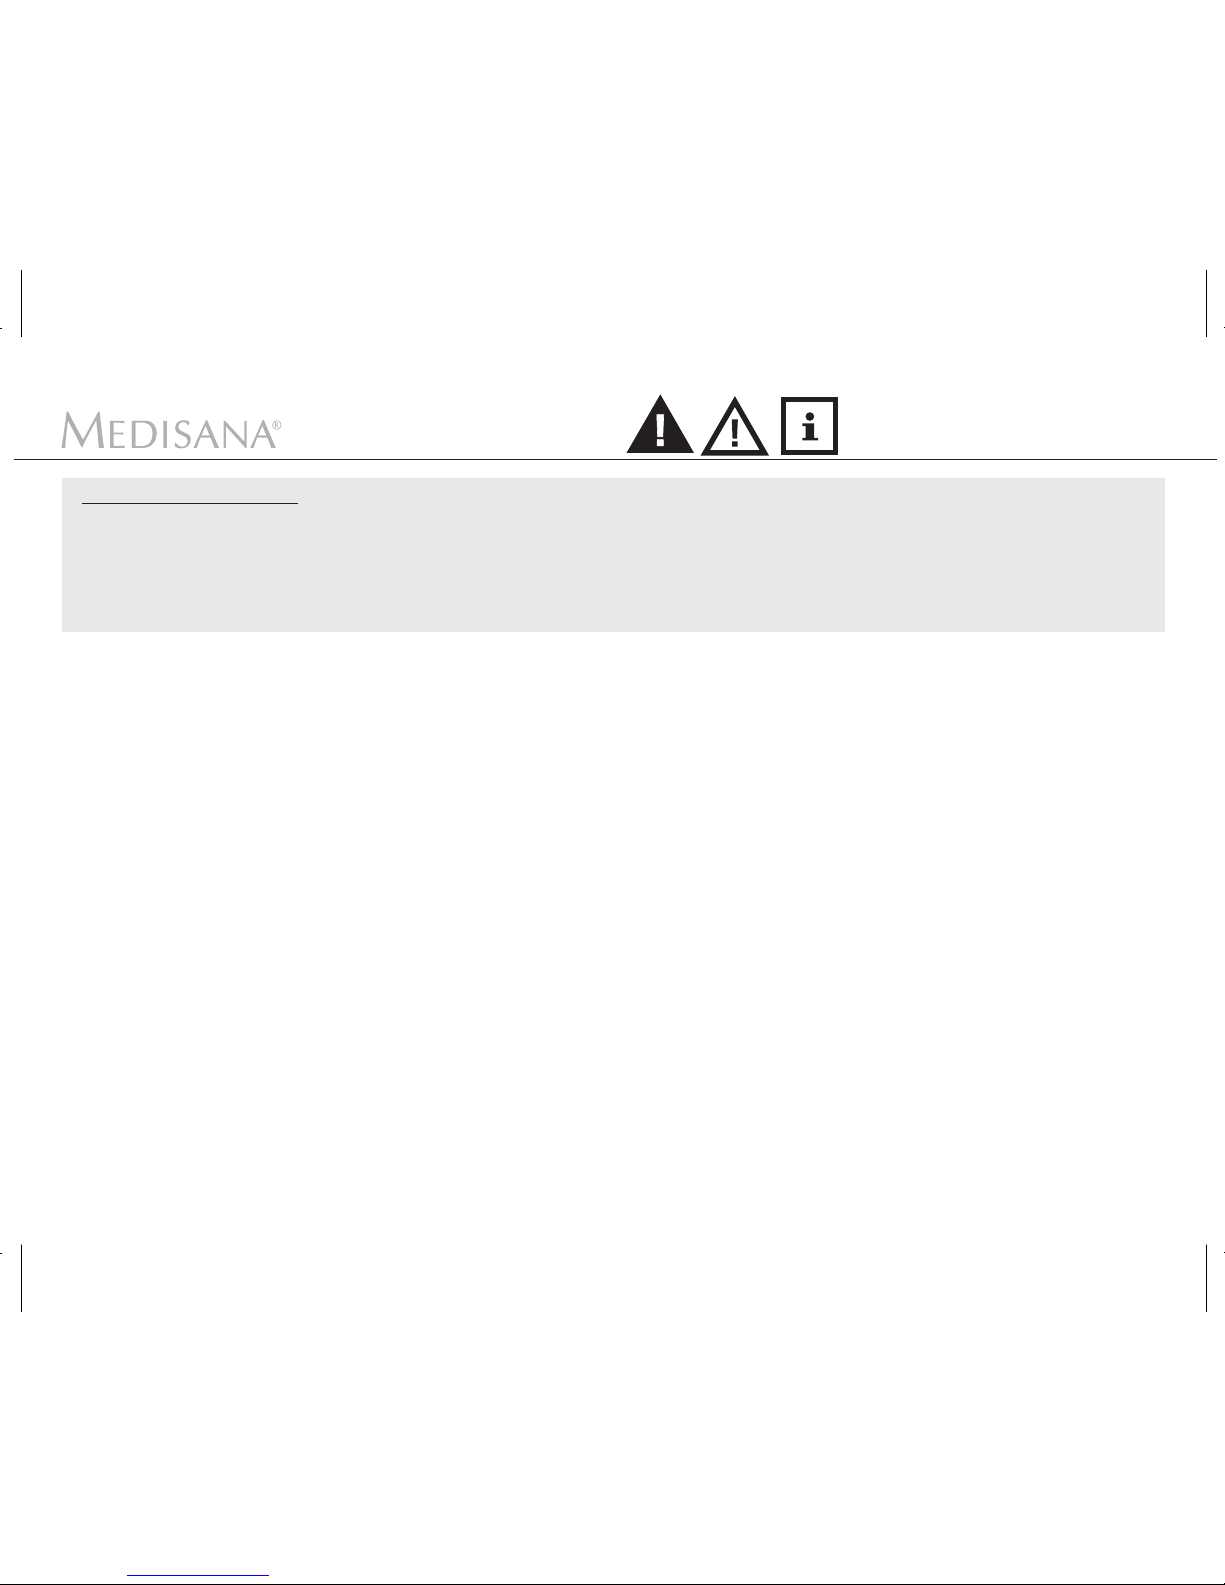
1 Explanation of symbols
2 Safety information
2.1 Always observe the following points
2.2 Instructions for your health
2.3 Instructions on how to use the blood
glucose test strips
2.4 Instructions on how to use the control
solution
3 Useful information
3.1 Items supplied and packaging
3.2 Special features of the MEDISANA
blood glucose monitor MediTouch 2
®
4 Getting started
4.1 Inserting the batteries
4.2 Setting the time and date
5 Operating
5.1 Using the control solution
5.2 Preparing the blood glucose test
5.3 Using the AST cap
5.4 Determining the blood glucose level
5.5 Discarding used lancets
5.6 Evaluating a test result
5.7 Typical symptoms of high or low blood
glucose
6 Memory
6.1 Saving the test results
6.2 Accessing and deleting test results
7 Integration in VitaDock online
®
8 Miscellaneous
8.1 Display and troubleshooting
8.2 Cleaning and maintenance
8.3 Reset the meter
8.4 Technical specifications
8.5 MEDISANA MediTouch 2 accessories
®
8.6 Disposal
9 Warranty
9.1 Warranty and repair terms
9.2 Service address
Contents
...............................................
.....................................
..............................................
...............
.............................
...........................................
...........................................................
..............................................
........................
.............
....................................................
.....................................
................................
.............................................................
...............................
....................
..........................................
..............
.................................
...................................
............................................................
3
6
8
8
11
13
14
15
15
16
17
17
19
20
20
24
27
29
31
32
34
2
..............................................................
.....................................
.................
........................
..................................................
............................
.............................
...............................................
..................................
...........
..........................................................
............................................................
...............................
..............................................
35
35
35
37
39
39
43
44
44
45
45
46
46
47