Medline MDS400SA User manual

BATTERY OPERATED
PATIENT LIFT
OWNER’S MANUAL
MDS400SA
MDS600SA
Not made with natural rubber latex.

MDS400&600SA (GPI252)
Revision: 02/16/16
1
ThANk YOu FOR chOOsINg A MEDLINE LIFT!
To better serve you, please record the following information:
Supplier Name:____________________________________
Telephone:________________________________________
Serial #:__________________________________________
Date of Purchase:__________________________________
INsPEcT YOuR MERchANDIsE
Upon receipt of your Medline Lift, verify that all merchandise is complete and free from any shipping damage. Refuse
delivery if the package appears to be badly damaged. If the merchandise is received damaged or is missing components,
contact the shipping company immediately and file a claim. For further assistance, contact your local dealer or Medline:
Medline Industries, Inc. Mundelein, IL 60060, USA 1-800-MEDLINE
EXPLOsION chART OF MEDLINE MDs400/600 sA
*Each lift has warning labels applied
1. Base
2. Mast
3. Control box
4. Pendant
5. Actuator
6. Lifting Boom
7. Kneepad & Footplate
8. Caster with brake
9. Front Caster
1. Washer Plastic x2
2. Kneepad Assemble x1
3. Washer x2
4. Bolt x1
5. Nut x1
6. Cap x2
MDS 400 & 600SA
Kneepad & Footplate
Assembly Sketch
DIAGRAM OF CONTROL BOX

MDS400&600SA (GPI252)
Revision: 02/16/16
2
sAFETY INsTRucTIONs
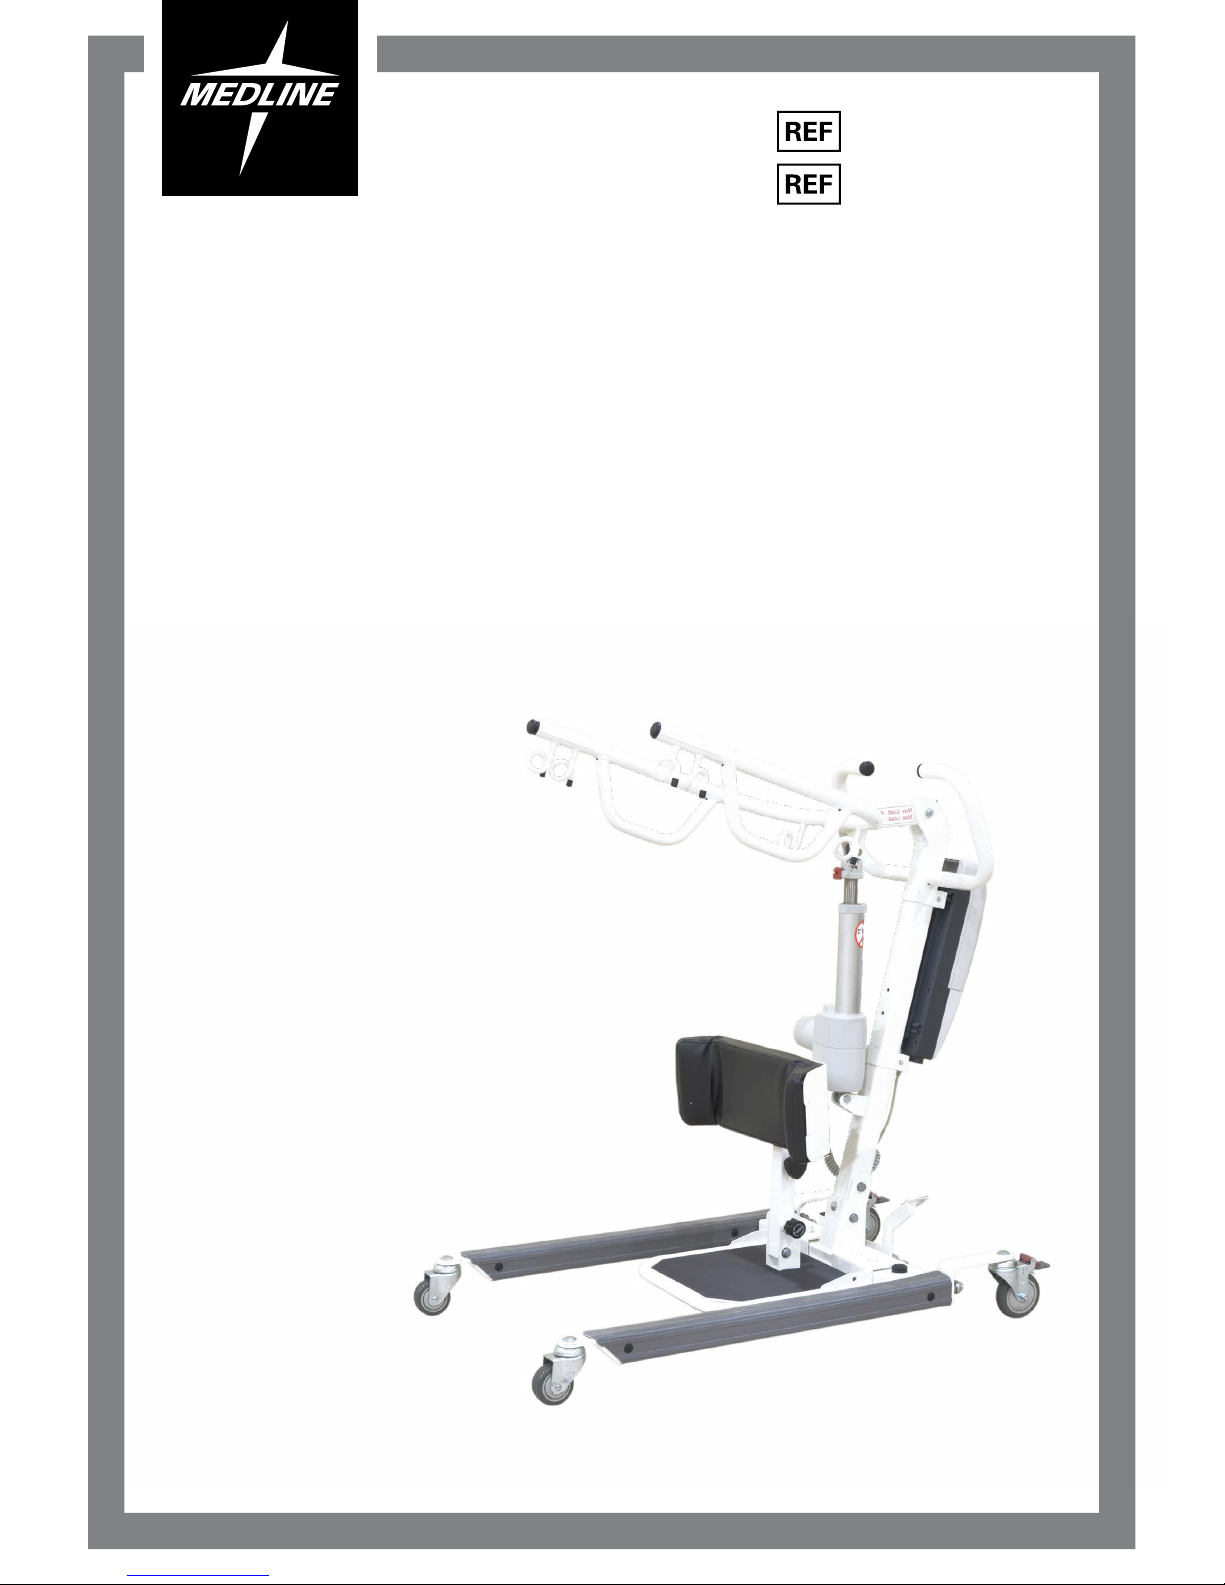
The Medline MDS400SA and MDS600SA reflects innovative state-of-the-art design to increase user mobility. The
MDS400SA and MDS600SA will provide years of service if it is properly maintained, as any piece of electrical/
mechanical equipment requires.
Please pay careful attention to the following important information regarding the care, maintenance, and operation of
the Medline MDS400SA and MDS600SA Battery Operated Patient Lift. Carefully read the instructions before assembling
the lifter, or attempting to lift any user with the device.
PLEAsE NOTE ThE FOLLOWINg:
• Special care must be taken with residents who cannot provide assistance themselves while being lifted. (i.e. residents
who are comatose, spastic, agitated, or otherwise severely handicapped.)
• The Medline MDS400SA or MDS600SA should be solely for transferring a resident to or from a wheelchair, bed,
commode, shower chair, floor or 90 degree rotation. The lift should not be used for patient transportations between
rooms, etc. in lieu of a wheelchair or gurney.
• During lifting, whenever possible, always keep the base of the lift in the widest position with the casters locked.
• The base of the lift should be closed before moving the lift.
• Do not roll casters over any object while the resident is in the sling.
• Maximum weight that can be safely lifted is 400 lbs. for the MDS400SA and 600 lbs. for the MDS600SA.
NEVER EXCEED SAFE WORKING LOAD CAPACITY.
The Medline MDS400SA or MDS600SA allows a resident to be lifted and transferred safely with minimum physical
effort required by the caregiver. Before attempting to lift anyone, please practice operating the lift and read this manual
completely. Also prior to actual lifting, explain the lifting procedure to the resident.
WARNINg!
Do not attempt to transfer a resident without prior approval of the resident’s nurse or doctor. Also, do not transfer
without having studied the instructions and practiced operating the lift several times. Together with the resident’s
doctor, nurse, or medical attendant, select a Medline sling that is both practical and comfortable. The sling selected
should be one that serves the needs of the resident, while providing the resident with optimal safety. Never interfere
with the lift, unless instructed by the attendant who should be experienced in the use of the Medline MDS400SA or
MDS600SA. Never operate the lift unless you have been properly trained on all procedures and safe handling methods.
WARNINg!
Medline slings are specially designed for use on Medline Lift equipment. For optimum performance use only Medline
stand assist slings. USE OF NON-MEDLINE SLINGS IS UNSAFE AND MAY RESULT IN INJURY TO THE RESIDENT OR
CAREGIVER.
WARNINg!
Do not put anything (e.g. cushion, pad, etc.) between the resident and the sling. This may cause the resident to slide out
of the sling and cause injury.

MDS400&600SA (GPI252)
Revision: 02/16/16
3
WARNINg!
Avoid personal injury by making sure children or pets are away from the Medline MDS400SA or MDS600SA while it is in
use.
WARNINg!
Avoid personal injury by making sure all extremities (such as fingers, arms, legs, or feet) are clear of the lift mechanism
while it is in operation.
WARNINg!
Avoid personal injury and possible damage to the MDS400SA or MDS600SA by making sure the maximum weight limit
is not exceeded.
WARNINg!
Replace any worn parts only with genuine Medline Lift parts. Medline Lift parts are not interchangeable with parts from
other patient lift brands. Using other patient lift parts on Medline Lift products is unsafe and may result in serious injury
to resident and caregiver. Medline is not responsible for any consequence resulting from the use of non-Medline Lift
parts and components.
WARNINg!
Avoid personal injury by making sure the electrical connector is disconnected before conducting any electrical inspection.
Contact your dealer if any electrical problem is detected.
WARNINg!
Service and repair of Medline Lift equipment should be performed only by Medline or by an authorized dealer. Medline is
not responsible for any consequence resulting from any unauthorized service or repair.
cAuTION!
Avoid damage to the MDS400SA or MDS600SA by keeping foreign objects from coming into contact with the lift
mechanism or other lift moving parts.
ALWAYs chEck ThE FOLLOWINg BEFORE LIFT OPERATION:
• The base legs are fully engaged from the stowed position
• The mast is fully locked and bolted securely into position
• The base legs open and close properly using foot pedals
• The red emergency stop/reset button is in the up (operating) position
• The hand remote has been tested and the lift up/down functions work smoothly
• The nuts, bolts and fasteners are secure

MDS400&600SA (GPI252)
Revision: 02/16/16
4
AssEMBLY INsTRucTIONs
WARNINg!
The lift is heavy. Therefore, avoid injury and DO NOT attempt to remove the lift from the box without any assistance.
Exercise care when unpacking and assembly to avoid injury and pinching fingers between components. Read the owners
manual carefully prior to unpacking and ask for assistance if you are unsure of proper procedures. A set of special
wrenches is supplied with each lift for assembly; or standard adjustable wrenches or socket sets may be used.
NOTE: Prior to using the Medline MDS400SA or MDS600SA for the first time, charge the batteries for 12 hours.
2. Attach boom to top of mast.
Re-insert the bolts into the holes at
top of the mast and tighten the nuts.
3-1. Attach the bottom actuator to
the bracket on the mast and insert
pin. Insert keeper ring through
hole in pin to secure base of actuator.
3-2. Attach the top of the actuator to
the bracket on the boom and insert
pin. Insert keeper ring through hole
in pin to secure actuator to upper
bracket.
4. Unfold the square tubing at the
footplate in a upright position.
Install the kneepad at the top of the
square tubing with bolt and nut and
2 sets of washers.
As shown in the assembly sketch on
page 4.
*Assembly Finished.
1. Engage the brakes. Remove the
bolts from the bottom of the mast
and base. Pull the mast to an upright
position. Re-insert the bolts into
the holes at bottom of the mast and
tighten the nuts.

MDS400&600SA (GPI252)
Revision: 02/16/16
5
cONTROL BOX INsTALLATION
Install the control box. Slide the control box over and onto the metal tab mounted at the bottom of the Mast. Line up the
control box with the hole at the top of the mast and insert the screw to hold the control box in place. Secure the control
box by turning the lock mechanism into the lock position.
cONTROL BOX INsTRucTIONs
FEATuREs:
• Smart charging function for longer battery life
• Battery capacity indicator on battery pack
• Soft start and stop for lifting actuator
• Soft and Hardware over-current protection
• Actuator’s Over-duty protection with sign on LCD
• Emergency stop button interrupts the power supply to the actuator and makes the actuator stop
• immediately in case of sudden danger
• Internal charger
• LCD-display showing battery capacity and indication when the battery needs recharging.
• Audible alarm for low battery capacity
• Standard protection class: IP 65
• Pulling-proof design to lock the AC plug
Battery pack release
LCD display / LCD
Lifting actuator UP
Lifting actuator DOWN
Battery indicator
Emergency button

MDS400&600SA (GPI252)
Revision: 02/16/16
6
LcD INDIcATORs
Overload
Battery Volume
Overused
Low battery Battery low
(Blink)
EMERgENcY sTOP
Emergency stop button interrupts the power supply to the actuators and makes the actuators stop immediately in case
of sudden danger.
*IT’S STRONGLY RECOMMENDED THAT THE BUTTON IS PRESSED DOWN WHEN THE LIFT WILL NOT BE USED FOR
OVER 3 DAYS TO MAINTAIN OPTIMAL BATTERY LIFE AND PERFORMANCE.
PATIENT LIFT WILL NOT OPERATE WhILE chARgINg
KG
KG
Low battery
Capacity Function
90% Battery is charged to
around 90%
70% Battery is charged to
around 70%
50% 50% Battery capacity
remaining charge
batteries immediately.
25% 25% Battery capacity
remaining charge
batteries immediately.
10% Battery is charged to
around 10% Buzzer
beeps/ Only lowering
possible
0% Power off

MDS400&600SA (GPI252)
Revision: 02/16/16
7
FEATuREs OF POWER PLug:
c-cLAMP:
• When the battery is being charged, insert this C-clamp to secure the power plug.
WATERPROOF cOVER:
• When control is not being used, this cover should be closed to prevent water ingress.
REMOVE AND INsERT BATTERY PAck:
REMOVE:
• Press button A and pull out in the up direction (Fig. 1)
INsERT:
• Insert the battery pack into control box as show in Fig. 2 & 3.
• While pressing the release/latch button A, slide the battery pack into control box in the
• Downward direction and ensure battery pack latch hooks onto the top of the control box.
• Once the battery pack is hooked onto the control box, release button A.

MDS400&600SA (GPI252)
Revision: 02/16/16
8
MAINTENANcE & INsPEcTION chEckINg LIsT
The operator of the lift is to inspect the Medline MDS400EL before each use. Check all bolts for tightness. Make sure the
base can be easily opened, and that all lift parts are in place. Make sure all casters turn freely, and that the caster brakes
can be engaged. Make certain all necessary items (i.e. slings, wheel chairs, etc.) are accessible and ready for use. See the
instructions below to check the battery capacity and appropriate re-charge levels.
At least once a month, the lift should be thoroughly inspected by a qualified technician to recognize any signs of wear,
and/or looseness of bolts or parts. Replace any worn parts immediately.
To lubricate, place a drop of general purpose oil on the following points when the Medline MDS400SA or MDS600SA is
serviced and every month thereafter:
• Top of mast bolt connection
• Spreader bar hinge
• Caster axles
chEckINg BATTERY cAPAcITY
Check batteries by pressing on the control box LCD screen or by pressing the battery indicator on the battery pack.
• Make sure the battery box red reset/emergency stop button is “ON” (i.e. the red button is up).
• Insert the AC charging cable into the control box and pug into a working electrical outlet.
• Batteries require 7-9 hours to be fully charged.
• A complete initial charge should take approximately 12 hours. Subsequent recharges should take 4 hours or less. Do
not charge the batteries over 12 hours to avoid premature charger wear. Charging longer than 12 hours will not affect
the battery life.
• Unplug the AC charger cable FIRST before using the lift.
• Replace the two internal batteries when frequent charging is required.
• *The Medline MDS400SA & MDS600SA will not operate while the batteries are being charged.

MDS400&600SA (GPI252)
Revision: 02/16/16
9
MAINTENANcE schEDuLE
Always follow the maintenance and cleaning schedule closely and fully while including any specific state regulations
should they apply. Keep a log book of maintenance times and work performed or parts replaced.
PERFORM EAch OF ThE FOLLOWINg IMMEDIATELY AFTER AssEMBLY AND
MONThLY ThEREAFTER:
BOOM
• Check that boom is firmly attached to mast.
• Make sure the boom is straight with no bends or deflections.
• Check all sling hooks for excessive wear.
MAsT
• Check mast is secured and bolted tight to the base.
• Make sure mast is straight with no bends or deflections.
BAsE & FOOT PEDALs
• Make sure the base legs open freely.
• Make sure the lift rolls easily on its casters and the casters are firmly attached to base. If lift won’t roll freely check
caster surface for wear and replace if required. Lubricate caster axles at each maintenance session.
ELEcTRONIc sYsTEM
• Make sure control box is fastened on the mast securely.
• Check that actuator is firmly attached to boom and mast with holding pins.
• Check that actuator plug is firmly inserted into the correct port of the control box.
• Operate hand control or push battery indicator to check battery levels and charge if required.
• Attempt upward and downward lift to ensure actuator is working properly.
• Check the operation of the red reset/emergency stop button.
• Listen for any warning beeps during testing and perform troubleshooting as required.
sLINgs
• Check entire sling inventory for fraying, tearing or excessive wear of any kind and replace any worn or damaged slings
with new Medline slings.

MDS400&600SA (GPI252)
Revision: 02/16/16
10
DO NOT OPERATE LIFT uNLEss
ALL MAINTENANcE POINTs PAss INsPEcTION
WARNINg:
• ALWAYS plan your lifting operations before commencing.
• ALWAYS carry out the daily checklist before using the lift.
• ALWAYS familiarize yourself with the operating control and safety features of a lift before lifting a patient.
• DO NOT use a sling unless it is recommended for use with the lift.
• ALWAYS check if the sling is suitable for the particular patient and is of the correct size and capacity.
• NEVER use a sling which is frayed or damaged.
• ALWAYS fit the sling according to the instructions provided.
• ALWAYS check the safe working load of the lift to be sure it is suitable for the weight of the patient.
• ALWAYS carry out lifting operations according to the instructions in the user manual.
• NEVER disconnect or bypass a control or safety feature because it seems easier to operate the lift.
• DO NOT lift a patent with the caster brakes on. Always let the lift find the correct center of gravity.
• DO NOT attempt to maneuver the lift by pushing on the mast, boom, or patient.
• ALWAYS maneuver the lift with the handle provided.
• ALWAYS lower the patient to the lowest comfortable position before transfers.
• DO NOT push a loaded lift at speeds which exceed a slow walking pace (1.9 miles/hour, 2.6 foot/second).
• DO NOT push the lift over uneven or rough ground. Particularly if loaded.
• DO NOT attempt to push/pull a loaded lift over a floor obstruction, which the casters are unable to ride over.
• NEVER force an operating/safety control. All controls are easy to use and do not require excessive force.
• DO NOT park a loaded lift on ANY sloping surface.
• DO NOT use electric lifts in a shower.
• DO NOT charge an electric lift in a bathroom or shower room.
• DO NOT lift a patient unless you are trained and competent to do so.
• Your lift is for patient lifting. DO NOT use it, or allow it to be used for any other purpose.
• DO NOT bump the lift down steps, loaded, or unloaded.
• DO NOT attempt to negotiate a loaded lift on a slope.
• ALWAYS check that the hoist is not charging before moving as the electrical connection may be damaged.
• CAUTION: Keep the batteries fully charged. Place the lift on charge whenever it is not in use. The charger will not
allow the batteries to “overcharge”.
• NEVER lift with the legs in the closed/transport position. The closed position is for storage and transport only.
• CAUTION: Never run the batteries completely flat. If the audible warning sounds, complete the lifting operation in
hand and place the lift on charge.
• CAUTION: Never store the lift for long periods without regular charging throughout the storage period.
• CAUTION: Never disconnect the charger plug by pulling on the cable.
• The lift has two braked casters, which can be applied for parking. When lifting, the casters should be left free and
LOCKED. Keep casters UNLOCKED when lowering.
• DO NOT apply the brakes because if the brakes are applied, the patient might swing to the center of gravity and this
may prove disconcerting and uncomfortable to the resident.
• NOTE: Lock casters when raising the patient; keep them unlocked while lowering the patient. The reason for locking
while raising is the patient could potentially kick the unit away or move it away, so the knee brace will not be lined up
properly.

MDS400&600SA (GPI252)
Revision: 02/16/16
11
OPERATINg INsTRucTIONs
NOTE: Turn the lift “ON” by turning the red “RESET” button clockwise until it pops up. Turn the lift “OFF” by pressing
down the “RESET” button.
PREPARATION BEFORE LIFTINg
1. Press the UP or DOWN button on the hand control once. To proceed with lifting, make sure all components are plugged
in and operating correctly. Check battery status by pushing on the battery indicator on the control box (See pg.8 for
the location of the battery indicator button).
2. After the battery indicator lights went out, push the UP button and the DOWN button on the hand control and ensure
that the lift is operating correctly.
3. Position the base of lift around or under the object.
4. Widen the base and engage the caster brakes.
FITTINg MEDLINE sTAND AssIsT sLINg
SAFETY NOTE: The Medline Stand Assist sling is not suitable for patients who have involuntary postural control.
1. Always check sling safe working load versus person to be lifted.
2. Position sling behind the back with the two red pads under the arms and the single red lumbar
pad against the small of the back.
3. Make sure the adjustment strap is on the outside.
4. Cross the chest belt over and secure using the buckle adjusting for comfort as required.
5. Place loops A&B through black strap C forming an “H” in front of person as in Diagram 5.
6. Attach loops A&B to the corresponding pig tail hooks a&b on the lift boom as in Diagrams 1&2
7. Person must grasp handles, and have feet securely on foot platform with knees against kneepad.
8. Person must keep arms outside of all loops while looking up at a slight angle as in Diagram 6.
9. Correct lift position and loop attachments as shown in Diagram 7.
TRANsFER FROM BED
• Fit sling as described in “Fitting Medline Stand Assist Sling” above.
• Push lift towards patient. Open the base of the lift. Apply the brakes in both rear casters.
• Position patient’s feet on the foot platform and knees against the kneepad.
• Attach the sling straps to the hooks.
• Have the patient’s hands holding the handles. For patients who cannot hold the handles, have them hold their
arms around the chest.
• Press the “UP” button on the hand control.

MDS400&600SA (GPI252)
Revision: 02/16/16
12
• Before the patient’s body is lifted from the bed, stop and make sure the sling is secured and patient’s knees are
against the knee pad.
• The patient should be comfortable with the pressure under the arms. If not, adjust the sling and try another loop
option to release pressure.
• Engage the lift “UP” button until the resident has been lifted and clear of the bed surface.
• Transfer to another object can be done at this position without the patient attending a full standing position.
• Release the brakes, close the base, and pull the lift away from the bed.
• Lower the patient to the object intended.
• Reverse the above procedures when lowering the patient to the bed.
•
TRANsFER FROM WhEELchAIR
• Fit sling as described in “Fitting Medline Stand Assist Sling”.
• Push lift towards patient. Open the base of the lift to go around the chair. Apply the brakes in both rear casters.
• Position patient’s feet on the foot platform and knees against the kneepad.
• Attach the sling straps to the hooks.
• Have the patient’s hands holding the handles. For patients who cannot hold the handles, have them hold their arms
around the chest.
• Press the “UP” button on the hand control.
• Before the patient’s body is lifted from the chair, stop and make sure the sling is secured and patient’s knees are
against the kneepad.
• The patient should be comfortable with the pressure under the arms. If not, adjust the sling and try another loop
option to release pressure.
• Press the “UP” button until the patient’s body has completely left the chair.
• Transfer to another object can be done at this position without the patient attending a full standing position.
• Release the brakes, close the base, and pull the lift away from the bed.
• Lower the patient to the object intended.
• To lift patient in a standing position, continue to lift until the patient’s knees are locked in a standing position.
• At the standing position, patient’s knees may move away from the kneepad.
• Release the brakes, close the base, and pull the lift away from the bed.
• Lower the patient to the object intended.
• Reverse the above procedures when lowering the patient to the bed.
Turn clockwise to lower

MDS400&600SA (GPI252)
Revision: 02/16/16
13
EMERgENcY LOWERINg MEchANIsM
APPLIEs TO ThE MDs600EL ONLY:
In case of lift failure, please follow the procedures below to safely lower the user.
The Emergency Lowering Device is located at the top of the actuator shaft. It is intended for use if the actuator fail to
operate while a patient is suspended.
The device consistion of a plastic collar ring that should be turned clock-wise continually until the patient has been
lowered.
NOTE:
THE EMERGENCY LOWERING DEVICE IS INTENDED FOR USE DURING LIFT FAILURE. THIS DEVICE WILL ALLOW
LOWERING OF PATIENTS ONLY.
LIFT sPEcIFIcATION chART
ITEM
NUMBER
WEIGHT
CAPACITY
SPREADER
BAR
MAXIMUM
HEIGHT
SPREADER
BAR
MINIMUM
HEIGHT
BASE
CLOSED
EXTERNAL
WIDTH
BASE
CLOSED
INTERNAL
WIDTH
BASE OPEN
EXTERNAL
WIDTH
MDS400SA 400 lbs. 68” 33” 26.5” 22” 37”
MDS600SA 600 lbs. 68” 33” 26.5” 22” 37”
ITEM
NUMBER
BASE OPEN
INTERNAL
WIDTH
BASE
HEIGHT
MAST
HEIGHT
OVERALL
LENGTH
UNIT NET
WEIGHT
LOCKABLE
CASTERS
MDS400SA 32.5” 4.5” 40” 40” 120 lbs. Yes
MDS600SA 32.5” 4.5” 40” 40” 135 lbs. Yes
Turn clockwise to lower

MDS400&600SA (GPI252)
Revision: 02/16/16
14
TROuBLEshOOTINg chART
sYMPTOMs cOMPONENTs
cONcERNED
POssIBLE cAusEs AcTION sOLuTION
The actuator is
installed and a clicking
sound is audible.
-Actuator
-Actuator and
PCB
-Actuator plug is not sealed
properly into control box.
-Actuator is defective or
completed its life cycle.
-Control box is defective.
Test control box
on another
Medline lift.
-Firmly plug the actuator plug
into control box.
-Replace actuator if control box
is good.
-Replace PCB if control box is
bad.
The actuator will
either go up or down,
but not both.
Hand Control
or PCB
Hand control or control box
defective.
Test hand
control on
another
Medline lift.
-Replace PCB if hand control is
good.
-Replace hand control if it is bad.
The actuator makes a
grinding sound while
lifting, but works fine
without a load.
Actuator The internal gear is stripped
likely due to overloading
Stop using the
lift.
Repair or replace the actuator.
The actuator stops
and starts during
lifting or lowering.
Batteries Bad batteries Check battery
in-dicator.
Confirm if lights
drop quickly to
red light.
Replace batteries.
The lift will not
operate even though
battery indicator
shows charge.
Control Box -Charger still plugged in.
-Poor connection between
control box and hand control,
or defective hand control.
-Poor connection between
actuator and control box.
-Unplug charger.
-Plug hand control firmly into
control box, or replace hand
control.
-Plug actuator cord firmly into
control box.
The lift will not
operate and battery
indicator has no lights
illuminated.
Control box
and battery
-Control box may be in “off”
position.
-Internal batteries may be
loose from their connections.
-Batteries are in need of being
charged.
-Batteries are dead and won’t
hold a new charge.
-Turn the red emergency stop
button until it pops up to the “on”
position.
-Check inside control box to
ensure batteries are connected.
-Use the charger to charge the
batteries making sure the red
emergency stop is in “on” or “up”
position.
-Replace the two internal
batteries.
During charging the
battery, indicator is
not illuminated and
won’t charge.
-Control Box
-Charger
-The red emergency stop
button is in “off” or “down”
position.
-The charger is defective or at
end of it’s life cycle.
-Turn the red emergency stop
button until it pops up into the
“on” position.
-Inspect the charger for damage
and replace if required.
The battery indicator
indicates need for
frequent charging
and/or lift looses
power.
Batteries The internal batteries are at
the end of life cycle.
Replace the two internal
batteries.

MDS400&600SA (GPI252)
Revision: 02/16/16
15
LIMITED WARRANTY
The Medline MDS400SA or MDS600SA you purchased is guaranteed by Medline to be free from defects in material
and workmanship under normal use and service. The warranty period for this product is three years for the base and
frame assembly and three years for the electronic components including the actuator. Internal replacement batteries are
warranted for twelve months.
This warranty shall be voided upon transfer of ownership of this product. Medline agrees to repair or replace this
product, at our discretion and at no charge, within the warranty period provided the product is delivered to Medline or
its Authorized Service Center in its original packaging or equivalent; is fully insured with all shipping charges prepaid;
and that Medline consents the unit is defective. The repaired or replacement unit shall be warranted for a period equal to
the balance of the defective unit’s warranty period. A handling charge of $50.00 will be applied to any returned product
proven to be NOT defective. For warranty service, please contact the dealer from whom you purchased your Medline Lift
product. You may also contact Medline at 1-800-MEDLINE should warranty service not be available from your dealer.
NOTE: You must never return the product to your dealer or to Medline at any time without the verbal consent of either
party. To ensure the best service to our customers, Medline requires the following information to be included with the
returned unit:
1. Model Name/Number and Serial Number on the packaging.
2. Proof of purchase, i.e. copy of the original invoice from either Medline or its dealer.
3. A Return Authorization number (RA#) obtained by calling Medline prior to the return of the product. The RA# must be
clearly indicated on the outside of the packaging;
4. A detailed description of the problem and its symptoms on a note.
This warranty shall not apply to any product which has been repaired or altered in any way so as, in our judgment, to
affect its functionality and durability, nor to any product subject to abuse, misuse, negligence or accident, improper
maintenance, improper installation, nor to any product used with other parts, components and/or accessories with
quality and/or specifications not compatible with this product. This warranty does not cover products that have been
impaired by occurrences considered Acts of God over which Medline has no control. This warranty shall also be voided if
any required periodic maintenance, if applicable, has not been properly performed on this product.
This warranty and the aforementioned remedies presented are exclusive and in lieu of all other express or implied
warranties. No other representatives or claims shall be binding or obligate Medline in any way. Any warranty applicable
to this product is limited to the aforementioned period indicated. In no event shall Medline be liable for any special,
incidental, or consequential damages; loss of revenue; or cost of replacement goods; resulting from the use or
malfunction of this product to the associated equipment on which and with which it is used. This warranty gives specific
legal rights and you may be entitled to other rights that vary from state to state.

MEDLINE PATIENT LIFT MAINTENANcE REcORD
LIFT MODEL:
SERIAL NUMBER:
DATE SERVICE PERFORMED PARTS APPLIED/REPLACED MAINTENANCE PERFORMED BY
Medline México
01-800-831-0898
Medline Canada
1-800-396-6996
Medline United States
1-800-MEDLINE (633-5463)
Medline Industries, Inc.
One Medline Place
Mundelein, IL 60060
Some products may not be available for sale in Mexico or Canada. Please contact your Account Representative for
additional information.
We reserve the right to correct any errors that may occur within this instruction sheet. ©2016 Medline Industries, Inc.
Medline is a registered trademark of Medline Industries, Inc.
This manual suits for next models
1
Table of contents