6
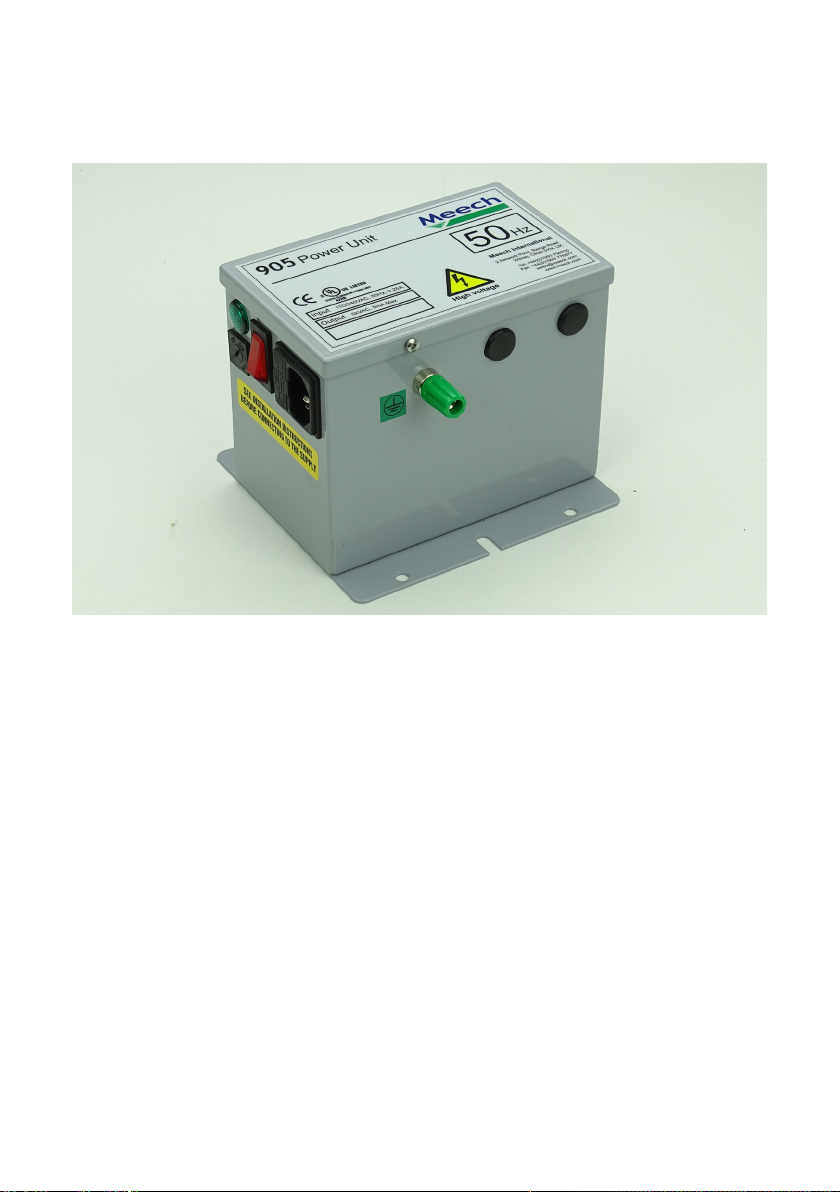
Ionising Equipment Connection
Before making any connections, ensure unit is disconnected from mains.
The 905 has 4 ionising appliance connection ports (2 on each side). Remove the lid of
the 905 by unscrewing the three retaining screws, select the required number of ports,
one per ionising appliance, and remove the necessary grommets from the ports.
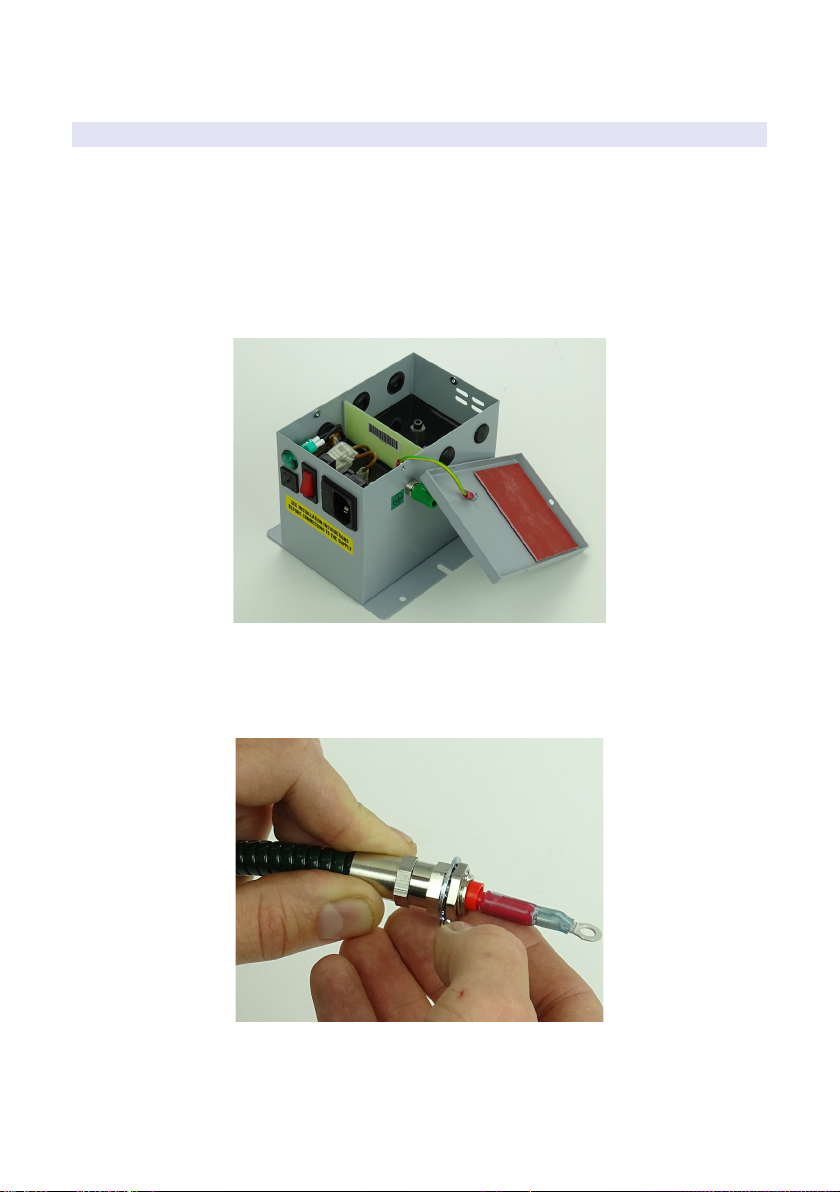
Connect the item of ionising equipment by removing the lock washer and nut from the
swivel connector of the appliance.
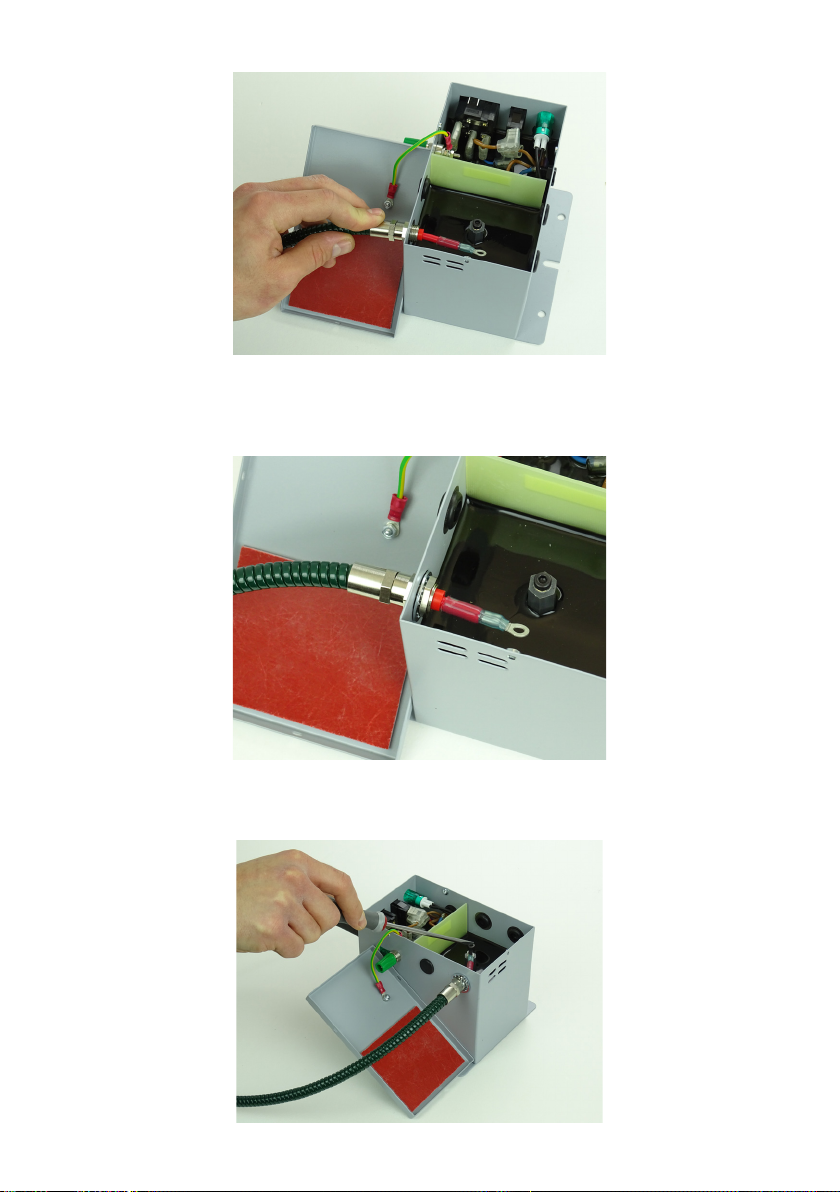
Push the connector through a port in the power supply adjacent to the high voltage
terminal.