MEI Cashflow SC83 Series User manual

MEI CASHFLOW SC83 Page-1
www.meigroup.com Part # 252055088 G6
MEI Cashflow SC83
®
/ SCN83
®
Installation & Operation Manual
2011MEI Inc. All Rights Reserved.
The MEI device, MEI CASHFLOW, MEI EASITRAX and SODECO are registered trademarks of MEI in the U.S. and other
countries. Information is subject to change without notice. MEI has made every effort to assure that the information in this
document is accurate. However, we cannot be held responsible for any errors or omissions.

MEI CASHFLOW SC83 Page-2
www.meigroup.com Part # 252055088 G6

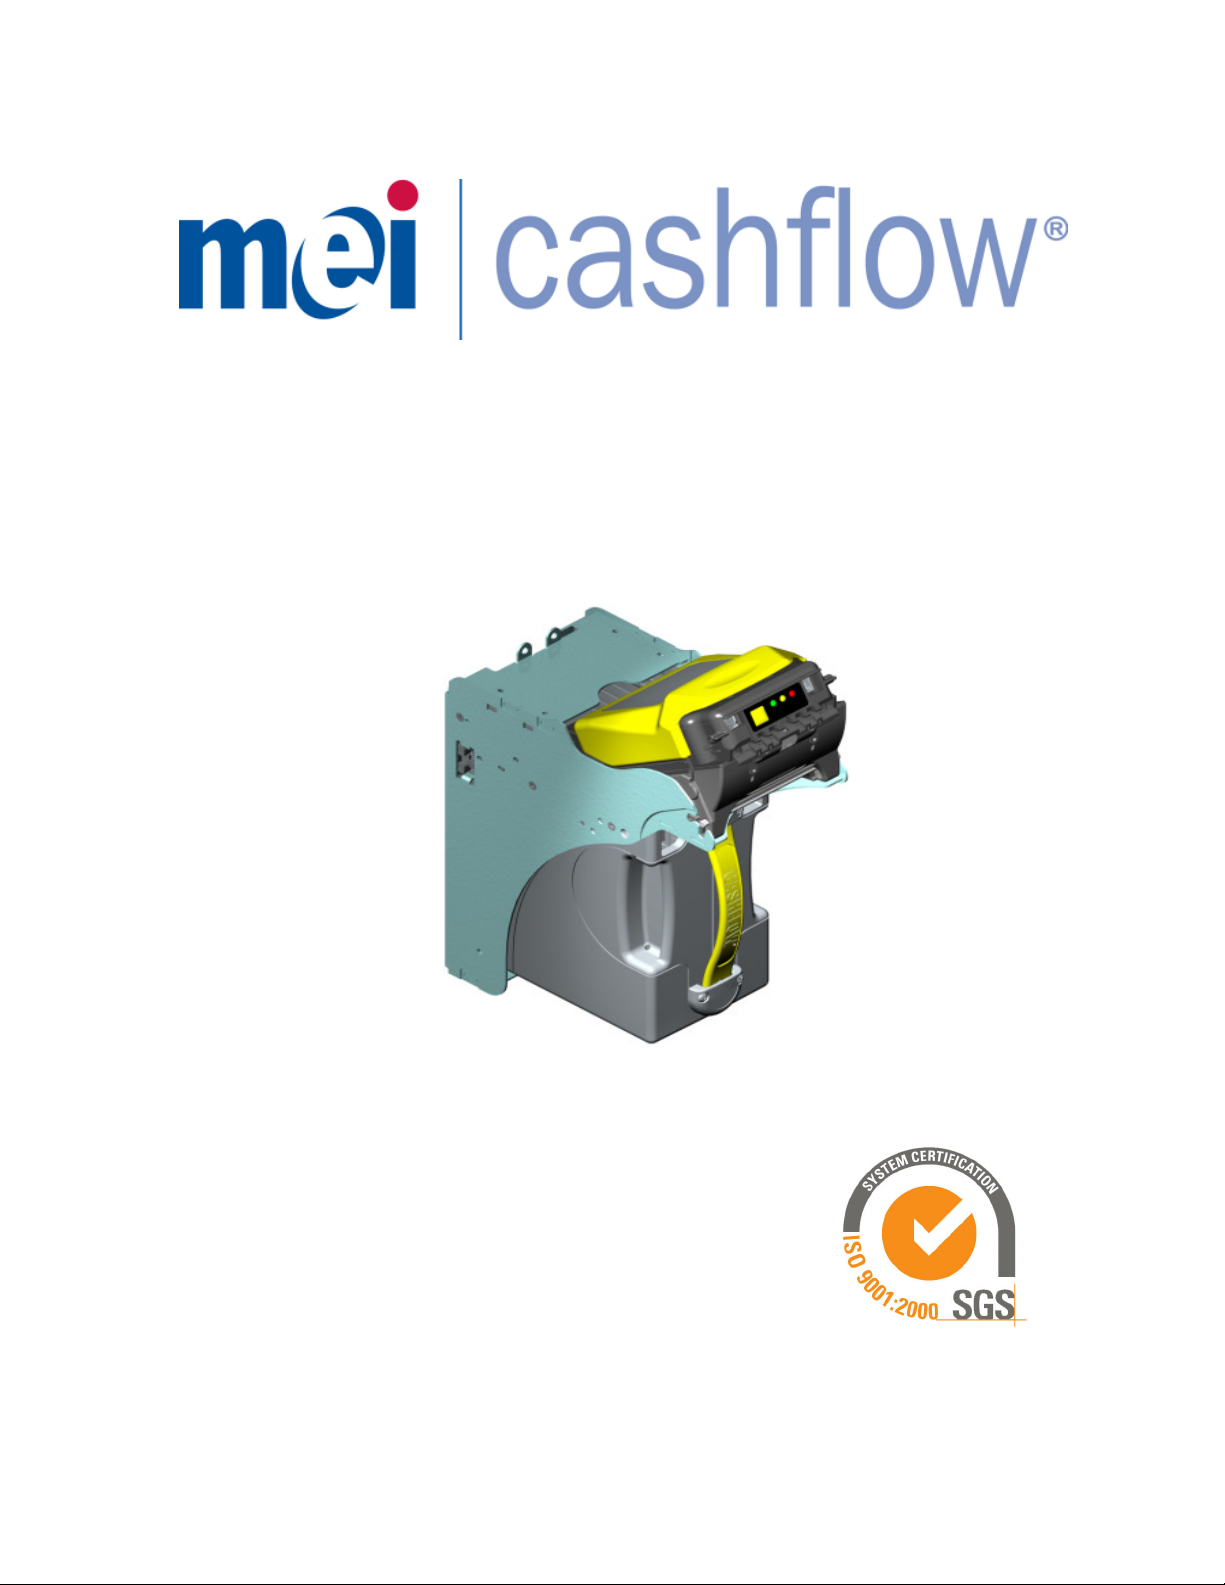
MEI CASHFLOW SC83 Page-3
www.meigroup.com Part # 252055088 G6
National and International
Standards Conformance
CashFlow®SC83 Series products operate at Safety Extra Low Voltage Level (SELV) as defined in
EN60950 ‘Safety of Information Technology Equipment’. They may be designed into equipment
complying with IEC60950/EN60950 ‘Safety of Information Technology Equipment’.
CashFlow®SCN83 Series products operate at Safety Extra Low Voltage Level (SELV) as defined in
EN60335 ‘Safety of Household and Similar Electrical Appliances’. They may be designed into
equipment complying with IEC60335/EN60335 ‘Safety of Household and Similar Electrical
Appliances’.
CashFlow®SC83/SCN83 Series products are of Class 2 construction.
Dangerous Environments
The CashFlow®SC83/SCN83 Series must not be operated in the presence of flammable gasses, fumes
or water.
Product Disposal
Do not dispose of any part of a CashFlow®SC83/SCN83 Series by incineration.
Published by:
MEI
Unit 51 - 52 Suttons Business Park
Suttons Park Avenue,Earley, Redding
RG6 1AZ United Kingdom
Internet: http://www.meigroup.com
©MEI Inc. 2007
Except as permitted under the relevant local legislation, no part of this publication may be copied,
transmitted, transcribed, or distributed in any form or by any means,or stored in a database retrieval
system, or translated into any language (natural or computer), without the prior permission of MEI,
Inc. Copyright MEI Inc 2007.
©MEI Inc. 2007
MEI, Inc.is a registered trademark. MEI reserves the right to change the product, product
specifications at any time.MEI has made every effort to ensure that the information in this document
is accurate. MEI disclaims any liability for any direct or indirect losses (how so ever caused) arising out
of use or reliance on this information.
When installing the SC83XX into a host machine,turn offall power.
When installing or removing the PROM observe all ESD precautions to
prevent damage.

MEI CASHFLOW SC83 Page-4
www.meigroup.com Part # 252055088 G6
TABLE OF CONTENTS
OVERVIEW
Model Number ........................................................................................................ 6
Serial Number......................................................................................................... 7
Features................................................................................................................ 8,9
Main Components of the SC83 Note Acceptor ................................................ 10
Power Requirement ............................................................................................. 10
INSTALLATION AND REMOVAL OF COMPONENTS
Installing the Chassis ........................................................................................... 11
Inserting and Removing the Acceptor Module ................................................. 12
Installing an Entry Guide .................................................................................... 13
Installing the Cashbox ......................................................................................... 14
Removing the Cashbox ........................................................................................ 14
Installing Locks on the Cashbox ........................................................................ 15
STS SUPPORT TOOL................................................................ 16
UPDATING SOFTWARE
Cashflow Portable Programing Module (PPM) ........................................ 17,18
Replacing the PROM .................................................................................... 19-21
HARNESSINGAND CONNECTORS
EBDS Interface Pin Out...................................................................................... 22
RS232 Interface Pin Out ..................................................................................... 22
MAINTENANCE
Cleaning the Acceptor Module ........................................................................... 23
Calibration ............................................................................................................ 23
TROUBLESHOOTING
Diagnostic Codes ................................................................................................. 24
Frequently Asked Questions ...................................................25-28
SC83 DIMENSION DRAWINGS................................................ 29
SCM DIMENSION DRAWINGS ................................................ 30
SCL DIMENSION DRAWINGS ................................................. 31

MEI CASHFLOW SC83 Page-5
www.meigroup.com Part # 252055088 G6
OVERVIEW
Model Number

MEI CASHFLOW SC83 Page-6
www.meigroup.com Part # 252055088 G6
OVERVIEW
Serial Number
WW YLCC #####
Configuration Code
Manufacturing Location
Year Manufactured (Last digit of year)
Week Manufactured(0-52)
Sequential Production Number

MEI CASHFLOW SC83 Page-7
www.meigroup.com Part # 252055088 G6
OVERVIEW
COMPONENTS
Acceptor Module
Chassis
Cashbox

MEI CASHFLOW SC83 Page-8
www.meigroup.com Part # 252055088 G6
Features
LIGHT BAR
LENSED RECEIVER
CUSTOM BAR-CODE READER
100 MHZ DSP PROCESSOR
EARLYNOTE PICK-UP
SMOOTH SEALED NOTE PATH
DIRECT ROLLER DRIVE
RIDGES MATE WITH ACCEPTOR
INTERNAL DIRECT ROLLER DRIVE ELEVATOR
SHORTNOTE PATH
DURABLE WELDED PLASTIC EXTERIOR
RECESSED PLASTIC GEARS
DUAL LOCK CAPABILITY
COMMON ACCEPTOR MODULES
PC STYLE EDGE CONNECTOR INTERFACE CARDS
ACCEPTOR RELEASE LATCH
NOTE PATH RELEASE
DISPUTE RESOLUTION WINDOW
ENTRYGUIDE & POWER MOUNTING
CONFIGURATION BUTTON - NOTUSED ON SC83 SERIES
DIAGNOSTIC LEDS - SEE PAGE 24 FOR DETAILS
USB SERVICE PORT- SEE PAGE 17 AND FIGURE 2 FOR DETAILS.
ACCEPTOR USER INTERFACE
FLEXIBLE HANDLE
PASSIVE CASHBOXLATCHES
OVERVIEW

MEI CASHFLOW SC83 Page-9
www.meigroup.com Part # 252055088 G6
Main Components of the CASHFLOW SC83®Bill Acceptor
The CASHFLOW SC83®consists of three main components
Cashbox/LRC Acceptor Module Chassis
OVERVIEW
The Acceptor Module and Cashbox are interchangeable with other identical SC83 models.
Bill Entry Guides for the CASHFLOW SC83®
Not all bill entry guides fit in every machine. Your choice regarding bill entry guides will depend
on machine specifications.Below are two bill entry guides that we currently manufacture. For
customers who prefer to tool their own bill entry guide, please contact our technical department.
Universal Bill Entry Guide
Platform Bill Entry Guide
Power Requirements
Standby: 10 Watts
Acceptance: Peak 30 Watts
Stacking: Peak: 70 Watts
Input Voltage: +12-28 VDC

MEI CASHFLOW SC83 Page-10
www.meigroup.com Part # 252055088 G6
INSTALLATION
Mounting Holes
(use M4 screws)
Mounting Holes
(use M4 screws)
Bottom
Back Side
Note: Always power down machine prior to Installation.
The cashbox does not lock to the chassis. When you remove the unit from the container or when the unit is not installed
in the machine, you must never carry the bill acceptor by the handle of the cashbox. The cashbox may release causing
the rest of the unit to fall and damage the chassis.
Note: Not suitable for use in areas where there could be direct contact with water jets.
Installing The Chassis
•Most models have a configuration-specific cable installed
on the back of the chassis (see Interface Manual 002850103
for more details). Connect the cable from the chassis to the
machine. Always dress all wires to avoid interference with
any equipment operation.
Note: If you have a custom configuration, you may need to contact our technical support group for assistance.
•Once the connections are made, you will need to line up the locating holes on the bottom of
the chassis with the machine’s locating pins.Line up the mounting screw holes and insert M4
screws through several of the 10 mounting holes. There are three on each side of the chassis and
four located on the back. Leave screws slightly loose until the bezel is mounted and aligned with
the machine door closed. Screws must not exceed a 6mm depth through the mounting plate,
otherwise they may interfere with the removable cashbox.
Earth Grounding Considerations:
Use star washers when mounting the chassis via the rear mounting holes to ensure the chassis has a
good electrical connection to the machine’s mounting plate. When using the side mounting holes
ensure the lower (upper if Up Stacker) mounting hole is used.
Locating Holes

MEI CASHFLOW SC83 Page-11
www.meigroup.com Part # 252055088 G6
Inserting and Removing the Acceptor Module
•Insert the Acceptor Module so that the release lever locks into place. The acceptor should be
firmly seated to ensure proper engagement of the
locking feature.
•To remove the unit, pull upwards on the release lever
located on the front of the Acceptor Module and pull
away from the chassis.
Acceptor Module
INSTALLATION

MEI CASHFLOW SC83 Page-12
www.meigroup.com Part # 252055088 G6
Eight pin harness connector
Installing ABill Entry Guide
•To install a bill entry guide,just slide it onto the Acceptor Module until it locks into place.
No screws are required. If the bill entry guide has lights, you will have to first connect the har-
ness from the bill entry guide to the eight pin connector located on the left hand side of the face
of the Acceptor Module.
•Make sure that the bill entry guide is aligned so the machine door closes properly.
Acceptor Module
Bill Entry Guide
INSTALLATION
•Once the bill entry guide is aligned properly, remember to go back and tighten the screws on
the chassis ( refer back to Chassis installation instructions).
•To remove a bill entry guide,slide a flat head screwdriver
between the bill entry guide and the acceptor module.
(as shown in the diagram on the right)

MEI CASHFLOW SC83 Page-13
www.meigroup.com Part # 252055088 G6
Installing the Cashbox
•With the chassis mounted securely to the machine, you may now insert the cashbox into the
chassis. The cashbox has slots on both sides that will guide it into the chassis. When you insert
the cashbox, you will feel some resistance from the two springs inside the chassis.Make sure to
insert the cashbox all the way in so that the rear of the cashbox is flush against the chassis wall.
Removing the Cashbox
•When the note acceptor is installed in a machine, you just need to grab the yellow strap on the
cashbox and pull firmly to release it. The
cashbox does not lock on to the chassis.
• To remove the cashbox when the unit is not
installed, grab on to the yellow handle and
place your thumb on the chassis where indi-
cated in this diagram. Placing your thumb at
this location will give you sufficient leverage to
remove the cashbox.
PLACE THUMB HERE
INSTALLATION

MEI CASHFLOW SC83 Page-14
www.meigroup.com Part # 252055088 G6
The cashbox may be fitted with either one or two security locks. The product is designed to
accept locks from a range of manufacturers including: -
Medeco
Kaba
Abloy
VSR
Miwa
Duo
ILCO
Standard 5/8" and 1-1/8" formats are supported. There is a significant variety of lock designs,
and spacer washers may be required for some lock types.Locking hasps are shipped with every
cashbox. Contact MEI for cashbox lock specifications.
Locks vary greatly in price,security,keying policies,etc. The customer is responsible for selecting
a lock with performance that is fit for the intended purpose.MEI does not test or endorse any
specific brand of lock for security characteristics.For applications requiring NO locks,a non-
secure “slam” latch is available: MEI Part Number 252260001P1/P12 NLC CASHBOX
LATCH.
When only one lock is used, the remaining blank hole does not give access to the contents of the
cashbox. However, some jurisdictions may require a blanking plug.Contact MEI for assistance in
obtaining a suitable plug.
When two locks are installed, they must rotate in opposite directions.See the figure below.
Unlock
Unlock
INSTALLATION
Bottom View of Cashbox
Installing Locks on the Cashbox

MEI CASHFLOW SC83 Page-15
www.meigroup.com Part # 252055088 G6
STS SUPPORT TOOL
STS Support Tool is software that is installed on your computer for use with the CASHFLOW SC83®
Bill Acceptor. This software, together with the Portable Programming Module (PPM) handheld device
supports the Bill Acceptor both in the field and the workshop.
The enabled functions will depend on the type of license given to you, but may include:
1) Handhelds – allows you to manage Handheld Devices, downloading files for Bill
Acceptors, changing Audit settings and upgrading of Handheld firmware.
2) Configuration – allows you to load and save configuration to or from a file, and also a
connected Bill Acceptor or Handheld device. This configuration includes Bill Acceptor
Bootloader and Application Firmware, as well as basic Bill Acceptor and Bill Settings.
3) Audit – allows you to view stored, and retrieve new audit data from Bill Acceptor
devices.Handhelds will automatically save retrieved audits to the database on connection.
4) CRC – allows you to perform CRC checks on a connected Bill Acceptor device.
5) Diagnostics – allows you to perform scripted or self-tests on a connected Bill Acceptor.
More Detail information on this tool is offered in the STS User Manual. For additional
information on this tool please contact your MEI representative.

MEI CASHFLOW SC83 Page-16
www.meigroup.com Part # 252055088 G6
UPDATING SOFTWARE
There are two ways of updating the software of a Cashflow SC83®note acceptor.*
1) Via a hand held device called the Cashflow®
Portable Programming Module (PPM).
2) By replacing the programmed PROM (Chip Change).*
Portable Programming Module
Connecting the PPM to the CASHFLOW SC83®
1. Locate the two USB ports located on the top of the Portable
Programming Module (See fig.1 below).
2. Plug the type A end of your USB harness to the USB type A
port of the PPM. Plug the type B end of the same USB harness
into the USB type B port of the Cashflow SC83®. (see fig.2).
fig.2
download button
fig.1 (CPM)
Type A USB port Type B USB port
*Note: Once a PROM (chip) is installed, the note acceptor can no longer be programmed via the programming
module (PPM). Installation of a PROM will disable the ability of the programing module (PPM) to communicate with
the note acceptor. Future software changes can only be made by replacing the PROM (chip change).

MEI CASHFLOW SC83 Page-17
www.meigroup.com Part # 252055088 G6
UPDATING SOFTWARE
CPM Downloading Procedure
1. After connecting the PPM to the Cashflow SC83®via the USB interface (refer to previous page
illustration), you are now ready to start the download procedure.
2. Press the square download button located on the front of the PPM. (see fig.2 on previous
page)
3. When downloading,the PPM will have a solid green and a flashing red LED,indicating the
PPM is busy.Once the dowload is complete,the LED on the PPM will change to solid green and
a solid red, indicating a successful download. The note acceptor will perform a run and stack and
the the LEDs on the PPM will turn off.
4. Disconnect the USB harness from the Cashflow SC83®once the LEDs on the PPM are off.
5. Once dowload is complete,the Cashflow SC83®’s diagnostic LEDs will flash five times green
continuously until communication between the note acceptor and the machine is re-established.
Diagnostic Codes For The PPM
Led Codes: solid green = PPM on
solid green + flashing red = PPM busy
solid green + solid red = upgrade complete
Error Codes: flashing green = battery low
alternating flashing green and red = wrong product connected
solid green + flashing red 1 time = notes reader error
solid green + flashing red 2 times = PPM error
solid green + flashing red 3 times = program error
☺
+
+
+
+
+
x 1
x 2
x 3
=
=
=
=
=
=
=
=PPM on
PPM busy
upgrade
complete
battery low
wrong product
connected
bill reader
error
PPM error
program
error
LED CodesError Codes
(Do not disconnect PPM)
(Disconnect PPM)

MEI CASHFLOW SC83 Page-18
www.meigroup.com Part # 252055088 G6
UPDATING SOFTWARE
Replacing the programmed PROM (Chip Change)
This is not necessary for all applications, but only those that occur in jurisdictions requiring
PROM to be installed.
Note: As soon as even one PROM has been installed into an acceptor module, the acceptor
module will not be able to be re-programmed with a PPM. To re-program an acceptor module
that has had a PROM installed, you MUST change or insert a new PROM (perform a chip
change). When power is re-applied, the Acceptor module will be re-programmed from the
PROM.
1. Remove the acceptor module from the chassis.(Instructions on how to remove it are on page
10).
2. Open the acceptor module by placing the palm of your hand on the front of the module and
placing your fingers around the top of the yellow cover as shown in the diagram below. Pull the
cover toward your hand and then lift up,opening the module head fully.
3. Remove the yellow cover from the acceptor module by turning the acceptor module so that the
top of the cover is facing you. Wedge the tips of your fingers underneath the left and right front
top corners of the yellow cover. Lift the cover’s corners out and then back toward you to release
the cover. The cover will be released once the cover has cleared the black ramps as shown in the
diagram below.
4. Once the yellow cover is released in the front, slide it back and remove it.

MEI CASHFLOW SC83 Page-19
www.meigroup.com Part # 252055088 G6
UPDATING SOFTWARE
Replacing the programmed PROM (Continued).
5. You may now remove the PROM using a PLC puller.
6. Insert the new PROM.
Replacing the yellow cover
Note: To install the yellow cover, the acceptor module must remain open.
7. To re-install the yellow cover, align the cover back to the position shown below.

MEI CASHFLOW SC83 Page-20
www.meigroup.com Part # 252055088 G6
UPDATING SOFTWARE
Replacing the programmed PROM (Continued).
8. Once in position, move the yellow cover forward (as if you were opening the acceptor module)
until the cover locks into place.
9. Close the acceptor module and re-install it into the chassis.
10. If the power is on, the unit will power up and perform a run and stack.
This manual suits for next models
3
Table of contents
Other MEI Cash Register manuals