Meiwa RP300X User manual
OPERATION / MAINTENANCE
AND PARTS MANUAL
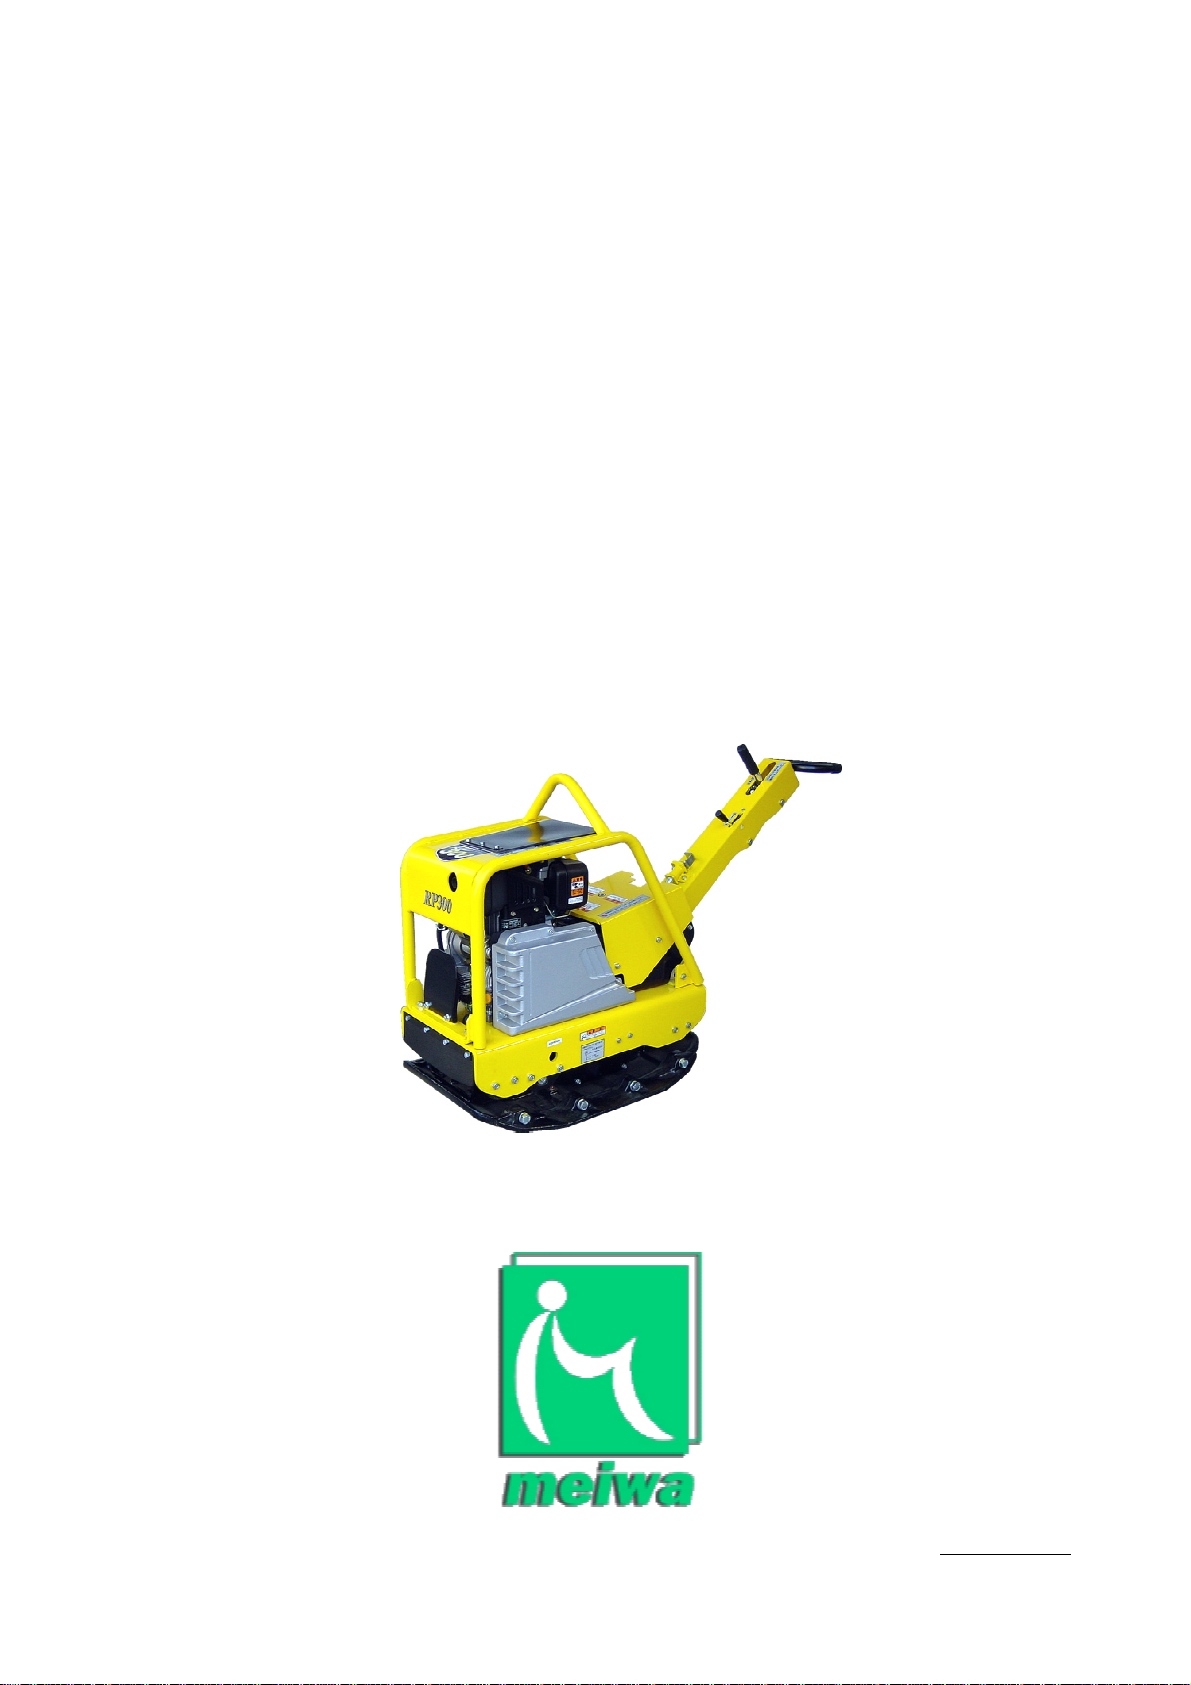
For RP300(X)
REVERSIBLE PLATE COMPACTOR
July 23, 2009

SECTION 1 -
SAFETY PRECAUTIONS AND GUIDELINES
Contents .......................................................................................................................................................................................... Page
OVERVIEW ......................................................................................................................................................................... 1
PRE-START INSPECTION................................................................................................................................................. 1
OPERATING ....................................................................................................................................................................... 2
MAINTENANCE ................................................................................................................................................................. 2
OERATING PROCEDURES ..............................................................................................................................………….. 3
OVERVIEW
BEFORE YOU OPERATE, MAINTAIN OR IN ANY OTHER WAY, OPERATE THIS MACHINE:
READ and STUDY this manual. KNOW how to safely use the unit’s controls and what you must do for safe maintenance.
The machine has been built in accordance with state-of-the-art standards and the recognized safety rules. Nevertheless, its
use may constitute a risk to life and limb of the user or of third parties, or cause damage to the machine and to other material
property.
ALWAYS wear or use the proper safety items required for your personal protection.
For reasons of security, long hair must be tied back or otherwise secured, garments must be close fitting and no jewelry
–such as rings or watches - may be worn. Injury may result from being caught up in the machinery or from rings catching on
moving parts.
If you have ANYQUESTIONS about the safe use or maintenance of this unit, ASK YOUR SUPERVISOR OR CONTACT ANY
DISTRIBUTOR. NEVER GUESS - ALWAYS CHECK.
Never make any modifications, additions or convert HONDA engine GX240sions which might affect safety without the
supplier’s approval. This also applies to the installation and adjustment of safety devices and valves as well as to welding work
on load-bearing elements.
Observe all fire-warning and fire-fighting procedures.
PRE-START INSPECTION
INSPECT your machine. Have any malfunctioning, broken or missing parts corrected or replaced before use.
Check the machine at least once per working shift for obvious damage and defects. Report any changes (incl. changes in the
machine’s working behavior) to the competent organization/person immediately. If necessary, stop the machine immediately
and lock it.
Take the necessary precautions to ensure that themachine is used only when in a safe and reliable state.
Operate the machine only if all protective and safety oriented devices, such as removable safety devices, emergency shut-off
equipment, sound-proofing elements and exhausts, are in place and fully functional.
The electrical equipment of machines is to be inspected and checked at regular intervals. Defects such as loose connections
or scorched cables must be rectified immediately.
VERIFY that all the instruction and safety labels are in place and readable. These are as important as any other equipment on
the compactor. NEVER fill the fuel tank, with the engine running, while near an open flame, or while smoking. ALWAYS wipe
up any spilled fuel immediately.
1-1

SECTION 1 -
SAFETY PRECAUTIONS AND GUIDELINES
CHECK for WARNING tags placed on the machine. DO NOT operate the equipment until repairs have been made and the
WARNING tags have been removed by authorized personnel.
KNOW the location of the Emergency Shut-Down Control if the machine is so equipped.
OPERATING
In the event of safety-relevant modifications or changes in the behavior of the machine during operation, stop the machine
immediately and report the malfunction to the competent authority/person.
Always wear the prescribed ear protectors.
Always make sure that no person or obstruction is in your line of travel. Watch your step to avoid tripping.
USE extreme caution and be observant when working in close quarters or congested areas.
Before beginning work, familiarize yourself with the surroundings and circumstances of the site, such as obstacles in the
working and traveling area, the soil bearing capacity and any barriers separating the construction site from public roads.
When traveling on public roads, ways and places always observe the valid traffic regulations and, if necessary, make sure
beforehand that the machine is in a condition compatible with these regulations
Always keep at a distance from the edges of building pits and slopes.
DO NOT run the engine in a closed building for an extended length of time. EXHAUST FUMES CAN KILL.
DO NOT operate the compactor on non-compactable material, such as concrete or hardened asphalt.
MAINTENANCE
Observe the adjusting, maintenance and inspection activities and intervals set out in the operating instructions, including
information on the replacement of parts and equipment. These activities must be executed by skilled personnel only.
Ensure that the maintenance area is adequately secured.
After cleaning, examine all fuel, lubricant, and hydraulic fluid lines for leaks, loose connections, chafe marks and damage.
Any defects found must be rectified without delay.
Always tighten any screwed connections that have been loosened during maintenance and repair.
1-2

SECTION 1 -
SAFETY PRECAUTIONS AND GUIDELINES
Any safety devices removed for set-up, maintenance or repair purposes must be refitted and checked immediately upon
completion of the maintenance and repair work.
Ensure that all consumables and replaced parts are disposed of safely and with minimum environmental impact.
AVOID, whenever possible, servicing, cleaning or examining the unit with the engine running.
NEVER fill the fuel tank, with the engine running, while near an open flame, or while smoking. ALWAYS wipe up any spilled
fuel immediately.
ALWAYS disconnect the spark plug before performing any work on the unit.
DO NOT alter the engine governor settings from those indicated in the engine manual.
ALWAYS replace damaged or lost decals. Refer to the Parts Manual for the proper location and part number of all decals.
Carry out welding, flame-cutting and grinding work on the machine only if this has been expressly authorized, as there may be
a risk of explosion and fire.
Before carrying out welding, flame-cutting and grinding operations, clean the machine and its surroundings from dust and
other inflammable substances and make sure that the premises are adequately ventilated (risk of explosion).
1-3

SECTION 2 - INTRODUCTION
EXCELLENT CHOICE! MEIWA Reversible Compactor you have chosen will give you many hours of maintenance free
operation resulting in a faster return of your investment.
Safe operation depends on reliable equipment and the use of proper operating procedures. Performing the checks and
services described in this manual will help keep your machine in good condition. These recommended operation procedures
will help you to avoid unsafe practices.
Safety notes have been included throughout this manual to help you avoid injury and prevent damage to the equipment.
These notes are not intended to cover all eventualities; it is impossible to anticipate and evaluate all possible methods of
operation. Therefore, you are the only person who can guarantee safe operation and maintenance. It is important that any
procedure not specifically recommended in this manual be thoroughly evaluated from the standpoint of safety before it is
implemented.
Continuing improvement and advancement of product design may cause changes to your machine which may not be included
in this publication. Each publication is reviewed and revised, as required, to update and include these changes in later editions.
MEIWA reserves the right to modify or make changes within a specific model group without notice and without incurring any
liability to retrofit units previously shipped from the factory. Contact your MEIWA Distributor for non-routine maintenance
information that is not covered in this publication.
2-1
Table of contents


