manuals.online logo
Brands
  1. Home
  2. •
  3. Brands
  4. •
  5. Members Mark
  6. •
  7. Smoker
  8. •
  9. Members Mark SC21874 series Guide

Members Mark SC21874 series Guide

Popular Smoker manuals by other brands

Smoke hollow 30166E Assembly and owner's manual

Smoke hollow

Smoke hollow 30166E Assembly and owner's manual

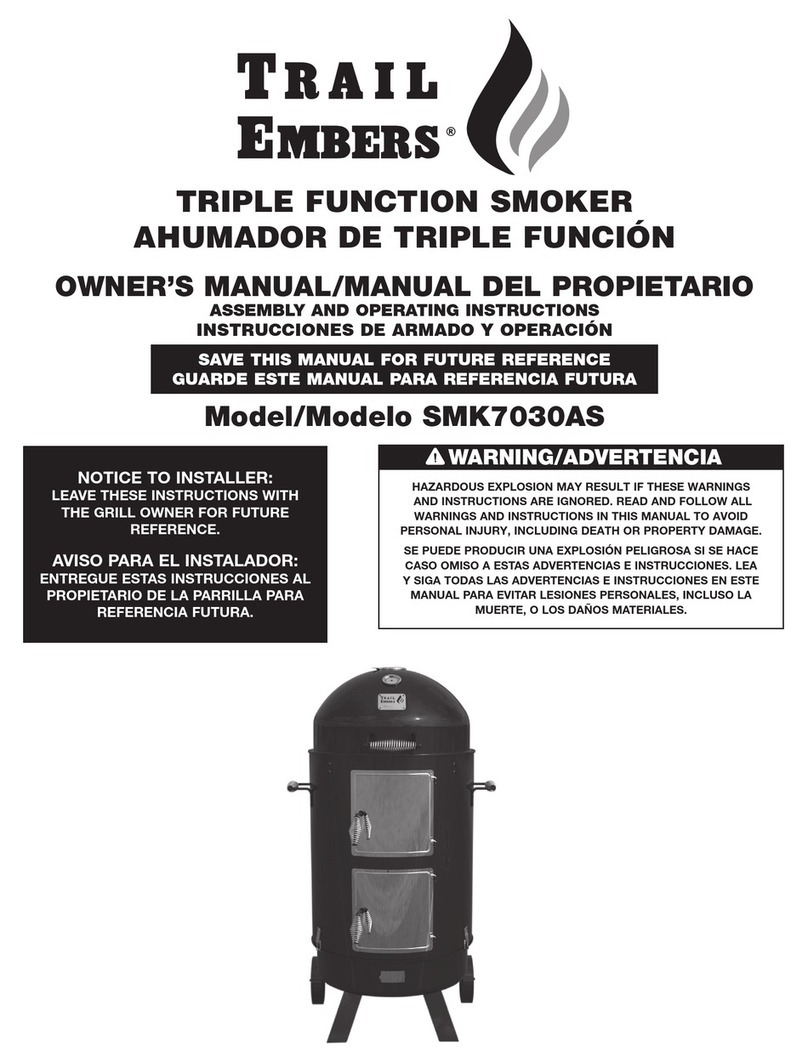
Trail Embers SMK7030AS owner's manual

Trail Embers

Trail Embers SMK7030AS owner's manual

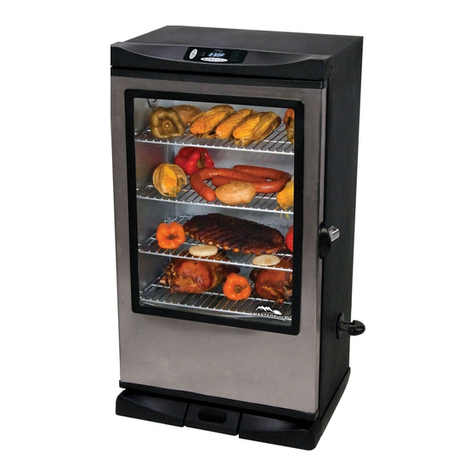
Masterbuilt 20100814 Operation manual & safety instructions

Masterbuilt

Masterbuilt 20100814 Operation manual & safety instructions

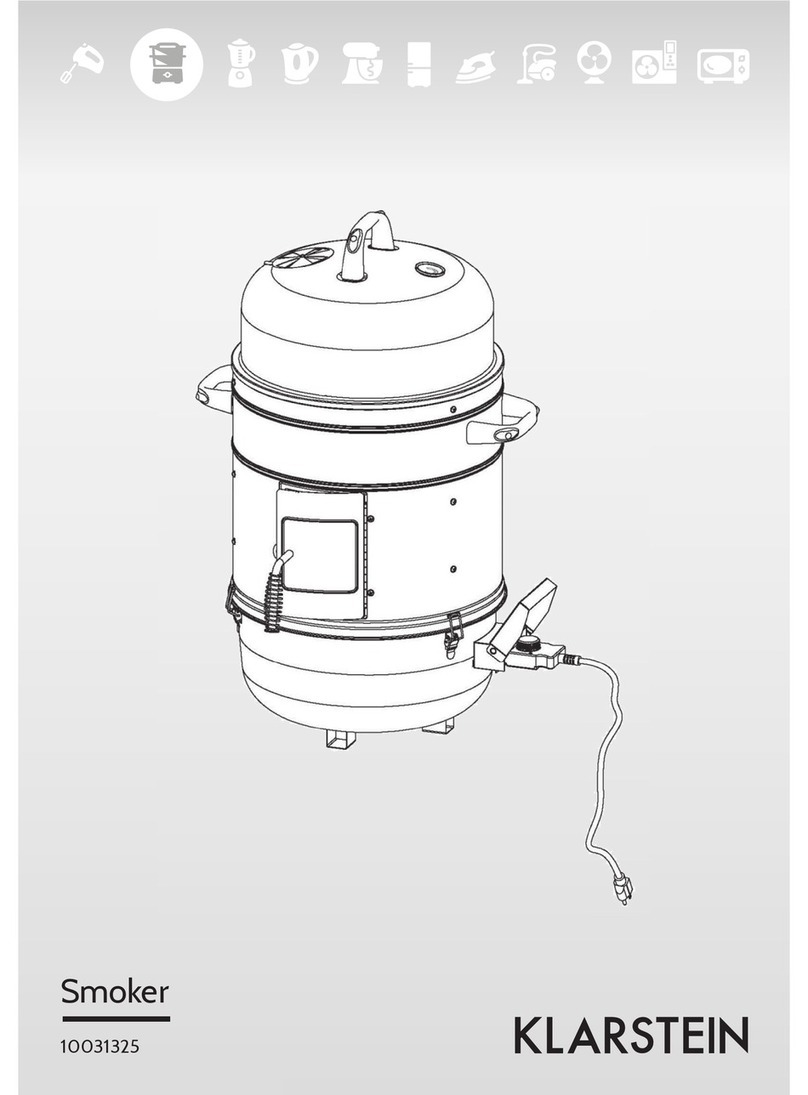
Klarstein 10031325 manual

Klarstein

Klarstein 10031325 manual

oklahoma joes 15202037 Product guide

oklahoma joes

oklahoma joes 15202037 Product guide

Auber WS-1500DPMS user guide

Auber

Auber WS-1500DPMS user guide

Char-Broil 1000 Product guide

Char-Broil

Char-Broil 1000 Product guide

Lang BBQ Smokers 36 Series Care & use manual

Lang BBQ Smokers

Lang BBQ Smokers 36 Series Care & use manual

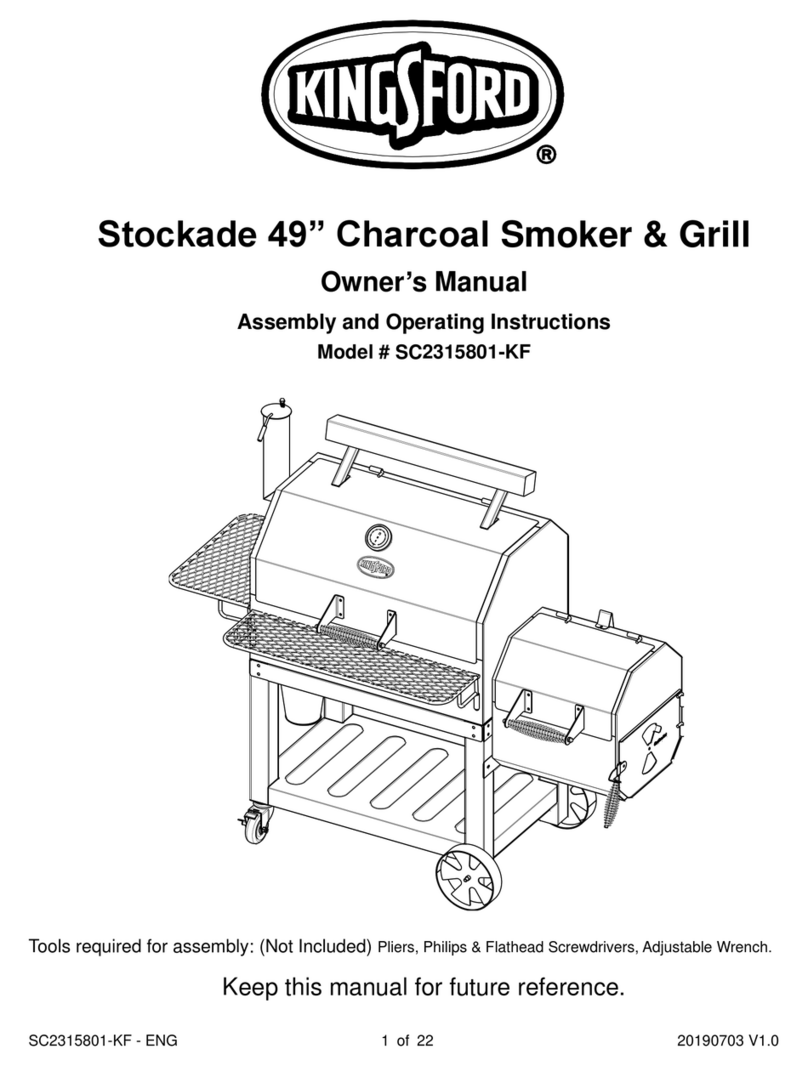
Kingsford SC2315801-KF owner's manual

Kingsford

Kingsford SC2315801-KF owner's manual

Smokey Bandit Lumber Jack instruction manual

Smokey Bandit

Smokey Bandit Lumber Jack instruction manual

MAUTING Junior 03 operating instructions

MAUTING

MAUTING Junior 03 operating instructions

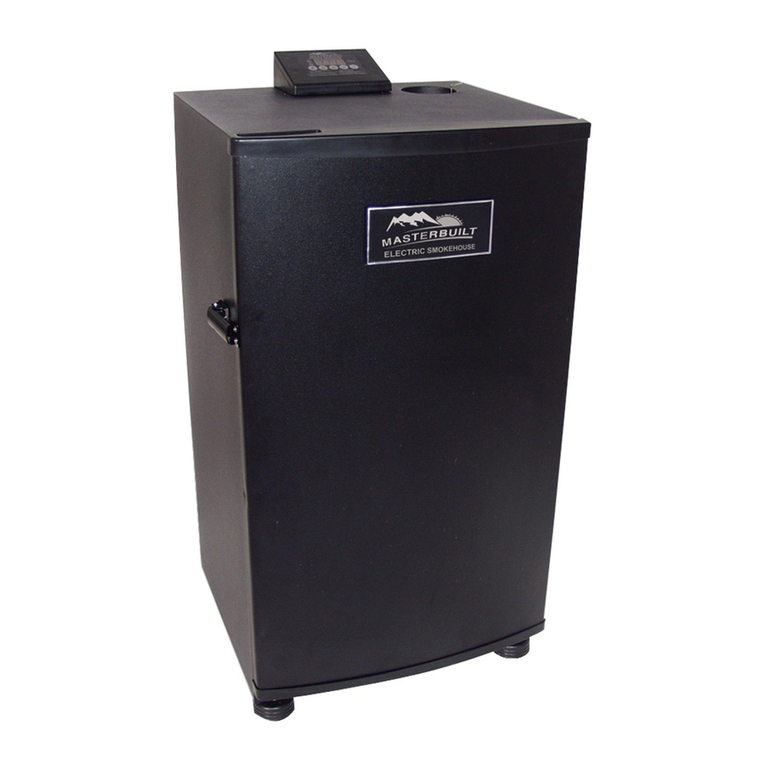
Masterbuilt 20072612 Assembly, care & use manual

Masterbuilt

Masterbuilt 20072612 Assembly, care & use manual

Davis & Waddell DES0176 user manual

Davis & Waddell

Davis & Waddell DES0176 user manual

Rosle Silence manual

Rosle

Rosle Silence manual

Pit Boss PRO Series PBV6PSE ELITE Assembly and operation

Pit Boss

Pit Boss PRO Series PBV6PSE ELITE Assembly and operation

Pit Boss PBVPS1 Assembly and operation instructions

Pit Boss

Pit Boss PBVPS1 Assembly and operation instructions

BROWIN 330010 user manual

BROWIN

BROWIN 330010 user manual

BROWIN 330260 Operation manual

BROWIN

BROWIN 330260 Operation manual

manuals.online logo
manuals.online logoBrands
  • About & Mission
  • Contact us
  • Privacy Policy
  • Terms and Conditions

Copyright 2025 Manuals.Online. All Rights Reserved.

1 of 23 20150120 ver.1
44” Electric Smoker
Model Number: SC21874XX-YY-ZZ
Assembly, Care and Use Manual
This Product is for outdoor use only
This instruction manual contains important information necessary for the proper assembly
and safe use of the appliance.
Read and follow all warnings and instructions before assembling and using the appliance.
Follow all warnings and instructions when using the appliance.
Keep this manual for future reference.
Failure to follow these instructions could result in fire or explosion which could cause
property damage, personal injury or death.
Should you encounter any problem,
CALL US FIRST.
DO NOT return product to the retail store!!
WE CAN HELP.
For assistance, contact customer service at customerservice@rankam.com
or at (888) 837-1380, Mon to Fri, 8:00am – 5:00pm Pacific Standard time
CSA CERTIFIED TO UL STANDARD 1026
2 of 23 20150120 ver.1
WARNING
CARBON MONOXIDE HAZARD
Burning wood chips gives off carbon monoxide, which has no odor and can cause death.
DO NOT burn wood chips inside homes, vehicles, tents, garages or any enclosed areas.
Use only outdoors in a well-ventilated space.
WARNING
Important Safety Instructions
When using electrical appliances, basic safety precautions should always be followed, including
the following:
1. This appliance is used for outdoor only. Do NOT operate in an enclosed area.
2. Do NOT touch the hot surfaces.
3. To protect against electric shock, do not immerse cord, plugs or control panel in water or other
liquid.
4. Keep monitoring when the appliance is used by or near children and pets. Keep children and
pets away from the appliance at all times. Do NOT allow children to use this appliance.
5. Do NOT plug in the appliance until fully assembled and ready for use.
6. Unplug the appliance from outlet when not in use or before cleaning. Cool down before putting
on or taking off parts, and before cleaning the appliance.
7. Use this appliance only on a level, stable surface to prevent tipping.
8. The appliance MUST be on the ground. Do NOT locate it on tables or counters. Do NOT move
it across uneven surfaces.
9. Use only approved and grounded electrical outlet.
10.Do NOT operate the appliance with a damaged cord or plug, or after appliance malfunctions or
has been damaged in any manner. Return appliance to our customer service center for
examination, repair or adjustment.
11.Do NOT let cord hang over edge of table or counter, or touch hot surfaces.
12.Do NOT expose the appliance to rain or water at any time.
13.Do NOT place the appliance on or near a hot gas or electric burner, or in a heated oven.
14.Keep a fire extinguisher accessible while using the appliance.
15.Do NOT use fuel, such as charcoal briquettes or heat pellets for in this appliance.
16.Do NOT use this appliance as a heater (READ CARBON MONOXIDE HAZARD ABOVE).
17.This appliance is HOT when operating and will remain HOT for a period of time afterwards. Be
caution when use.
18.Be careful when removing food from the appliance. All surfaces are HOT and may cause burns.
19.Do NOT allow anyone to conduct activities around the appliance during or following its use until
the unit has cooled.
20.Use of alcohol, prescription or non-prescription drugs may degrade the user’s ability to properly
3 of 23 20150120 ver.1
assemble or safely operate the appliance.
21.Do NOT move the appliance during use. Allow to cool down completely before moving or
storing.
22.Do NOT bump or impact the appliance.
23.Wear protective gloves or use long and rigid cooking tools for supplementary use.
WARNING
GENERAL WARNINGS AND SAFETY INFORMATION
1. Do not cover cooking racks with metal foil. This will trap heat and damage the appliance.
2. Drip tray is only used at bottom of the drawer. Do not put it on the cooking racks and this may
damage the appliance.
3. Wood chip tray is HOT when the appliance is in operation. Be caution when adding wood chips.
4. For disconnection, press “OFF” button on control panel then remove the plug from the outlet.
5. Make sure to unplug the appliance when not in use or before cleaning. Let the appliance cool
completely before adding/removing racks or trays.
6. Dispose cold ashes by placing them in aluminum foil and soaking with water then discarding in
a non-combustible container.
7. Do not store the appliance with HOT ashes inside. Store it only when all surfaces are cold.
8. Do not use accessory attachments which are not supplied by appliance manufacturer and it
may cause injuries.
9. Do not use the appliance other than its intended purpose. This unit is not for commercial use.
10.Always use the appliance in accordance with all applicable local, state and federal fire codes.
11.Longer detachable power-supply cords or extension cords are available and may be used with
care.
12.If a longer detachable power-supply cord or extension cord is used: 1. The marked electrical
rating of the cord set or extension cord should be at least as great as the electrical rating of the
appliance; and 2. The cord should be arranged so that it will not drape over the counter top or
tabletop where it can be pulled by children or tripped over intentionally.
13.Extension cord must be a grounding type, 3-wire cord.
14.Outdoor extension cords must be used with outdoor use products and are marked with suffix
“W” and with the statement “Suitable for Use with Outdoor Appliances”.
15.To reduce the risk of electric shock, keep extension cord connection dry and off the ground.
16.Take extreme caution when move the appliance containing with hot liquids.
17.Do not use a water sprayer or the like to clean the appliance.
4 of 23 20150120 ver.1
WARNING
Combustion by-products produced when using this product contains chemicals known to the
State of California to cause cancer, birth defects, or other reproductive harm.
WARNING
1. This appliance is for OUTDOOR USE ONLY.
2. This appliance is used for slow cooking. Please allow sufficient time for cooking.
3. Pre-season smoker prior to first use. Please refer to page 14.
4. Before loading food, pre-heat the appliance for 30 to 45 minutes at maximum temperature.
5. Do not cover racks with aluminum foil as this will cause inappropriate heat circulation.
6. Do not overload the appliance with food. Excess amount of food may trap heat. It will extend
the cooking time and cause uneven cooking. Keep enough space between foods on racks to
ensure proper heat circulation. If use cooking pan, place the pan at center of rack to obtain
even cooking performance.
7. Keep air vent closing to maintain moisture and heat. If cooking foods such as fish or jerky, open
the air vent to liberate moisture.
8. LCD readout for temperature on control panel will fluctuate + or - 10 to 15 degrees when
smoking cycles on and off.
9. Store the appliance in a dry place after use.
10.Using the appliance at extreme cold temperatures may extend the cooking time.
11.CLEAN AFTER EVERY USE. This will help to extend the appliance life and prevent mold and
mildew.
Specifications: Input power = 1200W, Voltage = 120V AC
Current = 10Amp, Frequency = 60Hz
5 of 23 20150120 ver.1
COMPONENTS LIST
6 of 23 20150120 ver.1
COMPONENTS LIST
1. Smoking grate with sausage
hooks
2. Smoking grates 3. Smoker body assembly
Qty: 1pc Qty: 3pcs Qty: 1pc
4. Door/Drawer handles 5. Rear handle 6. Air vent
Qty: 2pcs Qty: 1pc Qty: 1pc
7. Side handles 8. Heat shield plate 9. Water tray
Qty:2pcs Qty:1pc Qty:1pc
10. Drip tray 11. Wood chip tray 12. Casters
Qty:1pc Qty:1pc Qty:2pcs
13. Supporting feet 14. Wireless remote control
Qty:2pcs Qty:1pc
7 of 23 20150120 ver.1
HARDWARE LIST
Item No. Item name Diagram Qty
A M6x35 mm Bolt
4 pcs
B M6x14 mm Bolt
9 pcs
C M5x12 mm Bolt
12 pcs
D M6 Nut 1 pc
E Φ6Spring washer 1 pc
F “AAA” Alkaline Battery
(not included) 1 pc
Tools Required
Phillips screwdriver (not included)
8 of 23 20150120 ver.1
Replacement Part List (I)
9 of 23 20150120 ver.1
Replacement Part List (II)
Part
Number
Part Name Part
Number
Part Name
1 Smoking grate
with sausage
hooks 2 Smoking grates
3 Smoker body assembly 3a Smoker body – Control panel
3b Smoker body – Door with
glass 3c Smoker body – Front supporting
brace
3d Smoker body – Drawer 3e Smoker body
3f Smoker body – Door/Drawer
latch 3g Smoker body – Door/Drawer latch
bracket
3h Smoker body –
Upper door
fixing bracket 3i Smoker body – Lower door fixing
bracket
3j Smoker body – Heating
element 3k Smoker body – Protective cover
4 Door/Drawer handle 5 Rear handle
6 Air vent 7 Side handles
8 Heat shield plate 9 Water tray
10 Drip Tray 11 Wood chip tray
12 Casters 13 Supporting feet
14 Wireless remote control
10 of 23 20150120 ver.1
ASSEMBLY PROCEDURE
Step 1. Attach the Supporting feet (13) to the Smoker body assembly (3)
by rotating in
clockwise direction till stop. Attach the Casters (12) to the body by using 8 pcs of M5x12mm
bolts (C)
as shown below.
Step 2. Open the door and attach the Door/Drawer Handle (4) to it by using 2 pcs of
M6x35mm bolts (A) as shown below.