Menda 35840 Installation guide
TECHNICAL BULLETIN TB-4013
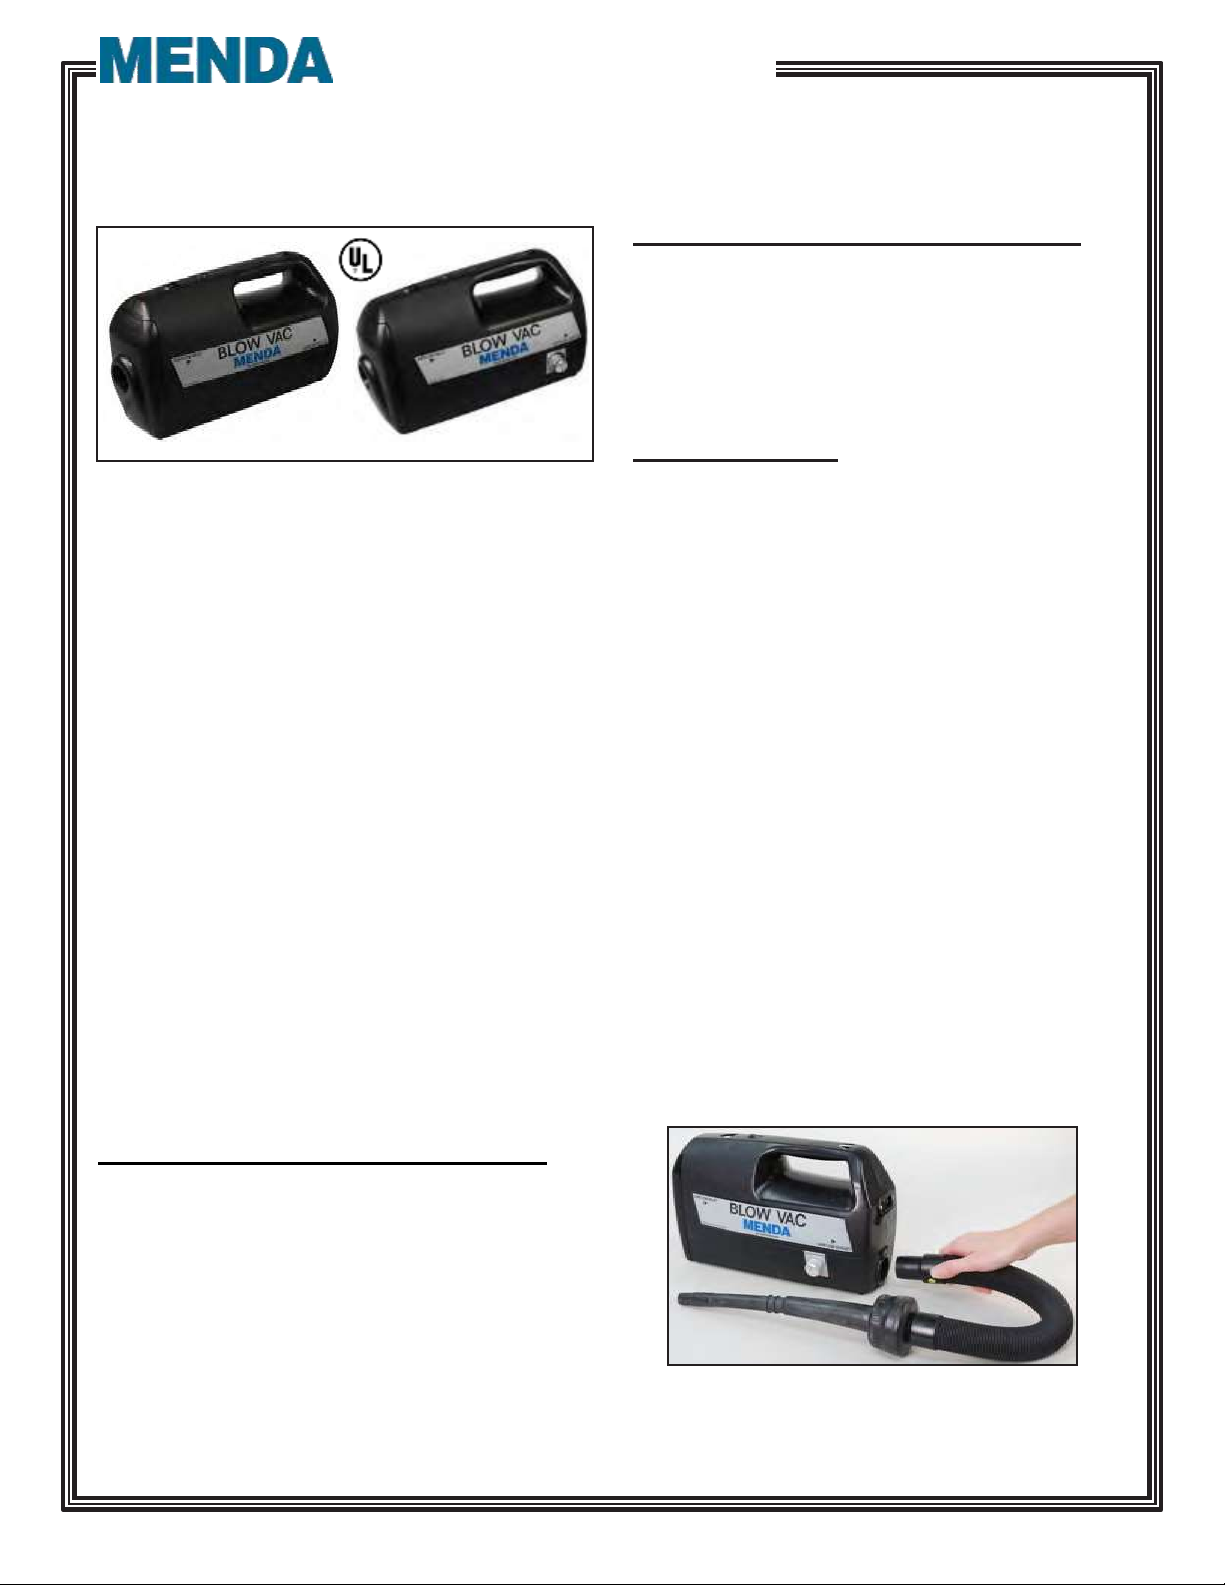
Blow Vac
Vacuum
Operation and
Maintenance
35840 35841
Figure 1: Menda® Blow Vac
Description
The MENDA Blow Vac is a compact, dual function unit
which is totally made up of ESD Safe housing parts
and accessories. It is designed for precise removal and
collection of dry dust particles and debris from
equipment that is sensitive to electrostatic discharge
(ESD). Dissipative thermoplastic rubber stretch hose
with a steel conductive spring wire to remove electrostatic
charges via the dissipative housing and ground wire
plugged into a three-wire AC electrical outlet.
The Blow Vac can also be converted in seconds into a
powerful blower for dust removal in areas otherwise not
accessible. You simply need to attach the optional two
part blow assembly attachment, MENDA Part Number
35836.
The Blow Vac has been specially made with a
dissipative housing and attachments/accessories. All
are groundable per S20.20 <1 x 10⁹ Static Dissipative.
Inspection
Remove the Blow Vac from the shipping carton and
inspect for damage.
Items included with 120V model 35840 & 35841
• 1 Dissipative stretch hose –Extends over 4' or
130cm
• 1 Soft Dissipative Rubber Nozzle
• 1 Hard Dissipative Crevice Nozzle
• 1 Low Charging Carrying Strap
• 1 Detachable 13 Amp 8' Power Cord
• 5 Stage filtration system installed (Includes 35838
Micro-motor filter with 35339 filter bag)
Items included with 230V model 35842 & 35843
• 1 Dissipative stretch hose –Extends over 4' or
130cm
• 1 Soft Dissipative Rubber Nozzle
• 1 Hard Dissipative Crevice Nozzle
• 1 Low Charging Carrying Strap
• 5 Stage filtration system installed (Includes 35838
Micro-motor filter with 35339 filter bag)
Optional Accessories
•35834 Replacement Dissipative Stretch Hose
• 35835 Mini Attachment Set
• 35836 Two-Part Blow Assembly Attachment
• 35837 Replacement HEPA Micro-motor filter
• 35838 Replacement Micro-motor filter
• 35839 Replacement Filter bags, Set of 10
Operation
1. Slide one end of the dissipative stretch hose into
suction opening Airflow inlet (vacuum) or Airflow
Outlet (blower).
2. Press the desired nozzle onto the hose end.
3. Install any of the other appropriate attachments to
the other end of the hose. The Two Part Blow
Assembly attachment (35836) is recommended for
use if the Blow Vac will be used to blow debris.
4. Place the rocker switch in off position. For the
adjustable a i r f lo w u n it f u r t h er p l a ce t h e
k n ob electronic control onto the Medium power
setting.
5. Plug appliance coupling end of the power cord into
rear power inlet Blow Vac. Plug the 3-pin/blade
power plug into an electrical outlet that is properly
grounded in accordance with all local codes and
ordinances. Start Blow Vac by pressing the power
switch to “ON” position.
Figure 2: Connecting the hose to the airflow outlet.
TB-4013 December 2012 Page 1 of 3

2
4. Remove and dispose the paper filter bag (35839)
and replace it with a new one.
5. Replace the micro-motor filter (35838) after
approximate 5 times of changing the filter
bag (35839).
Figure 3: Connecting the hose to the airflow inlet.
Filter Change-Out Instructions
Toretain dust and fine dry particles down to0.3micron,
the Blow Vac is fitted with a special double-layer
paper filter bag, combined with an electro-static
charged micro filter. If there is substantial loss of
suction and/or blow pressure, follow the below steps:
1. Switch-Off appliance and disconnect plug from
electrical outlet.
2. Verify the nozzle or hose have not become
blocked.
3. Lift the metal lock on the bottom of the Blow Vac
and remove the front cover.
Figure 5: Removing and Changing the Filter
Safety Warning
•The Blow Vac is designed for indoor use and should
be stored in a dry place.
•It is NOT designed to collect liquids, or
health endangered dust such as asbestos.
•Unplug the Blow Vac when it is not in use.
•Never use the appliance without the paper filter bag
(35839) and micro-motor filter (35838) in place.
•Thermal Protection - Automatic Shut-Off
•Not recommended for use for toner pick up.
Figure 4: Releasing the Filter

3
Specifications
Construction: Durable and highly solvent resistant Volume Dissipative Polypropylene housing
Motor: 1.15 Horsepower
Energy Consumption: 850 Watts with 1300 Watt “Performance Level”
Suction: 80 W.G. (measured at orifice motor)
Weight: 4.8 lbs
Size: 12.5" x 5" x 7.5"
Speed: Option 1) Simple bleeding valve –35840
Option 2) Stepless electronic regulator –Adjustable 35841
Filter Bag: Advanced 5 - Stage Filter System
Replace filter bag approximately 5 times before having to change micro-motor filter.
HEPA (Pre-Moto) micro-motor filter
1.2 Liter Multilayer Filter Bag
Hose: Dissipative thermoplastic rubber stretch hose
Nozzle: Dissipative soft rubber snorkel nozzle
Tools: Dissipative hard crevice tool
Accessories: Low Charging leather shoulder strap
All electrical components are CSA and UL certified.
CAN/CSA –C22.2 No. 243-M91
UL Std. No. 1017. RFI/EMC Filter Equipped
Made in the Netherlands
Distributed by:
All-Spec Industries
PH:
800-537-0351
Wilmington, NC
FX:
800-379-9903
www.all-spec.com
This manual suits for next models
1
Other Menda Vacuum Cleaner manuals


