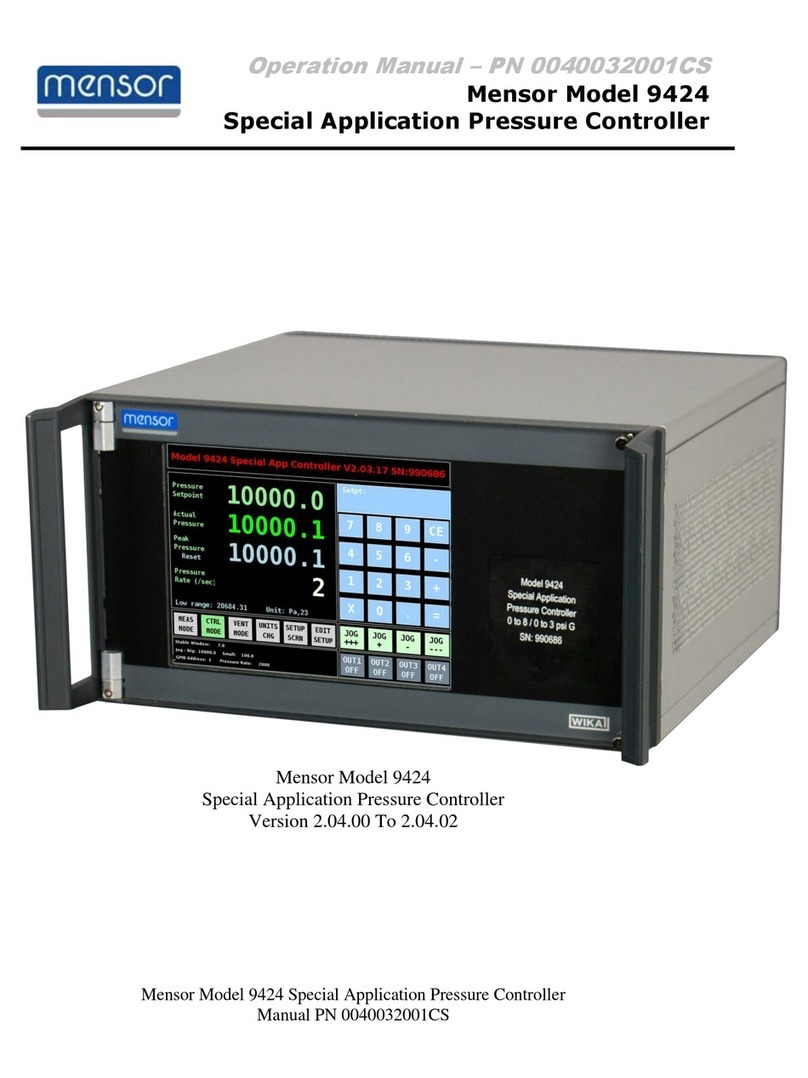
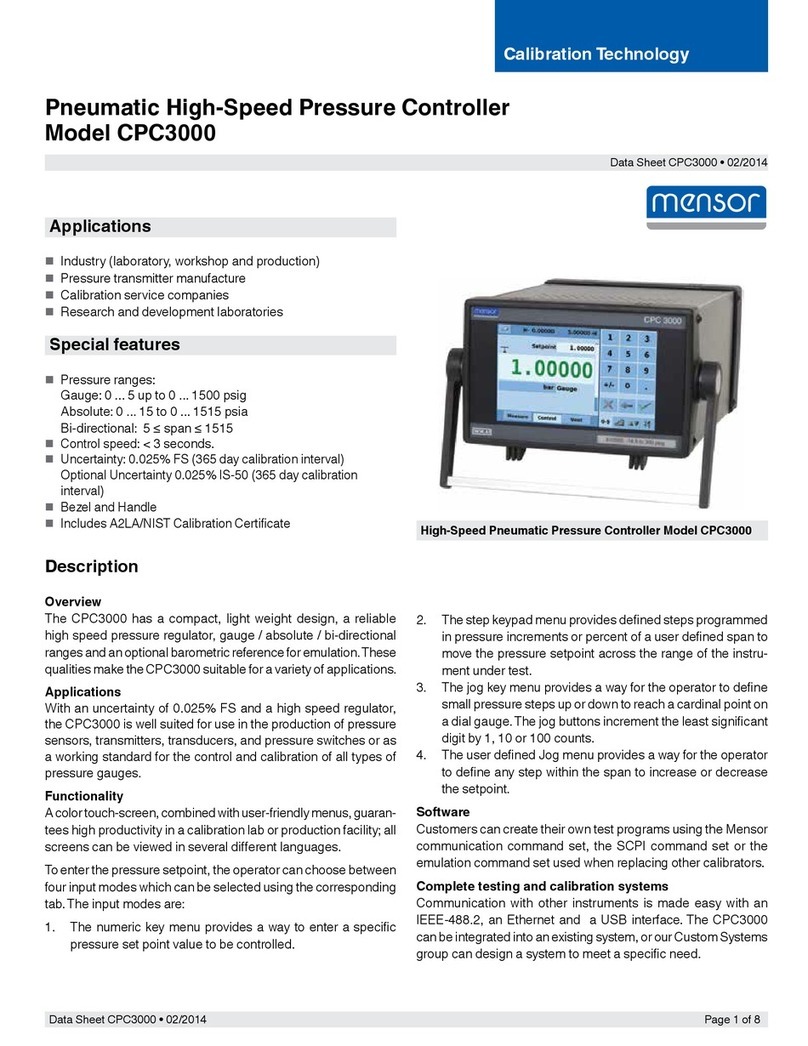
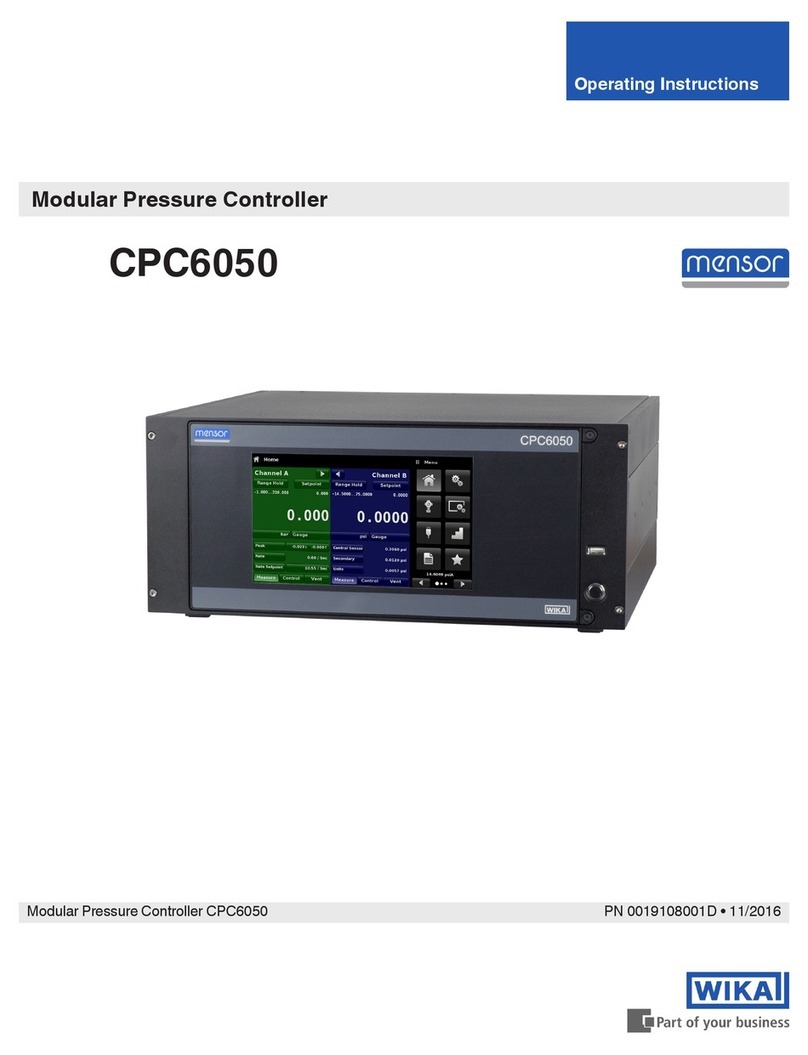
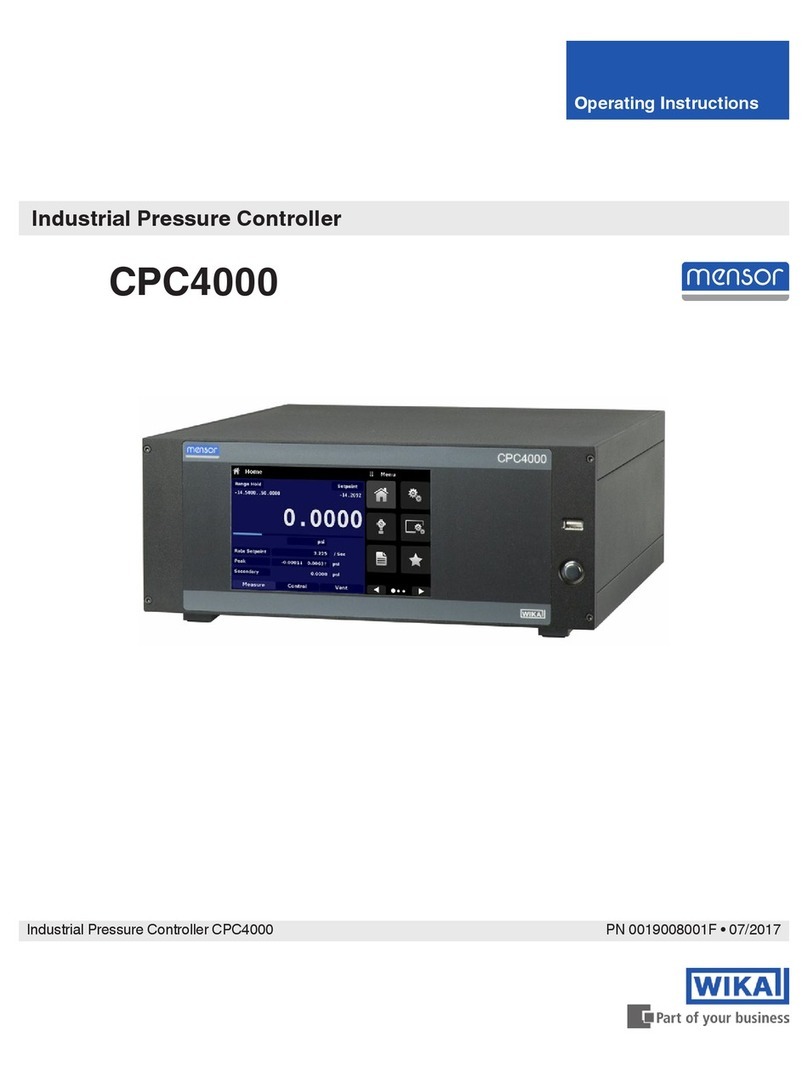
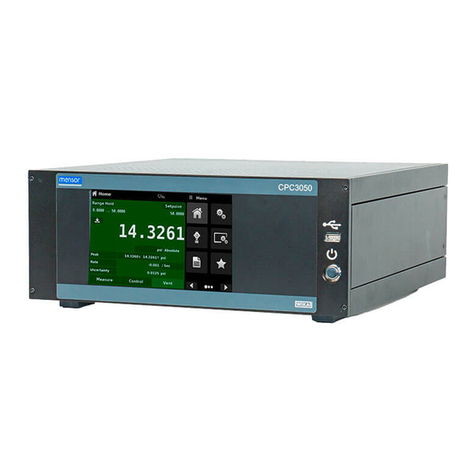
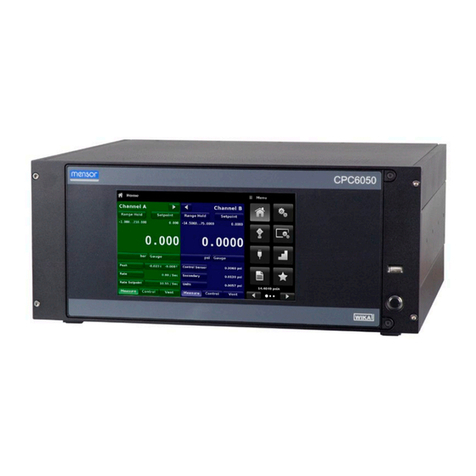
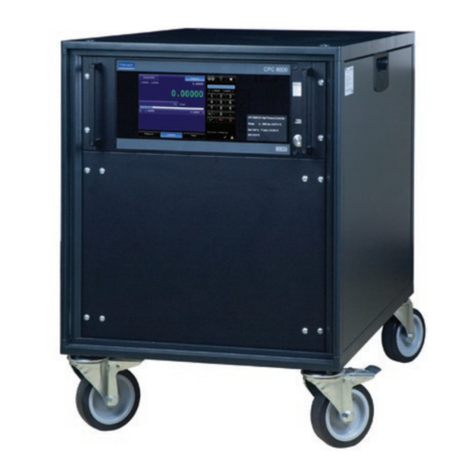
mensor CPC8000 User manual

CPC8000
Operating Instructions
CPC8000 High-End Pressure Controller PN 0018508001V
High-End Pressure Controller

High-End Pressure Controller
CPC8000
2 Operating Instructions - CPC8000
This Warning symbol indicates that danger of injury for persons and the
environment and/or considerable material damage (mortal danger, danger of
injury) will occur if the respective safety precautions are not taken.
This Caution symbol indicates danger for the system and material if the
respective safety precautions are not taken.
This Notice symbol does not indicate safety notices but information for a
better understanding of the facts

High-End Pressure Controller
CPC8000
Operating Instructions - CPC8000 3
Table of Contents
1. General Information .............................................................. 7
1.1 Warranty ........................................................................ 7
1.2 Important Notice ................................................................. 7
1.3 FCC Radio Frequency Emission Notice .............................................. 7
1.4 Trademarks and Copyrights (C) ..................................................... 8
1.5 Software License Agreement ....................................................... 8
1.6 Mensor Service Plus .............................................................. 8
1.6.1 After the Warranty ........................................................... 9
1.6.2 Calibration Services .......................................................... 9
1.6.3 Accreditations .............................................................. 9
1.7 Packaging for Shipment ........................................................... 9
2. Safety Notices .................................................................. 11
2.1 User Responsibilities. . . . . . . . . . . . . . . . . . . . . . . . . . . . . . . . . . . . . . . . . . . . . . . . . . . . . . . . . . . . . 11
2.2 General Safety Notices ........................................................... 11
2.3 Warnings and Caution Notices ..................................................... 12
3. Product Description ............................................................. 13
3.1 General Description ............................................................. 13
3.1.1 IntelliScale Transducer Choices ............................................... 13
3.2 Front Panel ..................................................................... 14
3.2.1 Power Switch .............................................................. 14
3.2.2 USB Port .................................................................. 14
3.2.3 Information Label ........................................................... 14
3.2.4 Screen ................................................................... 14
3.2.4.1 Main Screen Features ..................................................... 14
3.2.4.2 Screen Navigation ........................................................ 15
3.3 Main Features .................................................................. 16
4. Specifications .................................................................. 17
4.1 Measure Specifications ........................................................... 17
4.2 Control Specifications ............................................................ 17
4.3 General Specifications ........................................................... 18
4.4 Transducer Removal/Replacement ................................................. 19
4.5 Regulator Ranges ............................................................... 20
4.6 Transducer Choices .............................................................. 21
4.6.1 Transducer Type / Range / Mode / Uncertainty . . . . . . . . . . . . . . . . . . . . . . . . . . . . . . . . . . . 22
4.7 IntelliScale ..................................................................... 23
4.7.1 Optional IntelliScale ........................................................ 23
5. Installation ..................................................................... 25
5.1 Initial Installation ................................................................ 25
5.2 Unpacking the system ............................................................ 25
5.3 Dimensions .................................................................... 26
5.4 Turning on the CPC8000 .......................................................... 27
5.5 Pressure Connections ............................................................ 27
5.6 Pneumatic Connections and Pressure Fittings . . . . . . . . . . . . . . . . . . . . . . . . . . . . . . . . . . . . . . . . 29
5.7 Electrical & Communication Connections . . . . . . . . . . . . . . . . . . . . . . . . . . . . . . . . . . . . . . . . . . . . 30
5.7.1 Notices Regarding the Electrical Connections . . . . . . . . . . . . . . . . . . . . . . . . . . . . . . . . . . . 31
5.7.1.1 Power Supply ............................................................ 31
5.7.1.2 Interfaces ................................................................ 31
5.7.1.3 Ethernet Interface ......................................................... 31

High-End Pressure Controller
CPC8000
4 Operating Instructions - CPC8000
5.7.1.4 USB Host Interface ........................................................ 31
5.7.1.5 USB Device Interface ...................................................... 31
5.7.1.6 RS-232 Interface .......................................................... 31
5.7.1.7 IEEE-488 Interface ........................................................ 31
5.7.1.8 Input/Output Port .......................................................... 31
6. Local Operation ................................................................. 33
6.1 General. . . . . . . . . . . . . . . . . . . . . . . . . . . . . . . . . . . . . . . . . . . . . . . . . . . . . . . . . . . . . . . . . . . . . . . . 33
6.1.1 Buttons, Keys, Switches, Tabs, and other terms . . . . . . . . . . . . . . . . . . . . . . . . . . . . . . . . . . 34
6.1.2 Map of the Main Screen Features .............................................. 34
6.2 Main Screen Features ............................................................ 35
6.2.1 [Autorange] / [Range Hold] ................................................... 35
6.2.2 Pressure Reading .......................................................... 36
6.2.3 [Setpoint] Button ........................................................... 36
6.2.4 Setpoint Value ............................................................. 36
6.2.5 Setup ..................................................................... 37
6.2.6 Setpoint Entry Methods ...................................................... 37
6.2.6.1 Number Key Pad ......................................................... 38
6.2.6.2 Number Pad / Step ....................................................... 38
6.2.6.3 Digital Step .............................................................. 39
6.2.6.4 Program Data Entry ....................................................... 40
6.2.7 Favorites .................................................................. 41
6.2.8 Status Bar ................................................................. 41
6.2.9 Secondary and Tertiary Displays .............................................. 42
6.2.10 Limits ................................................................... 43
6.2.11 Bar Graph ................................................................ 43
6.2.12 Pressure Units ............................................................ 44
6.2.13 Pressure Type ............................................................. 44
6.2.14 Operating Modes .......................................................... 45
6.2.14.1 Measure Mode .......................................................... 46
6.2.14.2 Control Mode ........................................................... 48
6.2.14.3 Vent Mode .............................................................. 50
6.2.14.4 State of the isolation valves when the CPC8000 is off . . . . . . . . . . . . . . . . . . . . . . . . . . . 52
7. Setup ......................................................................... 53
7.1 General Tab .................................................................... 54
7.1.1 Language ................................................................. 54
7.1.2 Secondary and Tertiary Display ............................................... 54
7.1.3 Brightness ................................................................ 55
7.1.4 Volume ................................................................... 55
7.1.5 Load (Configuration) ........................................................ 56
7.1.6 Save (configuration) ......................................................... 57
7.2 Sensor Tab ..................................................................... 58
7.2.1 Sensor Filter ............................................................... 58
7.2.2 Resolution (display digits) .................................................... 59
7.2.3 Units ..................................................................... 59
7.2.4 Rate Units ................................................................. 60
7.2.5 User Units ................................................................. 60
7.2.6 Vent Rate ................................................................. 61
7.2.7 Vent Limit ................................................................. 61
7.3 Control Tab .................................................................. 62
7.3.1 Max and Minimum Limits ..................................................... 62
7.3.2 Stable Limits ............................................................... 63
7.3.3 Rate Setpoint .............................................................. 64

High-End Pressure Controller
CPC8000
Operating Instructions - CPC8000 5
7.4 Remote Tab .................................................................... 65
7.4.1 Remote Command Set Setup ................................................. 65
7.4.2 IEEE-488 Address .......................................................... 66
7.4.3 Ethernet Settings ........................................................... 66
7.4.4 Serial Settings ............................................................. 67
7.4.5 USB Device Setting ......................................................... 67
7.5 Applications Tab ................................................................ 68
7.5.1 Passwords ................................................................ 68
7.5.2 Calibration of Internal Transducers . . . . . . . . . . . . . . . . . . . . . . . . . . . . . . . . . . . . . . . . . . . . . 69
7.5.2.1 Calibration Environment .................................................... 70
7.5.2.2 Calibration Pressure Standards .............................................. 70
7.5.2.3 Calibration Media ......................................................... 70
7.5.2.4 Calibration Setup ......................................................... 70
7.5.2.5 Calibration Adjustment Procedure . . . . . . . . . . . . . . . . . . . . . . . . . . . . . . . . . . . . . . . . . . . . 72
7.5.2.5.1 1-Point Calibration ....................................................... 73
7.5.2.5.2 2-Point Calibration ....................................................... 74
7.5.2.5.3 Linearize ............................................................... 75
7.5.2.5.4 Head Correction (password protected) . . . . . . . . . . . . . . . . . . . . . . . . . . . . . . . . . . . . . . 77
7.5.2.5.5 Remote Zero Calibration .................................................. 77
7.5.2.5.6 Programs .............................................................. 78
7.5.2.5.7 Favorites ............................................................... 80
7.5.2.5.8 Digital I/O .............................................................. 80
7.5.2.5.9 Troubleshoot ........................................................... 81
7.5.2.5.10 Advanced ............................................................. 82
7.5.2.5.11 Admin ................................................................ 82
7.5.2.5.11.1 Change Password .................................................... 82
8. Remote Operation ............................................................... 85
8.1 Software/Functions .............................................................. 85
8.2 Remote Command Set ........................................................... 85
8.3 SCPI WIKA Command Set ........................................................ 93
8.4 SCPI Error Messages and Error Codes . . . . . . . . . . . . . . . . . . . . . . . . . . . . . . . . . . . . . . . . . . . . . 96
8.5 Command Emulation. . . . . . . . . . . . . . . . . . . . . . . . . . . . . . . . . . . . . . . . . . . . . . . . . . . . . . . . . . . . . 97
8.5.1 PCS 400 Emulated Commands ............................................... 97
9. Options ........................................................................ 99
9.1 Transport Case. . . . . . . . . . . . . . . . . . . . . . . . . . . . . . . . . . . . . . . . . . . . . . . . . . . . . . . . . . . . . . . . . . 99
9.2 Rack Mount Kit ................................................................. 99
9.3 Barometric Reference Transducer .................................................. 99
9.4 Model 75 Pressure Booster System ................................................100
10. Maintenance ................................................................. 101
10.1 Beyond the Warranty ...........................................................101
10.2 Troubleshooting ...............................................................101
10.2.1 Pressure Transducer Location ..............................................103
10.2.2 Transducer Removal / Replacement . . . . . . . . . . . . . . . . . . . . . . . . . . . . . . . . . . . . . . . . . . 103
11. Appendix .................................................................... 105
11.1 Measurement Units ............................................................106
11.2 Conversion Factors, bar ........................................................108
11.3 Conversion Factors, PSI ........................................................109
11.4 Conversion Factors, millitorr .....................................................110
11.5 WIKA Worldwide ..............................................................112

High-End Pressure Controller
CPC8000
6 Operating Instructions - CPC8000
NOTES

High-End Pressure Controller
CPC8000
Operating Instructions - CPC8000 7
1. General Information
1.1 Warranty
All products manufactured by Mensor are warranted to be free of defects in workmanship and
materials for a period of two years from the date of shipment. No other express warranty is given, and
WHATSOEVER. If any defect in workmanship or material should develop under conditions of normal
use and service within the warranty period, repairs will be made at no charge to the original purchaser,
upon delivery of the product(s) to the factory, shipping charges prepaid. If inspection by Mensor or
its authorized representative reveals that the product was damaged by accident, alteration, misuse,
abuse, faulty installation or other causes beyond the control of Mensor, this warranty does not apply.
nature of a defect, and the necessity or manner of repair. Service, repairs or disassembly of the product
A PARTICULAR PURPOSE. Mensor shall not be liable for errors contained herein or for incidental or
consequential damages in connection with the furnishing, performance, or use of this material.
1.2 Important Notice
change without notice.
Any reproduction of this manual or parts thereof by any means is prohibited.
1.3 FCC Radio Frequency Emission Notice
This equipment has been tested and found to comply with the limits for a Class A digital device,
pursuant to Part 15 of the FCC Rules. These limits are designed to provide reasonable protection against
harmful interference when the equipment is operated in a commercial environment. This equipment
generates, uses, and can radiate radio frequency energy and, if not installed and used in accordance
with the instruction manual, may cause harmful interference to radio communications. Operation of
this equipment in a residential area is likely to cause harmful interference in which case the user will be
required to correct the interference at his or her own expense.
Use shielded cables to connect external devices to this instrument to minimize RF radiation.

High-End Pressure Controller
CPC8000
8 Operating Instructions - CPC8000
1.4 Trademarks and Copyrights (C)
WIKA is a registered trademark of WIKA Alexander Wiegand SE & Co. KG.
Mensor is a registered trademark of Mensor. ©2012, Mensor. All rights reserved.
All other brand and product names are trademarks or registered trademarks of their respec-
tive companies.
1.5 Software License Agreement
This product contains intellectual property, i.e., software programs, that are licensed for use by the end
user/customer (hereinafter “end user”).
This is not a sale of such intellectual property. The end user shall not copy, disassemble, reverse
engineer or de-compile the software program.
The software programs are provided to the end user “as is” without warranty of any kind,
either express or implied, including, but not limited to, warranties of merchantability and
software program is with the end user.
end user (including, but not limited to, general, special, consequential or incidental damages including
arising from or in connection with the delivery, use or performance of the software program.
1.6 Mensor Service Plus
the equipment. If there are questions regarding this manual, proper use of the equipment, or if you have
WIKA for personal assistance. We are ready to help.
Mensor WIKA Alexander Wiegand SE & Co. KG
201 Barnes Drive Alexander-Wiegand-Straße 30
San Marcos, Tx 78666 D-63911 Klingenberg / Germany
tel: 1.512.396.4200 tel: (+49) 93 72/132-9986
1.800.984.4200 (USA only) web site: www.wika.de
web site: www.mensor.com fax: (+49) 93 72/132-8767
fax: . 512.396.1820 e-mail: testequip@wika.de
e-mail: sales@mensor.com
tech.support@mensor.com
quality@mensor.com
Any reproduction of this manual or parts thereof by any means is prohibited.

High-End Pressure Controller
CPC8000
Operating Instructions - CPC8000 9
1.6.1 After the Warranty
Mensor’s concern with the performance of this instrument is not limited to the warranty period. We
explained in Section 10, Maintenance.
1.6.2 Calibration Services
In addition to servicing our own products, Mensor provides complete pressure calibration services up
Calibration and a record of traceability to the pressure standards of the United States National Institute of
Standards and Technology (NIST).
1.6.3 Accreditations
Mensor is registered to ISO 9001:2008. The calibration program at Mensor is accredited by A2LA, as
complying with both the ISO/IEC 17025:2005 and the ANSI/NCSL Z540-1-1994 standards.
1.7 Packaging for Shipment
it must be packaged properly to minimize the risk of damage.
The recommended method of packing is to place the instrument in a container, surrounded on all sides
with at least four inches of shock attenuation material such as styrofoam peanuts.
If the instrument will be subjected to frequent transport then the optional Transport Case shown in
Section 9, Options, might be an economical solution. This wheeled case is very rugged and provides
complete and long term protection against rough handling.

High-End Pressure Controller
CPC8000
10 Operating Instructions - CPC8000
NOTES

High-End Pressure Controller
CPC8000
Operating Instructions - CPC8000 11
2. Safety Notices
2.1 User Responsibilities
To ensure safety, the operator must make sure that the following conditions are met:
observed.
The system is in perfect operating condition.
The operation manual is legible and accessible to the user at the system’s location.
The user receives instruction on industrial safety and environmental protection, and is knowledgeable
of all operating instructions and safety notices relevant to the current procedure.
2.2 General Safety Notices
The system should be operated only by trained personnel who are familiar with this manual
and the operation of the instrument.
A condition for trouble-free and safe operation of this system is proper transport,
proper storage, installation, assembly and proper use as well as careful operation
and maintenance.
Any operation not described in the following instructions should be prohibited. The
system must be handled with care required for an electronic precision instrument
extreme temperatures). Do not insert any objects into the instrument.
The system is powered via the power cable with a voltage that can cause physical
injury. Even after disconnecting the system from the power supply, dangerous
voltages can temporarily occur due to capacitance.
Repairs must be performed only by authorized service personnel.
Additional safety notices are found throughout this manual.

High-End Pressure Controller
CPC8000
12 Operating Instructions - CPC8000
2.3 Warnings and Caution Notices
WARNING: HIGH PRESSURE! High pressure gases are potentially hazardous.
Energy stored in these gases can be released suddenly and with extreme force.
High pressure systems should be assembled and operated only by personnel who
have been trained in proper safety practices.
WARNING: POSSIBLE INJURY! The tubing, valves and other apparatus attached to
the instrument must be adequate for the maximum pressure which will be applied,
otherwise physical injury to the operator or bystanders is possible.
CAUTION: Use the proper pressure medium. Use only clean, dry, noncorrosive
gases. This instrument is not designed for oxygen use.
WARNING: HIGH SOUND LEVELS! Pressures from 1000 psi and up can generate
sound levels above 80 dbA for brief periods when they are exhausted directly to
operator’s responsibility to measure sound levels at whatever point 1 meter from
the equipment that has the highest sound pressure level. At levels above 80 dbA,
use of protective ear pieces can reduce these higher levels to a safe level.
WARNING: NOT EXPLOSION PROOF! Installation of this instrument in an area
requiring devices rated as intrinsically safe is not recommended.
WARNING: Detachable main power supply cord with inadequate ratings should not
CAUTION: ESD PROTECTION REQUIRED. The proper use of grounded work
surfaces and personal wrist straps are required when coming into contact with
exposed circuits (printed circuit boards) to prevent static discharge damage to
sensitive electronic components.
Additional Warning and Caution notes are included throughout this manual.

High-End Pressure Controller
CPC8000
Operating Instructions - CPC8000 13
3. Product Description
3.1 General Description
The CPC8000 High-End Pressure Controller is our highest performance pressure controller and features
the following:
• 19” rack mount compatibility
• Designed for serviceability and reliability
• Widescreen display with glass capacitive touchscreen
• Front panel door gives access to instrument interior
• Up to three removable sensors 0.01% IS-50 (IntelliScale-50)
• Pressure ranges from 10.36 pressure regulator, up to 10:1 turndown
• Adaptive control algorithm with rate control capability
• Ethernet, RS-232, USB, and IEEE-488 communications
• Remote compatibility with PCS 400, CPC 6000, CPC 3000, old CPC8000 (SCPI)
• Emulation of competitive instrument command sets
• Local program capability
• Multiple language support
• On board diagnostic logging
• Barometric reference option
• 0.008% IS-33 (IntelliScale-33) sensor option
• Complies with latest CE and 61010 regulations
The CPC8000 is designed to automate the testing and calibration of all types of pressure devices and
instruments. Up to three removable / interchangeable pressure transducers are available in full scale
calibration parameters on board and have 0.01% IS-50 or optional 0.008% IS-33 uncertainty.
The three transducers, in combination with the internal control valve regulator, provide a dynamic output.
The operator can choose to control pressure either using a single, selected transducer or auto-range
control across all three sensors. The ratio between the highest FS range and the lowest FS range within
the CPC8000 cannot exceed 10:1. The three ranges can be chosen to optimise uncertainty levels across
the full pressure span of the instrument.
In addition to the capacity for three active ranges, a fourth, barometric transducer is available as an
option. With this option installed a CPC8000, with absolute or gauge pressure transducers, can emulate
pressure of the opposite type.
3.1.1 IntelliScale Transducer Choices
The CPC8000 can be supplied with standard 0.01% IS-50 Transducers or optional 0.008% IS-33 trans-
ducers to give a percent of reading uncertainty down to 50% or 33% of full scale respectively. Refer to
Section 4.7, IntelliS-
cale.

High-End Pressure Controller
CPC8000
14 Operating Instructions - CPC8000
3.2 Front Panel
panel is hinged for easy access to remove or replace the transducer modules inside. The instructions for
accessing the transducers are provided in Section 10.2.2 Transducer removal/replacement. Immediately
to the right of the display panel is a USB port and a power switch.
Hinged Display Panel
Power switch
USB port
Label
Figure 3.2 - Front View
3.2.1 Power Switch
The power switch is a two-state device with an action similar to that of a ball point pen. Push the button
with enough force to latch it in to turn the unit ON. Push it again to release it to turn the system OFF.
If power to the instrument is interrupted while ON it will shut down until the power is
restored, then immediately resume operation.
3.2.2 USB Port
The front panel USB port is the same as the Host USB port on the rear panel. Both are intended for future
expansions or software upgrades
3.2.3 Information Label
3.2.4 Screen
The large (9 inch diagonal) HD-LCD color screen has a glass capacitive touch screen for navigation
within the intuitive operator interface. At power up the main screen is presented. ()
3.2.4.1 Main Screen Features
On power up, the main screen will show a numeric data entry key pad on the right 1/3 of the display and
pressure range, control and operating parameters on the left 2/3.

High-End Pressure Controller
CPC8000
Operating Instructions - CPC8000 15
See Section 6,
Local Operation, for more details. The data entry portion of the main screen is used primarily to input and
adjust control set points and change main screen parameters.
Section 6, Local Operation, for more details).
Pressure monitoring calibration and testing functions are performed through Interaction with this screen;
the majority of an operator’s local operation time will be spent working with this screen. A map of the
individual features on the various displays is included in Section 6.1.2.
Data entry
Main screen
Test / Calibration Parameters
Figure 3.2.4.1 - Main Screen Features
3.2.4.2 Screen Navigation
Individual screens are accessed by a series of touches on tabs, buttons or icons, which open screens
within the hierarchy of the instrument. Nomenclature that designated a screen and how to navigate to
it will be given in this manual in the following structure: “Icon name” [Icon Graphic] / [Tab] / [Button
Name].
For example the screen used to set the resolution of the instrument sensor would be designated by
the navigational screen hierarchy, starting from the main screen, as follows: Setup [ ] / [Sensor]
/ [Resolution]. This convention is similar to a computer folder system and will be used to describe a
screen and, inherently, how to navigate to it.
All of the screens are set up into two display areas. The larger area (left 2/3 of the screen) shows live
-
tion of the output of the device. The smaller area (Data Entry) on the right side, has the number key pad,
variable sliders or discrete choice buttons (radio buttons) that all act to input alpha numeric information or
mode changes relating to the test or calibration information being shown on the left.

High-End Pressure Controller
CPC8000
16 Operating Instructions - CPC8000
Buttons on the screen are shown with a gradient background. When inactive the buttons are shown
with the gradient dark on the bottom and light on the top; when selected the button changes color and is
light on the bottom and dark on the top. Buttons are labeled in an intuitive fashion and when selected its
function is obvious.
The setup screens are accessed by pressing the double gear icon [ ] and follows the same format
as the main screen with the right hand side used for data entry and the left hand side used for display.
These setup screens are used for a variety of instrument settings, including, display, sensor, control, and
remote interface settings. This area also contains the application used to calibrate the internal sensors
screens can be found in Section 6, Local Operation.
screen.
Full operational descriptions of all of the screens, symbols, labels and switches are provided in Section
6, Local Operation.
3.3 Main Features
■ Up to three, highly stable removable / interchangeable pressure transducers (see Section 10.2.2,
Transducer Removal/Replacement). Each transducer is a totally self-contained module including its
unique calibration data.
■IntelliScale calibrations for maximum accuracy specifications.
■ An optional high performance Barometer module can be used for accurate emulation of gauge
pressure with absolute pressure instruments, or used for absolute pressure emulation with gauge
pressure instruments.
■ A large 9- inch diagonal color LCD display with glass capacitive touch screen for intuitive operator
interface.
■A very quiet precision pressure regulator with a fast response time.
■ Multiple languages; simply touch one of the national flags on the display to instantly change the
on-screen text language, and the corresponding number and date formats. For more detailed informa-
tion see Section 7.1.1, Language.

High-End Pressure Controller
CPC8000
Operating Instructions - CPC8000 17
the National Institute of Standards and Technology NIST). A calibration data report has been provided with
your new CPC8000 instrument, traceable to NIST. The calibration program at Mensor is accredited to both
ISO/IEC 17025:2005 and Z540-1-1994 by A2LA. Mensor, LP is registered to ISO 9001:2008.
Total Uncertainty (1) 0.01% FS(3), 0.01% IS-50(2), 0.01% Span, 0.03% FS, 0.03% Span
-or-
Optional 0.008% IS-33(4)
Optional 0.008% IS-50(5)
Gauge and absolute emulation modes add or RSS the additional uncertainty of the barometric
transducer (0.01% of reading).
Pressure ranges 0 ... 7.5 psia to 0 ... 6015 psia
0 ... 0.36 psig to 0 ... 6000 psig
-15 ... 1015 psig to -15 ... 6015 psig (0.01% IS-50 Uncertainty(2))
-5 ... 5 psig to -15 ... 145 psig bi-directional (0.01% Full Span(3))
See Table 4.6.1 for available Transducer Type, Range, Mode & Uncertainty)
Maximum ratio between highest and lowest range is 10:1
Measurement units psi, inHg@0C, cmHg@0C, mmHg@0C, inH2O@4C, 20C, bar, mbar, cmH2O@4C and 20C, hPa, kPa,
Resolution Operator selectable from 4 to 6 digits
Calibration adjustments Zero adder and Span multiplier or up to 11 point linearization for each sensor
Calibration interval 365 days for IS-33 or IS-50 and 180 days for standard transducers, with periodic re-zeroing.
Calibration data storage The calibration data is stored on the sensor.
: Max = the maximum value of a range, also known as the full scale value. Example, for a range of –15 ... 145, Max = 145
Min = the minimum value of a range. Example, for a range of –15 ... 145, Min = –15
Full Span = Max – Min. Example, for 0 ... 145 the Full Span is 145, for –15 ... 145 the Full Span is 160
Reading = The value of the sensor output
-
(2) 0.01% Intelliscale-50 (0.01% IS-50): Uncertainty from Min to 50% of Max = (0.010% x 50% x Max) or 0.010% of reading from 50% to 100% of Max for 365 days.
(3) 0.01% Full Span (0.01% FS) = Uncertainty of 0.01% of the Full Span for 365 days.
(4) 0.008% Intelliscale-33 (0.008% IS-33): Uncertainty from 0 to 33% of Max= (0.008% x 33% x Max) and 0.008% of Reading from 33% to 100% of Max for 365 days.
(5) 0.008% Intelliscale-50 (0.008% IS-50): Uncertainty from 0 to 50% of Max = (0.008% x 50% x Max) and 0.008% of Reading from 50% to 100% of Max for 365 days
External pressure
requirements
Source Requirements – 10% over range of highest pressure transducer
Exhaust Requirements – Vacuum source required for any control below atmosphere
Control stability 0.002% FS of highest range sensor at the set point
Pressure range ratio Maximum ratio between highest and lowest range is 10:1
Minimum control pressure 0.05% FS of highest range sensor or .025 psi over exhaust pressure, whichever is greater
Pressure control rates 0.001% of range/sec to 10% of range/sec
Control time
lengthen this time. Controlling to pressures less than 0.5 psia will lengthen this time.
Supply consumption <2.5 scfh in steady-state control.
Overshoot <0.1%
External volume 50 to 1,000 milliliters. Requires one complete pressure cycle after changing the external volume,
or after a power cycle. See page 27, “Turning on the CPC8000”.

High-End Pressure Controller
CPC8000
18 Operating Instructions - CPC8000
Size See Section 5.3, Dimensions.
Weight ~49 lbs (~22.2 kg) with all internal options.
Mounting Standard: desk top case with bezel and handle.
Optional: 19” rackmount kit.
Power input requirements 100 – 120 VAC / 200 – 240 VAC, 50 – 60 Hz
Energy Consumption Max 140 VA
Pneumatic interfaces 7/16-20 female SAE threaded ports for Measure/Control, Exhaust, Vent, Reference,
Pneumatic overpressure
protection
Each sensor is protected with pneumatic relief valves set 10-25% over the maximum transducer
pressure.
Compensated temp. range 15 to 45 °C
Operating temp. range 0 to 50 °C
Storage temp. range 0 to 70 °C
Local user interfaces 9” Color LCD display with glass capacitive touch screen
Remote user interface RS-232 (null modem cable not required), Ethernet, USB, and IEEE 488.2
Warm-up 15 minutes to rated accuracy
Reading rate 32+ readings/second, unique readings/second is sensor dependent.
Transducer Response time < .33 seconds after a 0-FS step
Negligible, can be removed with re-zeroing. (calibrate and operate in a horizontal position)
Shock / vibration 2 G’s Max
Pressure media capability Clean, dry, non-corrosive, non-combustible, non oxidizing gases. No oxygen.
Metals in contact with media 6000 series Aluminum, 316 SS, Brass
Non-metals in contact
with media
Operating environment 0-95% RH, non-condensing
CE-mark
with the recognized Internal Standard ISO/IEC 17025:2005 and also meets the requirements
of ANSI/NCSL Z540-1-1994. Accreditation is by the American Association for Laboratory
Accreditation (A2LA).
Warranty Two year warranty
Options 0.008% IS-33 sensor option
Transport/travel case
Barometric reference transducer
Spare Primary, Secondary or Tertiary transducer
19” rackmount kit
WARNING! This is class A equipment for emissions and is intended for use in industrial
environments. In other environments, e.g. residential or commercial installations, it can
interfere with other equipment under certain conditions. In such circumstances the operator
is expected to take the appropriate measures.

High-End Pressure Controller
CPC8000
Operating Instructions - CPC8000 19
4.4 Transducer Removal/Replacement
When replacing transducers the order of position MUST be maintained according to
the pressure limit of each transducer; starting with the highest pressure transducer
on the left (Primary Transducer), and the next lower pressure limit transducer next
(Secondary Transducer), and the low ranged transducer at the far right (Tertiary
Transducer). If the system will be operated with less than the full complement of
three pressure modules, any empty slots must begin at the far right where the
Tertiary Transducer is normally located.
The manifold seal is a metal plate used to seal the pneumatic openings on the manifold at
an unused transducer slot. If there is just a single pressure transducer installed then two
manifold seals are installed. All transducer slots must be sealed with either transducers or
seal plates for the instrument to function. Two manifold seal plates are shipped with each
unit for this purpose.
The D-sub connectors for unused slots can remain unplugged. For more information on transducer re-
moval/replacement see Section 10.2.2 in the Maintenance section.
Up to three transducers can be present within the CPC8000. The full scale pressure of the highest
ranged transducer (the Primary transducer) must fall within the range of the installed regulator module
(see Table 4.5, Regulator Module version and range limits). This primary transducer occupies the leftmost
transducers but their full scale range cannot exceed a ratio of 10:1 of the primary transducer. In other
words, the lowest full scale range in the CPC8000 cannot be less than one tenth of the range of the
primary transducer full scale range (see Section 4.6, Transducer Choices).
Primary transducer Secondary transducer Tertiary transducer
Figure 4.4 - Front cut-away view showing three transducers

High-End Pressure Controller
CPC8000
20 Operating Instructions - CPC8000
4.5 Regulator Ranges
shows each regulator and its corresponding pressure range limits: LP (low pressure), MP (medium
pressure), SP (standard pressure), HP (high pressure) and EP (extended pressure).
Table 4.5 - Regulator Module Version and Range Limits
Regulator Module Primary Range Limits
LP-NVR
MP-NVR
> 90 psi gauge or 105 psi absolute / 6 bar gauge or 7 bar absolute
SP-NVR
> 1000 psi gauge or 1015 psi absolute / 70 bar gauge or 71 bar absolute
HP-NVR
> 2000 psi gauge or 2015 psi absolute / 135 bar gauge or 136 bar absolute
EP-NVR
> 3000 psi gauge or 3015 psi absolute / 210 bar gauge or 211 bar absolute
0
1000
2000
3000
4000
5000
6000
2000 to 3000 psi
HP-NVR
1000 to 2000 psi
SP-NVR
1000 to 90 psi
MP-NVR
90 to 0 psi
LP-NVR
6000 to 3000 psi
EP-NVR
Regulator Module Range
Figure 4.5 - Primary transducer limit for each regulator
The primary transducer (Transducer 1) full scale range must fall within one of the regulator range limits
have a full scale value less than 1/10 of the primary sensor full scale range.
Table of contents
Other mensor Controllers manuals
Popular Controllers manuals by other brands
Compu-aire
Compu-aire SYSTEM 2200 Plus 3L user manual
Johnson Controls
Johnson Controls VA-7700 Series manual
Helios
Helios AIR1-BE TOUCH Installation and operating instructions
Prime Controls
Prime Controls DS60A operating instructions
Panasonic
Panasonic FP7 Series user manual
ABB
ABB AC500-eCo Series Hardware Introduction
