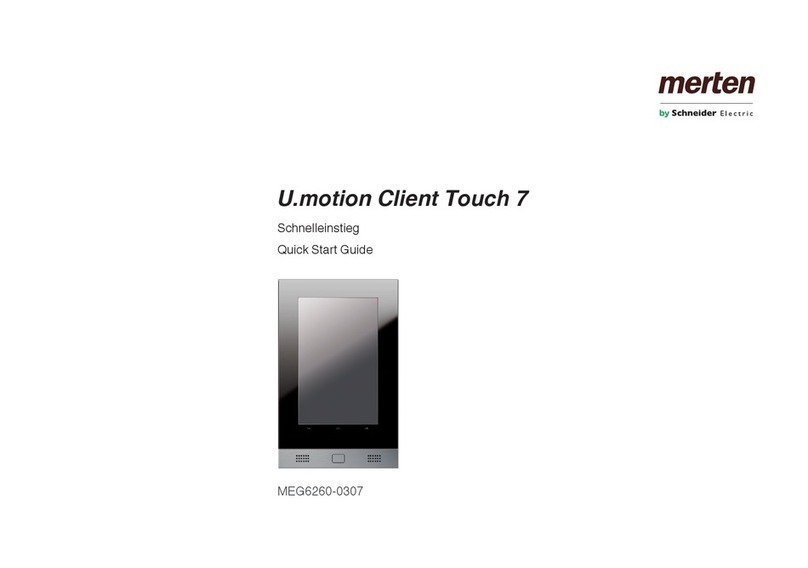
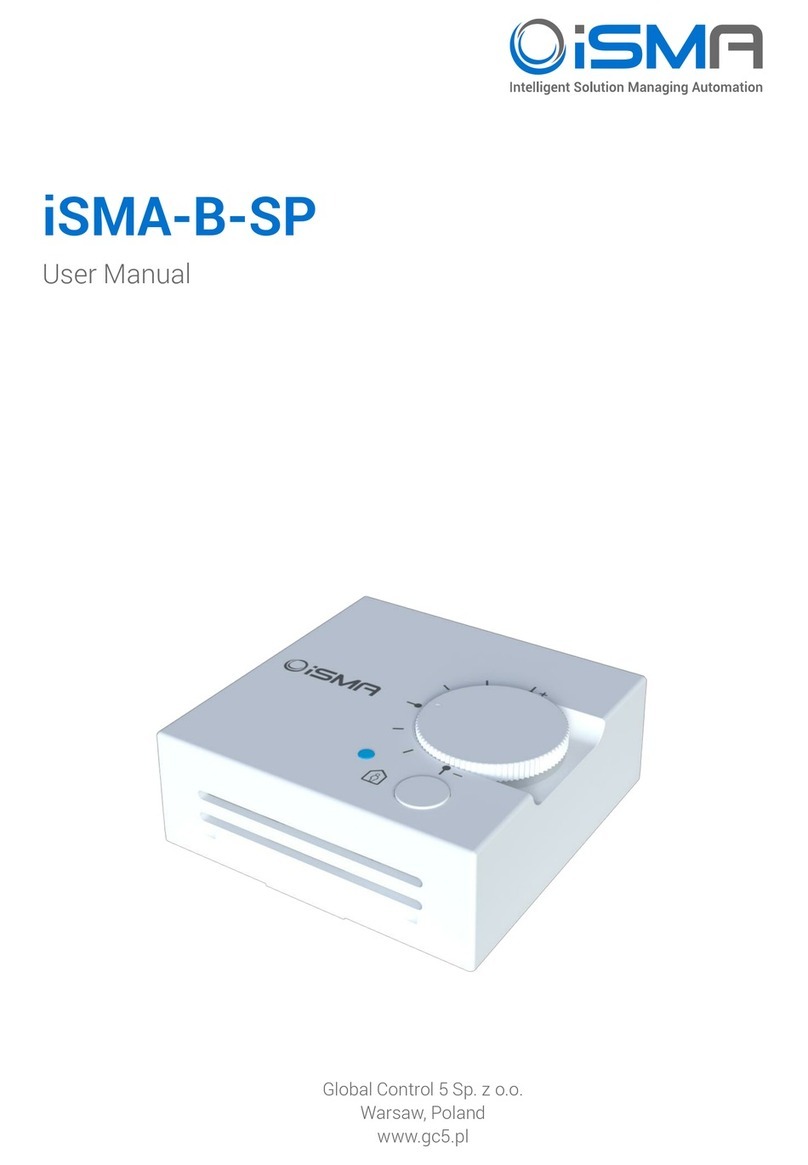
merten U.motion Client Touch 7 User manual

U.motion
U.motion Client Touch 7
Technical Manual
Art. no. MEG6260-0307
04/2014 Version 1.0.1
www.merten.com

-1-
U.motion Client Touch 7
Technical Manual
GENERAL INFORMATION
Schneider Electric GmbH c/o Merten
Gothaer Straße 29, 40880 Ratingen
www.merten.com
www.merten-austria.at
Customer care centre:
Phone: +49 2102 - 404 6000
Operating instructions, manuals and software are protected by copyright. All rights are reserved. Copying,
multiplication, translation and conversion, either partially or as a whole, is not permitted. You are allowed to
make a single copy for backup purposes.
Note: please read the manual before beginning and keep the manual for later use.
Audience: the manual has been conceived and written for users who are experienced in the use of PCs and
automation technology.
CONVENTIONS
[KEY]
Keys that are to be pressed by the user are given in square brackets, e.g. [CTRL] or
[DEL]
Courier
On-screen messages are given in the Courier font, e.g. C:\>
Courier bold
input to be made by the user are given in Courier bold, e.g. C:\>DIR).
„…“(double quotes)
Names of buttons to be pressed, menus or other onscreen elements and product
names are given within double quotes. (e.g. “Configuration”).
Symbolic
In this manual the following symbolic are used to indicate particular text blocks.
Caution!
A dangerous situation may arise that may cause damage to material.
Note.
Hint and additional notes

-2-
U.motion Client Touch 7
Technical Manual
SAFETY INSTRUCTIONS
The present operating instructions contain those safety instructions that are required to safely operate the
machine.
All persons working with the machine must heed the present operating instructions, especially the safety
instructions.
In addition, all local stipulations governing the prevention of accidents must be heeded.
Only trained and authorized personnel may install and operate the machine.
Proper application: The machine has been designed for application in a building environment.
The machine meets the requirements of the EMC guidelines and of the harmonized European standards.
Modifications to the machine hardware may affect the system’s EMC compatibility.
Without special protection measures, the machine must not be used in EX areas and in plants that require
special monitoring.
Danger of explosion; do not expose the buffer batteries to heat. Serious injury may be the result.
The operating voltage of the machine must be within the specified range! The product label provides the
required information.

-3-
U.motion Client Touch 7
Technical Manual
CONTENTS
General Information 1
Conventions 1
Safety instructions 2
Contents 3
A. Product description 4
A1. Front view - U.motion Client Touch 7 4
A2. Interfaces - U.motion Client Touch 7 5
A3. Scope of delivery 7
B. Commissioning 7
B1. Grounding 7
B2. Commissioning 7
B3. Installing the U.motion Client Touch 7 8
C. Operating System 8
C1 Hardware interfaces: 10
C2 Google Play Store: 11
C3 U.motion Access: 12
C4 U.motion Control: 19
C5 U.motion Communication: 23
C6 Recovery: 31
D. Technical data 32
D1. Mechanical data 32
D2. Maintenance and upkeep 33

-4-
U.motion Client Touch 7
Technical Manual
A. PRODUCT DESCRIPTION
A1. Front view - U.motion Client Touch 7
● U.motion Client Touch 7
Image: with U.motion Touch 7 Design element side-view mounted
Image: horizontal mounting

-5-
U.motion Client Touch 7
Technical Manual
A2. Interfaces - U.motion Client Touch 7
Rear connections
U.motion Client Touch 7 has various connection possibilities on his back side. All necessary interfaces can be
found there.
DC IN
Rear Connections:
-DC in
-USB1
-USB2
-LINE Out
-LAN –PoE
-S1
-S2
+
-

-6-
U.motion Client Touch 7
Technical Manual
Front connections
U.motion Client Touch 7 offers important front connections for expansion too.
1. Microphone
2. USB OTG
3. Micro SDHC card slot
4. POWER button
5. RGB LED
6. HOME button
7. loudspeaker
Note: with applied U.motion Touch 7 Design element, only the touchscreen and the HOME button
are available for the handling of the device. The interface of U.motion Client Touch 7 was designed
in a way that this input methods are enough. If you have own applications that require the BACK
button, you can find it as a soft key, shown in the navigation bar of U.motion Client Touch 7.
Note: further information regarding the interfaces and their control can be found in chapter C1.
1 2 3 4 5 6 7
1 6 7

-7-
U.motion Client Touch 7
Technical Manual
A3. Scope of delivery
Hardware:
U.motion Client Touch 7
U.motion Touch 7 Design element
Fixing set to be used with mounting set
Retention screw
RJ45 Connector
RJ45 Patch cable
Recovery microSD card
Software:
Pre-Installed, fully functional operating system
Documentation:
Safety notes / General notes
Quick Start Guide
U.motion USB Stick: documentation and software
Note: Please refer to chapter C of this manual which contains important information about the
installation of the OS.
B. COMMISSIONING
B1. Grounding
The following must be heeded to ensure that all electrical interference is safely absorbed:
All data cables connected to the unit must be shielded.
The shields must be grounded at both ends. A low-impedance connection must be established between the
linked units. High compensation currents over the cable shields caused by potential differences must be
excluded.
B2. Commissioning
Power supply of the U.motion Client Touch 7 is granted either through “Power over Ethernet”or through DC
input on DC in plug. Using DC input, the power supply needs to provide safety extra-low voltage (SELV) and
has to be EN60950-1 par.2.5 compliant. If using PoE ensure that your switch, injector or power adapter is fully
PoE compliant.
Power consumption of the device is defined in the technical documents.
More technical details of the power supply can be found in section D2.
Caution!
Pull out the power plug before opening the unit. Check all cable connections before
commissioning the system. Make sure that all voltages and signals meet the specifications.

-8-
U.motion Client Touch 7
Technical Manual
B3. Installing the U.motion Client Touch 7
Mounting U.motion Touch 7 Mounting set
The mounting set may be installed in a cut out in the wall, in a wooden structure thick at least 1,5 cm or in a
cavity wall construction. The cut out has to respect the sizes specified in the technical data and has to be at
least 8 cm deep.
In the wall cut out, the mounting set can become build in while it can be screwed on in a piece of furniture or
in a cavity wall (thanks to the additional wooden mounting adapters). It is important that the fore edge of the
mounting set is flat and horizontally to the surface of the wall or the piece of furniture.
The mounting set offers cable access at all four sides.
Note: detailed information about the mounting can be found in the documentation of the
corresponding mounting set (attached to the mounting set and present on the U.motion USB stick)
Installing U.motion Client Touch 7
Switch off the system/plant supply voltage. Connect the power and controlling cables. After the correct
cabling and connecting the magnet, the U.motion Client Touch 7 is put into the wall mount box and is fixed
with the screw included in the packing. Now, you can install your U.motion Touch 7 Design element with
slight, even pressure.
Caution!
Unauthorized changes or modifications to the U.motion Client Touch 7 configuration may result in
permanent damage to the system or its functionality. Only authorized trained personnel are allowed
to make any modifications.
Caution!
If you need to remove the U.motion Touch 7 Design element, extract it from the mounting
horizontally. One-sided traction or slanted installing can damage the frame.
Caution!
In order to be able to dissipate the warmth produced by the equipment, it must be guaranteed, that
the ambient temperature does not exceed 30°C. If this value is exceeded, additional cooling has to
be provided.
The equipment must be installed vertically, i.e. the front plate must be in an angle of 90° to the base
plate. Installation has to be conform to HD 60364-4-41 or other national prescriptions.
C. OPERATING SYSTEM
U.motion Client Touch 7 is delivered with the Android operating system in version 2.3.4. This operating
system, used on countless smartphones and tablets, thanks to the Open Source technology offers nearly
ungated capabilities as well as numerous usage possibilities dues to the availability of manufacturer-specific
applications. General information about the Android operating system can be found under
www.android.com.

-9-
U.motion Client Touch 7
Technical Manual
Beneath the standard applications delivered by the default operating system (for example gallery, music
player,…), the following applications are installed:
-Google Play Store (previously known as Android Market)
-U.motion Access
-U.motion Control
-U.motion Communication
The single applications are explained more in details in the following chapters.
Compared to traditional Android systems with version 2.3.4, the customized version offers a navigation bar at
the bottom of the display (similar to the bar of Android 4.x), which should simplify and fasten the navigation
on the device. Find below a screenshot of the navigation bar:
The 3 keys within the navigation bar are (from left to right):
-BACK
-HOME
-MENU
The BACK key in its functionality –depending on the active app –permits to return on the previously shown
page or to close the corresponding app.
The HOME key has the same functionality as the hardware HOME button and brings you back to the first
page of U.motion Access. The previously active app in this moment is brought to the background and
continues running (the HOME button / key do NOT terminate running apps).
If the HOME key is pressed some longer time, a pop-up window showing the recently opened apps will
appear. This allows a quick switching between different applications.
The MENU key functionality depends on the currently shown app and –if available –shows additional menu
and configuration options. The following screenshot shows an example of such a menu:
Furthermore, also the MENU key supports long-clicking: in this case it will show another pop-up window
which permits to turn off or reboot U.motion Client Touch 7:

-10-
U.motion Client Touch 7
Technical Manual
CAUTION: Please ALWAYS use this menu in order to shutdown U.motion Client Touch 7. An
abrupt removal of the power supply can interrupt running processes and cause the
dysfunction of different apps.
C1 Hardware interfaces:
As already seen in chapter A2, U.motion Client Touch 7 offers different kinds of interfaces as well on the rear
as on the front side. All interfaces are integrated and functional on Android level and can be accessed from
custom applications through corresponding libraries. The following list shows the interfaces currently used,
as well as the interfaces currently free and therefore usable in custom apps:
Front side:
-Microphone Among others used by the U.motion Communication app
-USB-OTG Works as well as USB host as also as USB device, which means that either
USB-HID devices (like USB keyboards, USB mice etc.) can be connected or
U.motion Client Touch 7 can be used as mass storage on a PC.
-microSD card slot Through the settings of U.motion Access connected microSD cards
can be mounted / unmounted
-RGB-LED Is used by the U.motion Access for debug purposes (is hidden by the
U.motion Touch 7 Design element)
-Speaker Among others used by the U.motion Communication App
Rear side:
-USB1+2 For the connection of USB devices (like USB storages, USB mice etc.)
-Line Out Can be used to forward the audio signal to a HiFi system (internal audio
signal is disabled)
Note: USB support
Generally all USB devices compatible with Linux operating systems that are using the default
drivers (HID devices) can be used in combination with U.motion Client Touch 7.

-11-
U.motion Client Touch 7
Technical Manual
C2 Google Play Store:
At delivery, U.motion Client Touch 7 already contains the Play Store of Google, which can be used to obtain
numerous apps of different manufacturers. This „door“ to the Android world gives you the possibility to
customize U.motion Client Touch 7 exactly according to your wishes and to download different kinds of
applications to your device. Details on the first steps with the Google Play Store can be found on the
following web page:
http://support.google.com/googleplay/?hl=en
Notes regarding the use of the Play Store on U.motion Client Touch 7:
1. The Play Store requires an active internet connection. If U.motion Client Touch 7 is used without
internet access, The Play Store is either automatically hidden or shows a corresponding warning
message.
2. In order to be able to use the Play Store, you have to check that your U.motion Client Touch 7 shows
the correct date and time settings. If these settings are not correct, the Play Store can not connect to
its servers and will show no contents. The time/date settings can be configured through the settings
page of U.motion Access.
3. In case no app download should be possible, please empty the cache of the Play Store through the
settings of U.motion Access (Manage Applications –All –Google Play Store).
4. Please take care that you will not be able to install all apps on the Play Store on U.motion Client
Touch 7. The Play Store is filtering apps according to certain criteria (for example display size,
permissions, additional functions like gravity sensor, GPS, phone etc.). If a device doesn’t support a
required criterion, the app will not be shown on Play Store. So if you shouldn’t be able to see an app
on U.motion Client Touch 7 that on your smartphone is visualised normally, it could be that U.motion
Client Touch 7 doesn’t fulfill one of the criteria required by the app to be launched correctly. In this
case you can try to get in contact with the manufacturer of the app in order to understand the
missing criteria and eventually find a solution for being able to run the app on U.motion Client Touch
7.
Caution!
The Play Store can only be used with a valid Google-Account. If needed, this account can be created
directly on U.motion Client Touch 7 using the wizard within the Play Store. Please note that in
Android the first account created on a device is used as default account and can only be deleted by
executing a FACTORY RESET of Android itself (please check out chapter C6). Further accounts can
be created and deleted without any problems; only the default account requires a factory reset of
the device and therefore is connected to the loss of all previously configured data!

-12-
U.motion Client Touch 7
Technical Manual
C3 U.motion Access:
The U.motion Access app is the main app of U.motion Client Touch 7 and is a so-called launcher app.
Launcher apps in the Android world generally determine start screens or graphical interfaces that hide the
original menu of Android. In this way the user should not be overwhelmed by the open architecture of
Android, but should be able to focus on the most important functionalities.
Exactly this concept is followed also by the U.motion Access app, which shows a simple grid of 6 fields that
permit a quick access to the most important functions / apps. Naturally it is possible to create more than one
launcher page, with the possibility to change between them using a swipe gesture. Furthermore U.motion
Access offers also a series of settings which should make easier the configuration of U.motion Client Touch 7.
After the first start of U.motion Client Touch 7, U.motion Access will present the following start screen:
The welcome message, as displayed also within the message itself, will be shown as long as the default
password that protects the access to the settings page (0000) isn’t changed. By confirming the message you
will see the first page of the launcher, which is already preconfigured:
Control : Launches the app U.motion Control
Communication: Launches the app U.motion Communication
At delivery all other fields are empty. A simple click on an empty / not connected field shows an info message
that the field must first be connected to an app via long-click-function before it can be used. If therefore a
long click is executed on one of the fields, a list of the apps present in the device will be shown, which gives
the possibility to select the desired app and connect it to the field. The selected app in the connection will be
shown at the corresponding position in the launcher. Naturally the long click can be executed also on already
connected fields in order to remove the connected app or to connect a different app.

-13-
U.motion Client Touch 7
Technical Manual
As visible also in the screenshot above, the first 2 fields use customized icons. Other fields will simply show
the icon of the connected app. If also the first 2 fields should show the original icons instead of the
customized ones, this can be simply acquired by changing the corresponding parameters in the settings
page of the launcher.
The settings page is accessed by clicking on the logo in the upper bar of the launcher. If the password
protection is active, you will have to insert a password before (like 0000 at first access).
The configuration page offers the settings shown in the screenshot below; in this window it is possible to
scroll vertically in order to access all of the settings:
The following pages will explain the different configuration possibilities. The first to entries simply redirect to
standard Android settings and allow to change the language of the U.motion Client Touch 7 and to set the
date and time correctly:

-14-
U.motion Client Touch 7
Technical Manual
U.motion Client Touch 7 offers all the languages contained in the Android repertoire. Nevertheless, the
U.motion applications are currently limited to the languages German, Italian and English. If another language
is selected, those applications will be shown in English.
The date and time settings can be configured as well manually as also automatically via network and are
necessary if you want to use the Play Store. It is recommended to use the manual configuration, since
Android limits the synchronization on mobile networks not present on U.motion Client Touch 7.
The next entry deals with the network settings of U.motion Client Touch 7:
U.motion Client Touch 7 supports as well the use of a static IP address as also the usage of DHCP. Depending
on your network, these parameters must be configured correctly in order to connect U.motion Client Touch 7
with your network and also with the internet (check out the screenshot in the middle, which shows the
configuration menu for the LAN port). If you are unsure about the correct configuration, please refer to your
network administrator.
This menu also shows the current IP address of the U.motion Client Touch 7.
Note: When the connection has been established correctly, in the upper right corner of this
configuration page a green symbol showing 2 PCs will be shown. Only when this symbol is active,
the U.motion Client Touch 7 is correctly connected to your network.
The next 2 settings refer to the control of the RGB-LED of the U.motion Client Touch 7. The first option
permits to use the blue LED as orientation LED. When the checkbox is enabled, the LED will be continuously
on and can be seen as operating LED or as orientation LED by night.
The second option instead handles the control of the red LED and uses it to signal the current network state.
If U.motion Client Touch 7 is not connected to a network and the checkbox of this option is enabled, the red
LED will be turned on. As soon as the device connects to the network, the LED will turn off. Therefore, the
option „Network-Check LED“ acts in the same way as the symbol of the network connection described in the
note above. Naturally, by disabling the corresponding checkbox, also this functionality can be disabled.

-15-
U.motion Client Touch 7
Technical Manual
Note: At delivery both LED functionalities are disabled in the settings, since the RGB-LED is
covered by the design element and the LED states are only for debug purposes.
The next entry permits to change the design of the U.motion Access. The launcher offers 4 designs /
orientations:
-Black Portrait - White Portrait
-Black Landscape - White Landscape
At delivery, the design will already be set according to the order information, through this popup window it
will be possible to change it also in a second moment.
The following screenshot shows an example of the launcher with the design „Black Landscape“:
The following to entries of the configuration window allow a further customization of the launcher:

-16-
U.motion Client Touch 7
Technical Manual
The „Icon Management“, as already mentioned before in this manual, permits to show / hide the customized
icons of the first 2 fields of the first page of the launcher.
The entry „Set Page Amount“ instead allows the definition of the maximum amount of launcher pages. When
using maximum configuration (5 pages), it will be possible to connect 30 apps to the U.motion Access. If only
1 page is selected, the launcher becomes a static page and the swipe gesture to change between pages will
be disabled.
The next 3 settings are useful to protect the launcher from unwanted changes. The checkbox „LongClick-
Function“ can be used to disable the corresponding function within the launcher; in this way, no new apps
can be connected to the fields of the launcher pages. This means that the final user will not be able to
customize the launcher, but will only be able to access the apps previously connected by the system
integrator.
The checkbox “Show description on empty buttons” instead permits to hide or show the text “No app
assigned” on empty buttons
The entry „Password Protection“ can be used to protect the current settings page; when clicking on the logo
in U.motion access, a password dialog will be shown and the settings page will only be accessible when the
correct password is inserted. At delivery, this password is set to 0000 and –as mentioned in the welcome
screen –must be changed. If this field is left empty, the access to the settings will be unprotected.
The next section deals with the display management of U.motion Client Touch 7:

-17-
U.motion Client Touch 7
Technical Manual
The entry „Power Management“ through a popup window will give you the possibility to select between one
of the following options::
-The option „Display always on“ keeps the display constantly on maximum brightness and disables all
kind of power saving options.
-The option „Dim“ will set the brightness of the display to the minimum value after a certain time
(compared to the next option this has the advantage that the touchscreen of U.motion Client Touch
7 will still react to inputs).
-The option „Turn off“ will disable display and touchscreen after a certain time. In order to re-enable
U.motion Client Touch 7 from this state, the HOME button must be pressed; no touch input will be
recognized in this state.
The menu „Display Settings“ is another link to a standard settings menu of Android and beneath the
configuration of the display timeout (used for the display dim and off functions) also permits to manually
change the brightness of the display of U.motion Client Touch 7. Furthermore animations (like for example
when changing between apps) can be disabled, what saves performance and lowers the energy consumption
of the device. The setting „Show navigation bar“ permits to enable / disable the navigation bar in the lower
area of the screen. At delivery the navigation bar is always enabled.
The setting „Lock Screen“ allows the configuration of a display lock screen for U.motion Client Touch 7:
At delivery this option is disabled. When enabling for example „Image“ as lock screen, further configuration
entries (Timeout and path to the image, check out the screenshot on the upper right) are shown. The
selected image (or a default image, if no image is selected) after the defined timeout will just be shown in
front of the launcher and prevent an unwanted commanding of the fields of the launcher. A swipe gesture to
the left or right side will disable the lock screen and show the launcher pages again.
Furthermore the lock screen supports also gesture control: if for example a „1“ is drawn with the finger on
the lock screen, the app U.motion Control is automatically launcher; if a „2“ is drawn, the app U.motion
Communication is launched.

-18-
U.motion Client Touch 7
Technical Manual
The next section allows the access to Android-specific settings.
The menu entry „Android Settings“ gives access to the complete settings of Android. Since these settings
permit to interact on a deeper level with the Android system, this menu is protected by a master password.
This password can be requested at any time from the support; nevertheless, please refer to downstanding
note.
Caution!
By releasing the master password, any claims for warranty on the correct software functionality of
U.motion Client Touch 7 are lost. Accessing the Android settings carelessly can cause data loss and
in worst case dysfunctions of the operating system, for which no responsibility is taken. An efficient
support can only be offered as long as U.motion Client Touch 7 is used within the established
conditions.
The next 3 entries again link to standard menus of Android:
The entry „Manage Applications“ will show a list of applications installed on the devices (for example through
the Play Store) and allows their administration and also uninstalling.
The entry „Manage SD card“ can be used to mount / unmount microSD cards connected to the
corresponding slot on the front side of U.motion Client Touch 7. The menu permits to mount, unmount and
also erase the storage card. Furthermore this menu also shows information about the integrated storages. At
delivery, from the 4GB internal storage approximately 750 MB are still usable by the Android system (for
system-internal data) and around 2,6GB are free for user data (like media, images,…); the remaining space is
used by the Android installation itself.
The entry “Change Volumes” permits to change the volumes of the U.motion Client Touch 7 (e.g. ring tone
volume, media volume) and gives access to the various settings of the available audio signals.
By clicking on the last entry you will leave the settings menu and return to the launcher. The entry above
shows the currently installed Android version and can be helpful to identify the current version of your
U.motion Client Touch 7. If you still have questions regarding U.motion Access, please get in contact with the
technical support.

-19-
U.motion Client Touch 7
Technical Manual
C4 U.motion Control:
The app U.motion Control was especially designed to work in combination with U.motion devices. At
delivery, this app is already connected to the field „Building“ of U.motion Access and can be started by
clicking on that field. The app can be classified as web app, which shows contents that normally can also be
shown through a common browser, in an optimized way.
In order to get an idea of the representation of the app, the following screenshot shows the app displaying
contents of a connected U.motion device:
Display area of the pages
coming from the U.motion
device
Menu bar with quick access
buttons for the home and
favorites pages and app settings
button
Other manuals for U.motion Client Touch 7
1
Table of contents
Other merten Control Panel manuals
Popular Control Panel manuals by other brands

FIREtec
FIREtec FTEP SERIES Installation instructions and user guide

Pego
Pego PLUS200 EXPERT Use and maintenance manual

Bosch
Bosch Easy Series user guide

Zeta
Zeta Premier MX-16 Installation and commissioning manual

ENDA
ENDA EOP4-104 Series installation instructions

Zeta
Zeta Classic 2000 MKII Installation and operation manual

Redback
Redback 6500 Software Programming Guide

Notifier
Notifier NFS-3030/E installation manual

Generac Power Systems
Generac Power Systems H-100 Technical manual

Delta Electronics
Delta Electronics DUP-B Series user manual

Beckhoff
Beckhoff CP6608 Installation and operating instructions

Cofem
Cofem CLVR08Z manual