Mestra R-100277 User manual
R-100277
E
...........
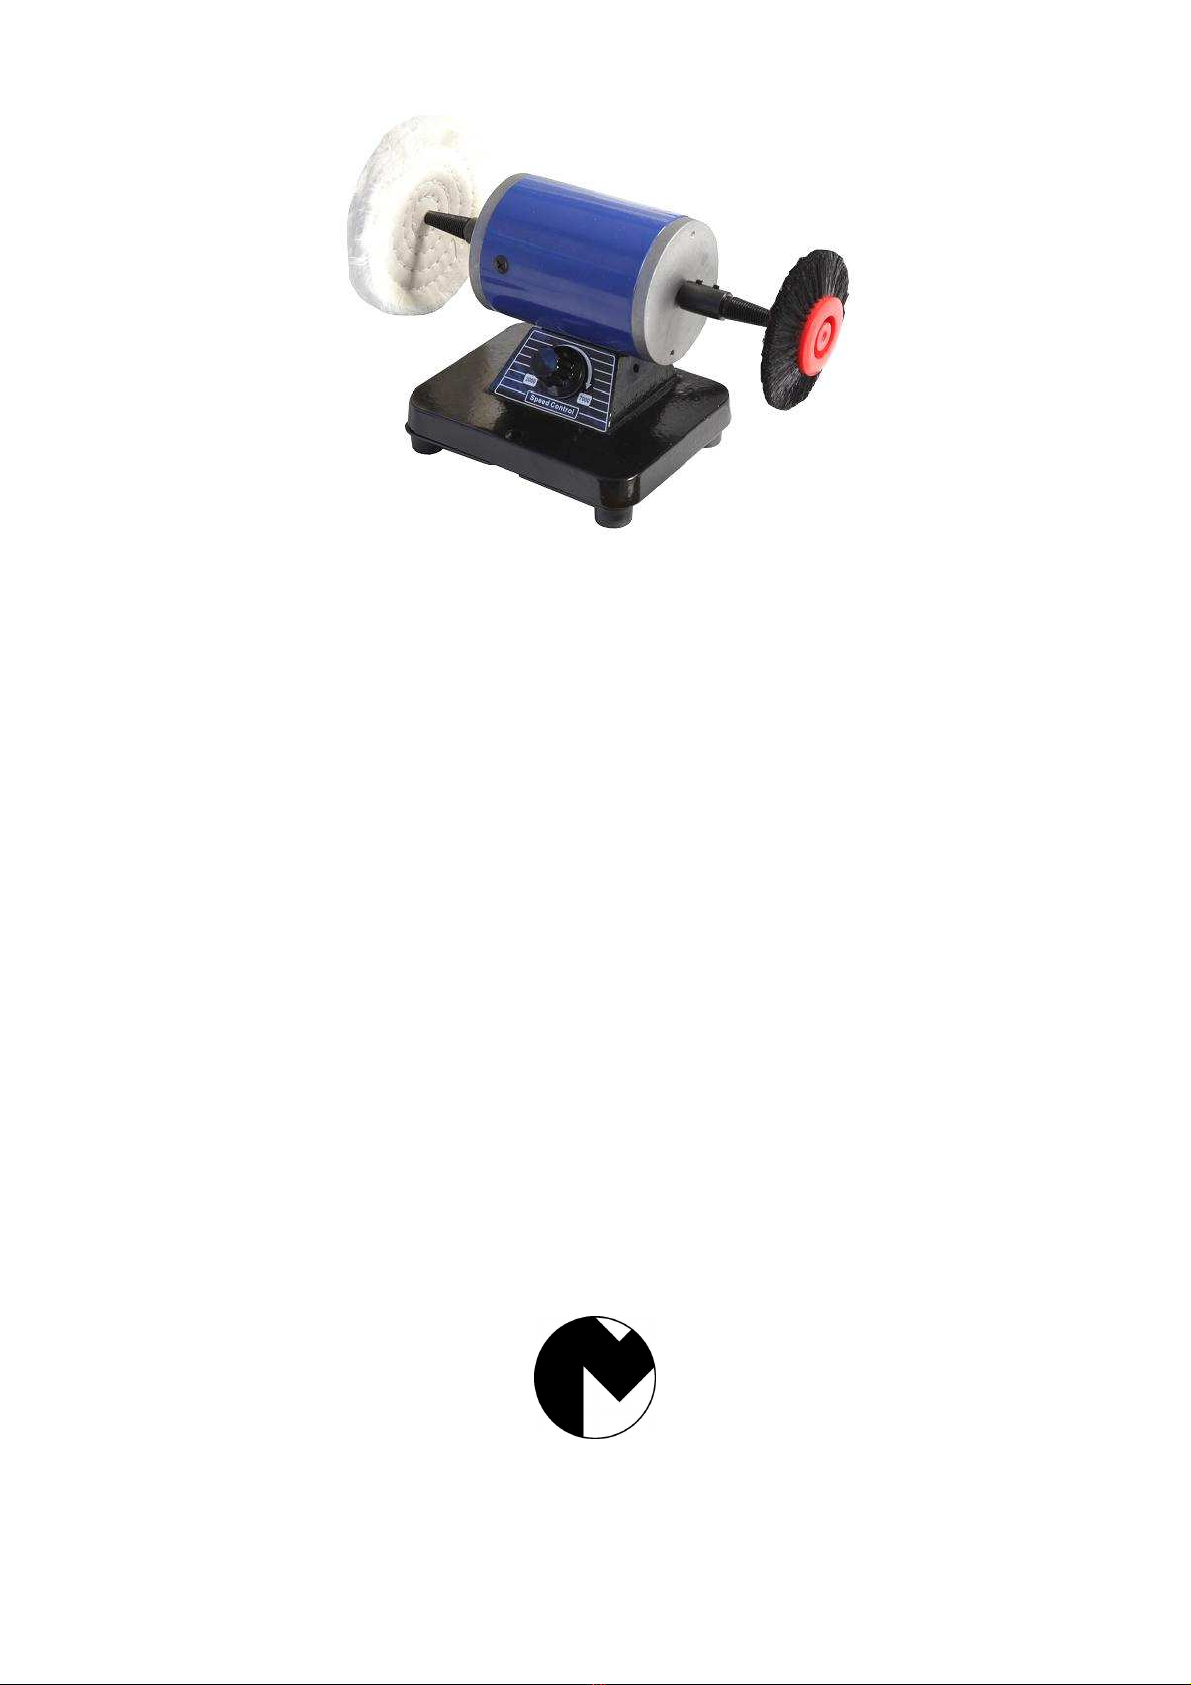
MINI PULIDORA VELOCIDAD VARIABLE
..........4
GB
.......
MINI POLISHER VARIABLE SPEED
.....................6
MESTRA
®
TALLERES MESTRAITUA S.L.
Txori-Erri Etorbidea, 60
Tel. +34 944530388 - Fax +34 944711725
48150 SONDIKA - BILBAO - ESPAÑA
Rev.
0
8
/11/13
A
B
C
D
E
F

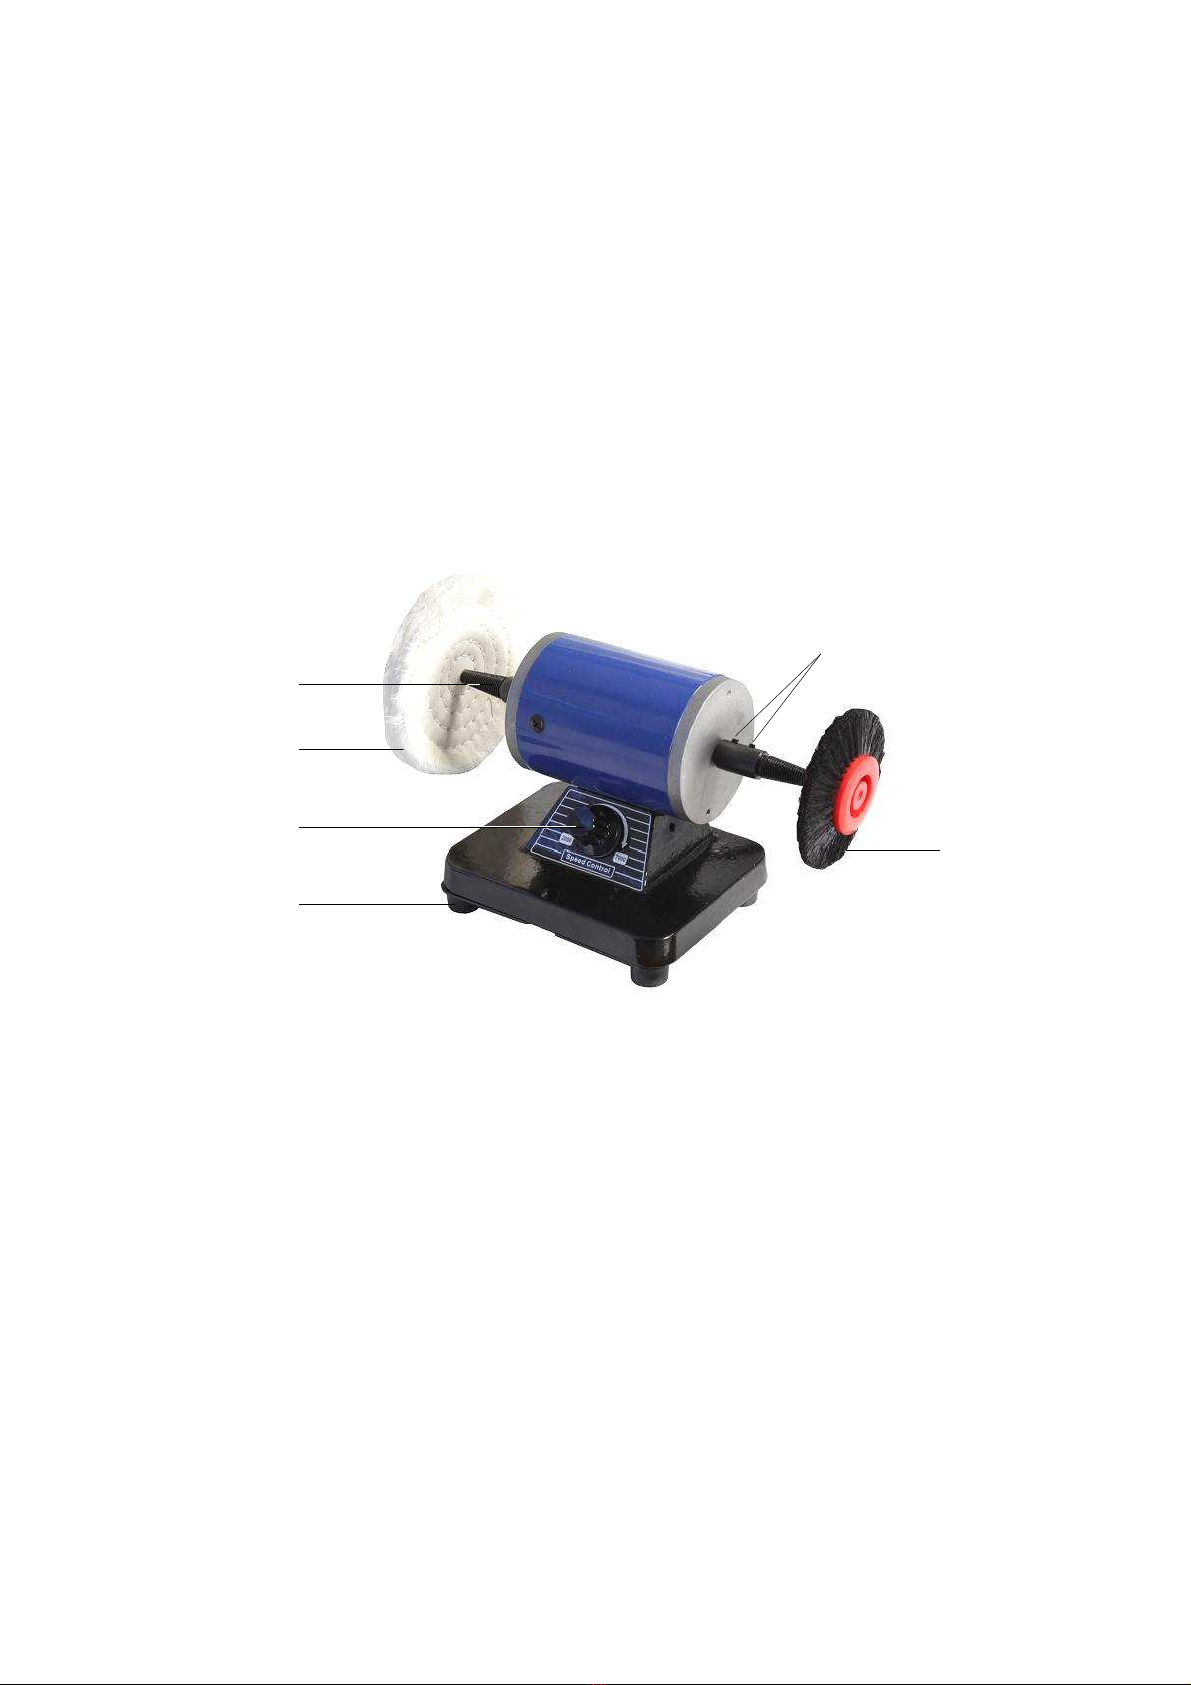
A Porta cepillos / Brush holder
B Disco de tela / Cloth wheel
C Regulador velocidad / Speed regulator
D Patas de goma / Rubber legs
E Tornillos sujeción portacepillos / Brush holder bolts
F Cepillo / Brush

Español
E
La R-100277 es una sencilla pulidora
especialmente diseñada para el pulido y
esmerilado de pequeñas piezas del sector de la
prótesis dental.
INSTALACIÓN
1. Desembale cuidadosamente la pulidora.
Compruebe que no ha sufrido ningún deterioro
durante el transporte.
El aparato se suministra de fábrica con los
siguientes accesorios:
-1 porta cepillos con rosca a derechas.
-1 porta cepillos con rosca a izquierdas.
-1 cepillo Ø48 (R-060440).
-1 cepillo Ø80 (R-060420).
-1 disco de tela Ø110 (R-060430).
2. Sitúe el aparato en una superficie plana y firme
alejada de cualquier foco de calor o
vibraciones.
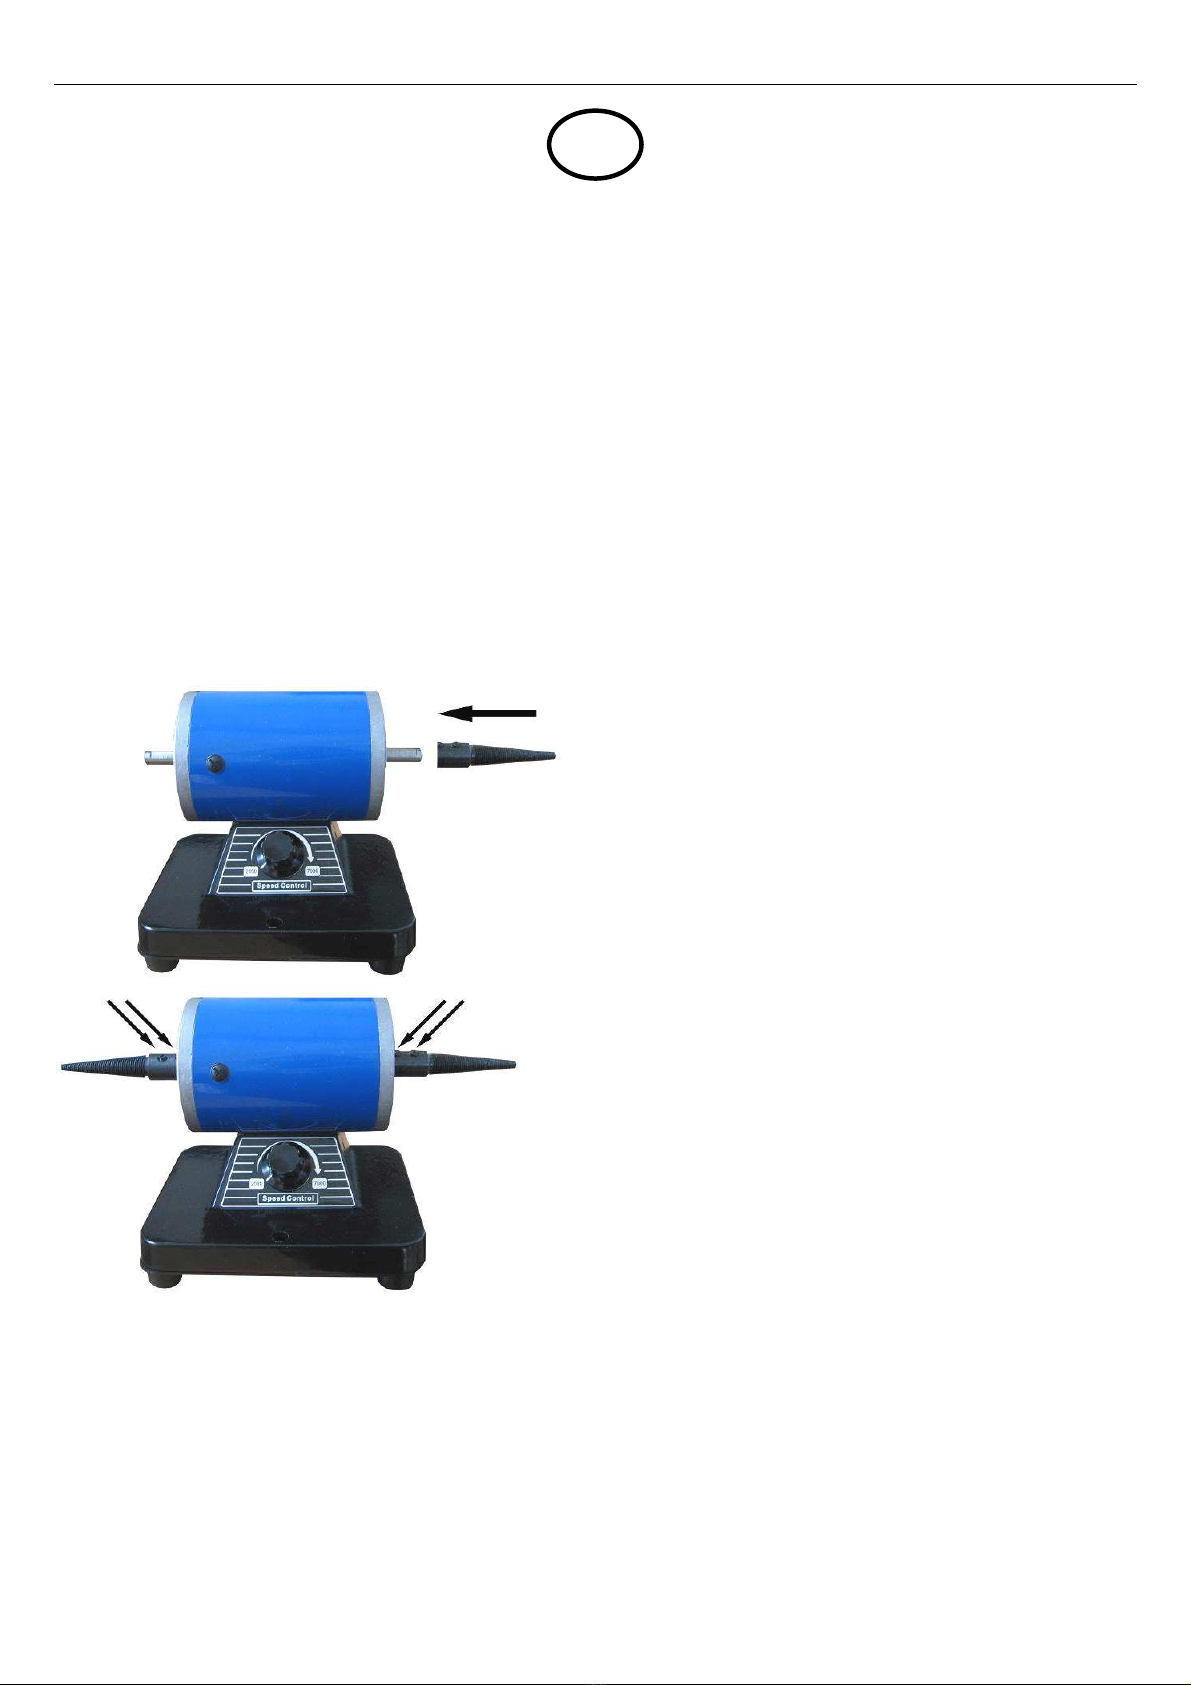
3. Si se encuentra Ud. situado de frente al
interruptor de marcha, y desea montar el
portacepillos en el extremo derecho del eje
motor, escogerá el portacepillos roscado a
derechas (sentido de las agujas del reloj), para
que de esta forma durante el uso del aparato,
el propio par de fricción tienda a autoapretar el
porta cepillos. Del mismo modo, si desea
montar el porta cepillos en el extremo izquierdo
del eje del aparato, elija un porta cepillos
roscado a izquierdas (sentido contrario al de las
agujas del reloj).
4. Coloque un portacepillos a cada lado de la
pulidora y apriete los 4 tornillos para fijarlos (E).
5. Conecte el aparato a una toma de corriente de
230 V, 50/60 Hz dotada de toma de tierra.
MONTAJE DEL CEPILLO EN EL PORTA
CEPILLOS
1. Aboque el cepillo en el porta cepillos
asegurando una buena perpendicularidad entre
el eje del portacepillos y el plano del cepillo.
2. Rosque el cepillo en el portacepillos con la
máxima de fuerza que su mano le permita.
3. Compruebe visualmente la perpendicularidad
entre eje de porta cepillos y el plano del cepillo.
4. Ponga el aparato en marcha, de manera que la
propia velocidad del giro del motor le permita
apreciar mucho mejor cualquier cabeceo de la
muela o del cepillo. Si aprecia cabeceos
significativos (superior a 1 o 2 mm) desmonte el
porta muelas o porta cepillos y proceda a
realizar un nuevo montaje.
5. Después de montar un cepillo en el porta
cepillos, y durante los trabajos inmediatamente
posteriores, tenga en cuenta que el propio par
de fricción servirá para reapretar el conjunto.
Es conveniente que mediante un adecuado
ángulo de ataque de la pieza que pretende
cepillar, procure favorecer este efecto.
CONDICIONES DE USO
Para un correcto empleo del aparato, le
recomendamos que se ajuste a las siguientes
instrucciones:
•Monte el porta cepillos / porta muelas adecuado,
siguiendo los pasos descritos anteriormente.
•Conecte el aparato a una toma de corriente de
230 V, 50/60 Hz.
•Seleccione la velocidad de giro que desea
(2000-7000 rpm) girando el mando (C).
•Antes de proceder al pulido o esmerilado de una
pieza, asegúrese de que conoce el sentido de
giro del motor, ya que de él dependerá el ángulo
de ataque inicial de la pieza. Un ángulo de
ataque incorrecto puede resultar muy peligroso.
•Cuando realice el pulido o esmerilado protéjase
adecuadamente:
-Utilice gafas de seguridad.
-Utilice guantes de seguridad.
-Utilice una mascarilla.
-Use ropa apropiada. No use ropa holgada,
corbatas, collares, anillos, pulseras ni
elementos que puedan engancharse en la
máquina.
-Recójase el cabello largo.

Español
-No pula objetos largos como cuerdas o
cadenas que puedan engancharse en la
máquina.
-Nunca utilice la pulidora sin aspiración.
-Emplee una pantalla protectora adecuada a
las características y geometría del aparato.
TALLERES MESTRAITUA S.L. recomienda
el uso de las pantallas R-080200 / R-080210,
ya que han sido especialmente diseñadas
para su empleo con la pulidora.
•Después del empleo del aparato, se recomienda
realizar una limpieza del interior de la pantalla
protectora.
MANTENIMIENTO Y LIMPIEZA
Para asegurar un funcionamiento correcto, fiable y
duradero del aparato, le recomendamos:
•Después de su empleo, limpie de polvo el
interior de la pantalla protectora utilizando un
cepillo. Periódicamente realice una limpieza
completa de la pantalla empleando un paño
humedecido en agua jabonosa.
•Para la limpieza del motor y el soporte, utilice un
paño. No use nunca alcohol, disolventes u otros
líquidos inflamables.
•No sumerja nunca el aparato en ningún líquido.
•Si aprecia ruidos o vibraciones anómalas, envíe
el aparato a un servicio de asistencia técnica.
•El aparato ha sido diseñado para asegurar su
correcto funcionamiento apoyado sobre los 4
tacos de goma (D).
PRECAUCIONES
♦Antes de conectar el aparato a la red,
asegúrese de que la tensión de alimentación es
la adecuada (230 V, 50/60 Hz).
♦Deseche cualquier cepillo o muela con grietas,
magulladuras, o desperfectos. Una rotura de
estos elementos cuando el aparato se
encuentra funcionando podría causar un grave
accidente.
♦Antes de comenzar un trabajo, asegúrese de la
firmeza en el acoplamiento entre el porta
cepillos y el eje del motor.
♦Cuando manipule alguna pieza, utilice gafas de
seguridad, guantes, mascarilla, y una pantalla
de seguridad apropiada. Se recomiendan las
pantallas MESTRA R-080200, R-080210.
♦No permita que los niños o personal no
especializado manipulen el aparato.
♦Si durante el funcionamiento normal del aparato,
el eje del motor quedase bloqueado,
desconéctelo de la red antes de intentar
desbloquear el eje forzando el giro con la mano.
♦Nunca pula, cepille, o esmerile materiales que
puedan desprender partículas tóxicas por
inhalación.
♦Antes de comenzar el pulido o esmerilado de
una pieza, asegúrese de que conoce el sentido
de giro del eje del motor. El ángulo de ataque
correcto está condicionado por el sentido de
giro.
♦No utilice el aparato cerca de disolventes,
alcohol u otros materiales inflamables. Extreme
precauciones cuando esmerile materiales que
puedan desprender chispas.
♦Antes de la utilización del aparato, asegúrese
que éste se encuentra asentado sobre una base
firme y sólida.
♦Nunca utilice el aparato sin aspiración.
♦Mantenga limpia y ordenada el área de trabajo
para prevenir accidentes.
♦Vista ropa adecuada. La ropa holgada,
colgantes o el pelo largo podrían engancharse
en la máquina.
♦Asegúrese de que el aparato está apagado
antes de conectar el cable, para evitar un
arranque inesperado del motor.
♦Desconecte la máquina antes de cambiar de
disco.
CARACTERÍSTICAS TÉCNICAS
Tensión de alimentación: 230 V, 50/60 Hz
Potencia: 200 W
Velocidad: 2000-7000 rpm
Altura: 135 mm
Altura al centro del eje: 95 mm
Anchura con portacepillos: 270 mm
Peso: 3 kg
English
GB
The R-100277 is a simple polishing lathe especially
designed to polish and grind small items in the field
of dental mechanics.
INSTALLATION
1. Carefuly unpack the unit. Check that it has not
sustained damage during shipment.
It is supplied with the following accessories:
-1 right-hand thread brush holder.
-1 left-hand thread brush holder.
-1 brush Ø48 (R-060440).
-1 brush Ø80 (R-060420).
-1 cloth wheel Ø110 (R-060430).
2. Place the unit on a flat and firm surface remote
from any source of heat or vibration.
3. If you are facing the ON switch and wish to fit
the brush-holder on the right-hand end of the
motor shaft, select a right-hand (clockwise)
thread brush-holder, so that the friction torque
produced when the unit is used will help tighten
the brush-holder. If you wish to fit it to the left-
hand end of the shaft, select a left-hand (anti-
clockwise) thread brush-holder.
4. Put one brush holder each side of the polisher
and fix them with the 4 bolts (E).
5. Connect the unit to a 230 V, 50/60 Hz outlet with
earth.
FITTING THE BRUSH TO THE BRUSH HOLDER
1.
Insert the brush into the brush-holder, ensuring
that the brush-holder shaft is perpendicular to
the plane of the brush.
2.
Screw the brush onto the brush-holder as tightly
as possible by hand.
3.
Visually check that the brush-holder shaft is
perpendicular to the plane of the brush by
spinning the assembly in your hand.
4.
Start up the unit: the spin of the motor will reveal
whether the wheel or brush is off line. If there is
more than 2 mm of slip, dismount and re-fit the
wheel-holder or brush-holder.
5.
Remember that the friction torque produced
during work after a brush is fitted to the brush-
holder will keep it tight. This effect can be
favoured by a suitable workpiece attack angle.
CONDITIONS OF USE
For best results use the unit as follows:
•Mount an appropriate brush-holder/wheel-holder
as indicated above.
•Connect the unit to a 230 V, 50/60 Hz power
source.
•Select the desired spin speed (2000-7000 rpm)
turning switch (C).
•Before polishing or grinding a workpiece, check
the motor spin direction, as the initial workpiece
attack angle depends on this. Incorrect attack
angles can be extremely dangerous.
•The following protective equipment is
recommended for polishing or grind-ing:
-safety goggles;
-safety gauntlets;
-face-mask;
-proper exhausters;
-a protective screen suited to the
characteristics and shape of the unit.
TALLERES MESTRAITUA, S.L. recommends
R-080200 or R-080210 screens, which are
especially designed for use with the polisher.
-Proper clothes. No baggy clothes, ties,
necklaces, rings, bracelets or elements that
could be hooked by the machine.
-Be careful with long hair.
-No objects similar to ropes or chains that
Could be hooked by the machine.
•After using the unit, clean the inside of the
protective screen.
English
MAINTENANCE AND CLEANING
To ensure a long, trouble-free useful life for your
unit, proceed as follows:
•To clean the motor and base used a cloth.
Never use alcohol, solvents or other
inflammable liquids.
•Never immerse the unit in any liquid.
•If you notice unusual noises or vibrations, send
the unit to your technical assistance service.
•This unit is designed to work correctly on the
four rubber legs (D).
PRECAUTIONS
♦Before connecting the unit to the mains, check
that the power supply is 230 V, 50/60 Hz.
♦Discard any cracked or damaged brush or
grinding wheel: if these elements break during
operation they could cause serious accidents.
♦Before starting work, ensure that the brush-
holder/wheel holder is firmly attached to the
motor shaft.
♦When handling workpieces, use safety goggles,
gauntlets, a face mask and a suitable safety
screen. We recommend MESTRA R-080200 or
R-080210 screens.
♦Do not allow children or unskilled personnel to
handle the unit.
♦If the motor shaft locks during normal operation,
disconnect the unit from the mains before
attempting to release it by turning it manually.
♦Never polish, brush or grind materials which
may give off particles which are toxic if inhaled.
♦Before starting to polish or grind a workpiece,
check the motor spin direction: the attack angle
depends on this direction.
♦Never use the unit close to solvents, alcohol or
other inflammable materials. Take all possible
precautions when grinding materials which may
give off sparks.
♦Never use the unit without proper exhausters.
♦Keep the working area clean and tidy in order to
prevent accidents.
♦Wear proper working cloth. Loose cloth, hanging
or long hair could be caught by the machina.
♦Make sure that you switch the power Off befor
plugging the unit, in order to avoy sudden start
of the motor.
♦Disconnect the unit from power supply before
changing the wheel.
TECHNICAL CHARACTECTERISTICS
Power supply: 230 V, 50/60 Hz
Power: 200 W
Speed: 2000-7000 rpm
Height: 135 mm
Height of shaft centre line: 95 mm
Width with brush holders: 270 mm
Weight: 3 kg
Table of contents
Languages:


