5
1 Declaration of Conformity
2 Specified Conditions of Use
3 General Safety Instructions
4 Special Safety Instructions
5Overview
6 Special Product Features
7 Initial Operation
7.1 Assembly of the additional handle
8Use
8.1 Positioning, removing tool
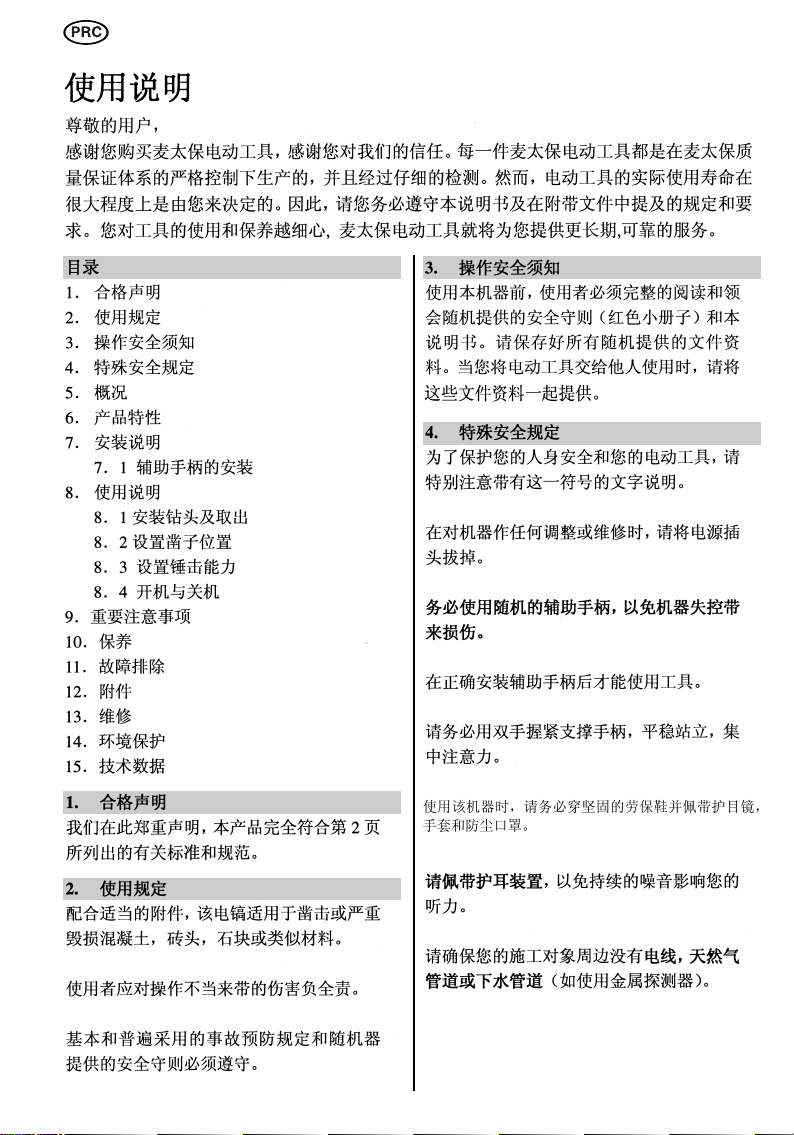
8.2 Setting chisel position
8.3 Setting impact force
8.4 Switching on and off
9 Tips and Tricks
10 Servicing
11 Troubleshooting
12 Accessories
13 Repairs
14 Environmental Protection
15 Technical Specifications
We, being solely responsible, hereby declare that
this product conforms to the standards and direc-
tives specified on page 2.
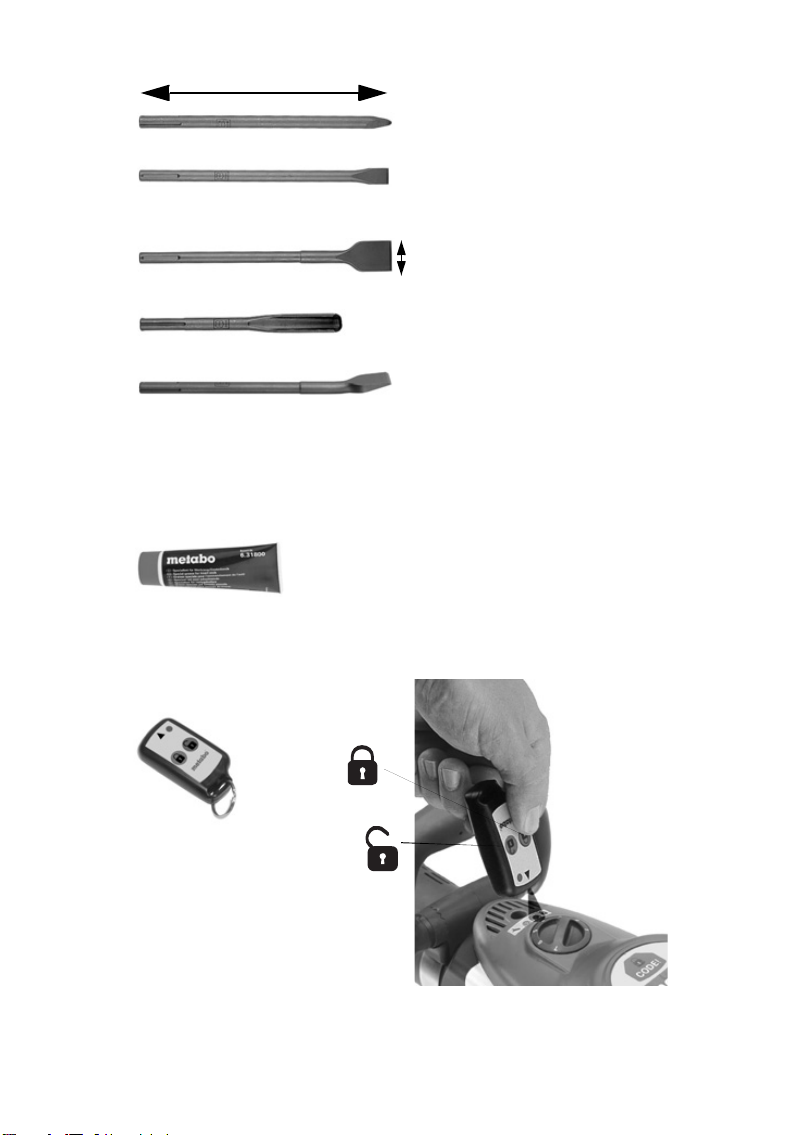
The chisel hammer, with suitable accessories, is
suitable for heavy demolition work, chiselling and
embossing in concrete, brick, stone and similar
materials.
The user bears sole responsibility for damage
caused by improper use.
Generally accepted accident prevention regula-
tions and the enclosed safety information must be
observed.
Before using this power tool, carefully read
through and familiarise yourself with all the
enclosed safety information (red booklet) and the
instructions. Keep all enclosed documentation for
future reference, and pass on your power tool only
together with this documentation.
For your own protection and for the
protection of your power tool pay
attention to all parts of the text that
are marked with this symbol!
Pull the plug out of the plug socket before any
adjustments or servicing are performed.
Avoid inadvertent starts: always switch the tool off
when the plug is removed from the mains socket or
if there has been a power cut.
Use the additional handles supplied with the
tool.
Loss of control can lead to injuries.
Always hold the machine with both hands at the
intended handles, take a secure stance and
concentrate on the work.
Always wear protective goggles, gloves, and
sturdy shoes when working with this tool.
Wear ear protectors.
Exposure to noise can
cause loss of hearing.
Ensure that the spot where you wish to work is free
of
power cables, gas lines or water pipes
(e.g.
using a metal detector).
Hold the power tool only at insulated housing
parts if there is any danger of making contact
with concealed electric cables or the supply
cable.
Contact with live wires energises the metal
parts of the housing and can cause electric shock
to the operator.
Work only with a correctly positioned tool. Pull on
the tool to check that it is correctly seated. (The
tool must move a few centimetres in axial direc-
tion.)
In cold weather, or if the tool has not been used for
a long time, run the tool for a few minutes without
load before using.
Operating Instructions
Dear Customer,
Thank you for the trust you have placed in us by buying a Metabo power tool. Each Metabo power tool
is carefully tested and subject to strict quality controls by Metabo’s quality assurance. Nevertheless, the
service life of a power tool depends to a great extent on you. Please observe the information contained
in these instructions and the enclosed documentation. The more carefully you treat your Metabo power
tool, the longer it will provide dependable service.
Contents
1 Conformity Declaration
2 Specified Use
3 General Safety Instructions
4 Special Safety Instructions
Wear ear protectors.
Exposure to noise can
cause loss of hearing.
Ensure that the spot where you wish to work is free
of
power cables, gas lines or water pipes
(e.g.
using a metal detector).
Hold the power tool only at insulated housing
parts if there is any danger of making contact
with concealed electric cables or the supply
cable.
Contact with live wires energises the metal
parts of the housing and can cause electric shock
to the operator.
Work only with a correctly positioned tool. Pull on
the tool to check that it is correctly seated. (The
tool must move a few centimetres in axial direc-
tion.)
In cold weather, or if the tool has not been used for
a long time, run the tool for a few minutes without
load before using.
01_ENG_MHE95_Asien_0506 05.05.2006 11:25 Uhr Seite 5